An important skill for the home defender, “pieing a room” is considered an advanced training exercise, but you can learn and practice the fundamentals on your own
by Frank Melloni
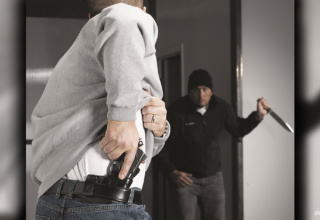
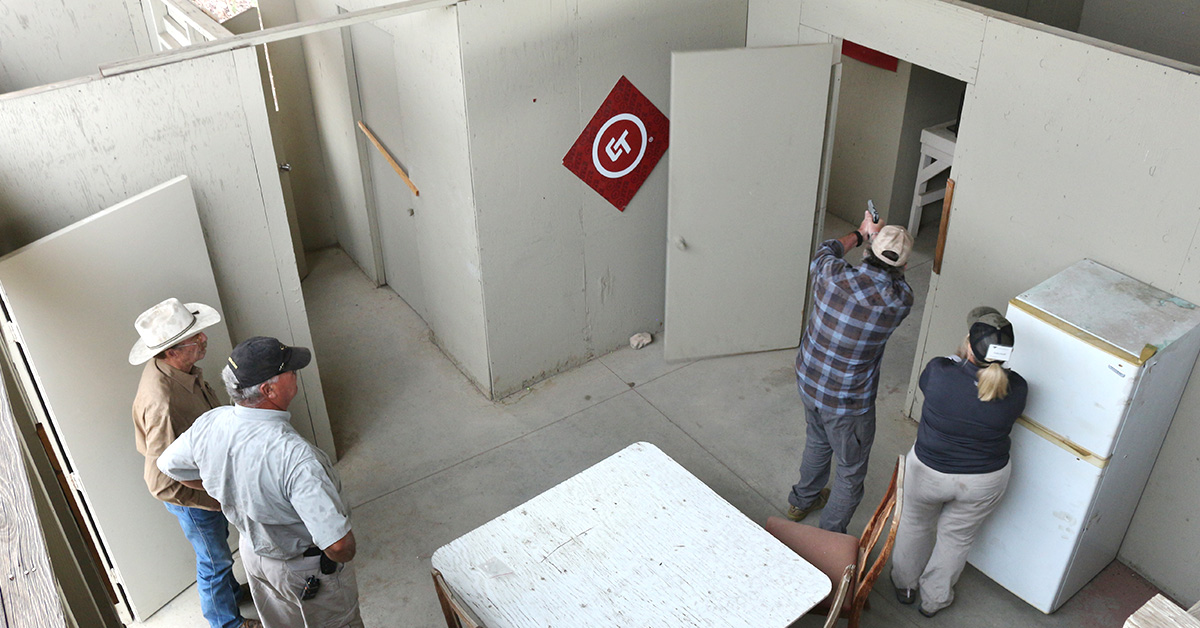
Knowing what’s going on inside a room is essential prior to entry, as pandemonium can ensue otherwise. Of course, what I’ve just stated is nearly impossible, especially in an unfamiliar environment; however, this doesn’t mean that we must rush straight in. There is a means of slowly revealing what is on the other side while mitigating our own exposure to danger. The process is called slicing the pie or simply pieing. It involves dividing the room of interest into angular sections based on your position to the door.
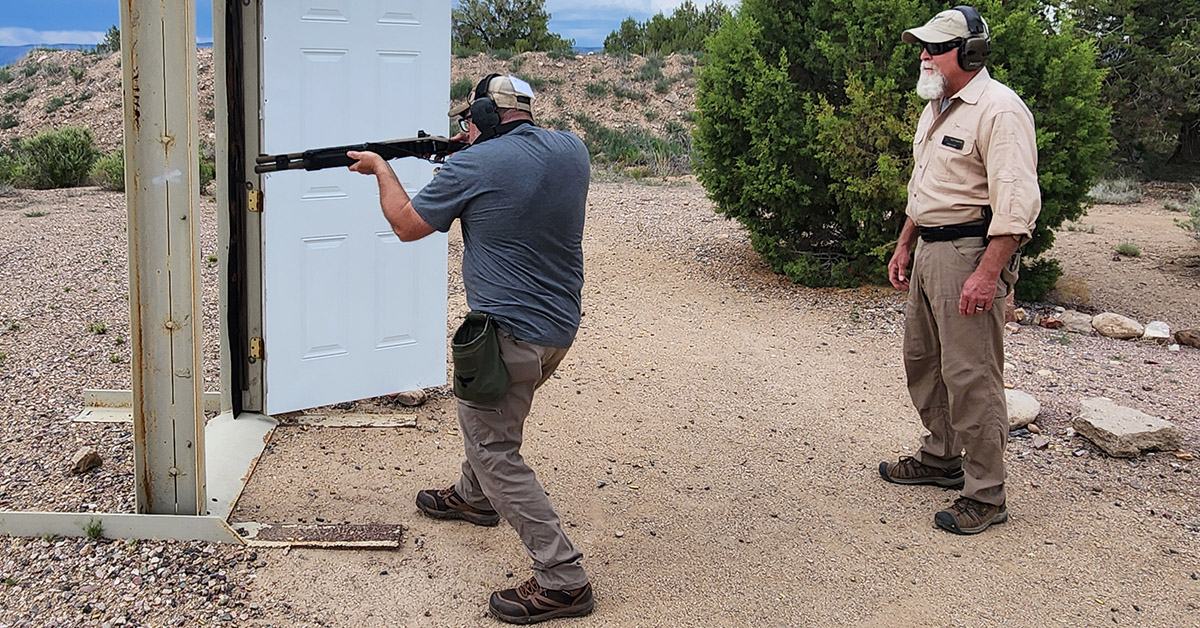
Understanding the practice of pieing begins with learning the basic mechanics of a door by observing the hinges. Doors will swing toward this hardware. So, in most cases, it pays to be on the other side when opening them. Now, your starting position might change depending on the layout of the room you’re about to enter (if you know it), but for the sake of simplicity, let’s leave it there for now.
Getting close to the wall, we toss the door open and stay put. If you’re working with a partner, it’s best to have them take care of this for you. Prior to this action, you’ll want to rehearse this for each scenario. By training together, you’ll eventually find a flow where each knows what to do without having to exchange a word.
A few words regarding words: don’t use any. There are several hand signal languages out there; it pays to agree on one beforehand and learn it together.
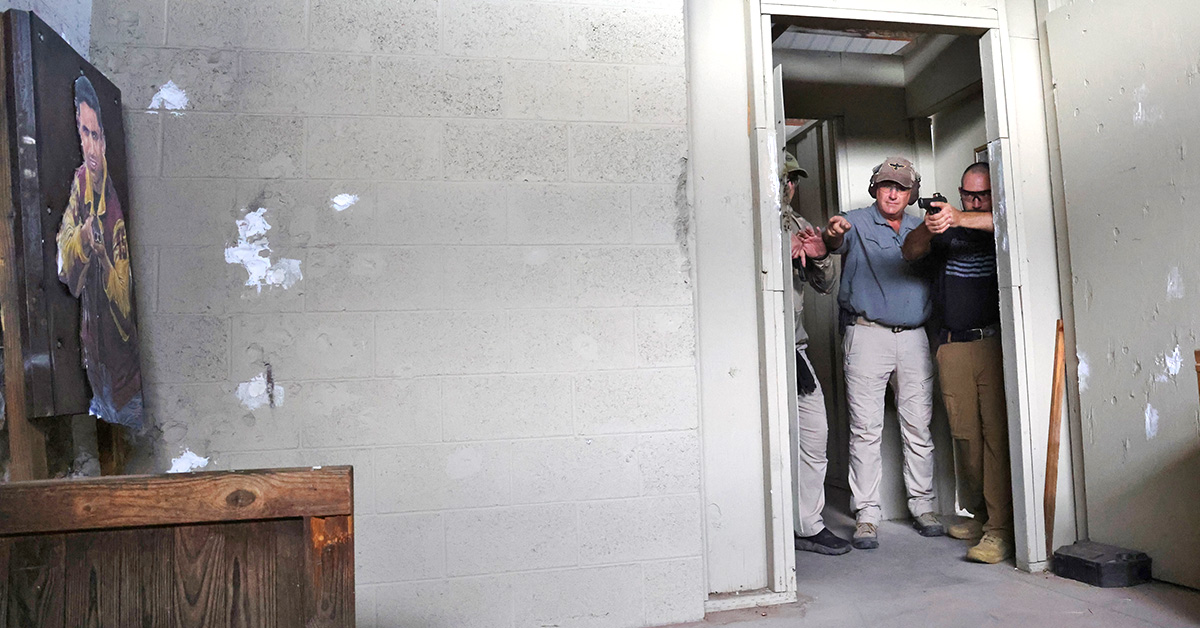
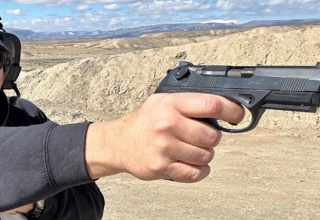
With the door now breached, draw an imaginary semicircle on the ground that starts at your feet and ends on the other side of the door. In short, strafing steps, walk this circle, addressing anything you might find as it appears from the other side of the door frame. In doing so, you’ll be able to use a portion of the door frame for concealment and get a total view of what’s inside — on your terms.
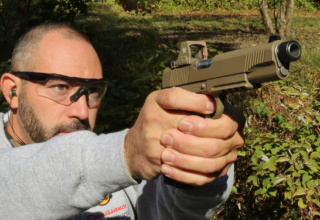
This practice gives you better sight into most of the corners, which is a popular ambush position for threats. On that note, don’t forget that the world is three-dimensional and that it pays to look up and down as well. Again, if you aren’t doing this alone, choreograph this with your partner long before needing to do this for real. For safety’s sake, practice this with an inert training gun or even empty-handed until it becomes second nature.
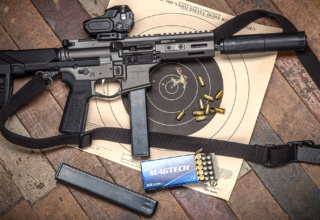
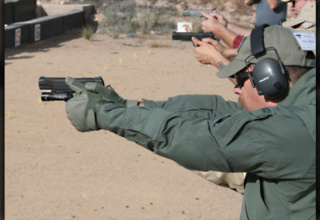
Taking this knowledge to the firing line, here are a pair of drills to help develop your footwork while integrating your firearm. As this involves live ammunition, it’s best to leave your partner at home for this one. You’ll need a range that has a 270-degree backstop, so likely this will be a facility that hosts sports like USPSA or IDPA. If one isn’t readily available, be sure that you have an ample amount of berm on the side of each target. Placing them closer to the backstop will help maximize what you have. Check your target setup with an unloaded firearm before proceeding.
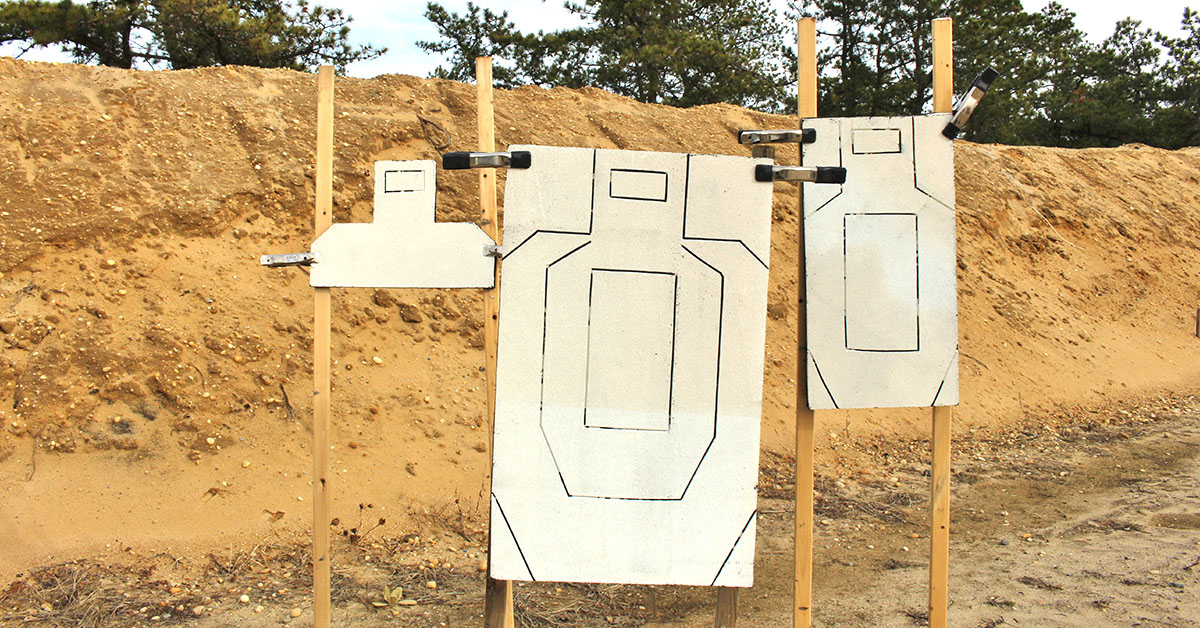
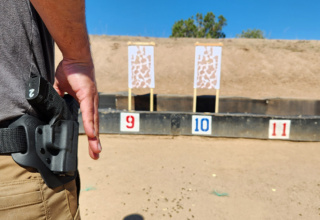
As for equipment, a trio of cardboard silhouettes and appropriate stands are going to be needed. Birchwood Casey makes a wide variety that work well and are my top recommendation. Additionally, you’ll need a pair of structures to create the outer edges of a door. I have found that a couple of barrels stacked on top of each other work well to create each edge — or, more simply, a pair of upright barricades if you have access. Of course, nothing beats the realism of an actual door, so if you are handy, adding legs and reinforcement to a pre-hung door is rather effortless. Cut costs by sourcing one at establishments like Habitat for Humanity’s ReStores or even by visiting a construction site where a house is being rehabbed. Most contractors must pay to dispose of old material; therefore, they’re usually happy to give gutted interior junk away.
Begin setup by placing your “door” in the center of the range, about 15 yards from the rear backstop. Next, place a target directly behind each edge of the door prop with a third in the middle. Their distance from the door isn’t particularly important, but again, ensure that bullets passing through will strike the berm.
Drill #1 – Right to Left
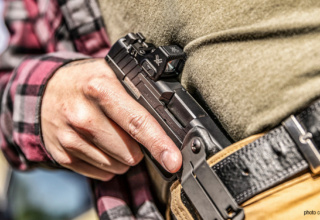
- Start with your body close to the right edge of the door.
- Map a semicircle to the other side.
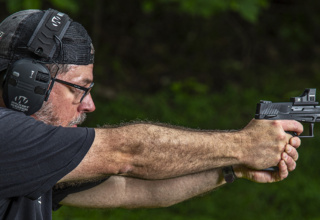
- Move slowly, revealing and engaging one target at a time with two shots each.
- Repeat ten times.
Drill #2 – Left to Right
- Start with your body close to the left edge of the door.
- Map a semicircle to the other side.
- Move slowly, revealing and engaging one target at a time with two shots each.
- Repeat ten times.
This unassuming pair of routines allows you to perfect the fundamentals without injecting overly complicated tactics, and it represents a fair amount of the door configurations that you’ll encounter. Furthermore, the simple change in direction will reveal that we are more flexible in one direction or another, showing us where we need more practice.
Working through these paces and varying the target placements will help you hone the instinct of pieing a room, which is the only way to build this skill, as room layouts are endless. If you wish to add yet another layer to this, you can include resistance to the door and work on more realistic breaching techniques during the same session. In time, these motions will become more fluid, and speed will increase through efficiency instead of haste.