Too many pistol shooters move directly to “combat” forms without first developing the elemental techniques necessary for accuracy and proficiency
by Lou Patrick and Rob Reaser
If you read magazines, watch videos, peruse websites, or seek out any form of instruction related to handgun shooting or personal defense shooting techniques, 99.999% of the time, the discussions will begin with and center on what can be generally referred to as “combat shooting.”
What we mean by combat shooting are the principles of stance, drawing the weapon from a holster, presenting the weapon toward the target, establishing a sight picture, and trigger control with the intent to engage a target quickly, effectively, and to be prepared for follow-up shots. From there, the pedagogy turns to more advanced topics such as addressing malfunctions, tactical reloads, target engagement scenarios, and on and on.
It’s all critical learning for anyone who wants to be an effective shooter, but this approach misses the fundamental building blocks necessary for being efficient as the shooter moves his or her training to that defensive shooting stage. In other words (and to use the tired but all-too-true analogy), if you don’t start by building a strong foundation, the house will always be shaky.
This is especially true with marksmanship. Be it a handgun or a rifle, shotgun or bow and arrow, if you don’t ingrain the basics at the start, you can never be the best you can be regardless of how well you perform at the home range, a local IDPA match, or in the proverbial “dark alley” facing a two-legged threat.
Marksmanship is a perishable skill. To maintain and grow in proficiency, you must establish and routinely practice the fundamentals.
The U.S. Army Pistols and Revolvers field manual lists six elements, or fundamentals, of pistol/revolver marksmanship:
- Grip
- Aiming
- Breath Control
- Trigger squeeze
- Target engagement
- Positions
We will explain some of these elements while also incorporating a simple marksmanship exercise designed to hone this skill set.
Pistol Marksmanship…The Building Blocks
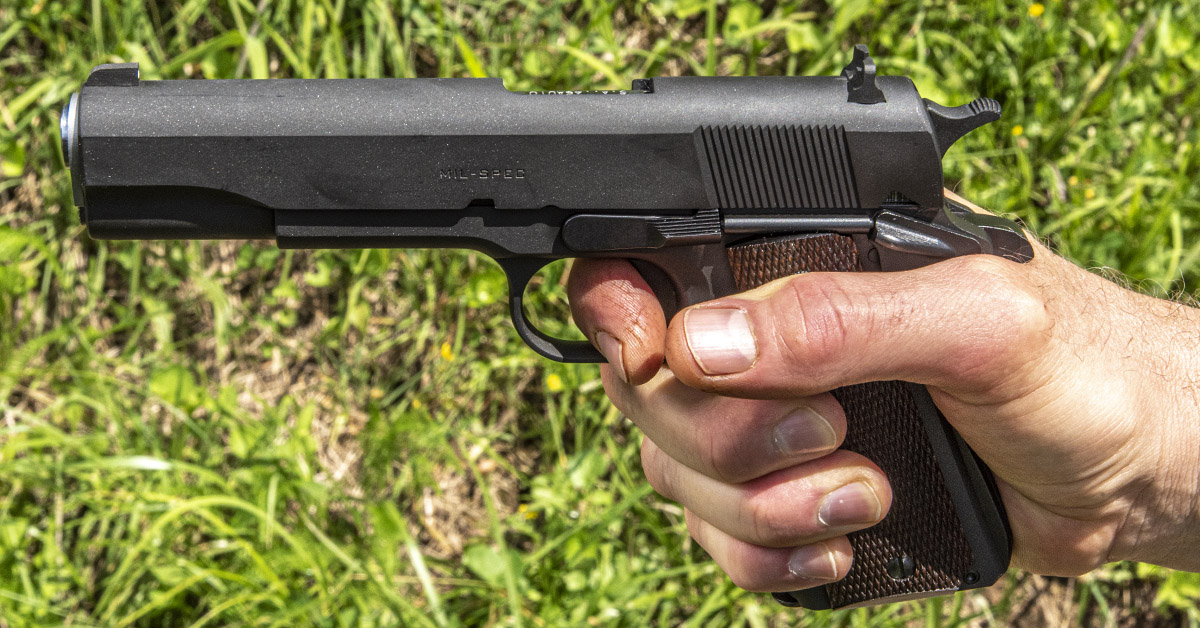
The first fundamental is the grip of the pistol by the firing hand. For right-handed shooters, this will be the right hand, as pictured.
This may seem simple enough—just pick up the pistol. Yes, that can work, but when it comes to accuracy and good marksmanship, there is a better way.
The grip of the firing hand is vitally important. With a proper grip, the pistol will become a natural extension of the hand and arm, effectively replacing the index finger, such as when pointing at an object.

First, grasp the pistol by the barrel and slide with the non-firing (left) hand as pictured.
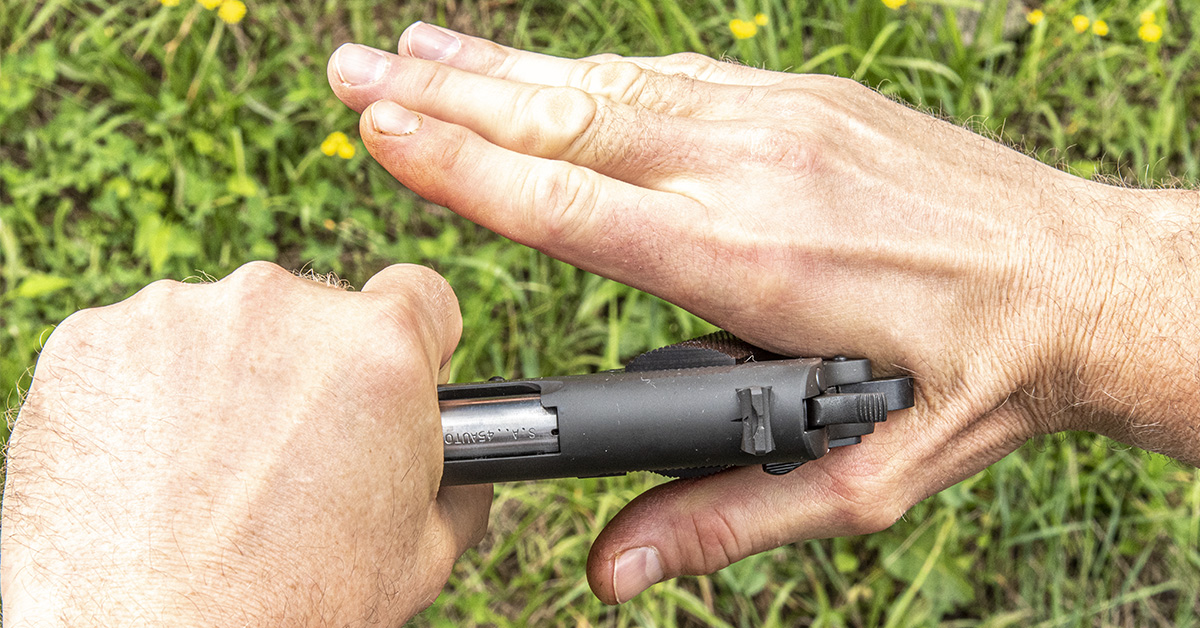
Form a “V” with the thumb and forefinger of the firing hand. Place the pistol into that “V” with the front and rear sights in line with the firing arm.
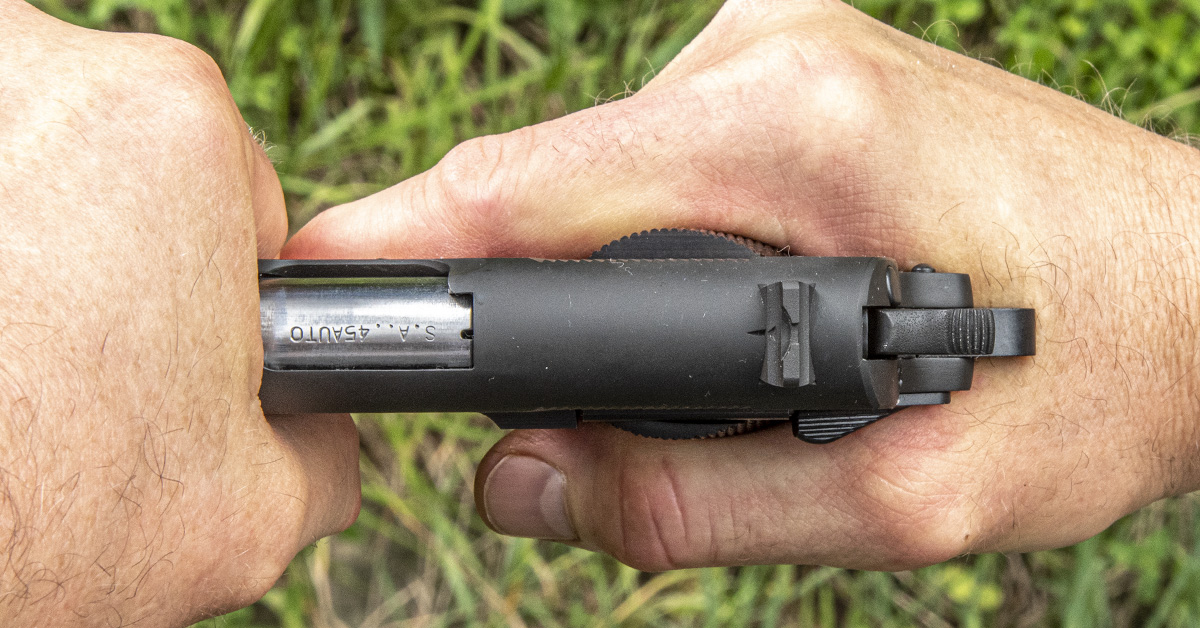
Wrap the lower three fingers around the pistol grip, applying equal rearward pressure with all three fingers. The thumb will rest along the side of the grip without pressure being applied to the grip. The index finger will rest along the side of the pistol without pressure being applied until it is moved onto the trigger.
How tight do you grip the pistol? Grip the pistol tightly until your hand begins to tremble and then slowly relax the grip until the trembling stops. Once the tremble stops, you have acquired the proper grip tension.
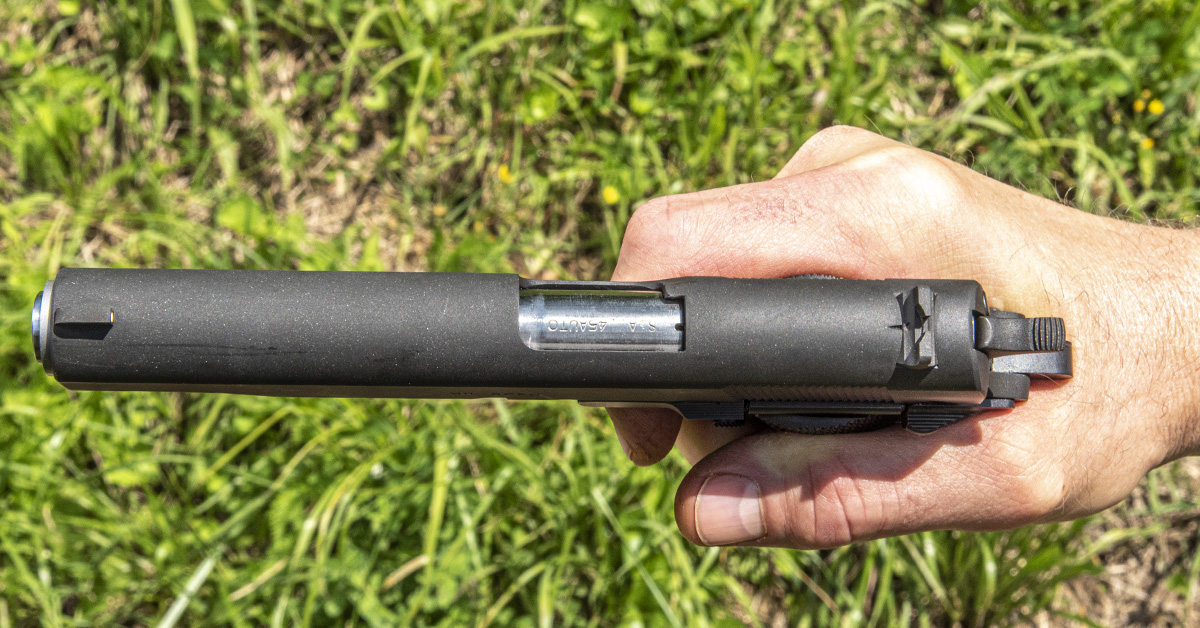
Remember, the index finger and thumb are not applying any grip tension. When ready to fire, the index finger is placed on the trigger between the tip and second joint. The index or trigger finger must work independently of the remaining fingers.
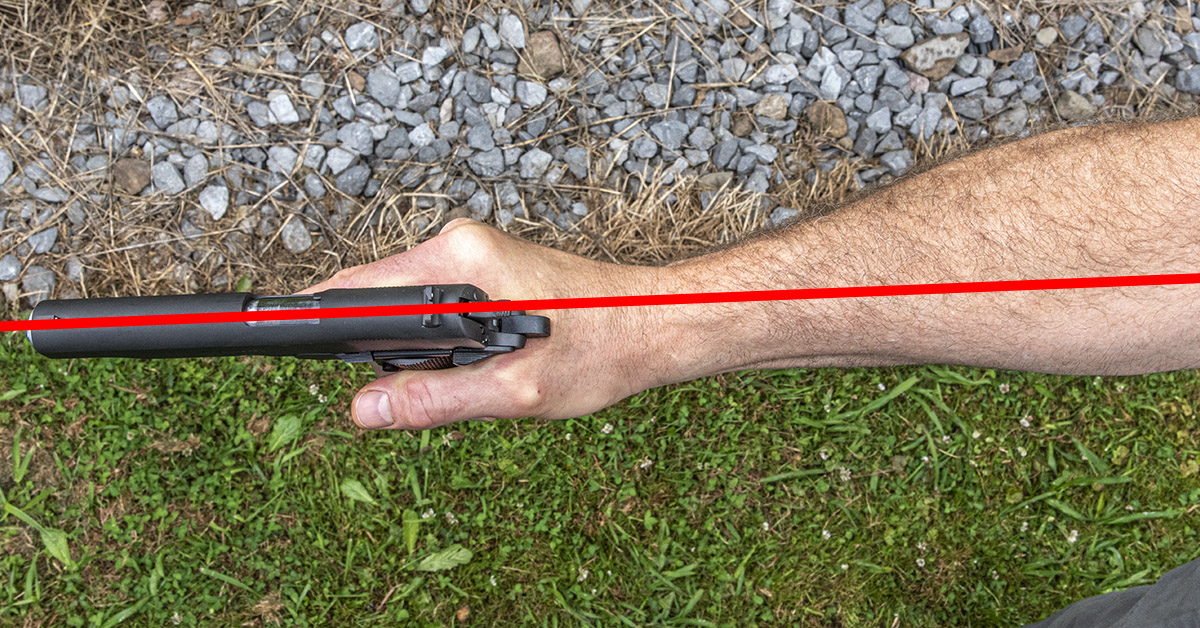
When this technique is properly applied, the pistol will become a natural extension of your hand and arm. When the arm is raised to the shooting position, the sights will be in a direct line down the arm and to the eye. Shooting, especially at close ranges, can become as natural as pointing your index finger at something.
Remember, a firm, consistent grip must be applied to the pistol. This is one of the most important fundamentals if you must shoot quickly.

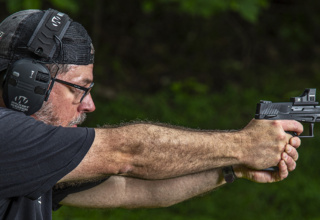
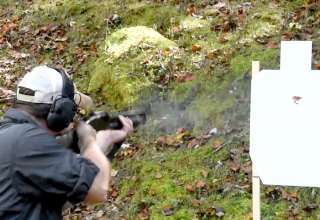
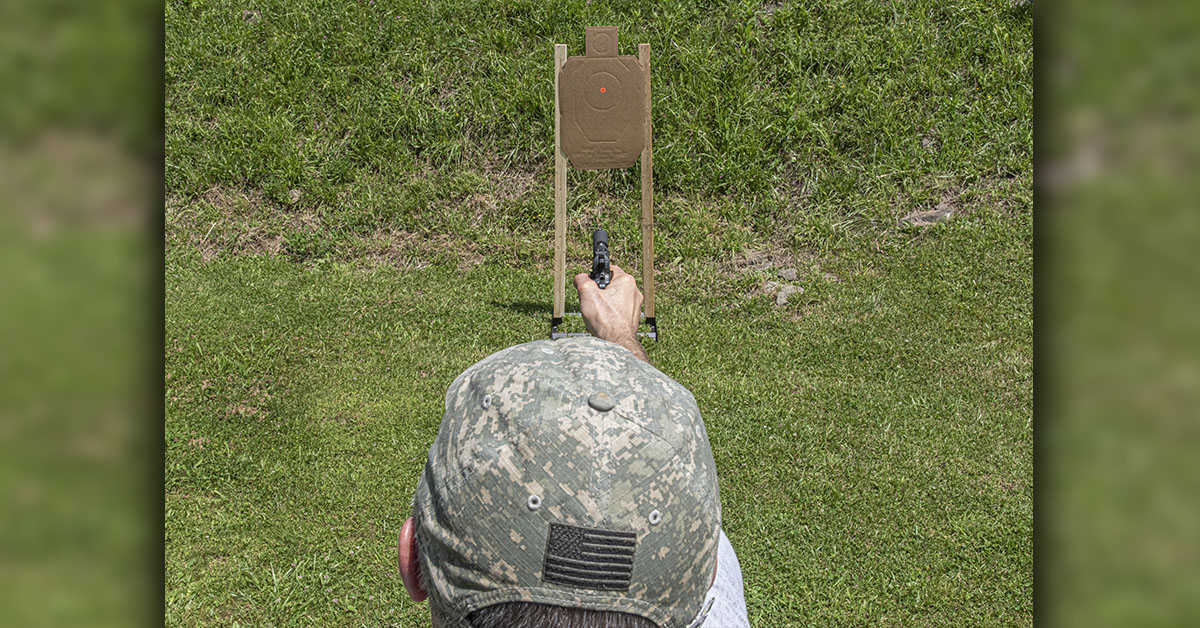
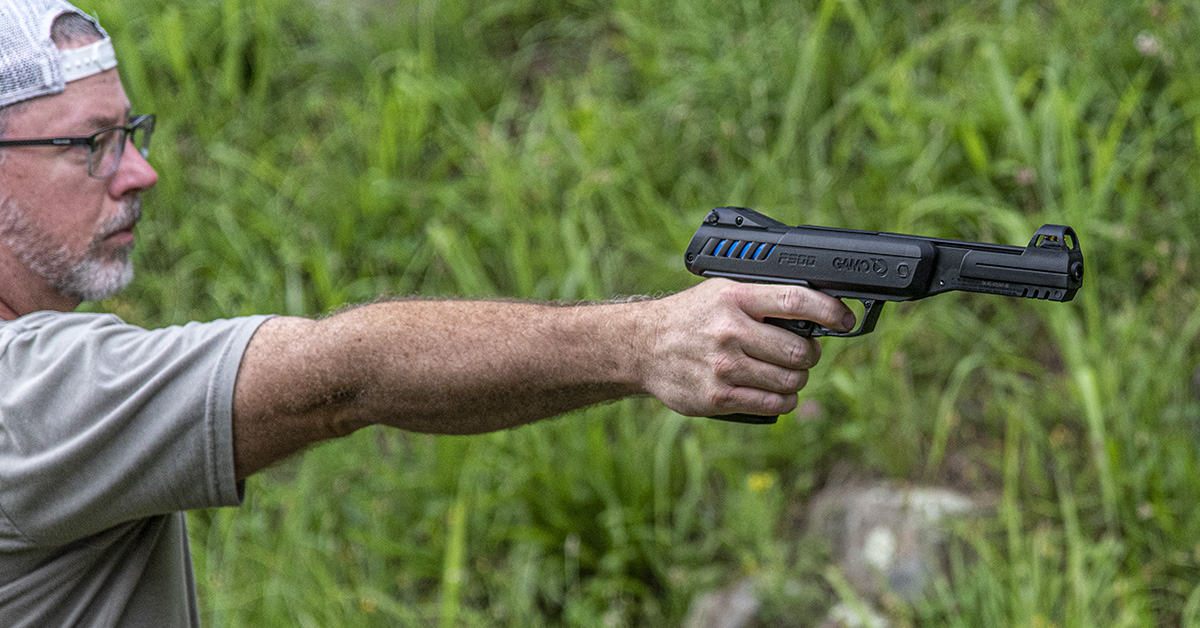
For our shooting exercise, we are shooting one-handed with our focus on these marksmanship fundamentals. Being proficient in one-handed pistol shooting also has its tactical advantages.
To obtain the proper shooting position, begin by facing the target. A right-handed shooter will rotate the entire body (pivoting on the feet) about 45 degrees to the left (military veterans will know this as executing a half-left face). The left foot is then moved about 12-18 inches from the right foot. The body is straight with the head held up. The firing arm raises the pistol to meet the eye. The arm is straight and firm without being rigid. The non-firing arm can hang naturally to the side, or the hand can be placed in a pocket or on the hip, as pictured, whichever the shooter prefers.
Upon firing the pistol, the arm does not bend at the elbow even though the elbow is not locked. When done properly, once the pistol is fired, recoil will cause the entire firing arm to raise slightly and then automatically settle back into the firing position.
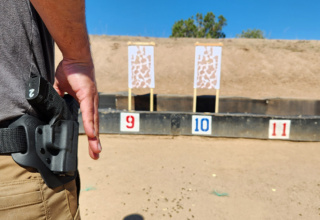
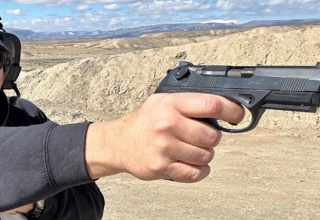
While in the proper position and with the pistol raised in the firing position, the objective is for the sights to settle naturally on the target. If they do not, the entire body would have to be moved, or rotated, in order to align the sights, placing your body out of the natural position to acquire the target. Rotating the body to acquire the target, however, places undo strain on the muscles and accuracy will suffer. For this reason, it is best to move the entire body until sights are on target when the pistol is raised. This is referred to as the “natural point of aim,” and from this position it will be easier for you to shoot more accurately.
To check for natural point of aim, grip the pistol (unloaded) and sight properly on target. Close your eyes for five seconds and open them, if the point of aim is disturbed (meaning the sights are not on target), you must adjust your position relative to the target. Should the sights not be aligned properly (meaning the front and rear sight alignment to your eye), then you must adjust your grip on the pistol. Remove the pistol from your hand and reapply the grip as previously described.
Once the natural point of aim is achieved, it is from this position that you will practice and lay the foundation for solid marksmanship skills.
This is as much a mental exercise as it is mechanical (some instructors and top shooters will say it is primarily mental). As you take each shot, it is essential to concentrate on all the elements involved: grip, aiming, breath control, and trigger squeeze.
Aiming
Aiming is the application of sight alignment and sight placement.

Correct sight alignment is accomplished by centering the front sight blade into the notch of the rear sight as pictured, with the sights being in alignment with your eye. Sight placement is the positioning of the properly aligned sights on target, with the front sight placed center mass of the target.
What the shooter sees when combining sight alignment and sight placement is known as the “sight picture.” The sight picture consists of three elements that the shooter is simultaneously looking at, which are at three different distances. These include the target, front sight, and rear sight. Fortunately, the human eye can see all three at once. Unfortunately, our eyes can only focus on one at a time. This means that only one item of the three can be brought into focus, leaving two of the three to appear somewhat blurry or fuzzy.
There is no way around this fact.
The bullet will also leave the muzzle of the pistol and travel in the direction it is pointing. Since the front sight is directly over the muzzle, the front sight should always be the primary focus of the eye, with the target and the rear sight being out of focus, just as it is in the illustration above.
Correct sight alignment and placement can only be maintained by focusing on the front sight.
As you hold the pistol at arm’s length and attempt to acquire proper placement of the sights on the target, the pistol is going to be in constant motion because we cannot hold the pistol perfectly still. This natural motion of the pistol is referred to as the “wobble area.” Do not be overly concerned with the “wobble area,” as this will never be eliminated. Through practice, though, the wobble area can shrink, but it will never go away. You must learn to shoot and function with it. This is part of the mental aspect of shooting.
With the proper shooting position and a proper grip on the pistol, it is possible to “shrink the wobble” through the proper application of trigger squeeze and breath control.
Breath Control
Whether at the range or in a personal defense situation, to shoot accurately, you must control your breathing. As with everything else, breath control only comes through repetitive practice. We have been taught several methods of breath control over the years, with the simple interruption of the natural breathing cycle being the most effective for us.

As we breathe, there is a natural pause at the end of each in-and-out cycle. When you breathe out, simply hold your breath to extend that natural pause and begin your trigger squeeze, firing the pistol prior to any discomfort from holding your breath. This method works well on the controlled environment of the range and should be mastered first.

Multiple targets are not going to present themselves in perfect timing with our breathing cycle, so you must eventually learn to hold your breath at any part of the breathing cycle, as seen in the above example.
Trigger Squeeze
Trigger squeeze is the independent movement of the trigger finger on the trigger. The trigger finger must apply ever increasing pressure on the trigger, and this pressure must be applied directly rearward without disturbing the sight alignment until the pistol fires. Trigger slack is taken up first, with the squeeze continuing steadily until the pistol fires. When done properly, the pistol firing will be a complete surprise to the shooter. This “surprise” is a vital aid in combating flinching during firing because if you anticipate the discharge of the pistol, you will most likely “punch” forward with your firing hand in an unconscious, instinctive effort to mitigate the effects of recoil.
This instinctive forward motion of the firing hand is not conducive to good accuracy, obviously, and is the biggest culprit in missing our intended target, not the “wobble area.” This makes proper trigger squeeze vitally important to good accuracy.
As we look across the sights of our pistol and with the sights properly aligned and placed on target, they are in constant motion. This, as mentioned, is our wobble area. While this wobble area can diminish somewhat through practice, we cannot eliminate it. We must work with it. Our goal is to not make it worse with improper breathe and trigger control.
Do not try to “jerk” or squeeze the trigger quickly when the sights “wobble” back onto your precise aiming point. You’ll most likely miss. Allow the pistol to move within its wobble area (with sights aligned), as you aren’t going to completely stop it anyway. Focus your attention first on breath control. Once you hold your breath and begin extending that natural respiratory pause, take up the slack in your trigger and continue squeezing the trigger directly rearward without anticipating the moment of discharge. Concentrate on the act of shooting, not the moment the gun is going to go bang. The pistol will discharge as a surprise with the sights being on target within your wobble area and you will have hit the target.
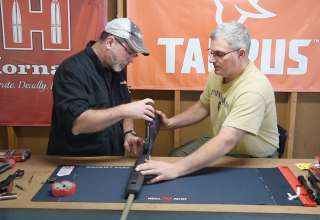
Flinching in anticipation of the shot or recoil is the biggest factor to overcome. An easy way to find out if you are flinching prior to the pistol discharging is to have someone else load your magazine with one dummy round or Snap Cap placed randomly in the magazine. Once the dummy round—unbeknownst to the shooter—is “fired,” you can easily see if the firing hand moves forward in an unconscious effort to meet recoil. With a properly performed trigger squeeze, there should be no motion of the firing hand when attempting to fire a dummy round.
To fire the pistol accurately, you must simultaneously and effectively apply the fundamentals of marksmanship. Skill will only increase through practice. For those just getting started and learning about pistol shooting, this may appear as a daunting task. Breathe easy; it’s not difficult. Learn and practice the fundamentals step by step, and speed and proficiency will come in due time.
A simple exercise is to grip the pistol and get into position as described. Raise the firing arm, align the sights, place the sights on the target, and think breath control and trigger squeeze. Fire one very deliberate shot, concentrating on the shooting process the entire time. After one shot is fired, holster the pistol or place it on the shooting bench. Take a break for a few seconds, and then take up a good grip on the pistol and repeat the process. Speed is not the focus here but rather the effective and simultaneous application of the shooting fundamentals.
Remember, this is as much mental as mechanical.
The Low-Cost, High-Volume Practice Alternative
Developing these basic pistol shooting principles requires a lot of practice before good form develops and turns to muscle memory. Unfortunately, that presents a bit of a problem these days because there simply isn’t enough ammo available to put in the kind of live-fire training required to build solid marksmanship skills. If we can even find ammo, it’s likely to be set aside for “last stand” defense purposes instead of range practice.
Quite understandable. Thankfully, there is a terrific work-around by using air pistols.
A good air pistol that shoots .177- or .22-caliber pellets makes a functional stand-in for your centerfire or rimfire handguns. Assuming you purchase one with ergonomics that don’t veer too far from that of a conventional pistol, an air-powered handgun will allow you to practice all the marksmanship fundamentals we’ve talked about without costing you a fortune or requiring investment in hours of mind-numbing dry-fire drills.
An air pistol also allows you to train just about anywhere—from your backyard to your basement or garage. We’re not talking about great distances for pistol training, so anywhere you can establish a safe 30- to 60-foot range will work just fine for honing your pistol skills.
Ammo for an air pistol is, of course, dirt cheap compared to any ammunition that goes BANG! You can get a tin of 250- to 500 rounds of general use pellets in the $8 to $13 price range. That’s a lot of shooting for a small investment. Best of all, every correctly executed shot made with a pellet gun translates to improved marksmanship once you transition to centerfire pistols.
GAMO P-900 Marksmanship Trainer
There are many air pistols on the market ranging in quality and performance from “no thanks” to “too expensive.” It really depends on what you need and your budget.
We recently picked up a GAMO P-900 with an MSRP of $89.90 and have been quite pleased at its performance as a marksmanship trainer. While a noticeable departure in profile and handling from our 1911s, GLOCKs, and polymer striker-fired defensive pistols, the P-900 has proven to be accurate and a fine substitute for basic skill building.
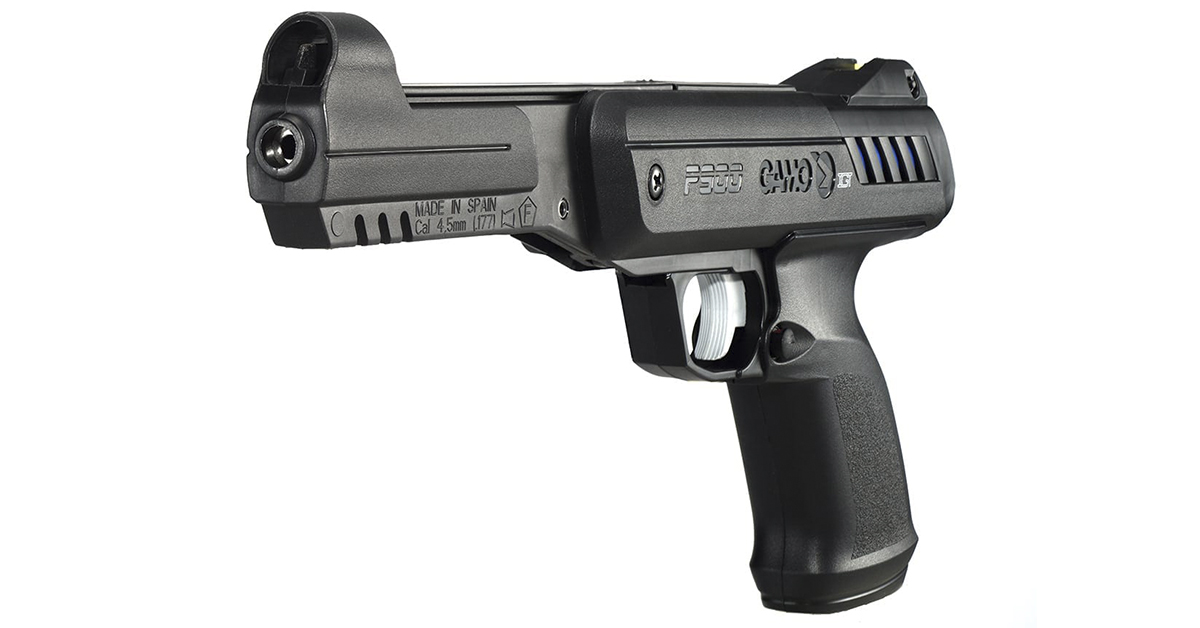
The P-900 is a break-action air pistol that uses GAMO’s Inert Gas Technology (IGT) gas piston system similar to that found in the company’s break-action air rifles. To charge the pistol, simply break open the barrel to compress the gas piston, insert a pellet into the breech, and close the barrel.
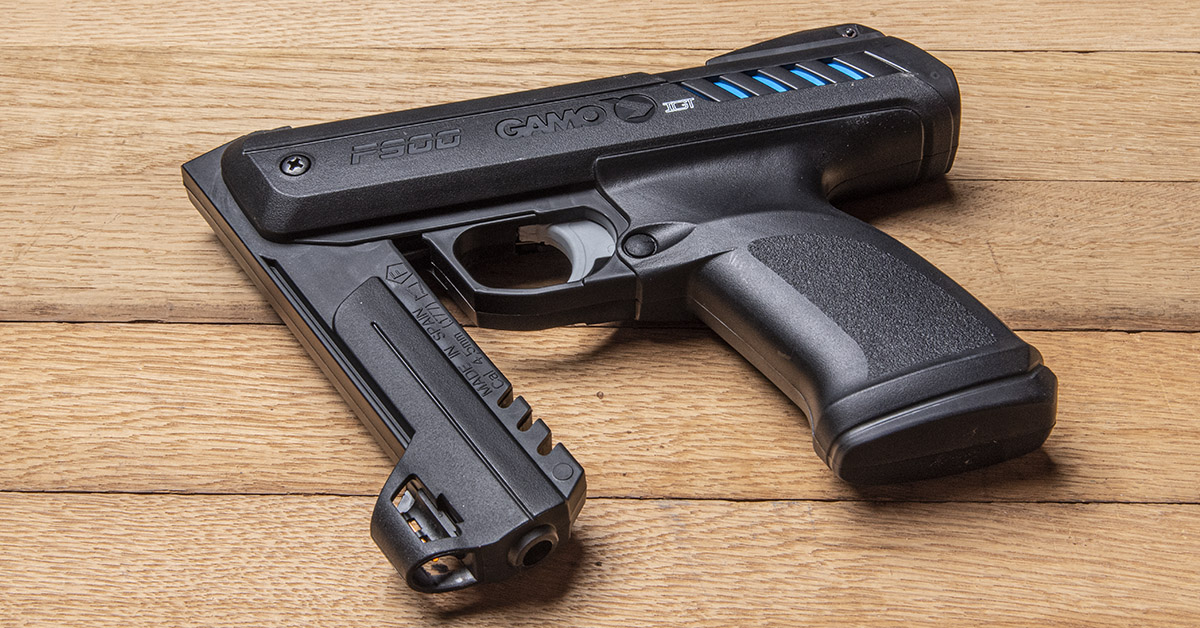
One of the aspects of a break-action pistol like the P-900 that we favor is that they do not require auxiliary charging support—no CO2 cartridges to replace and no air cylinders to charge, as is the case with pre-charged pneumatic models. Just cock, load, and shoot. This also reduces the cost of the pistol, meaning more money for training or defensive ammunition should it ever appear on store shelves.

Compared to your centerfire pistol, the P-900 is sizeable, measuring 12.6 inches long. What that length gives you, though, is a longer sight radius that makes a big difference in tightening shot groups. The rear sight is a notched blade design that is adjustable for windage while the front sight is comprised of a hooded post with a fiber-optic bead for enhanced visibility.

Other features include a cross-bolt safety and a straight-pull trigger with a serrated trigger face. The trigger is actually quite nice, with a surprisingly smooth action that isn’t crunky and doesn’t shift under the finger.
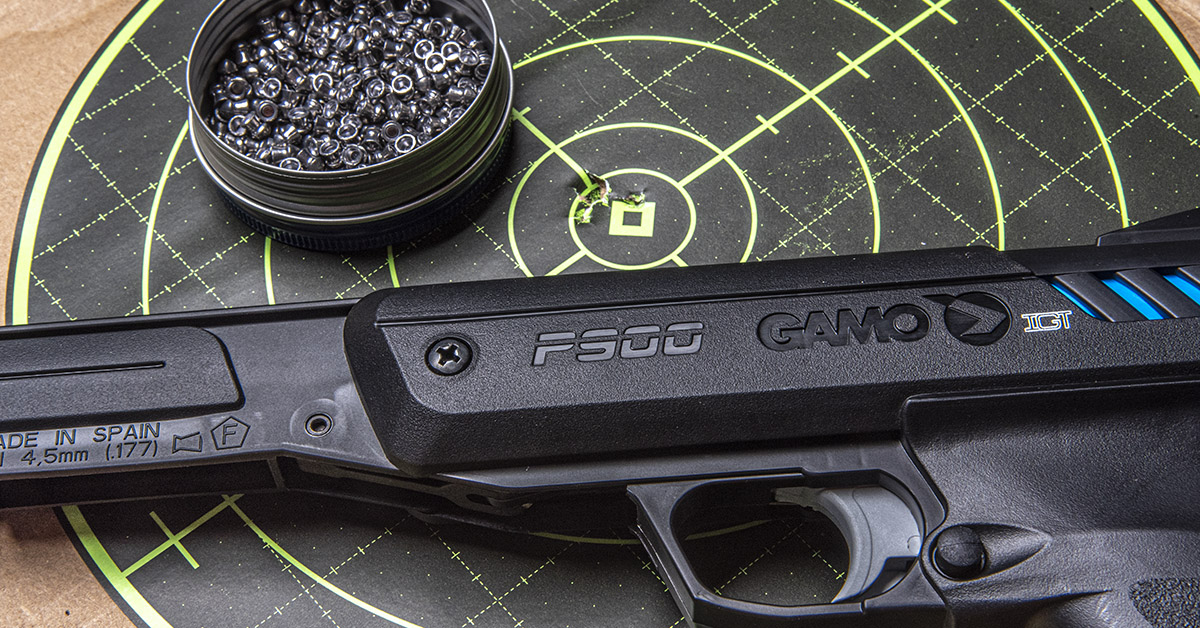
GAMO reports an accuracy potential of .20 inches at 10 yards (30 feet) with the P-900, and that falls right in line with our experience in shooting basic pointed and round-nose skirted pellets from the lower-priced end of the dealer shelf.
If you’re looking to really work your pistol marksmanship training while sparing your centerfire ammunition stash, the GAMO P-900 is a solid investment that won’t deplete your wallet.
- Build Your Pistol Marksmanship Foundation - June 29, 2021
- Upgrade Your Long Range Rifle the Easy (and Inexpensive) Way - October 22, 2020
- Your Best Survival Choice if it All Goes South - October 13, 2020