Here’s how to get the most out of your trail cams for remote scouting and inventorying game
by Toby Shaw; photography by Therese Shaw
Quality trail cameras represent a significant investment for serious hunters. And let us tell you…some hunters are seriously invested in these little wonder boxes. But no matter if you are running one camera on a small hunting plot or have multiple cameras scattered about your property or lease area, we’ve learned a few things over the years that will help make your cameras perform better and last longer.
Keep Your Cameras Safe
Trail cams live a hard life. As if being exposed to the harshest elements for months on end (and sometimes year-round) wasn’t enough, they get bounced around in trucks, banged around in backpacks, fall out of ATVs, and get slapped around by bears, as those of you who live in ursine regions know full well.
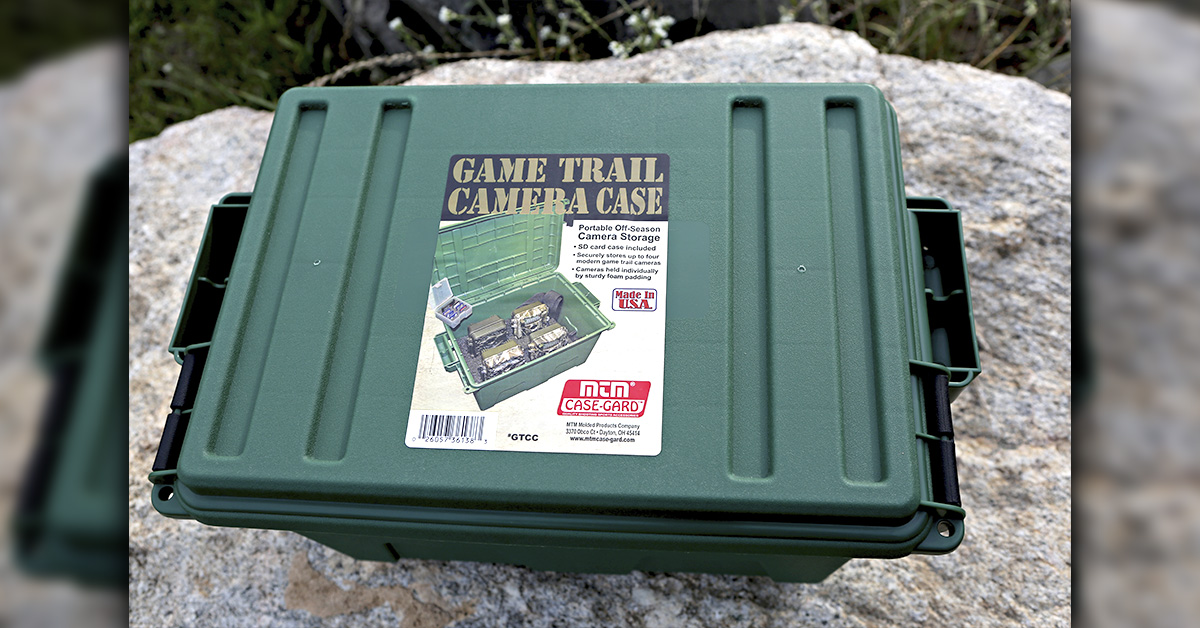
While there is not much you can do about the latter, you can certainly take charge of camera safety during storage and transport. Rather than tossing them loosely in a box or bag, where lenses, screens, and sensors can be scratched or broken, consider using a dedicated storage system, such as the Trail Camera Case by MTM Case-Gard.
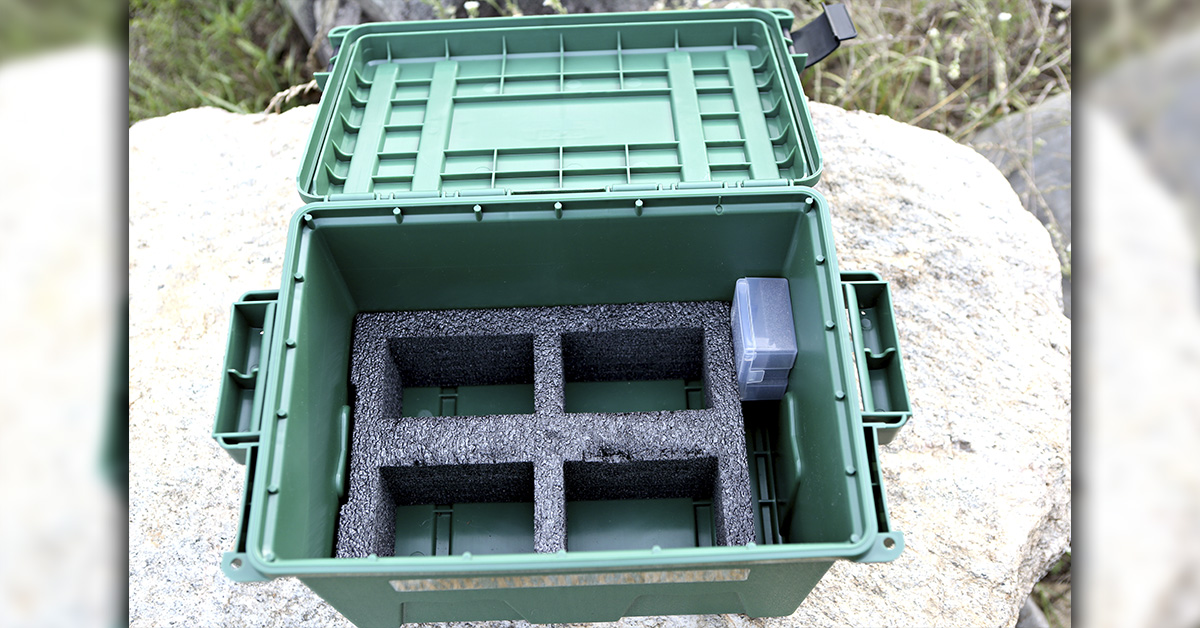
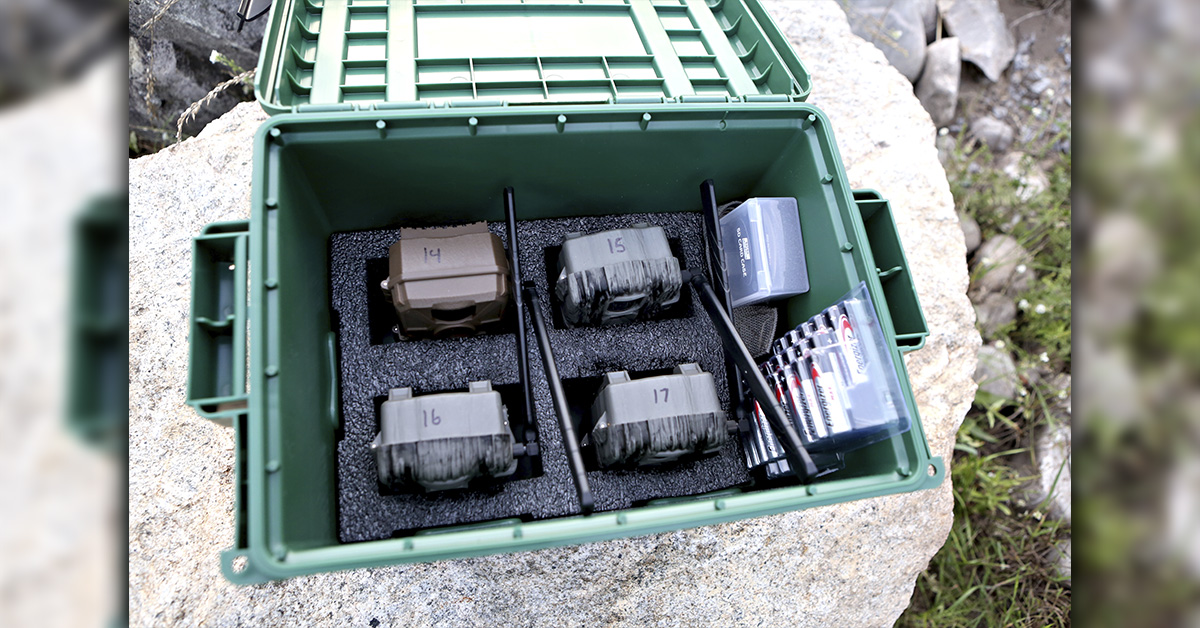
The MTM Trail Camera Case is a durable storage box with a pre-cut foam insert that holds up to four trail cameras. Included is an SD card box with slotted foam to hold up to eight cards. Dual latches keep the lid securely closed, and integrated padlock slots let you further secure the contents with locks. Four tie-down points are also included, which allow you to secure the box to an ATV or UTV bed when heading into the field.
One of the additional features we like about this case is that there is enough room inside to also contain replacement batteries and tree straps, if you use those.
Number Your Cameras
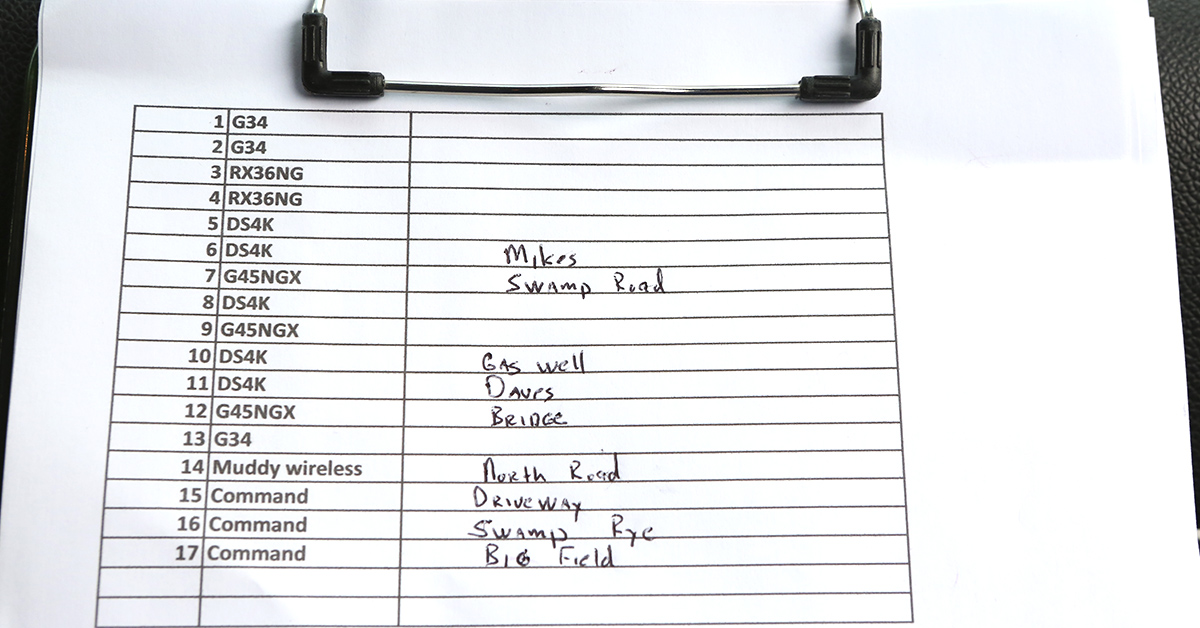
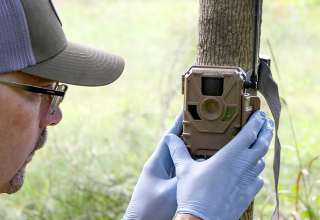
Once you start running more than a few cameras, it’s a good idea to number them and track them on an inventory sheet. This makes it easier to keep track of what cameras are where, and to log battery and SD card install dates for non-wireless cameras. With this information kept up to date, you’ll have an idea when it may be time to replace batteries and cards without having to physically check each one. I do this with all my Stealth Cam and Muddy trail cameras.
Numbering and maintaining a log are especially wise tactics once the rut kicks in and you begin moving cameras around to monitor game pattern shifts.
Point Your Cameras North
There are few things more aggravating than for your camera to capture a good buck or other critter with a still shot or video and have the imagery blown out. The reason this happens is sunlight hitting the camera lens. And the dirtier the lens, the worse the glare and washout will be.
The solution is simple enough—keep your camera pointed to the north. The sun rises and sets in an east-to-west direction, of course, and in the northern hemisphere during the latter part of the year, the sun moves across the southern sky. By keeping your camera pointed north, you will eliminate sun shining directly onto your lens and can be confident of well-lit, well-exposed images and video.
The Right Height
If you are new to setting up trail cameras, keep in mind that critters are short! The average deer is around 32 to 36 inches at the top of the shoulders, which is a lot shorter than you would imagine. Black Bears will run between 28 and 41 inches at the shoulders.
To make sure you get as much of the target animal on the image or video, the camera should be placed between knee and waist height. This height, with the camera angled parallel to the ground, is about right to obtain the widest possible view while ensuring you get full body imaging.
Needful Accessories
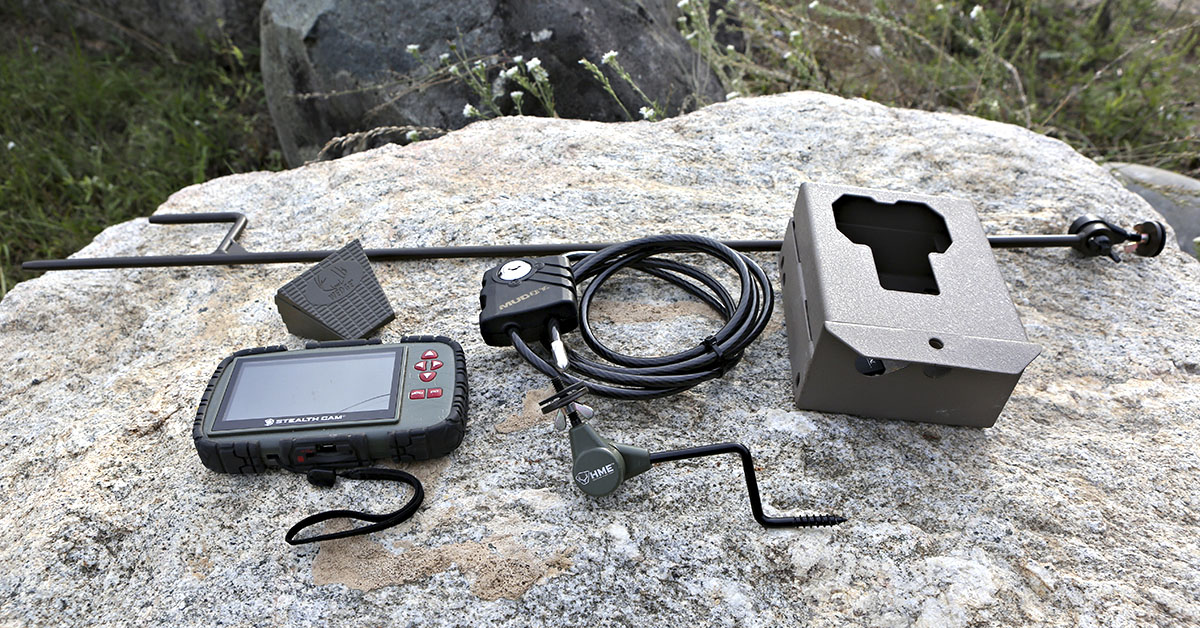
There are three trail cam accessories that you need to consider: camera mounts, SD cards, and cable locks.
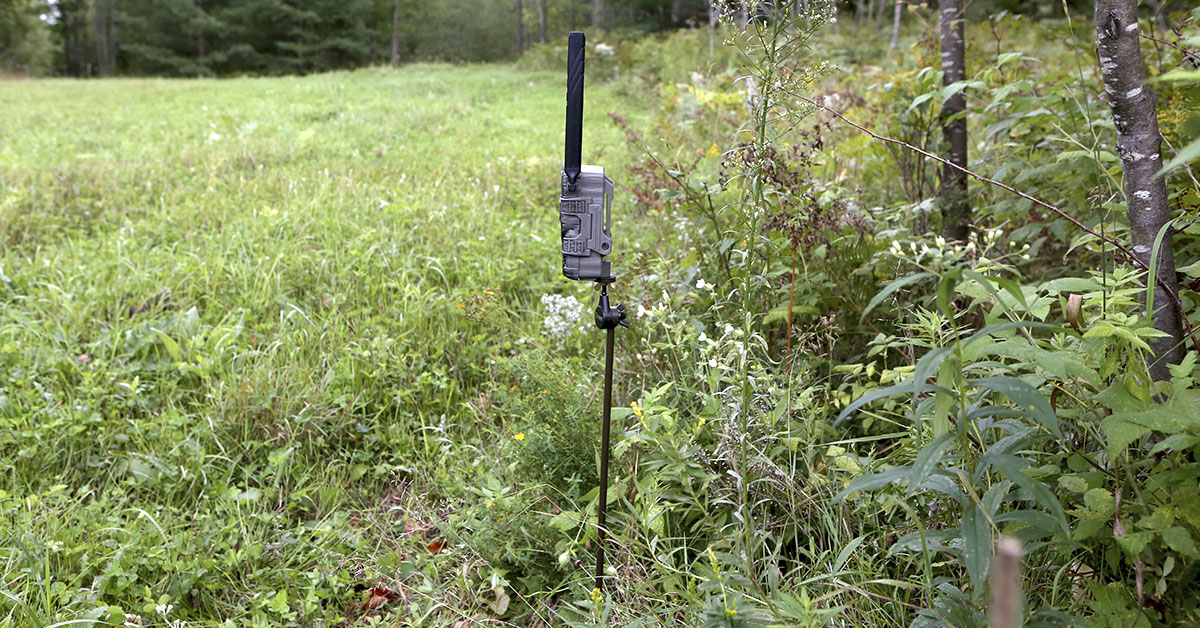
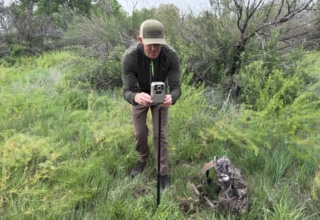
Camera Mounts – While most cameras come with tree straps, these seriously limit your camera positioning options because you must have a suitable tree in just the right place. And that rarely happens. Fortunately, there are camera mounts that allow you to place a camera anywhere you need it…whether you have a tree or not. Hunting Made Easy offers some of the most diverse camera mounting systems you’ll find anywhere. My favorite go-to when a suitable tree is unavailable is the Trail Camera Holder Post. With this, I can put a camera anywhere and at the best possible angle…no tree required.
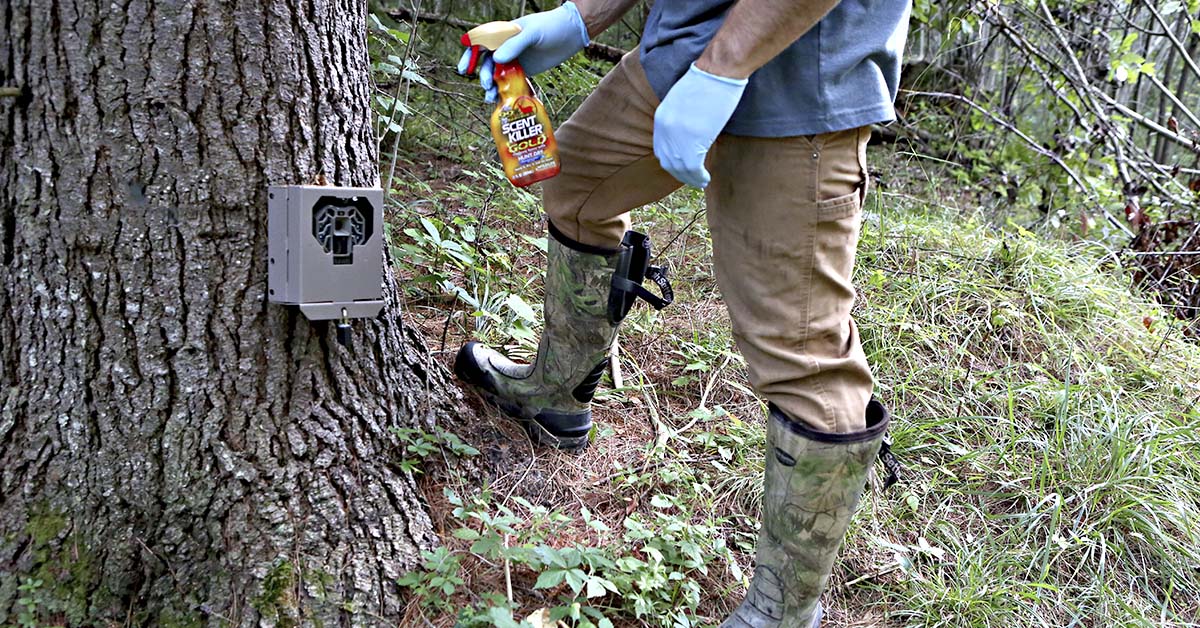
SD Cards – A little something we’ve learned over the years and have had verified by at least one camera manufacturer is that you SHOULD NOT interchange SD cards between cameras. For whatever reason, doing so runs the real risk of “locking up” the camera. Assign dedicated SD cards to each camera you have and stick with them. You can assign them the same number as the camera they are used in and track them on your log sheet to prevent mismatching cards and cameras. To prevent your buddies from swapping cards without your knowing it, make use of the camera’s latch lock and put a padlock on it.
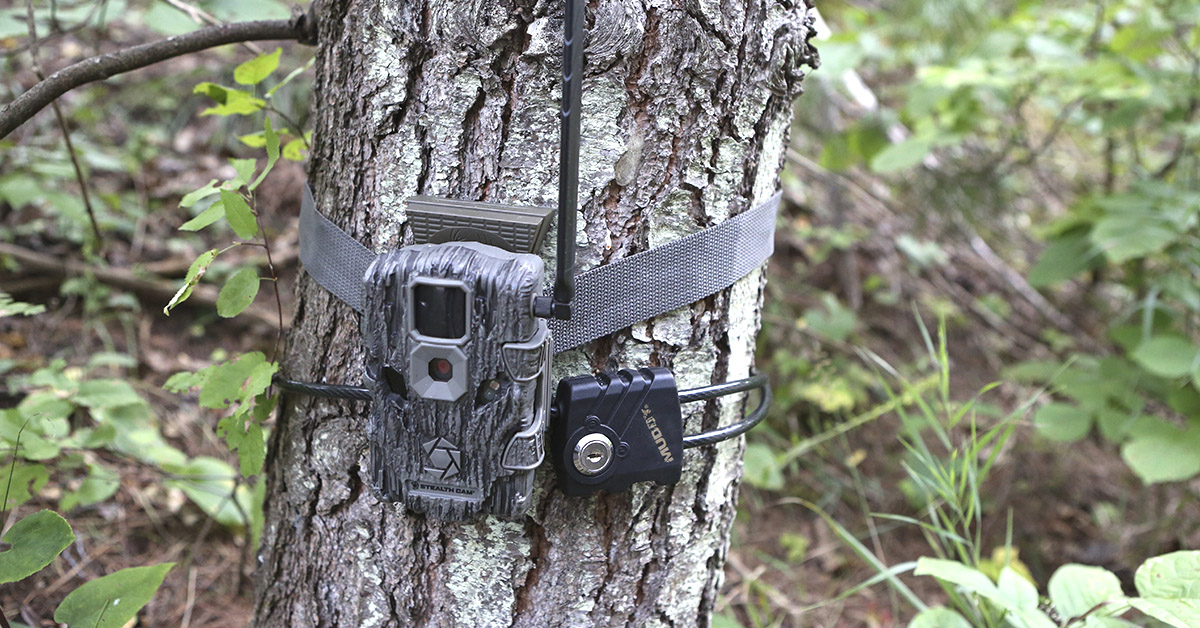
Cable Locks – Speaking of locks, we always recommend using cable locks to secure your cameras in the field. Sure, a dedicated thief can make off with your camera regardless, but a system such as Stealth Cam’s Python lock cable or the Muddy Defender Security Cable will be a serious deterrent and almost always save your investment.
While many veteran hunters and trail cam users have employed some or most of these trail cam hacks over the years, there is always something to be learned. Put these tips and practices to use for you this year and you will amplify the return on your trail camera investment.
- Trail Camera Hacks You Need to Know - September 2, 2021
- Trail Cams for Game Management - August 5, 2021
- Keep Your Eyes on Your Prize - July 10, 2021

