If you haven’t swapped your AR’s MILSPEC trigger group for a drop-in performance trigger, you have yet to uncork your rifle’s accuracy potential
by Toby Shaw; photography by Therese Shaw
We’ve all heard the saying, “You don’t know what you don’t know.” It may sound like an obscenely simple statement, but it carries a wealth of truth.
For example, I understood the value of a smooth, clean-breaking hunting rifle trigger from an early age. Rifles with a quality trigger always delivered improved accuracy when compared to those whose triggers pulled long and rough. As I learned more about the nuances of proper shooting form and paid more attention to all the elements that go into executing the perfect shot, I realized that good trigger performance comes down to minimizing shot disturbance. A slow squeeze on a “rough” and heavy trigger can quickly wreck all the effort put into the shot, resulting in group sizes that don’t necessarily reflect the accuracy potential of the barreled action or the ammunition.
When I picked up the AR-15 years later, I never really paid much attention to the trigger. Honestly, I never even thought about it. This was a new platform to me—one totally separated from my experience and expectations of shooting bolt-action rifles—so I just accepted the feel and performance of the MILSPEC trigger group as being, “it is what it is.” In other words, it didn’t dawn on me how much room there was for improvement.
Once my AR mission shifted from, “I have to have one just because…” to “Hey, I can use this for defense and as a coyote buster,” I started to take note of what my friends were saying about upgrading the trigger.
So, I installed a Timney drop-in trigger and…
“WOW!”
I didn’t realize how much better my scoped AR could shoot (or rather, how much better I could shoot my AR) until I ditched the MILSPEC trigger group.
As they say, you don’t know what you don’t know.
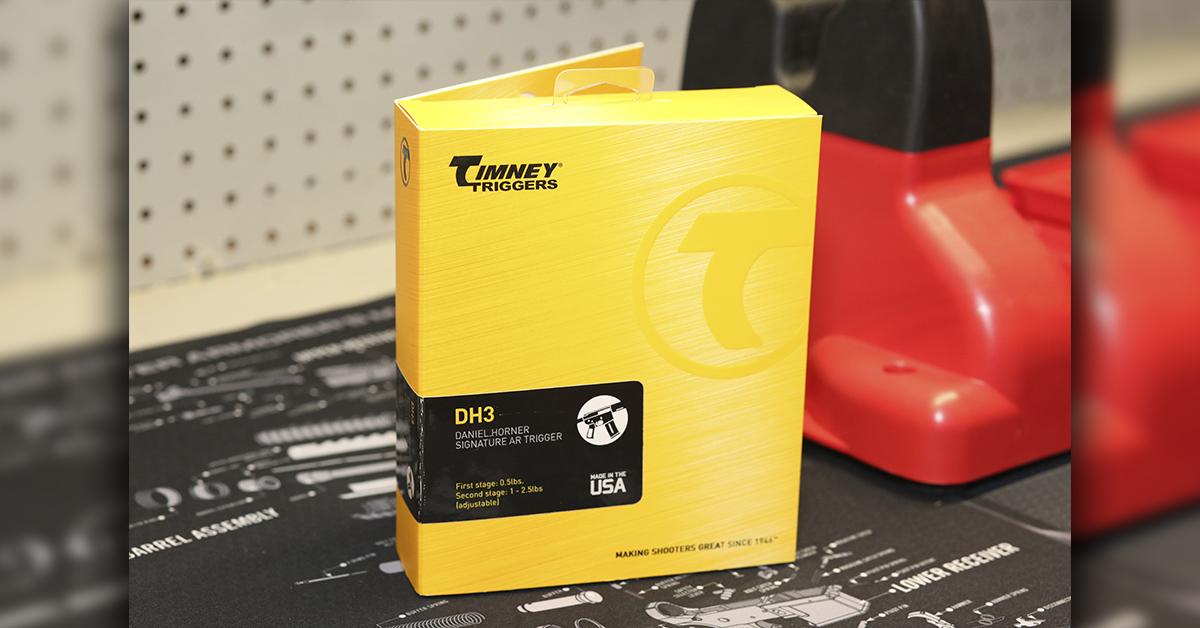
For my upgrade, I chose Timney’s Daniel Horner Signature 2-Stage Adjustable Trigger (PN# DH3). With an MSRP of $299.99, it carries a sterling price tag, but one that pays for itself if precision target work or competitive shooting figures high on your list.
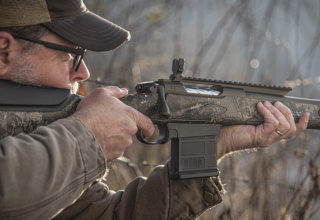
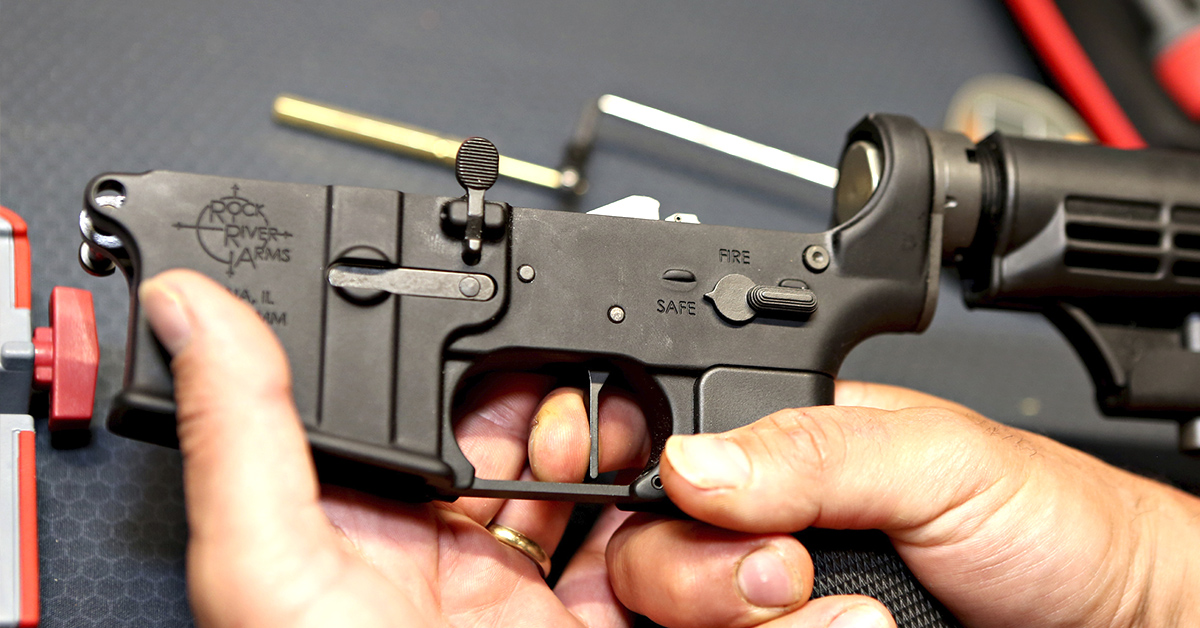
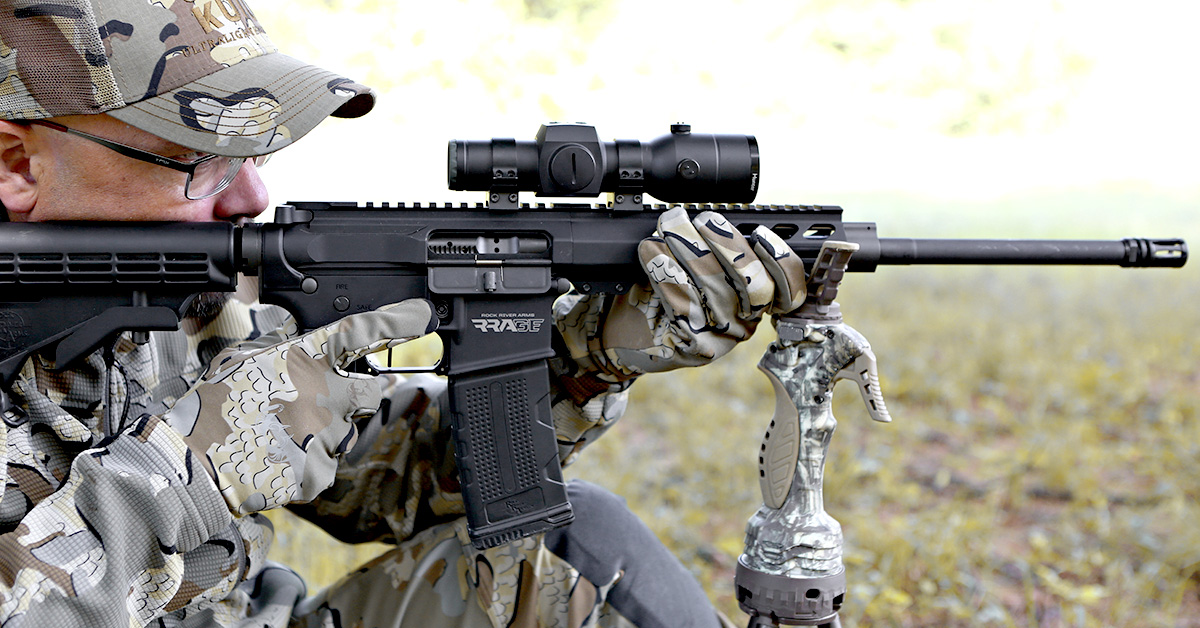
Timney has a long history of designing precision triggers, and the company offers several models for the AR platform to suit specific needs and budgets. The DH3 model was developed with input from champion multi-gun shooter Daniel Horner to satisfy the reliability requirements and short reset needs for competition. It was those same parameters that drew me to choose this trigger for my multi-purpose defense/varmint Rock River Arms RRAGE rifle. I wanted a trigger that would not only provide the confident, crisp breaks essential for slow-squeeze precision shooting but also the short reset, fast action that varmint hunting often demands.
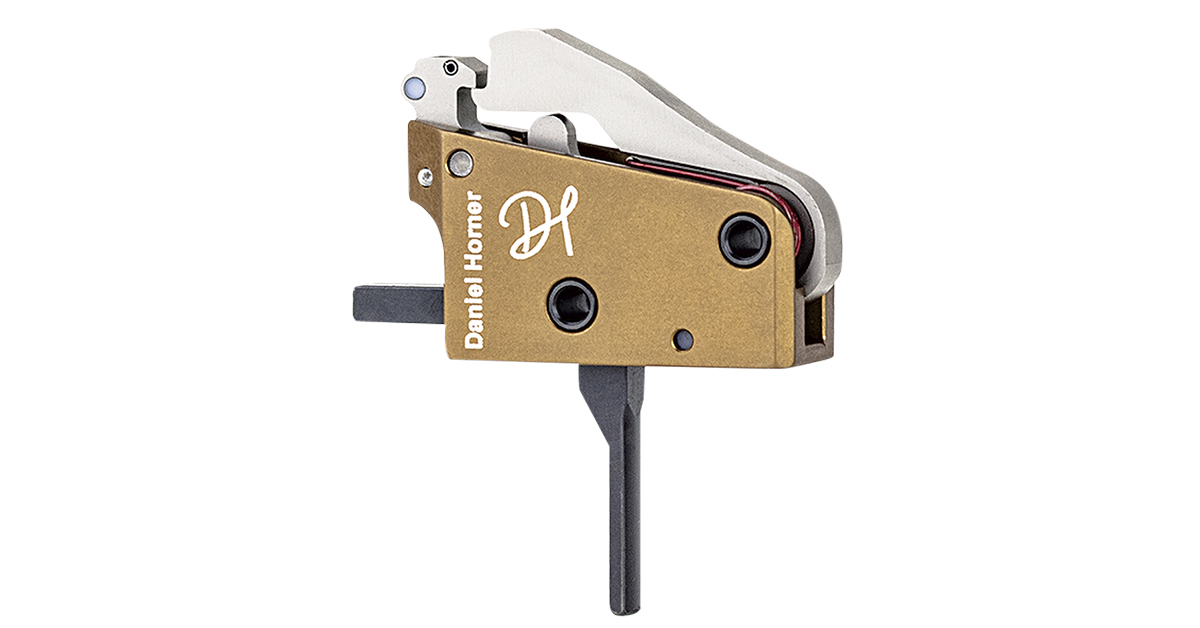
The heart of the DH3 trigger system is its robust component materials. The hammer is made of S7 tool steel and the sear and disconnect is A2 tool steel. Both are heat-treaded to 58-60 Rockwell hardness and Teflon nickel-coated for added durability and an improved friction coefficient.
Similarly made of stout stuff is the 6061 T6 aluminum trigger housing, which is CNC-machined and treated to an anodized coating.
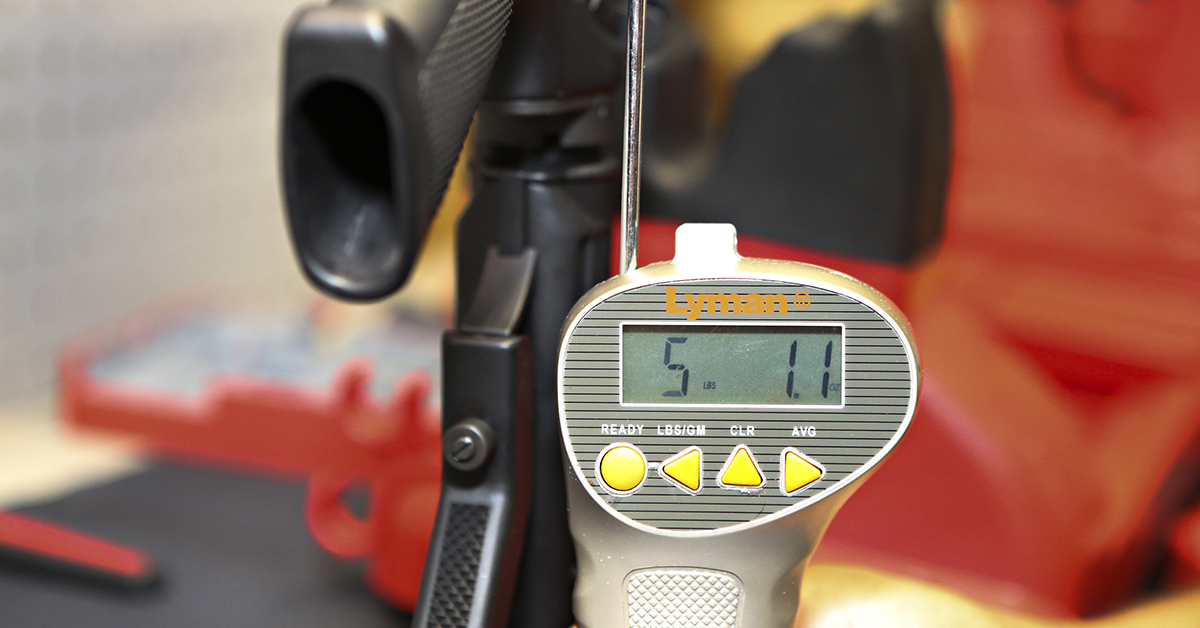
MILSPEC triggers generally have a pull weight ranging from 5.5 to 8.5 or 9 lbs. My AR’s stock trigger fell on the low end of the scale at just over 5 lbs. The DH3 two-stage, on the other hand, offers a trigger pull weight of 0.5 lbs. on the take-up stage and an adjustable 1- to 2.5 lbs. on the second stage. That’s a significant reduction from the MILSPEC trigger group that, combined with the precise, crisp, and undetectable sear travel of the Timney unit, pretty much eliminates shooter-induced shot disturbance at the trigger.
The performance difference is akin to driving an old-school VW Beetle for years and then suddenly jumping behind the wheel of an AC Cobra.
After upgrading my RRAGE, a few of my friends took a turn behind the trigger, two of whom are well-versed in the AR platform. My LE buddy immediately decided to purchase a DH3 for himself. Another friend who is a 1,000-yard pistol shooting competitor said, “This is the best AR trigger I have ever felt!” and proclaimed his intention to order one post-haste.
As for me, I’m thinking those coyotes aren’t going to know what hit them.
Timney DH3 Trigger Installation
The hardest part of upgrading your stock AR trigger to a high-end precision unit like the Timney DH3 is scraping up the loose change to buy it. After that, if you can turn a screw and punch a pin, you’ve got this. No gunsmithing services necessary.
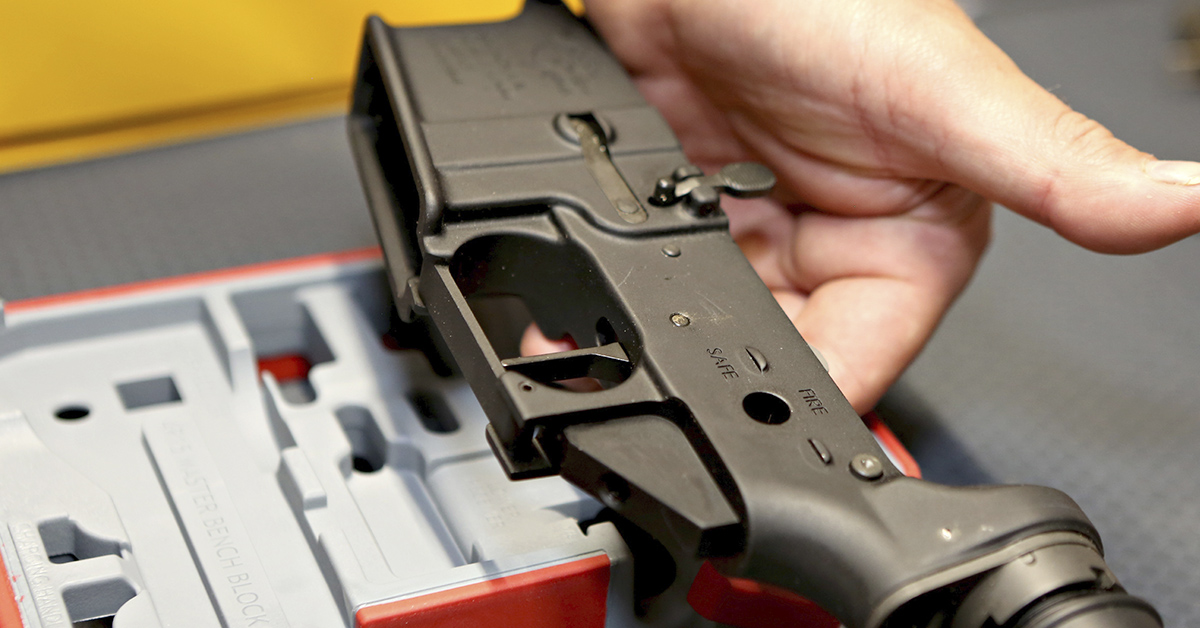
Begin by clearing the firearm and rendering it safe. We recommend working on a clean and clear benchtop covered with a towel or mat, such as a Real Avid Smart Mat, which has an attached tray to hold small parts so you won’t lose them. Other recommended tools include a punch/hammer set, a firearm-oriented driver set for the handgrip screw, and a conventional-style bench block or a multi-use model such as the AR15 Master Bench Block. The latter is great because it allows you to easily disassemble the bolt for cleaning and several other assembly tasks.
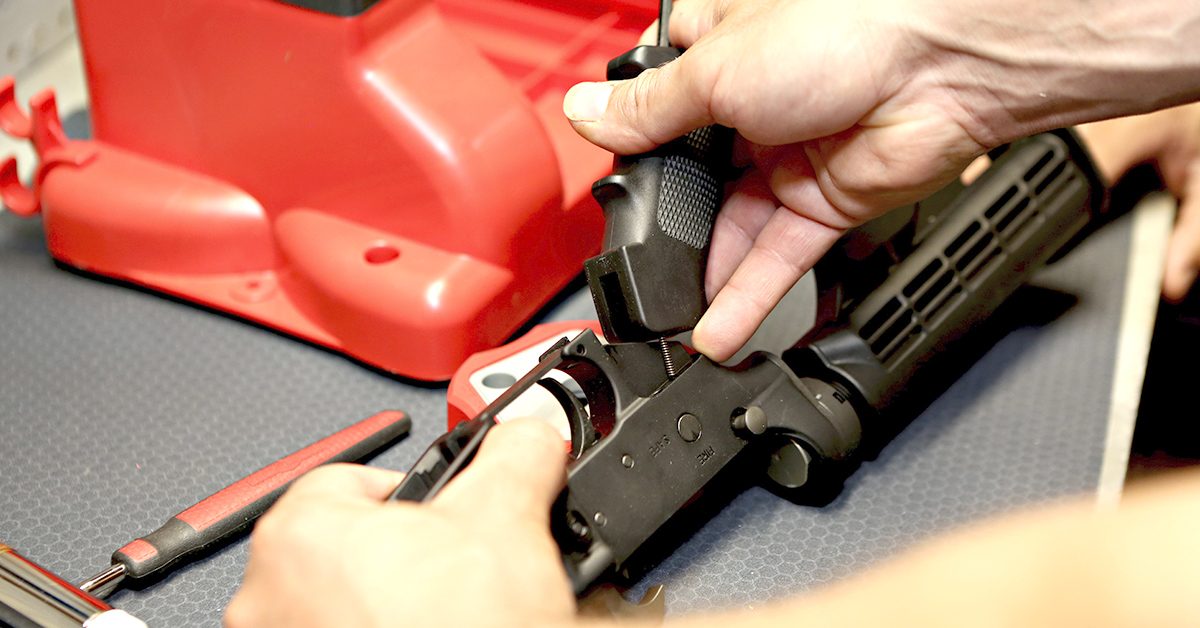
First, remove the pistol grip screw and washer. The safety detent spring and detent are held in place by the grip, so be careful as you remove the grip to not lose these small items. Remove them from the receiver (note the orientation of the detent and spring for reinstallation) and set them aside.
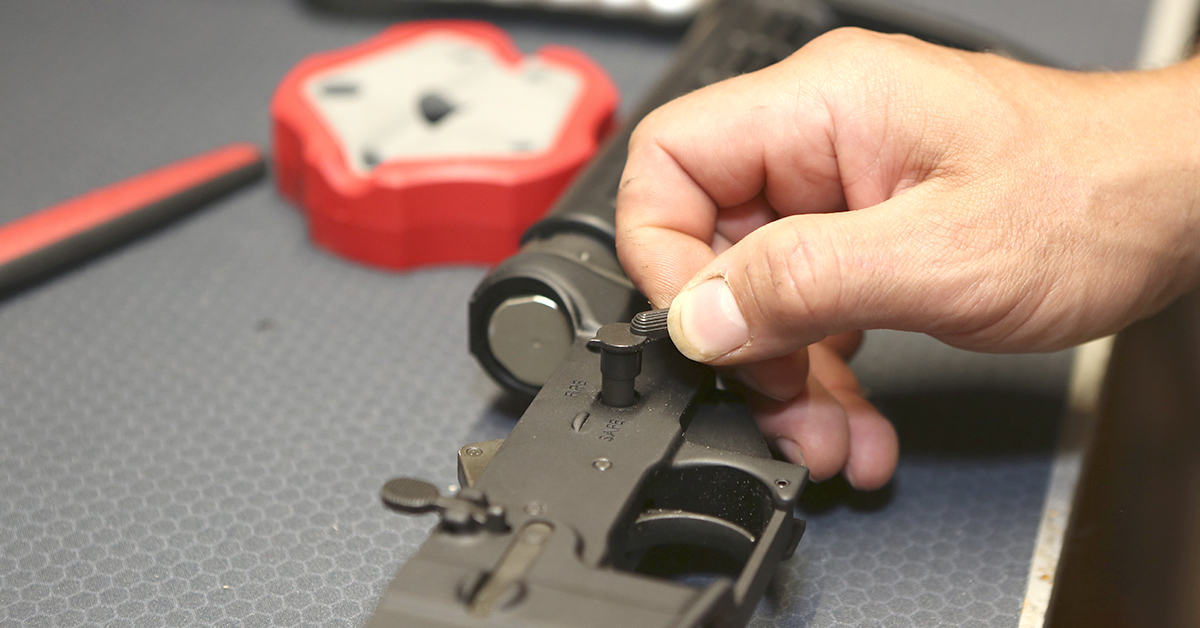
Remove the safety selector lever from the receiver.
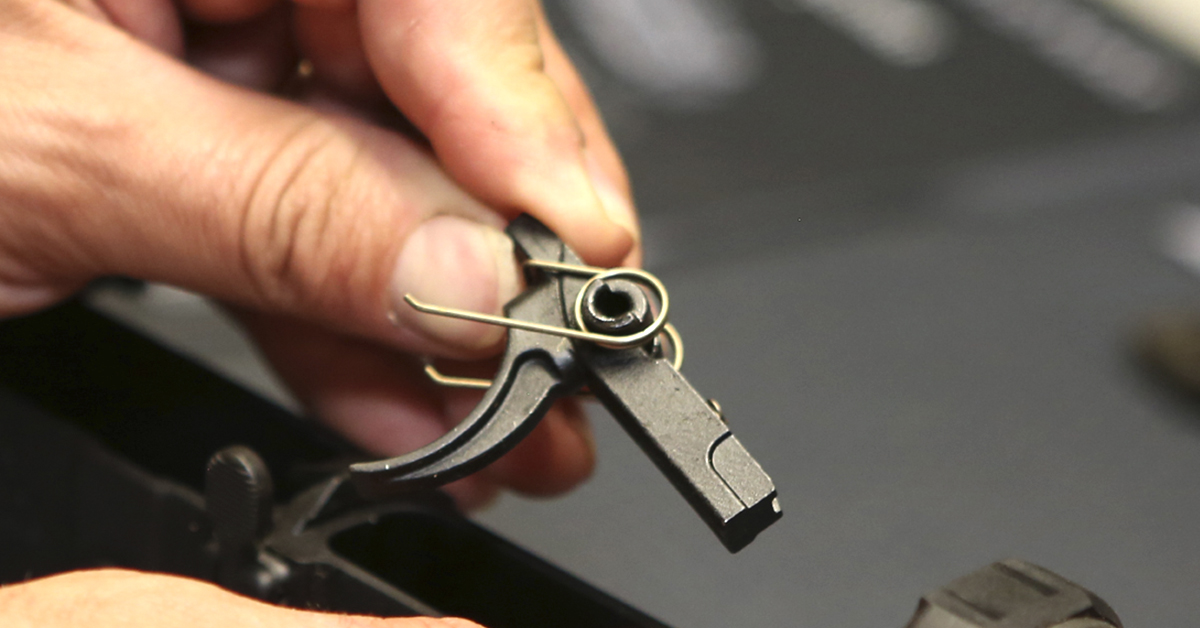
Place the receiver on a bench block and push our tap out the hammer pin and then remove the hammer and hammer spring assembly.

Remove the trigger pin and remove the trigger assembly from the receiver.

The Timney DH3 is a contained, or one-piece, trigger assembly, making it a simple drop-in replacement for the stock trigger group. It utilizes the stock hammer and trigger pins to maintain its position inside the receiver, along with two set screws that supply the necessary tension to keep the pins in place. The included Allen wrench is used to tighten the set screws once the trigger assembly is installed.
Install the DH3 into the receiver with the trigger’s safety bar toward the rear. Once in place, install the trigger and hammer pins to secure the trigger module.
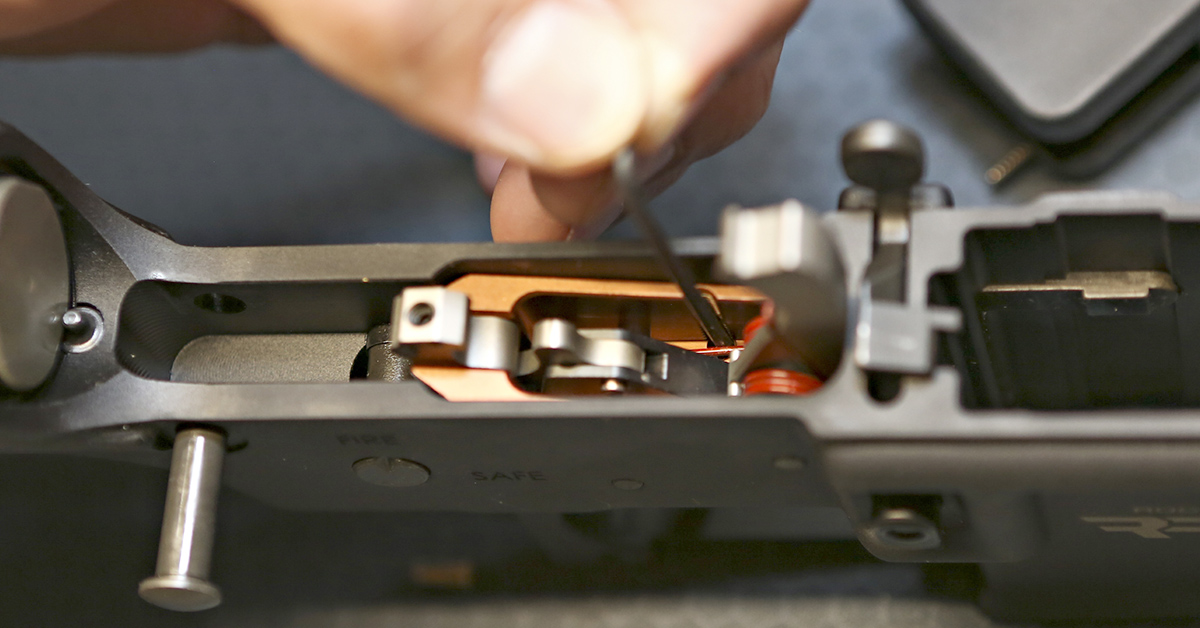
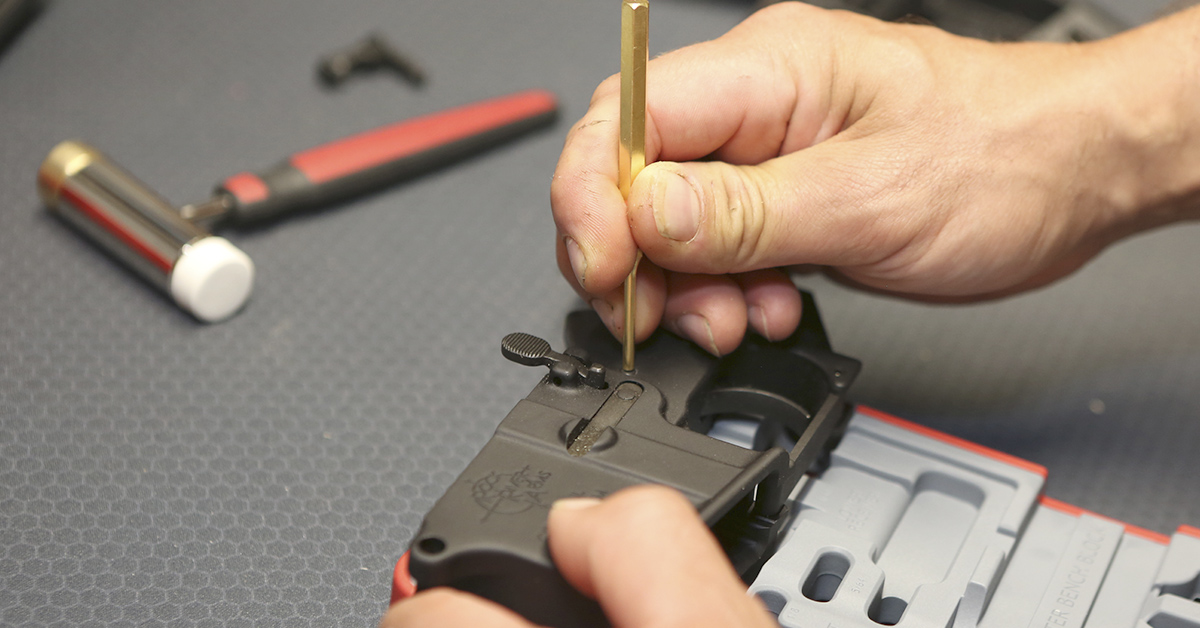
Next, use the supplied Allen wrench to hand-tighten the two set screws. This is an important step to prevent the trigger and hammer pins from falling out. Once tightened, lock the set screws in place by installing the short locking screws on top of them.

Reinstall the safety detent and safety detent spring into the receiver. Once in place, reinstall the pistol grip, screw, and washer. Be careful not to bend the safety detent spring or allow it to pop out during the grip reassembly.
Lubricate the exposed metal-to-metal friction points with a quality gun grease and then check the function of the trigger and safety selector in the “safe” and “fire” positions. Be sure to place your thumb over the hammer when checking the “fire” function. Dry firing the hammer against the receiver could damage the receiver. The hammer should not fall on “safe” and should not fall on “fire.”
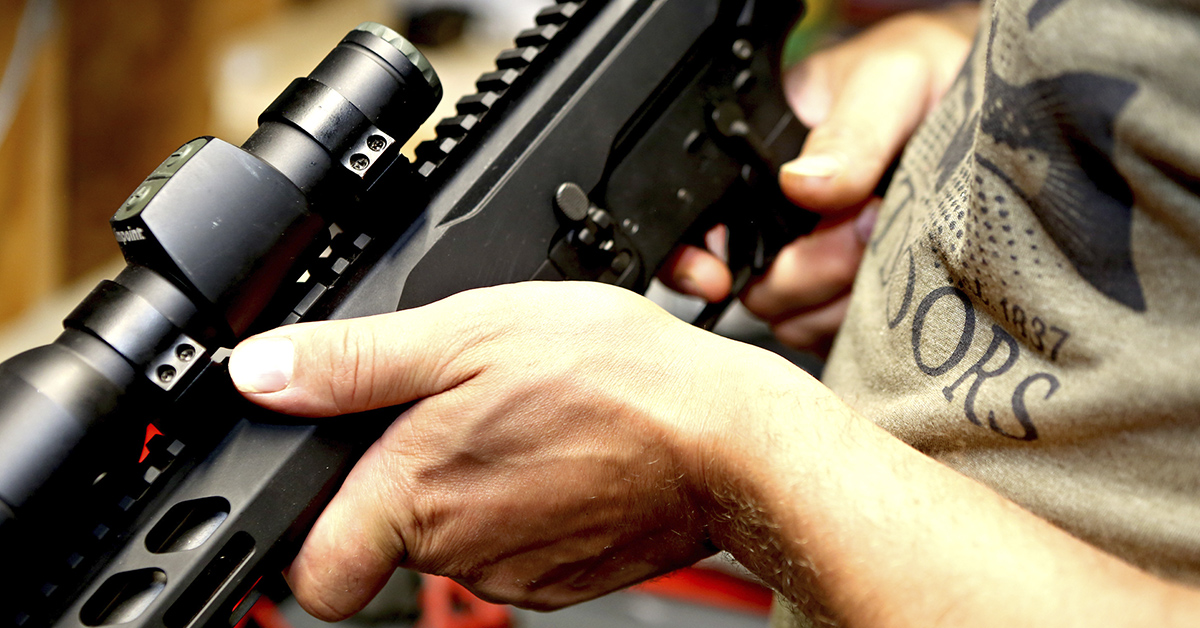
Reassemble the upper and lower receiver assemblies and perform a function check to ensure the trigger assembly is working correctly and safely.
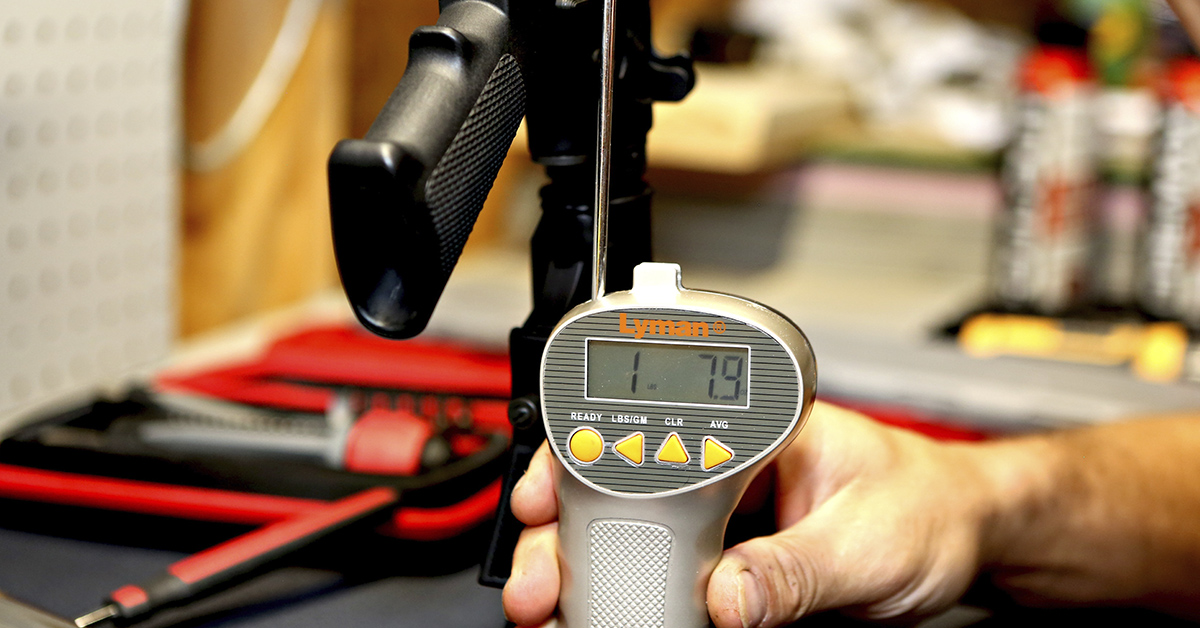
After installation, we checked our DH3’s trigger pull weight as received from Timney. The Lyman scale recorded a pull just shy of two pounds. While this trigger does allow for a slight range of weight adjustment, the 1 lb., 8 oz. pull felt just right, so we left it. And to be honest, we wouldn’t want a lighter pull for a field use/hunting rifle.
For more info on the DH3 or any of Timney’s performance drop-in triggers for the AR, visit TimneyTriggers.com.
- Trail Camera Hacks You Need to Know - September 2, 2021
- Trail Cams for Game Management - August 5, 2021
- Keep Your Eyes on Your Prize - July 10, 2021