With your 1911 thoroughly cleaned, inspected, and reassembled, it’s time to run through the function and safety check protocols in preparation for back-in-service status
by Lou Patrick
Shoot On readers who have been following our 1911 Deep Dive series will recall that in Part 1 we showed you the complete disassembly and cleaning process, and then we lubricated and put the slide assembly back together. Part 2 of our series detailed the frame lubrication and reassembly.
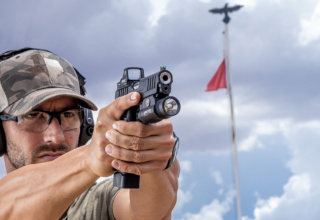
For our series wrap-up, we want to walk you through the safety checks that should be performed on the 1911 following reassembly and prior to firing. We will then head to the range to test-fire the pistol — first by ensuring safe operation of the pistol, and then proceeding to find out what this old 1911 “parts gun” is capable of doing.
Safety Lock Test
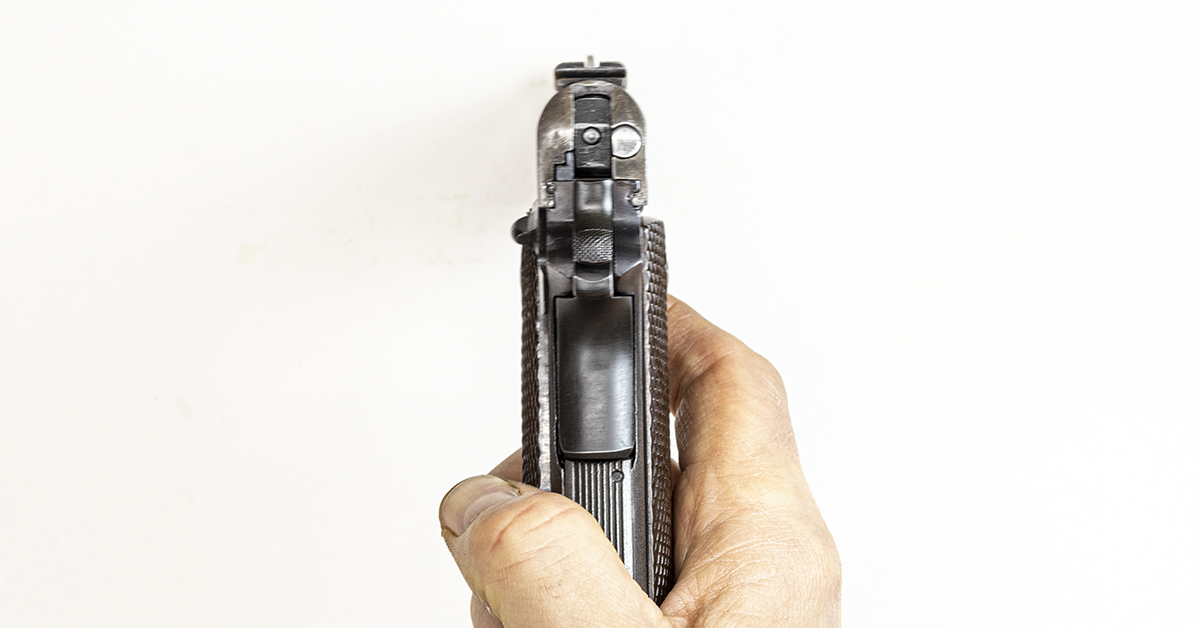
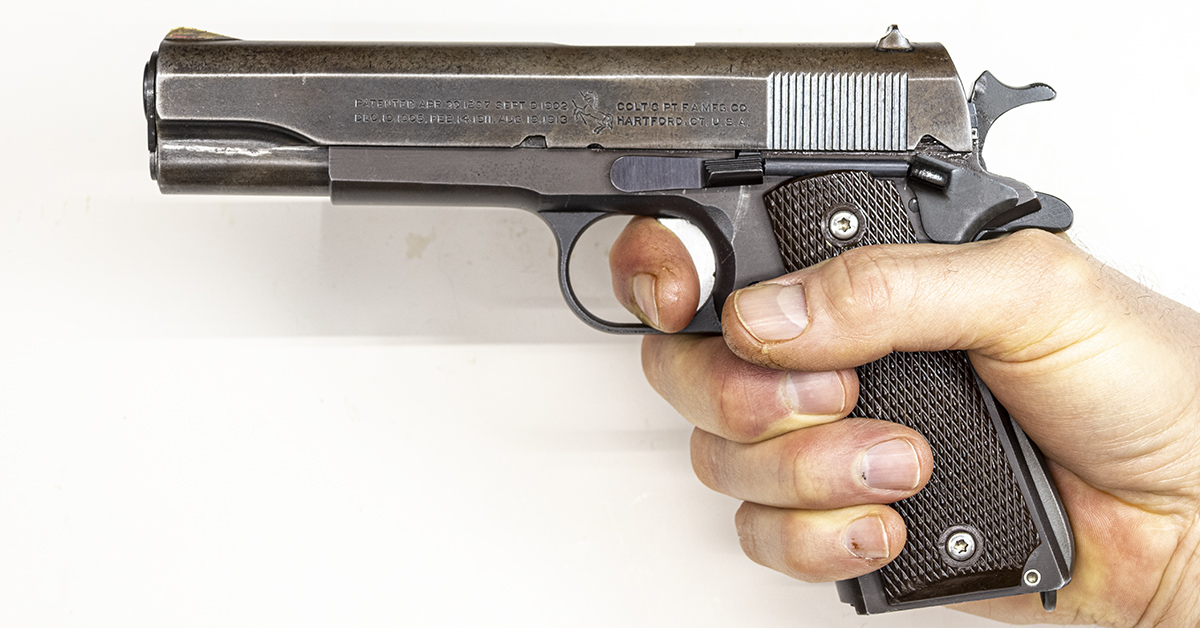
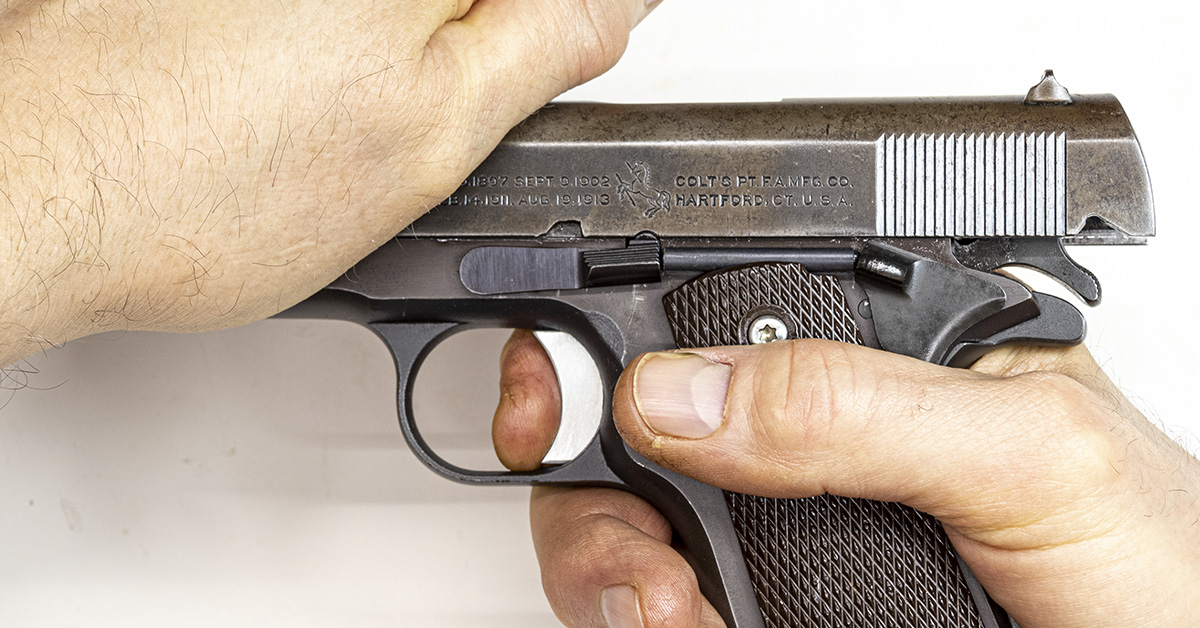
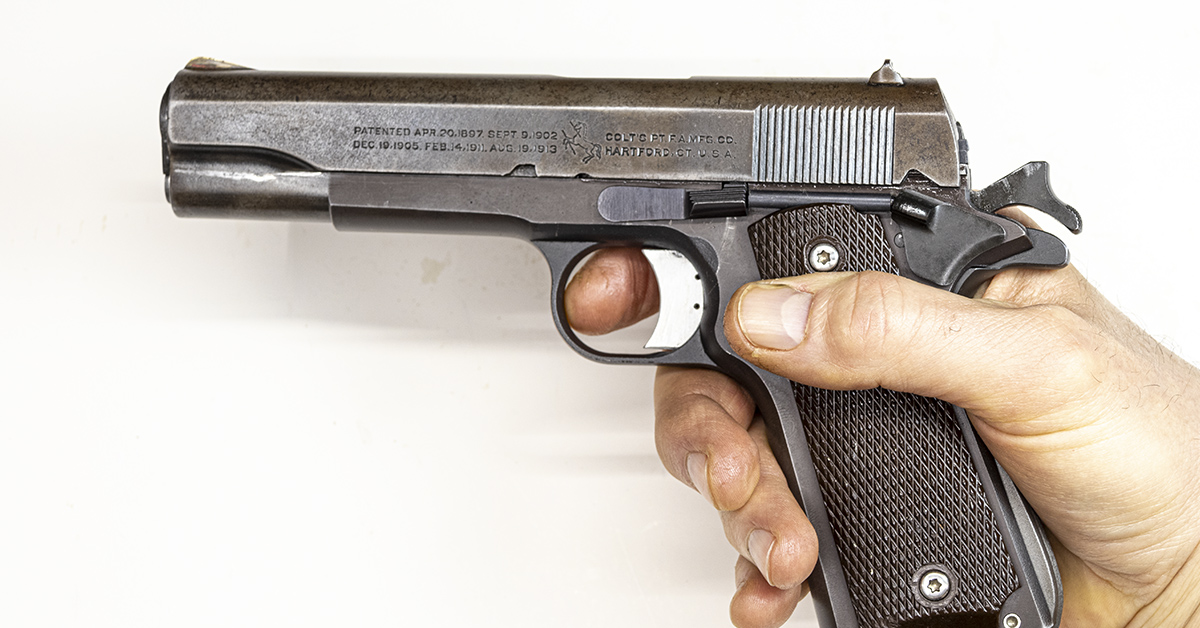
We begin with the safety lock test. This test isolates and checks the function of the safety lock, commonly referred to as the thumb safety.
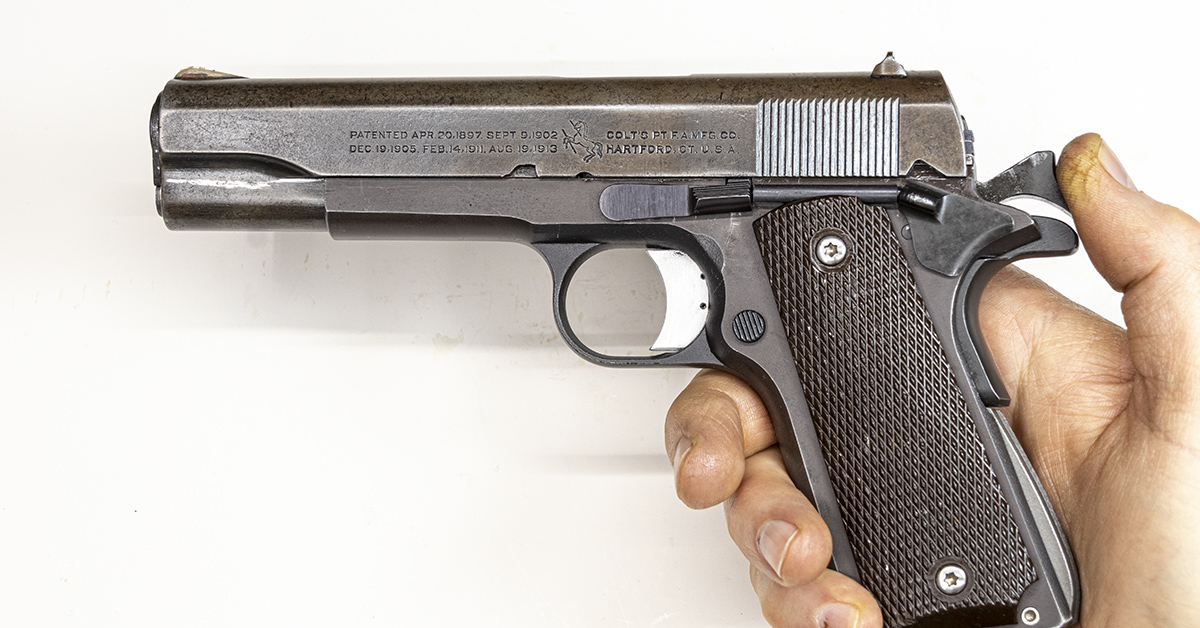
With the pistol unloaded and without the magazine inserted, cock the hammer.
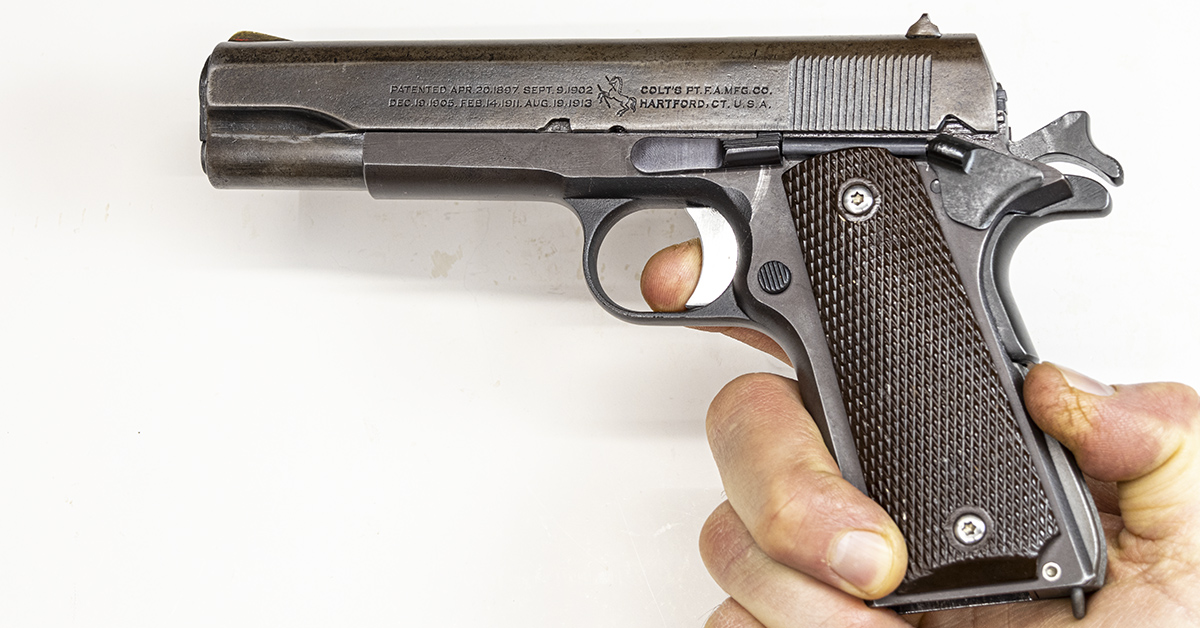
Rotate the safety upward into the safe (locked) position. With the safety in this position, the slide is locked in place. The safety also blocks sear movement, which effectively locks the hammer in the cocked position, hence the popular term amongst the 1911 crowd, “cocked and locked.”
Grasp the grip so that the grip safety is depressed as in normal firing. Squeeze the trigger tightly three or four times. the hammer should not fall.
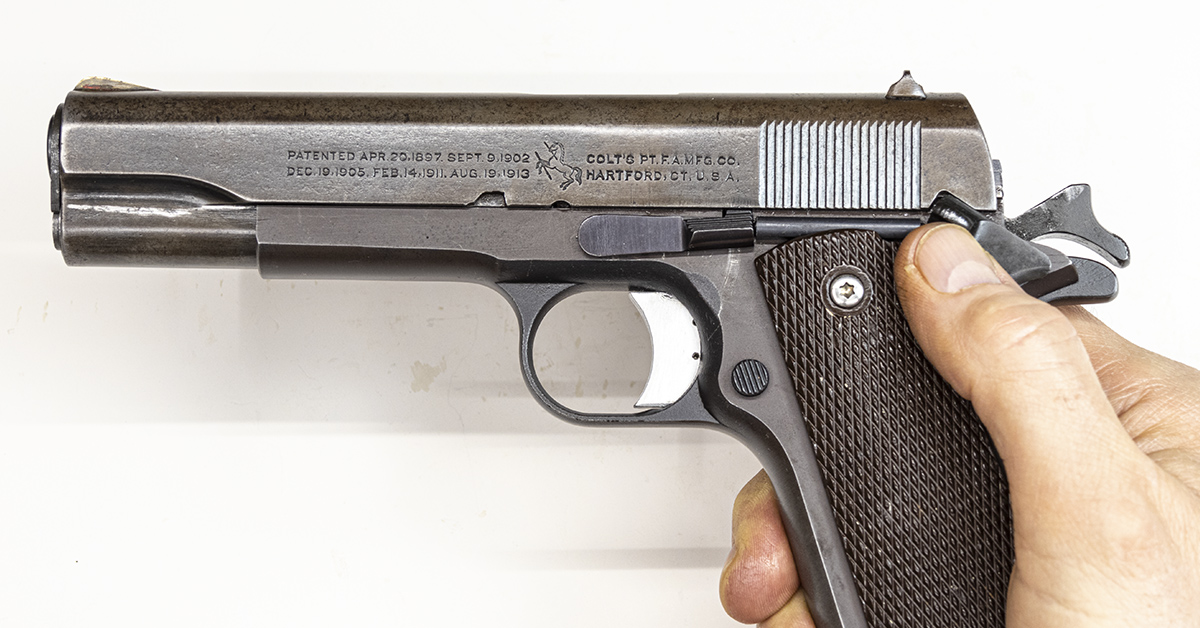
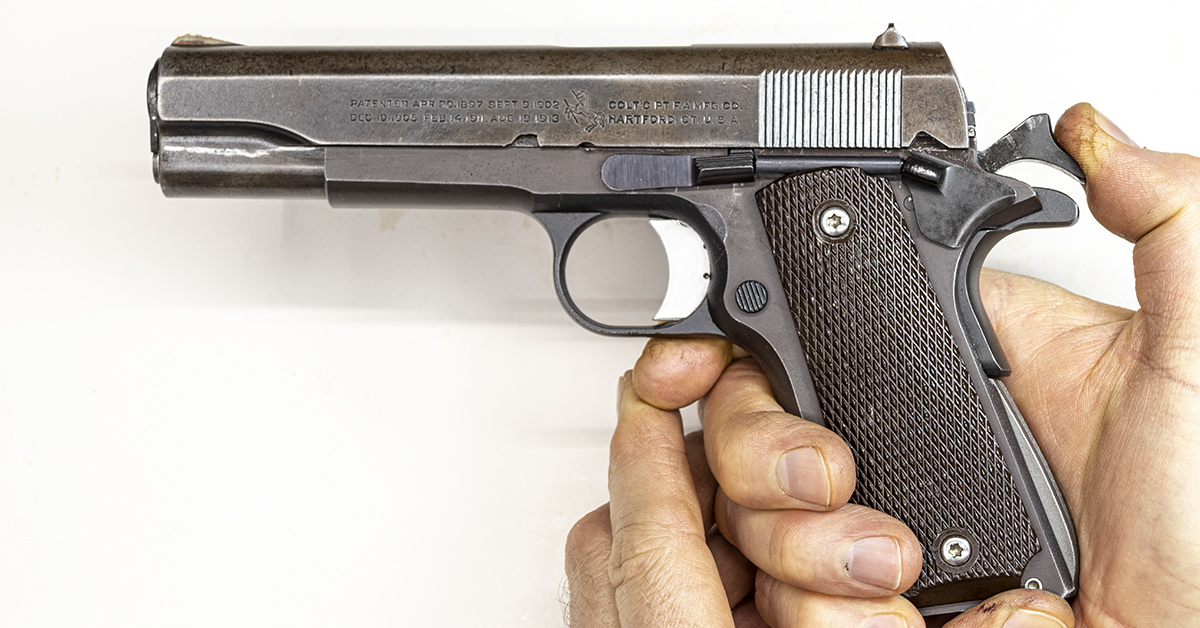
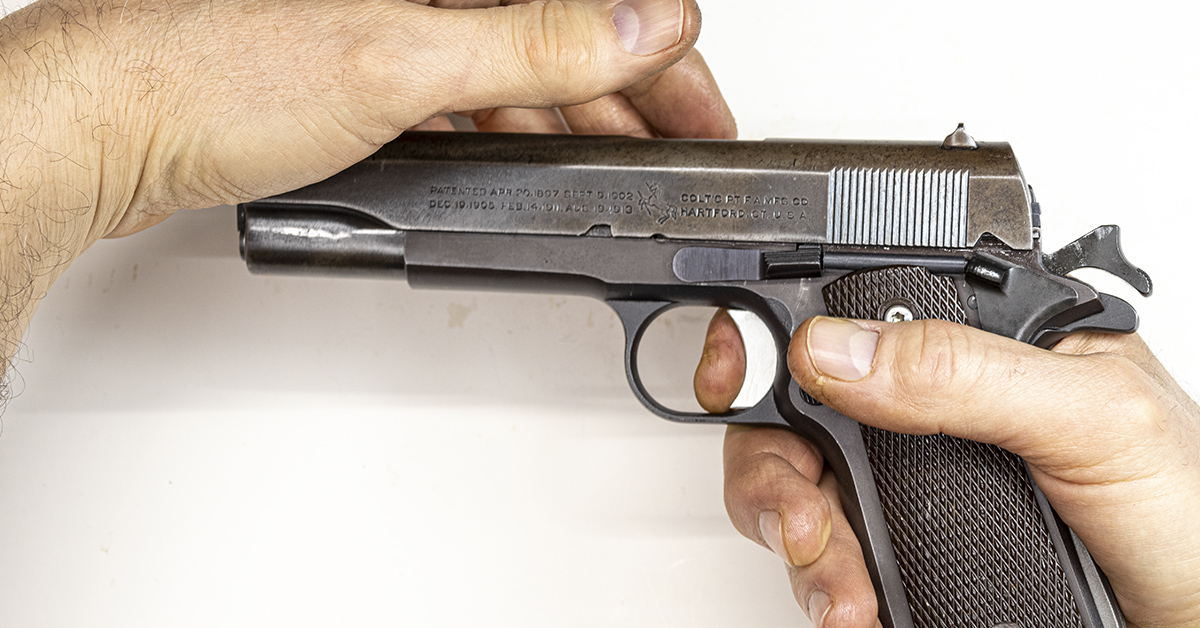
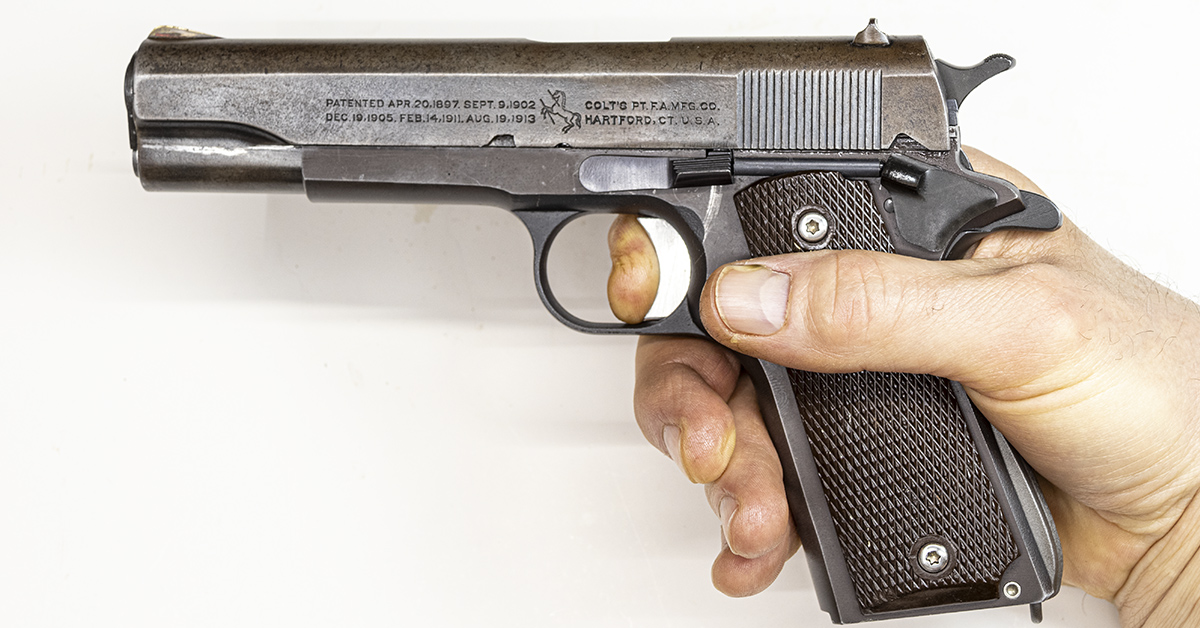
Grip Safety Test
This test isolates and checks the function of the grip safety.
With the pistol unloaded and the hammer cocked, disengage the safety.
Grasp the pistol but DO NOT depress the grip safety.
Point the pistol downward and squeeze the trigger three or four times. The hammer should not fall. It is important to point the pistol downward, as this tests the grip safety’s ability to NOT disengage under its own weight.
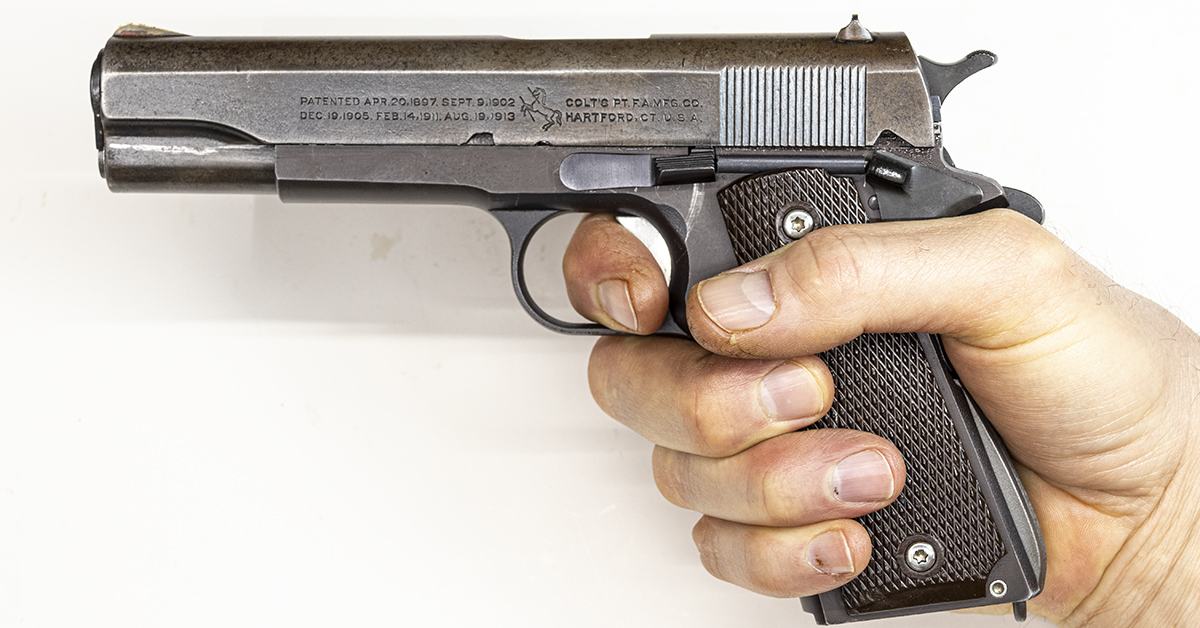
Grasp the pistol as in normal firing, squeeze the trigger, and the hammer should fall.
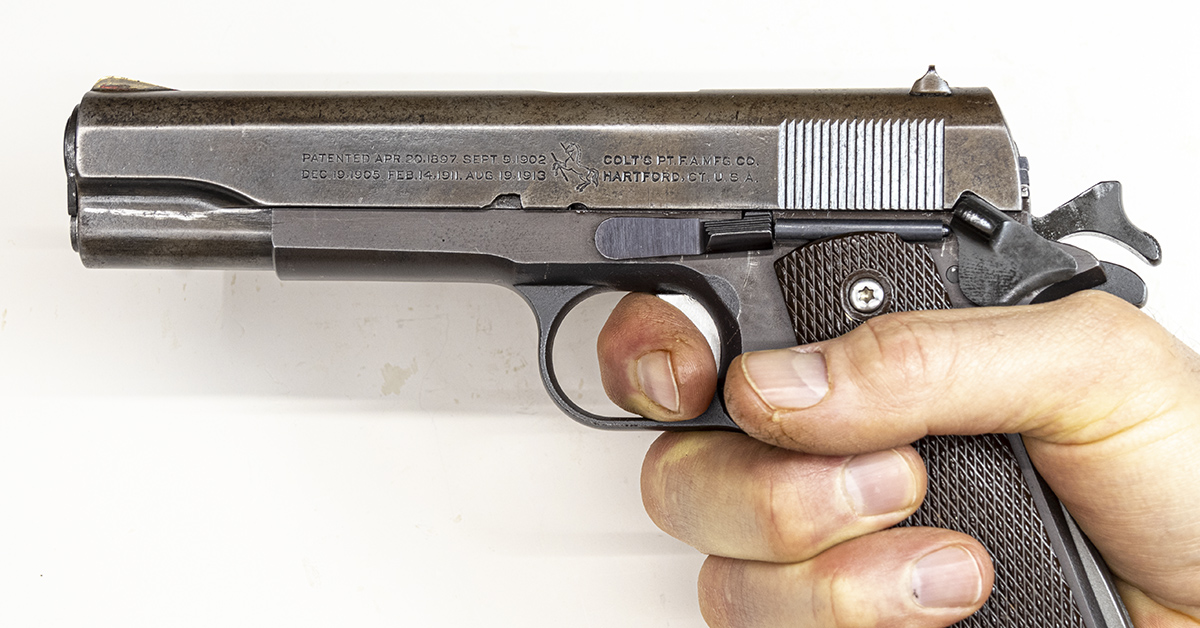
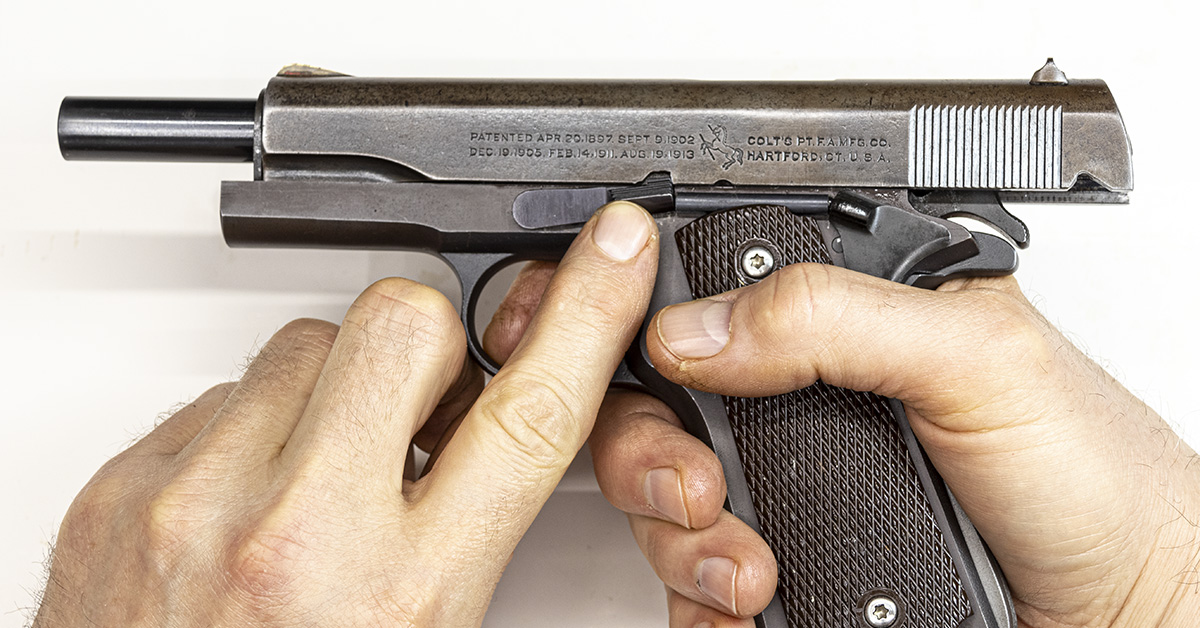
Half-Cock Position Test
This tests the additional safety feature of the half-cock notch found on the hammer.
With the pistol unloaded, draw back the hammer slowly until the sear engages the half cock position notch (you’ll hear a metallic click) and then release the hammer.
Grasp the pistol as you normally would during firing. With the safety disengaged, squeeze the trigger. The hammer should not fall.
Draw back on the hammer as close as possible to the full cock position. Do not squeeze the trigger.
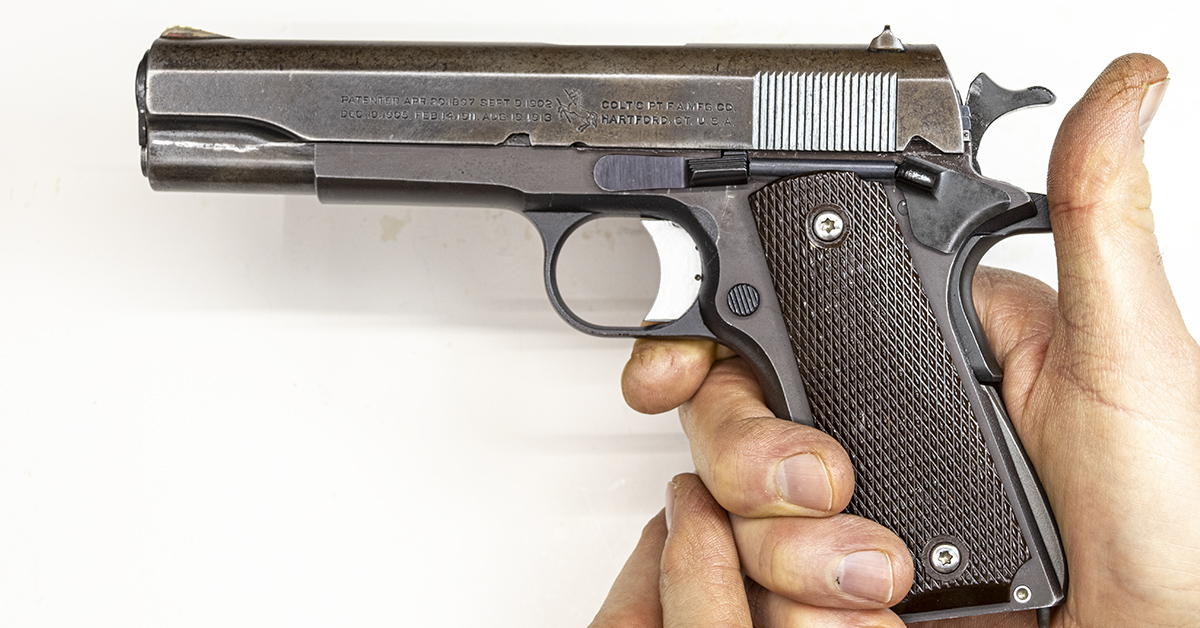
Without squeezing the trigger, allow the hammer to slip off your thumb. The hammer should fall to the half-cock position.
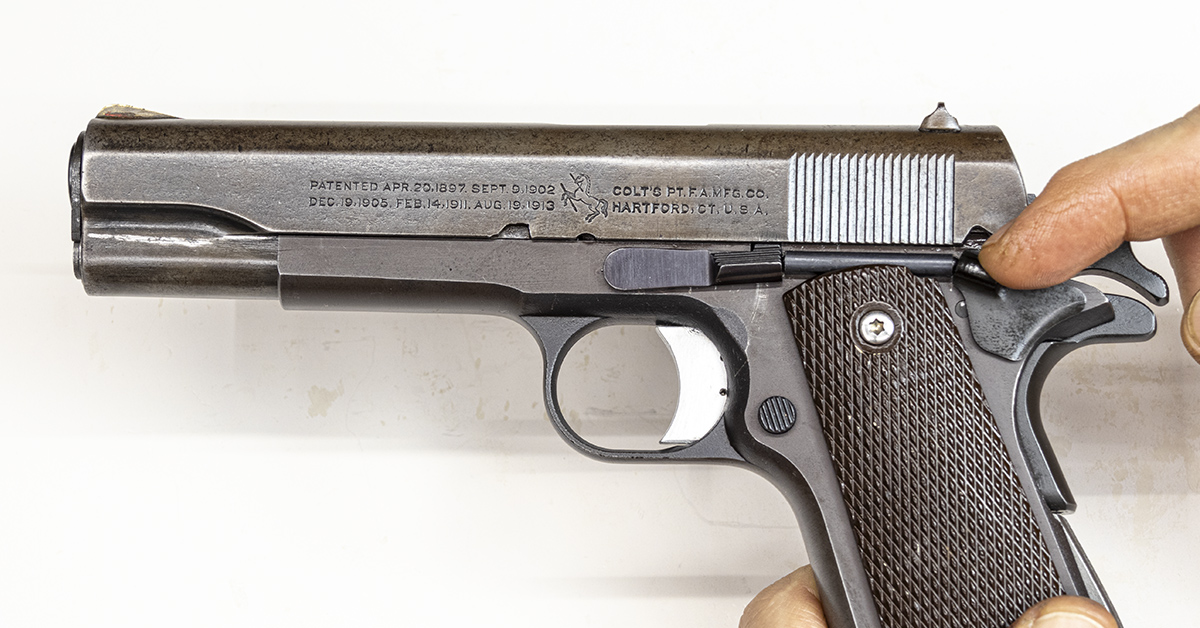
Disconnector Test
The disconnector should not allow the pistol to fire unless the slide is in its forward position and locked into battery. The disconnector also prevents the firing of more than one round with each squeeze of the trigger.
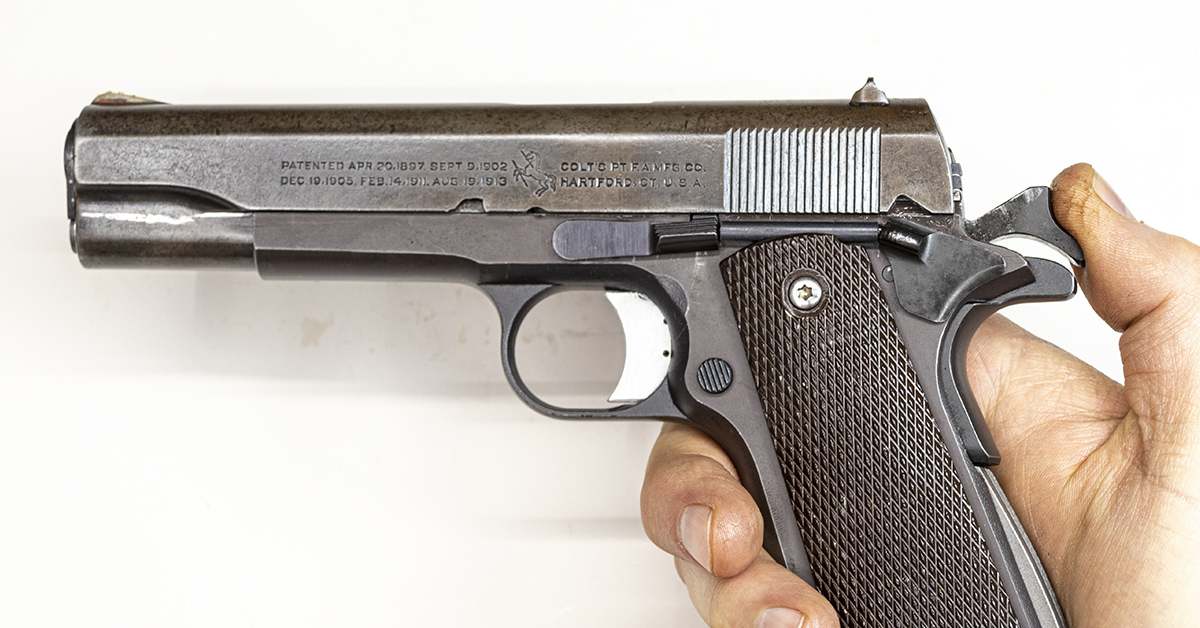
With the pistol unloaded, cock the hammer.
Push the slide 1 ¼ inches rearward. Hold the slide in that position and squeeze the trigger.
While continuing to squeeze the trigger, release the slide, allowing it to go forward. The hammer should not fall.
Pull the slide rearward and engage the slide stop.
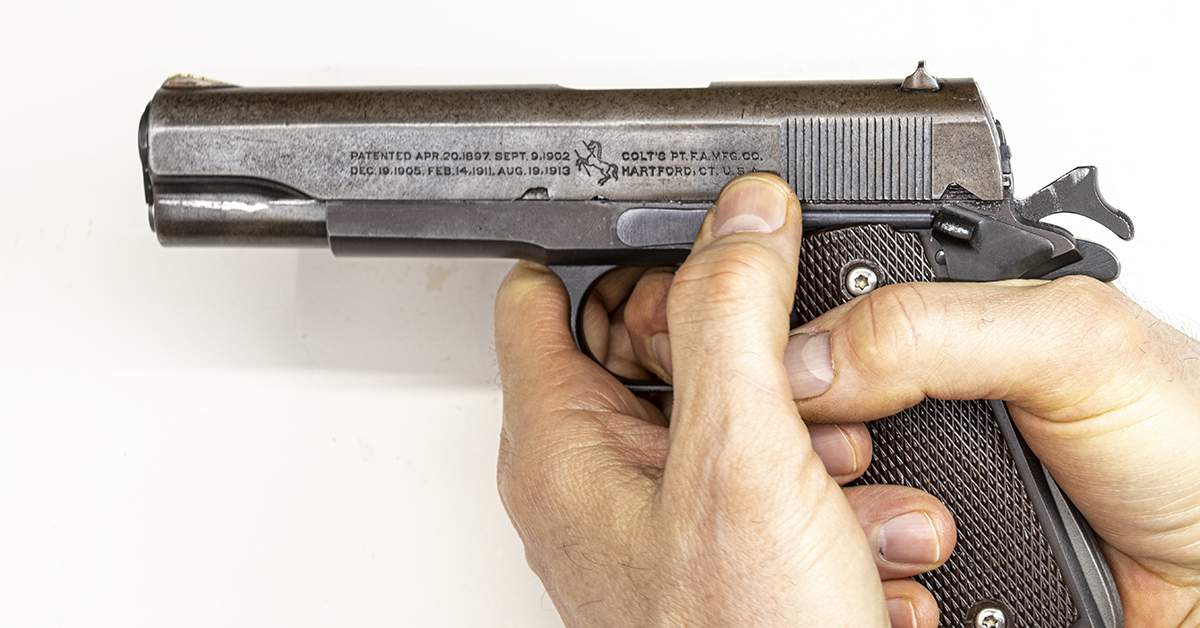
While squeezing the trigger, press downward on the slide release. The slide should move forward but the hammer should not fall.
Release the trigger.
Squeeze the trigger and the hammer should fall. If your pistol were to fail any of these safety tests, seek assistance from a qualified gunsmith.

As issued to the U.S. military, the 1911A1 would have had a trigger pull weight of 5 to 6.5 lbs. Our 1911 has passed all the safety tests and the trigger pull weight falls within military specification. Finally! Time to move onto the range and see how this pistol functions with live ammunition.
Range Test
The main objective on the range at this time is to test the function of the pistol when using live ammunition. This makes the ammunition component of this test of equal importance to the pistol. Essentially we are testing both. So, you should select your ammunition wisely.

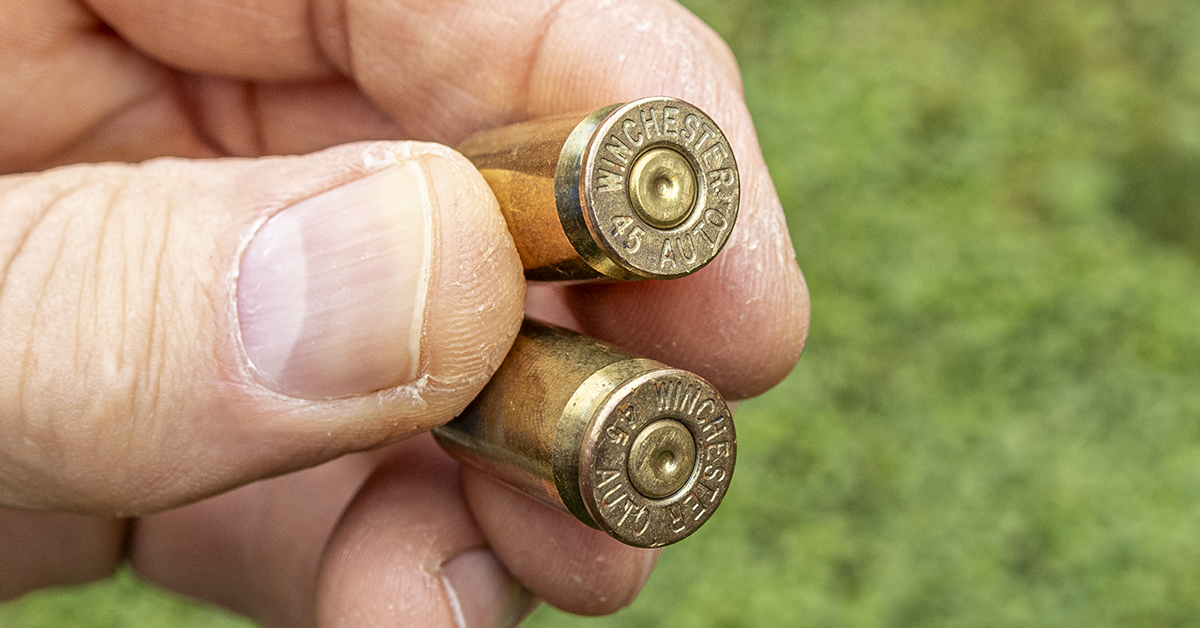
When testing a military arm such as the 1911 pistol, it is my advice to begin your testing with the same ammunition the U.S. military issued with the firearm — or as close to it as you can possibly get. For the 1911 pistol, the U.S. military issued .45 ACP ammunition which had a 230-grain full metal jacket round nose bullet. Unfortunately, USGI .45 ACP ammo can be difficult to obtain these days, so in its absence, my preference for function testing of the 1911 is Winchester’s USA “white box” ammo. The 230-grain full metal jacket Winchester USA “White Box” load is probably as close as you can get to government issue .45 ACP ammo. It may even be identical, as Winchester’s published muzzle velocity is the same velocity as listed in my U.S. Army M1911A1 technical manual dated 1968. I also remember from my younger years that “white box” ammo was also referred to as “government loads.”
If you do not establish a test ammo standard such as this and should you have a malfunction, how will you know if it is the ammo or the firearm?
Once proper functioning of the pistol has been established using this ammunition, then different ammunition can and should be tested in the future. This certainly includes any ammunition that you intend to use in a possible self-defense situation. Any problems that may arise using different ammunition can be dealt with at that time and with the knowledge of the pistol having functioned properly with the initial test ammo. Using this method also serves to isolate the problem to the new ammo being used and reveals any fine-tuning that may need to be performed for everything to function properly. Often, this equates to polishing the feed ramp and throating the barrel to aid in feeding and chambering.
The live-fire function test begins by loading one round into the magazine and inserting it into the pistol. While we certainly don’t expect to have any problems, should one arise, it is better that it occurs after firing one round and then having an empty magazine instead of a full magazine. Ideally, this initial firing would be performed in a machine rest. Absent a machine rest, I’m left to consider what I know about this pistol and make a safety assessment. I know it has been fired relatively recently without issue and the work performed did not affect head space. We are also using new ammunition from a well-established manufacturer. Thus, I don’t foresee any real potential danger in firing this pistol (famous last words, huh?).
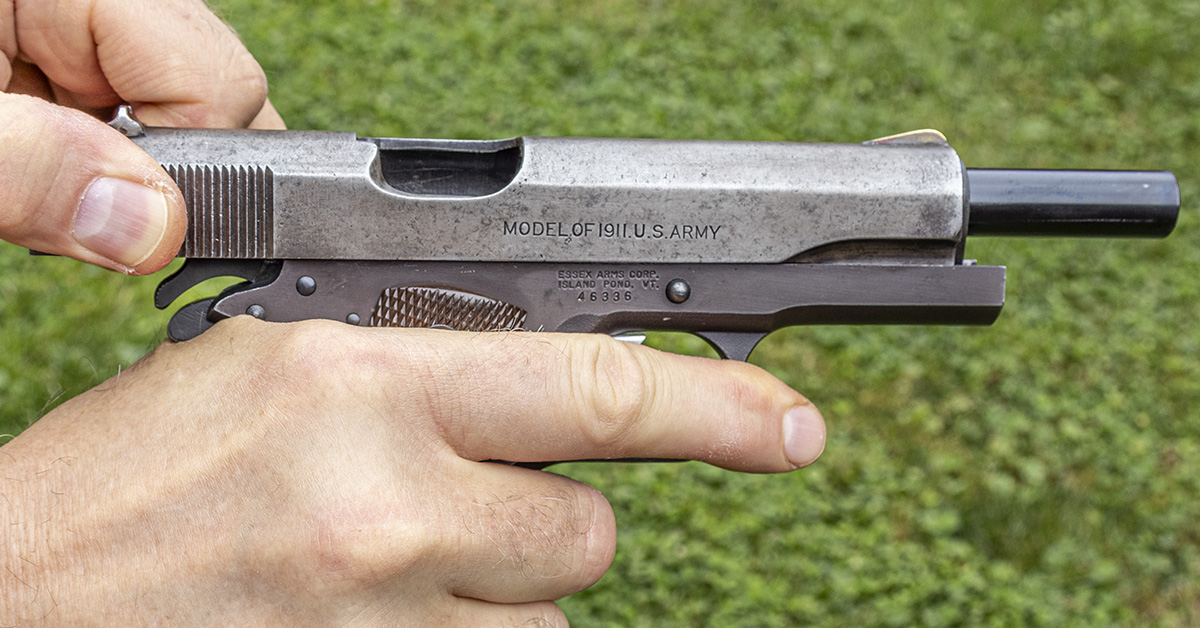
Pull the slide fully rearward until it stops and then release the slide. Upon release, the slide will move forward, chambering the round. Remember, your focus here is the functioning of the pistol. Upon release, did the slide go fully forward and lock into battery? This should be checked prior to firing.
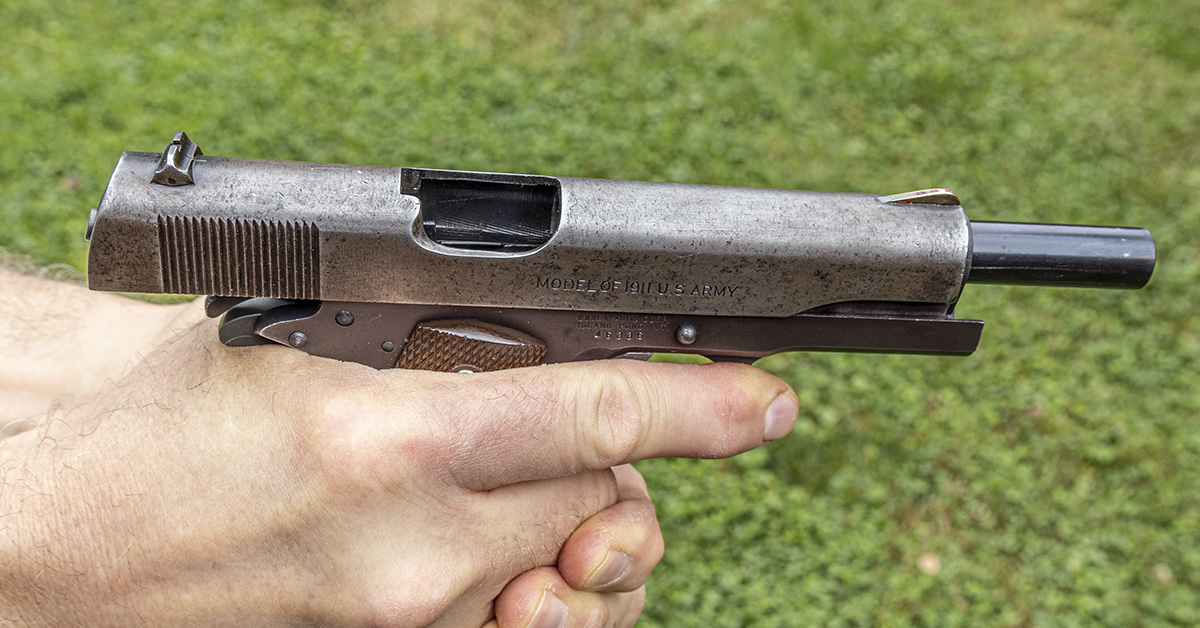
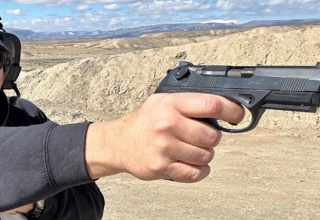
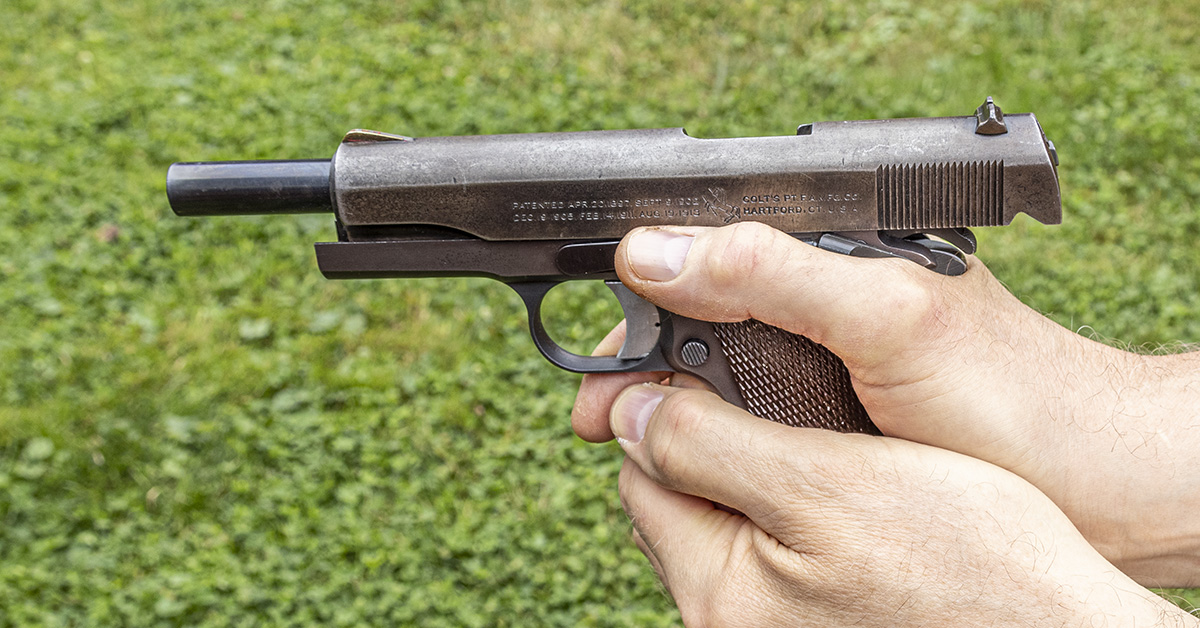
With a firm grasp of the pistol, fire one round at a safe target. Upon firing the pistol with an empty magazine, the slide and the barrel should unlock, allowing the slide to move rearward. As the slide moves rearward, the extractor pulls the fired cartridge case from the chamber, holding it against the breechface of the slide. Once the slide has moved far enough rearward, the ejector will push the fired cartridge case off of the breechface and out of the pistol. The slide should then be held open by the slide stop, as pictured.
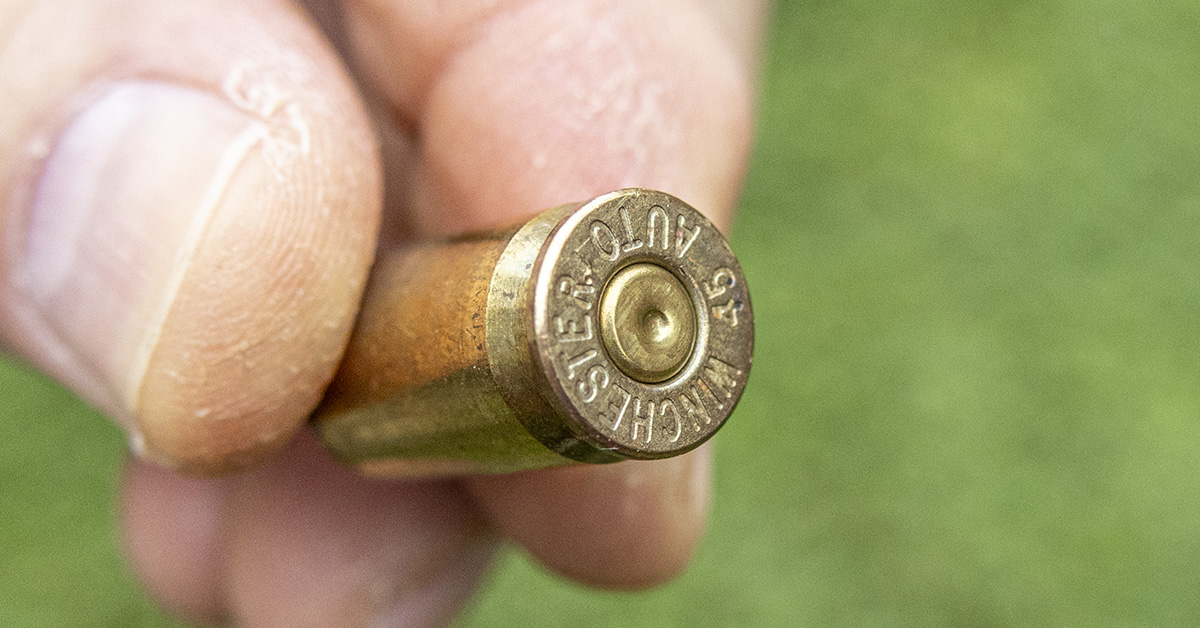
Examine the fired cartridge case. The primer should still be in place with the top of the primer flush with the cartridge case head. The primer should not be pierced. It should have a clean indentation from the strike of the firing pin. If the primer is pierced or appears as though it is coming out of the cartridge case, do not continue with the test and seek assistance from a gunsmith.
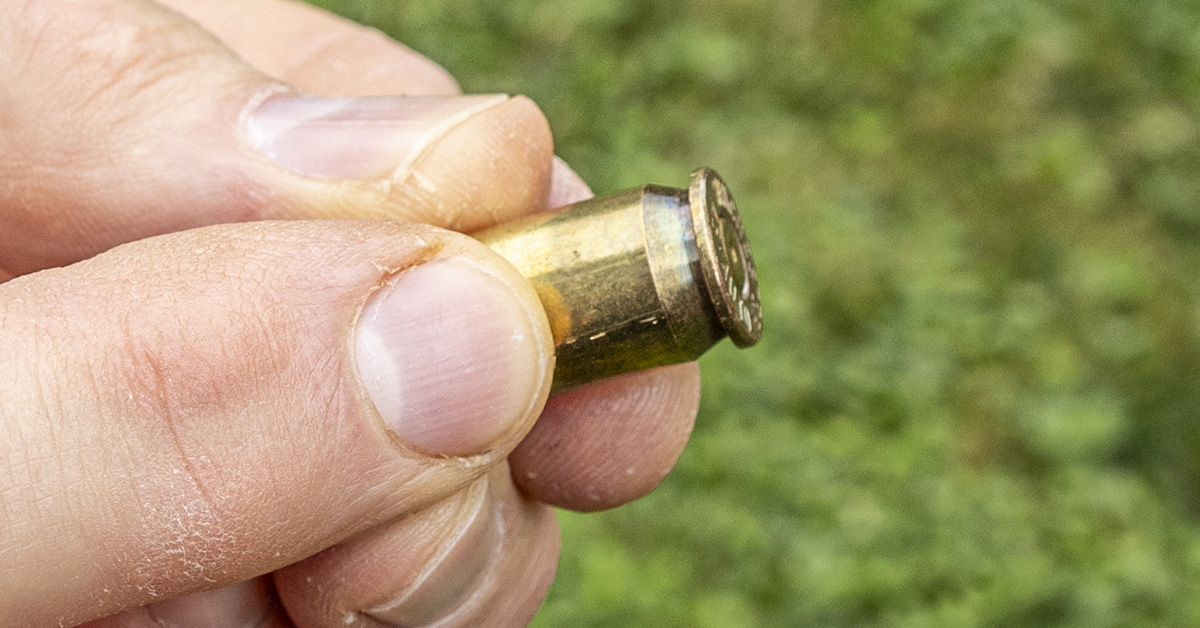
Examine the body of the case. The case body should be smooth and free of any abnormal bulges, rips, or tears. The case body should appear to be identical in form as to what it was prior to firing. A case that appears to be rough on the surface after firing can be an indicator of a rough chamber. The cartridge case will expand and contact the chamber walls under pressure while firing. Any abnormalities in the surface of the chamber will be imparted onto the cartridge case. A rough chamber will want to grip the case, thus slowing down the slide’s rearward motion, which can have a negative effect on extraction. If the chamber is rough enough, the case will become stuck in the chamber. If the cartridge case appears to be normal, you can proceed to part two of the test. If the case is bulged or shows any evidence of rips or tearing, do not continue with the test and seek assistance from a gunsmith.
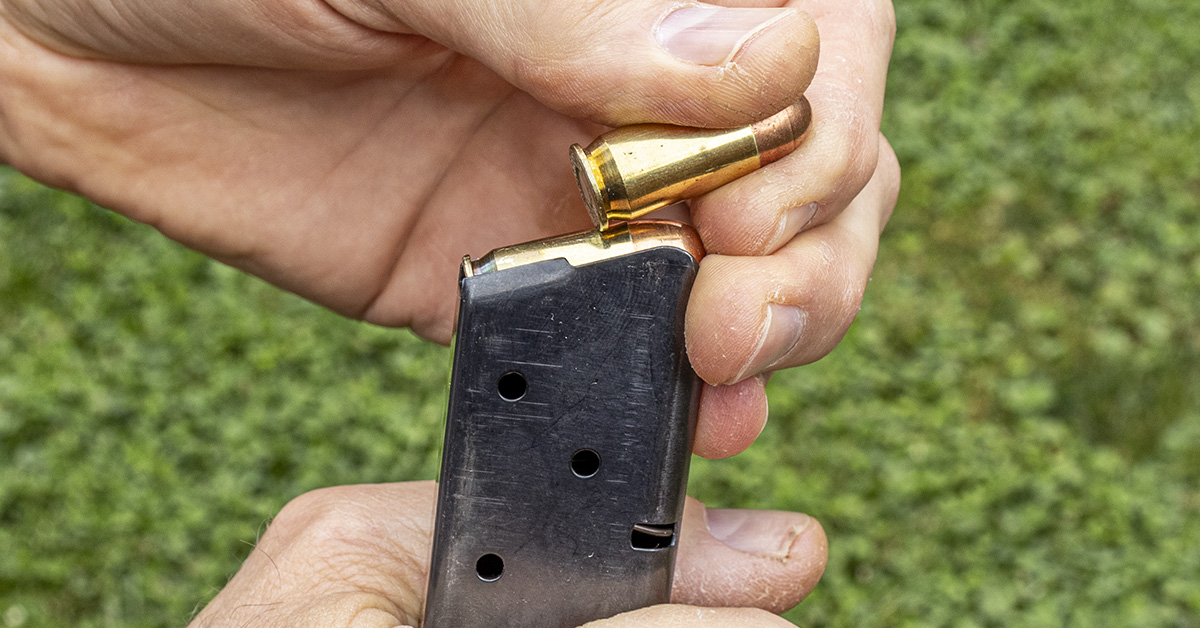
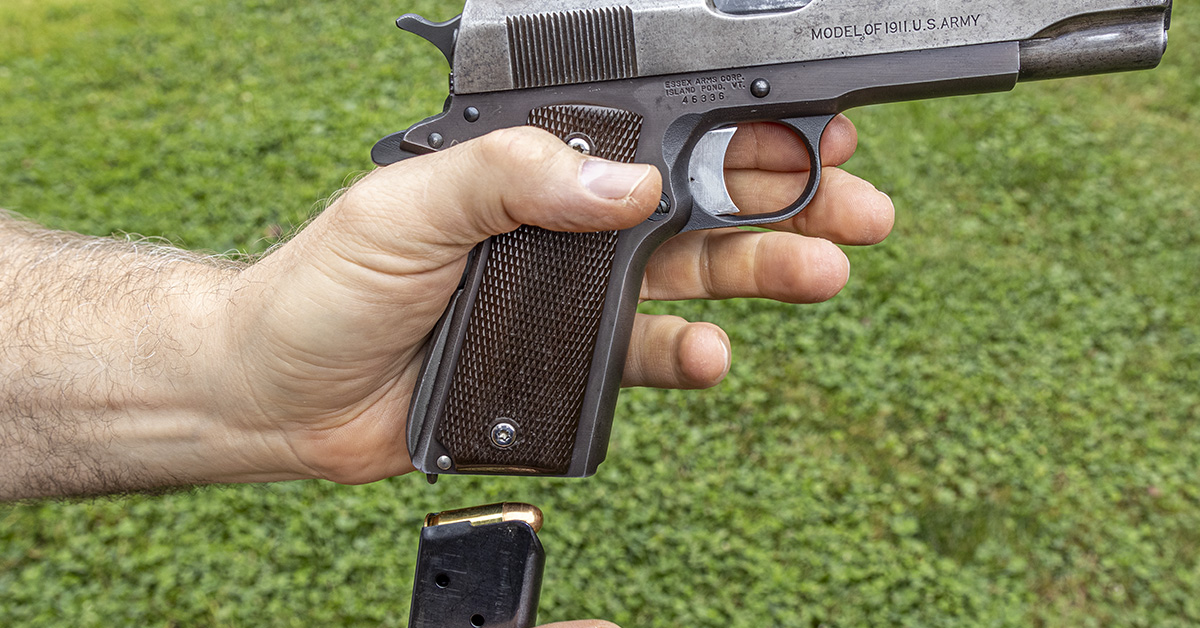
Load two rounds into the magazine and then insert the magazine into the pistol.
The slide should still be locked open from the previous test. Press downward on the slide release, allowing the slide to move forward and chamber the first round. This duplicates the same reload procedure that would be performed when doing a magazine change.
Fire both rounds, but do so slowly and deliberately. The goal is to ensure that the pistol will fire one round and one round only with each squeeze of the trigger, which is the purpose of only loading two rounds into the magazine. If the pistol should unexpectedly go full auto and fire both rounds in rapid succession, it is better that this happen with only two rounds as compared to seven.
Inspect the cartridge cases as previously done in step one. If the pistol has functioned properly up to this point and the cartridge cases look normal, you can proceed to using a full magazine and do some accuracy testing.
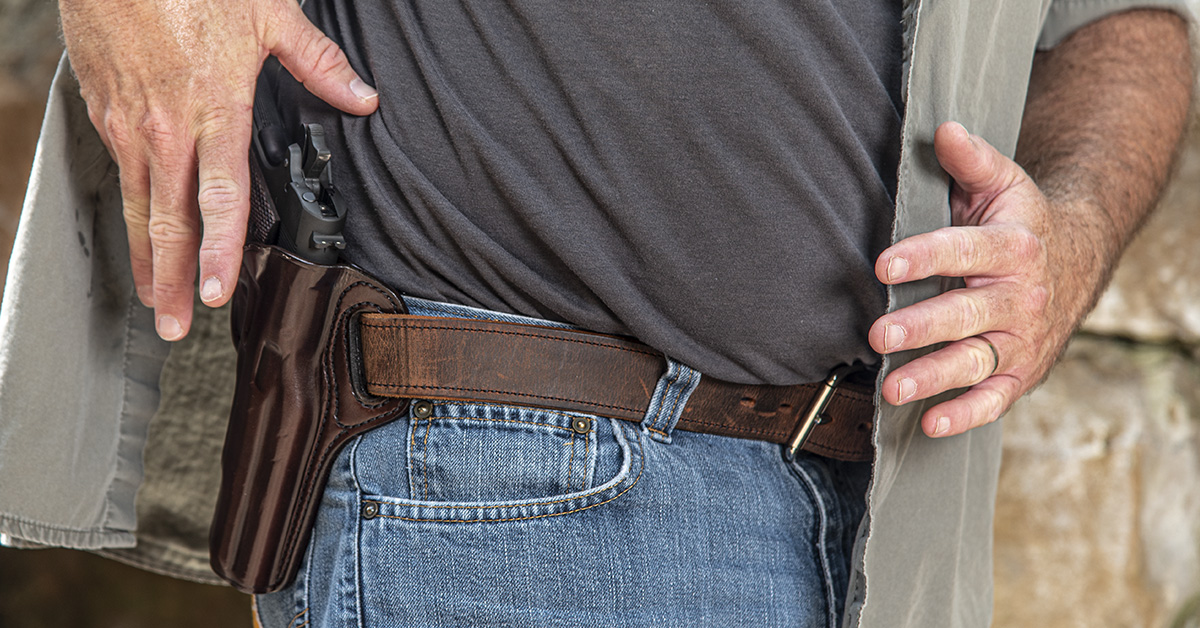
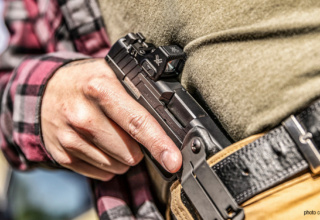
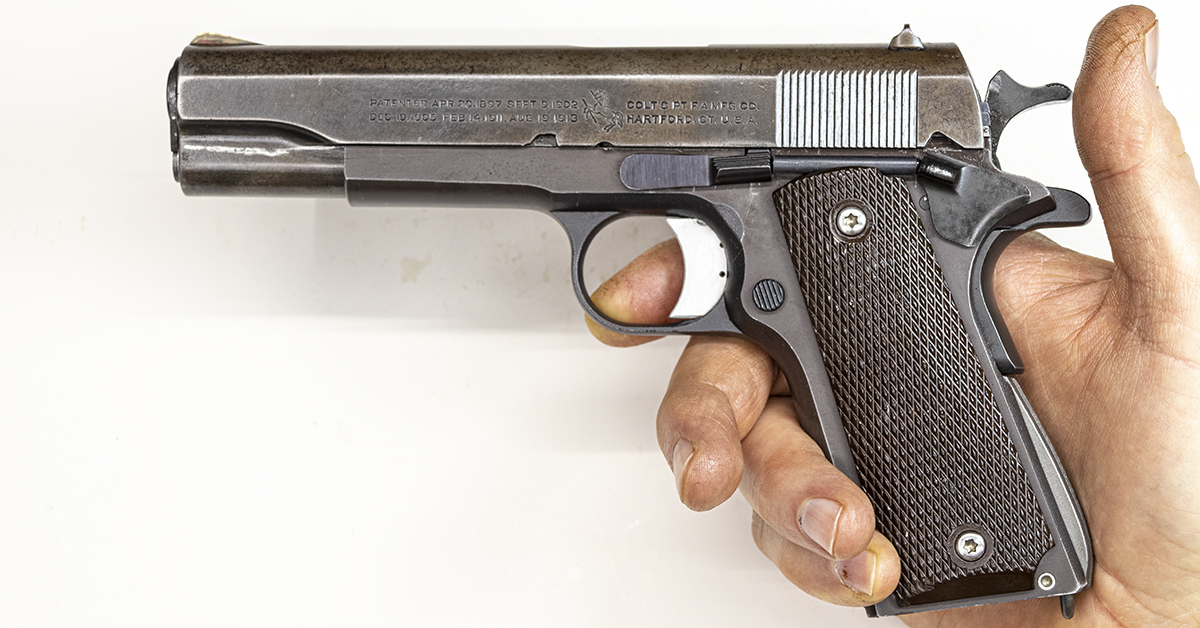
While this may look odd to those unfamiliar with the 1911 — especially in the era of striker-fired polymer pistols — the correct way to carry the 1911 is with the hammer back and the safety engaged. Remember, this pistol was designed for combat, and it is intended to be carried with a round in the chamber, with the hammer back (cocked), and with the safety engaged (locked). This is commonly referred to as “cocked and locked.” This pistol was also designed during an era in which many soldiers carrying the 1911 (cocked and locked) were doing so while on horseback. It is doubtful that, as we go about our daily lives today, that we come anywhere near to approaching the rigors of a WWI-era U.S. Cavalryman.
The 1911 has many safety features built into it that make carrying “cocked and locked” as safe as carrying any modern striker-fired pistol of today. These safety features are the half-cock notch, grip safety, thumb safety, and trigger. Once a round is chambered in the 1911 and the safety is engaged, the slide is locked in place and sear movement is blocked. The sear cannot rotate out of the hammer hooks, which is required to allow the hammer to fall.
This was demonstrated in the safety lock test performed earlier. No matter how hard we pulled the trigger, the hammer didn’t move. The safety is held in its desired position by the safety detent. It is doubtful that the safety will accidentally become disengaged. Most likely, it is going to take a conscience effort to disengage the safety. Once the safety is disengaged, the slide is now free to move, and the sear can now rotate out of the hammer hooks, allowing the pistol to fire; however, it is going to take rearward trigger movement to cause the required sear rotation. Rearward trigger movement is currently blocked by the grip safety as demonstrated by the grip safety test. No matter how hard you pull the trigger, the 1911 will not fire until that grip safety is disengaged.
The grip safety will automatically disengage when holding the pistol in the normal firing position. Once disengaged, the trigger is now free to move rearward. Squeezing the trigger will then cause the pistol to discharge.
Both of these actions requiring conscience effort by the shooter. The half-cock notch is an additional safeguard against an unwanted discharging of the pistol.
Keep in mind, this pistol was designed for use in austere combat conditions. If something were to happen that caused the hammer and sear to disengage unintentionally — meaning the trigger has not been pulled — the hammer will safely fall to the half-cock notch and the pistol will not discharge. This is demonstrated in the half-cock position test.
A U.S. Army field manual that I have for the 1911, dated 1940, states, “It is impossible for the firing pin to discharge or even touch the primer except on receiving the full blow from the hammer.”
While on the range, Shoot On editor Rob and I decided to put this to the test. We inserted a new primer into a once-fired case, absent powder and bullet. We then chambered the primed case into our 1911, slowly lowered the hammer to the un-cocked position, and then struck the hammer spur with a soft-faced mallet. Starting with a light tap, we slowly increased the force with which we hit the hammer spur. Upon reaching the point at which we were no longer willing to strike the hammer any harder, we quit without ever getting the primer to pop. Upon removing the primed case from the chamber, we could see no evidence of the firing pin having even contacted the primer. In my opinion, with the unlikelyhood of a catastrophic failure of internal parts aside, an accidental discharge of the 1911 is most likely user error.
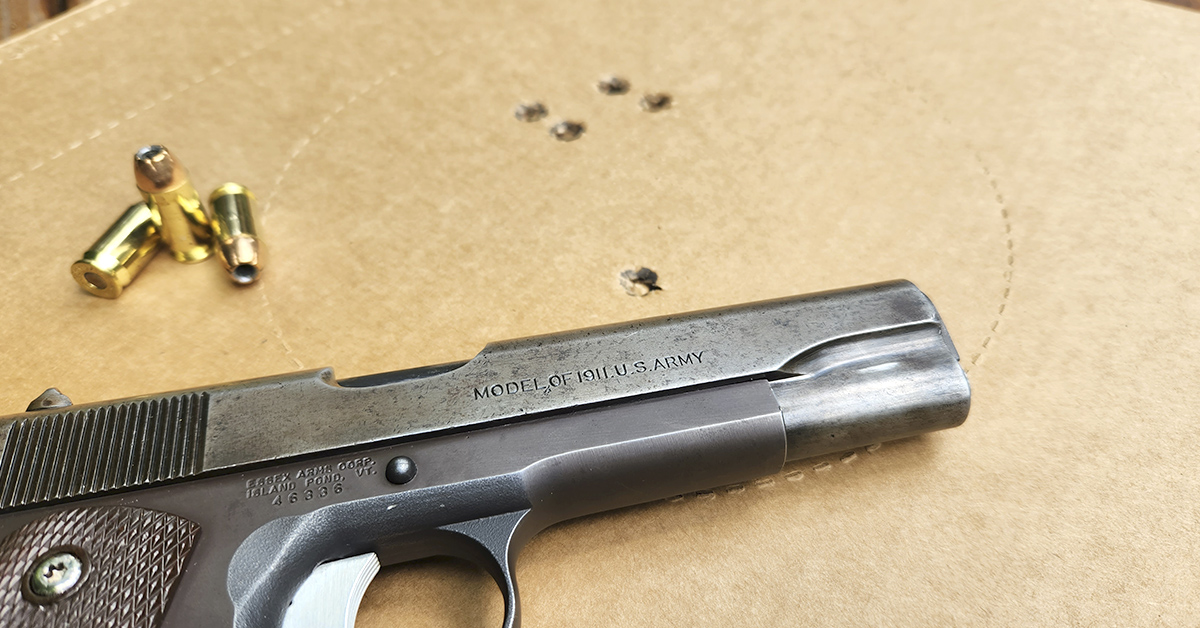
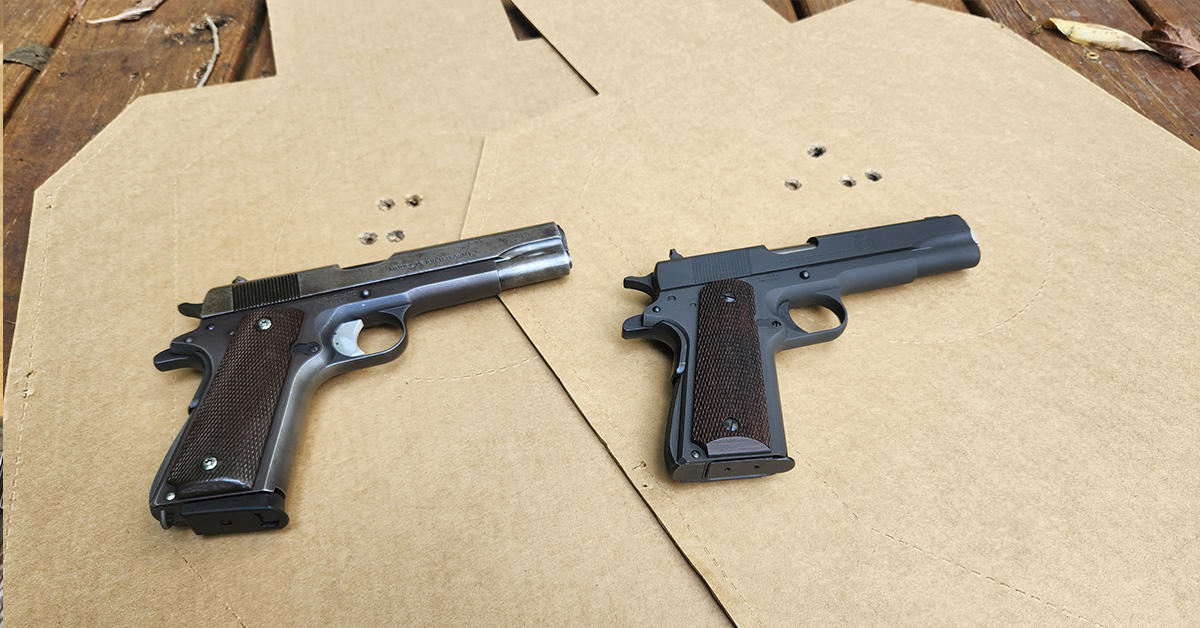
While it may not look new, a 1911 with a U.S. Army marked slide that is at least 100 years old and still going strong is pretty cool! Our 1911 “parts gun” performed well on the range with a variety of ammunition.
Over 100 years later and the 1911 remains a very viable sidearm in an era of high-capacity polymer-framed pistols. The 1911 still stands strong, with an out-of-the-box trigger that is the envy of any strike- fired pistol that I’ve encountered. There’s also just “something” about the 1911. It feels good in the hand, as if it belongs there — sort of an undefinable quality, and one that I have yet to experience with any of the polymer pistols. Those that are experienced with the 1911 know exactly what I’m talking about. If you don’t have any experience with the 1911, I suggest that you give one a try. You’ll be glad that you did.
In my opinion, concerning the factory-new 1911s available today and taking quality and price into consideration, you needn’t look any further than the Springfield Armory “Defend your Legacy Series” MIL-SPEC 1911. This pistol remains true to the original design (pictured above, at right), with the implementation of modern manufacturing techniques. Springfield Armory refers to this as an “entry-level defensive handgun.” Personally, I don’t see anything “entry” about it, having purchased one several years ago. I have found it to be very well made, dependable, and a capable performer right out of the box.
How capable? Well, I am a gunsmith, yet I have no desire to modify my Springfield Armory 1911.