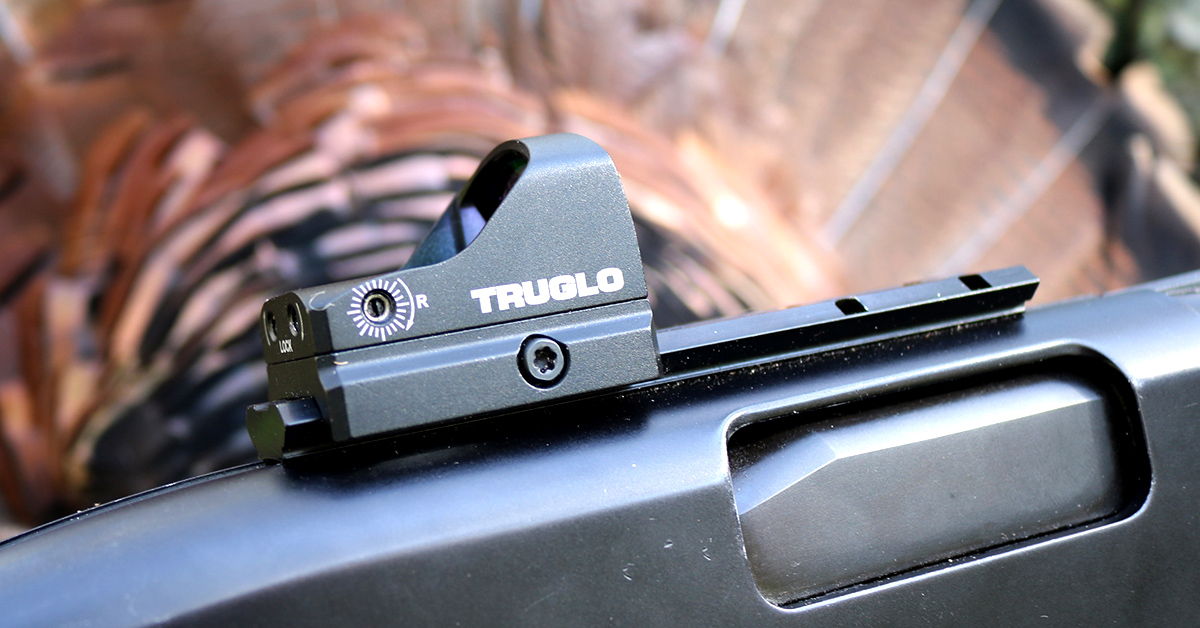
Want to set up your hunting or defensive shotgun for a red dot? TRUGLO’s new mounting systems make it a cinch!
by Larry Case
Red dot optics for firearms first came onto the scene in the mid-1970s and have been popular with shooters ever since. As the name implies, the red dot is an optic that uses a red dot as an aiming point. Simplicity is the key here, and that is what makes these optics so effective. In short, the shooter simply aligns the red dot on the target and pulls the trigger.
Applications for this type of sight are legion. Training a new shooter can be a breeze using the red dot. While I am something of an old-school shooter and believe we should all learn to use open, iron sights, there is no denying how easy it is for those who are brand new to the shooting game to get started with a red dot optic. Maybe the greatest advantage of the red dot optic is fast target acquisition—how quickly you can get on target. For everything from home defense to hunting, this is important.
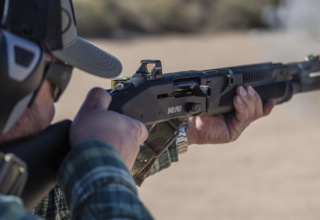
While these optics work great on rifles and pistols, they can be a big advantage when mounted on a shotgun. On the hunting side, no other group has taken to the red dot optic like turkey hunters. The traditional shot on spring gobblers is typically the head and neck area, and the red dot is perfect for this. If the optic is sighted in properly, the shooter simply puts the dot on the target and pulls the trigger.
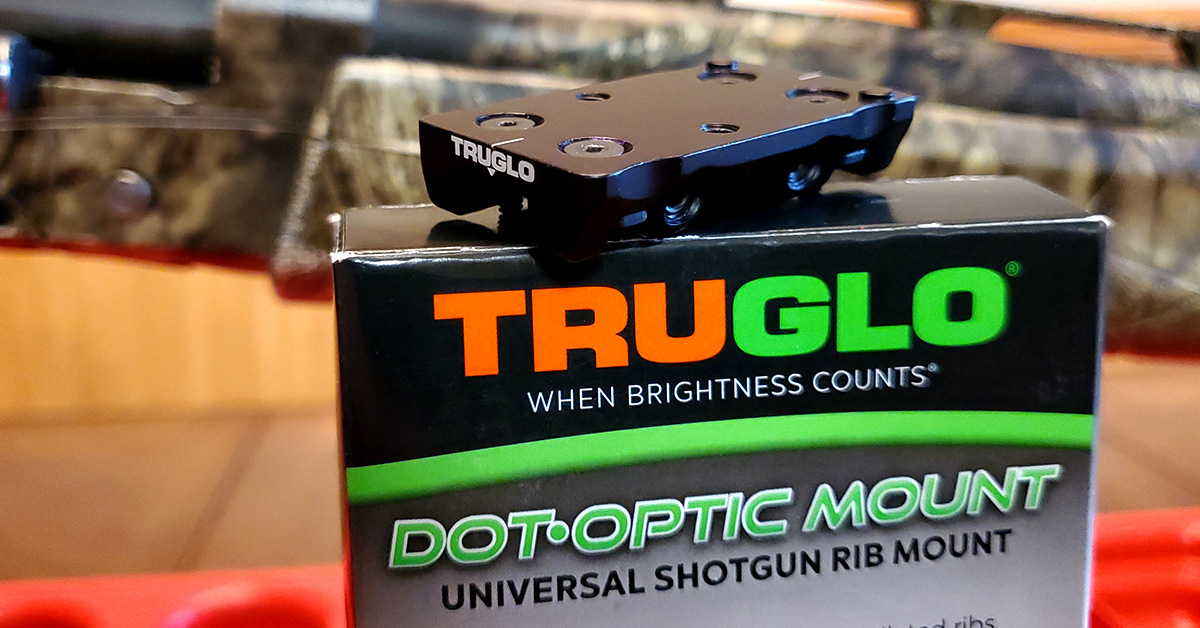
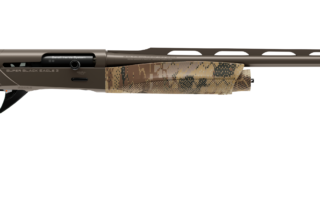
While shooting with a red dot optic can be simple and convenient, mounting one on a shotgun is usually not. Finding the right mount to attach an optic and hold it securely can be a chore. TRUGLO has done something about this. The company has just released a selection of mounts to fit various brands and models of scatterguns. Mounts for optics are usually installed on the ventilated rib of a shotgun or on the receiver, and TRUGLO offers both.
The rib mount offers the shooter a good way to install a mount on a shotgun that has does not have a drilled and tapped receiver for this type of mounting. Some shooters may simply prefer the rib-mounted optic. The receiver mount gets the optic closer to the shooter’s eye, which many prefer.
Vent Rib Mount Installation
The biggest consideration for placing the rib mount on the shotgun’s ventilated rib is the distance it will be from the shooter’s eye and the receiver. Most shooters will want the optic as far back, meaning as close to the shooter, as possible. Opinions vary, but in general, if the mount and optic is closer to you on the rib, you will be able to see through the optic and sight with the red dot better than if it was farther down the rib.
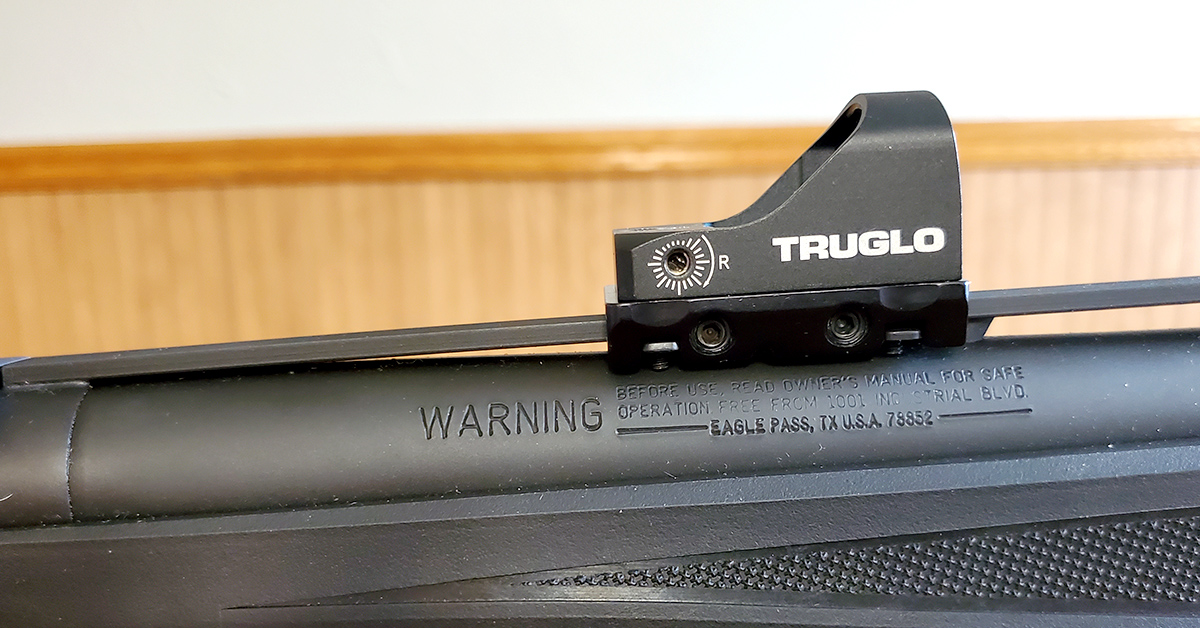
You will notice as you place the mount on the rib that where the rib meets the receiver will govern where you will place the mount. The spacing here may be too tight for the mount clamps to fit under the rib. This is easily addressed by sliding the mount slightly forward. Now, look to see if the spacing of the next post for the rib will allow you to place the mount at this location. In short, all you must do is place the mount as far back as the configuration of the rib will allow. The TRUGLO mount makes it pretty easy.
Receiver Mount Installation
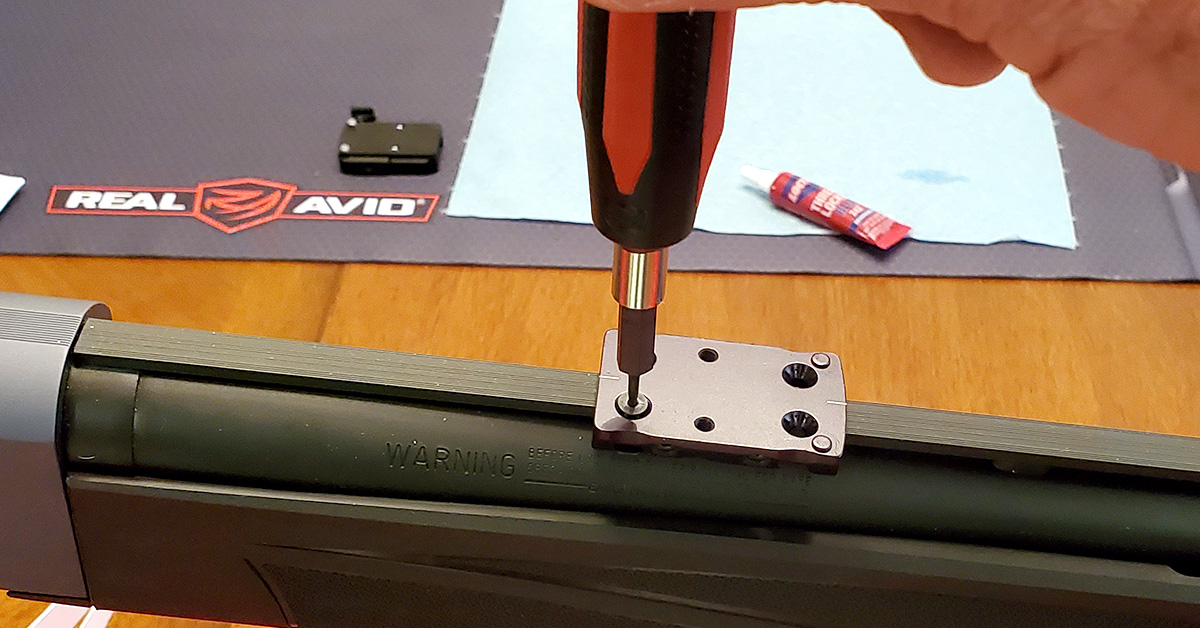
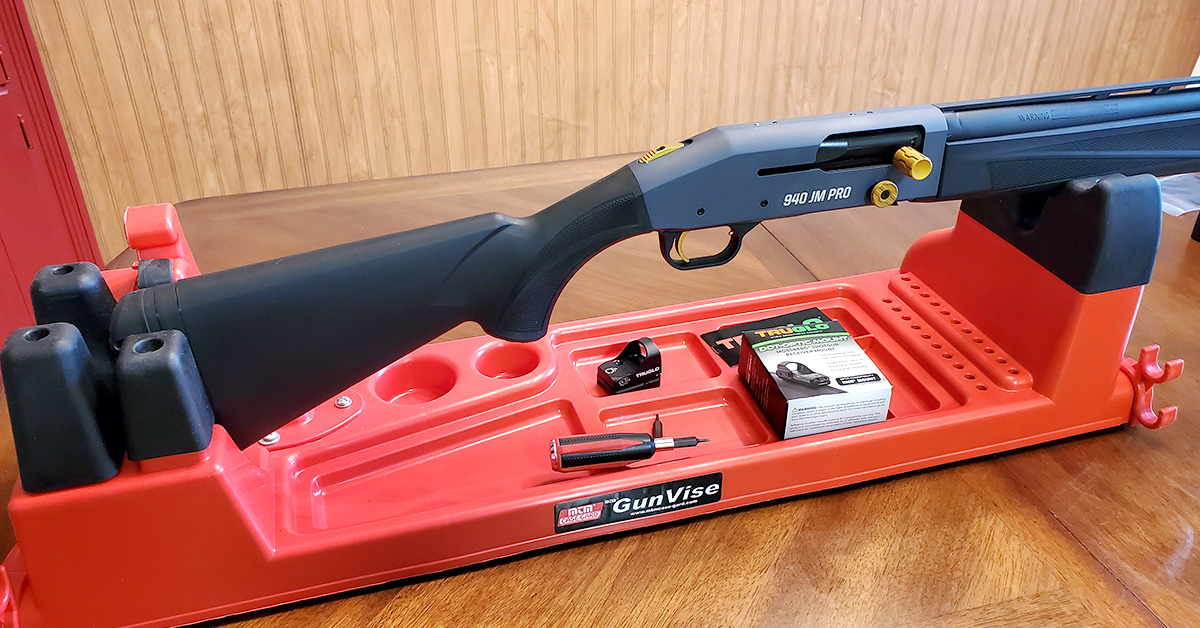
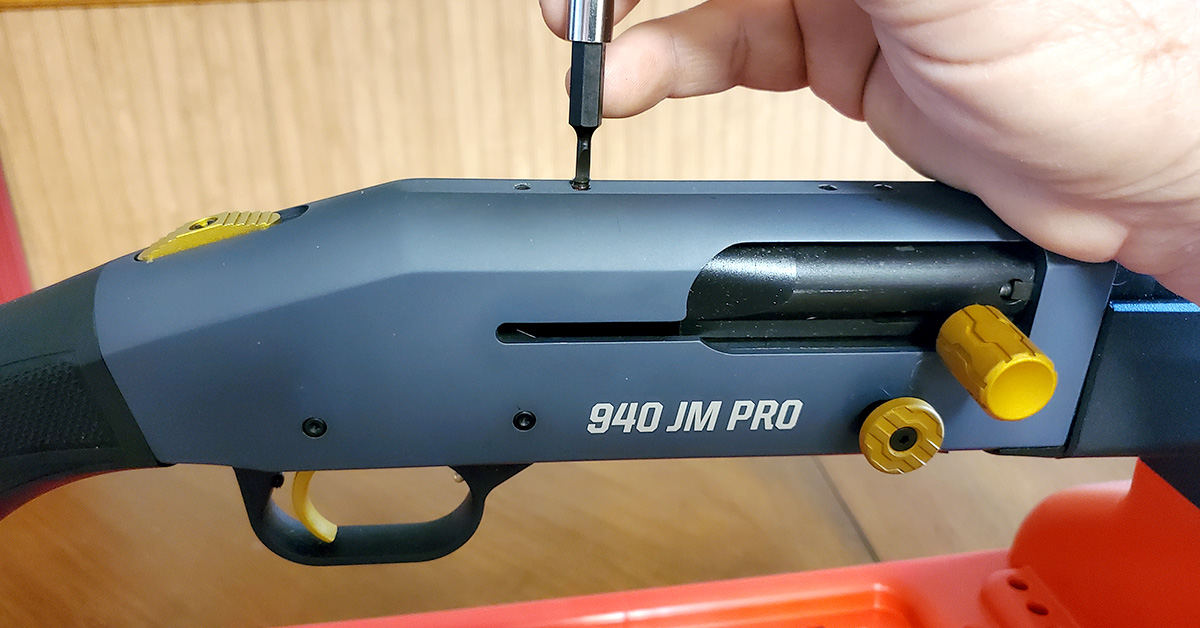
Installing the TRUGLO receiver mount can be just as simple as the rib mount. The placement of the mount is easy, as you will be guided by the factory drilled and tapped screw holes. Carefully remove the screws filling these holes with the proper-sized screwdriver bit. For that, we are using the Real Avid SmartDrive 90 tool set. Having the gun securely cradled in a proper gun vise like this MTM Gun Vise is really the best way to do this kind of work. The MTM vise holds the gun securely, will not mar the finish on your firearm, and will lower your stress level on any gunsmithing task.
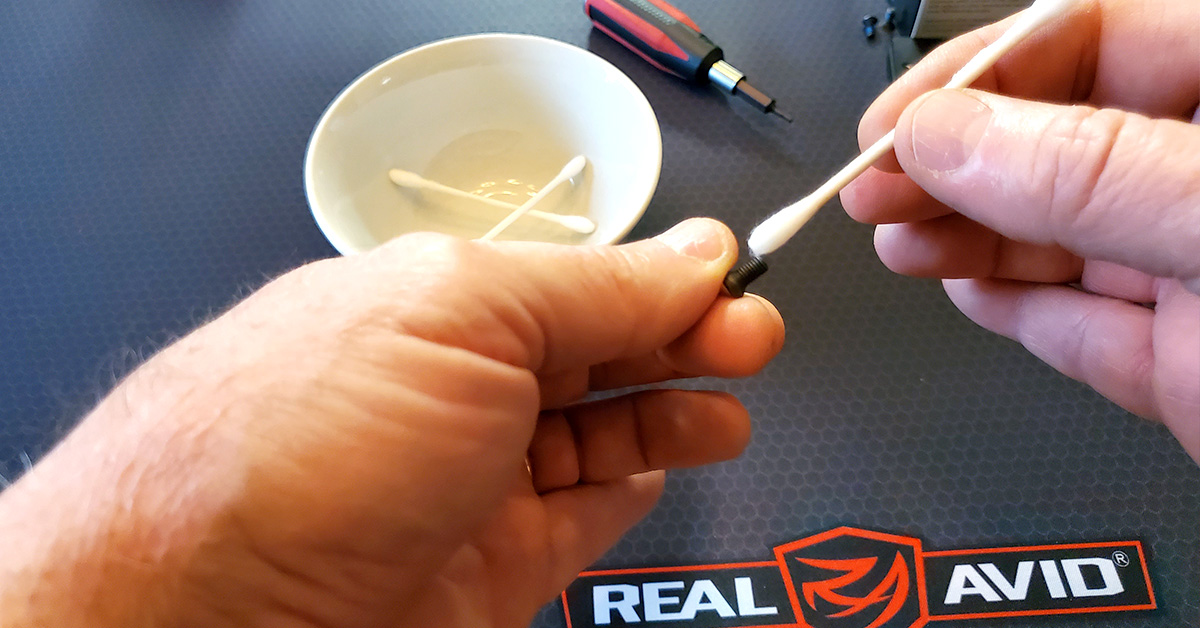
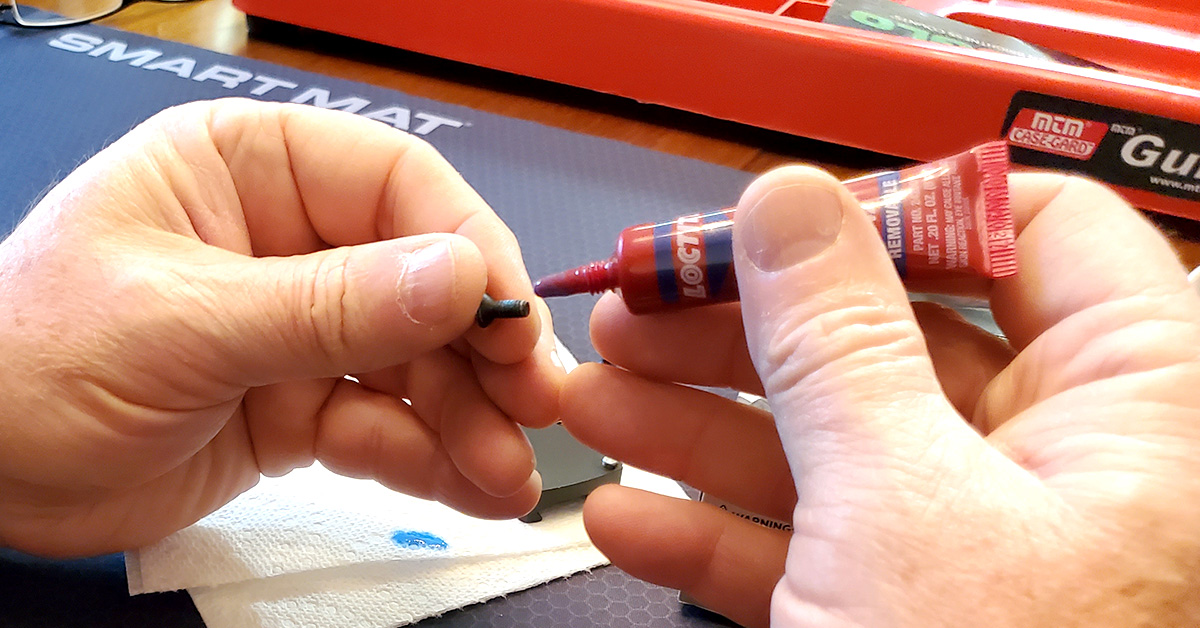
A few notes on the installation. Carefully swabbing the supplied screws with denatured alcohol will remove any oil or grease before you put a small drop (small!) of blue Loctite thread locker on the screws which secure the mount to the receiver of the shotgun. Use the “blue” type of Loctite if you think you might want to remove the mount later. DO NOT apply Loctite to the screws that secure the optic to the mount—in this case, a TRUGLO Tru-Tec Micro red dot. These screws must be removed to replace the sight’s battery.
Let’s get to it…
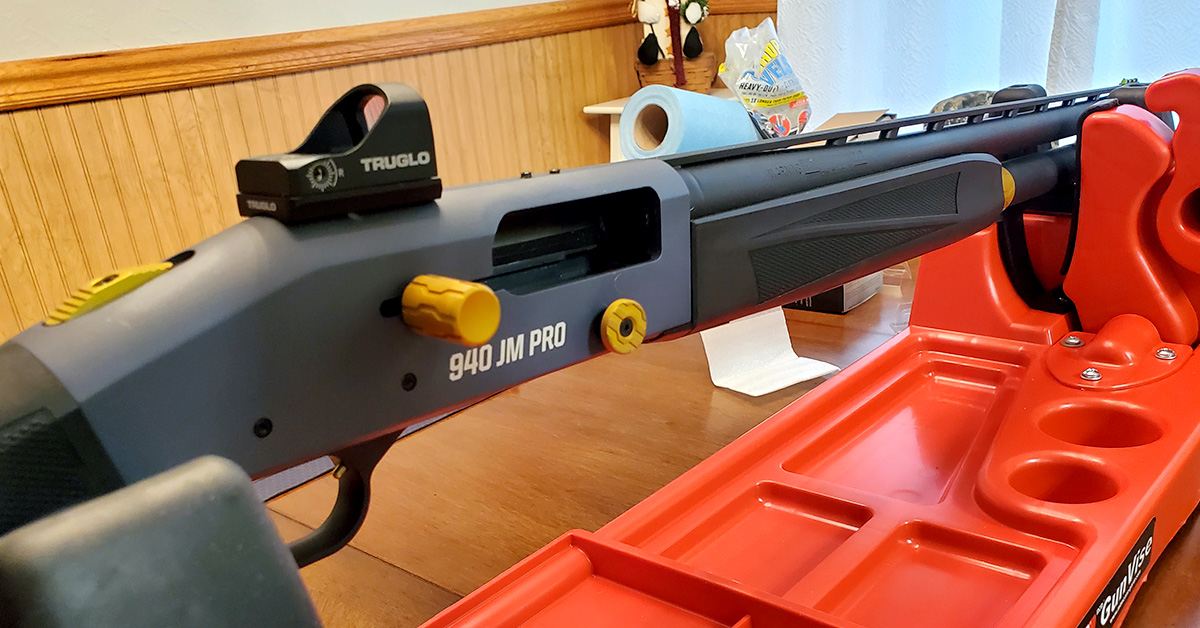
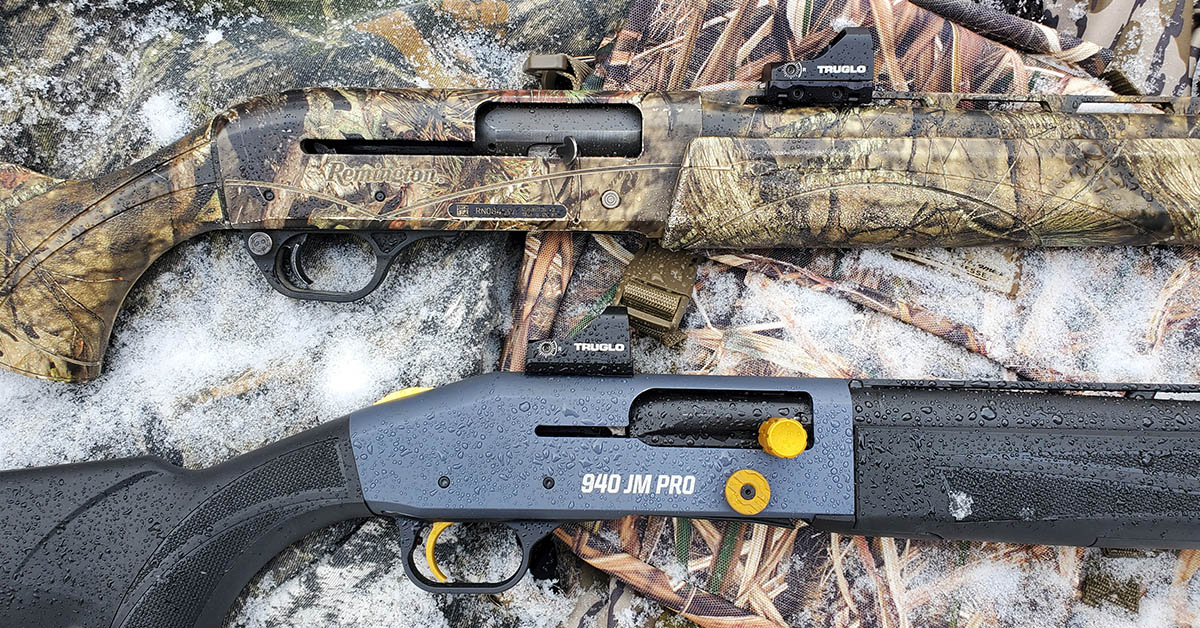
After ensuring the gun is safe (no cartridges in the magazine or chamber), set the gun on a cradle like the MTM Gun Vise for ease of work. Here, we are working on the new Mossberg 940 JM Pro.
Use a proper-sized driver bit to remove the factory screws from the receiver. The Real Avid Smart Drive 90 set will likely have the correct-size bit for your gun.
Use denatured alcohol to remove residual oils from the receiver, mount, and mount screws to ensure proper Locktite adhesion.
Apply a SMALL drop of blue LockTite to the mounting screw threads.
Place the mount atop the receiver and secure with the mounting screws.
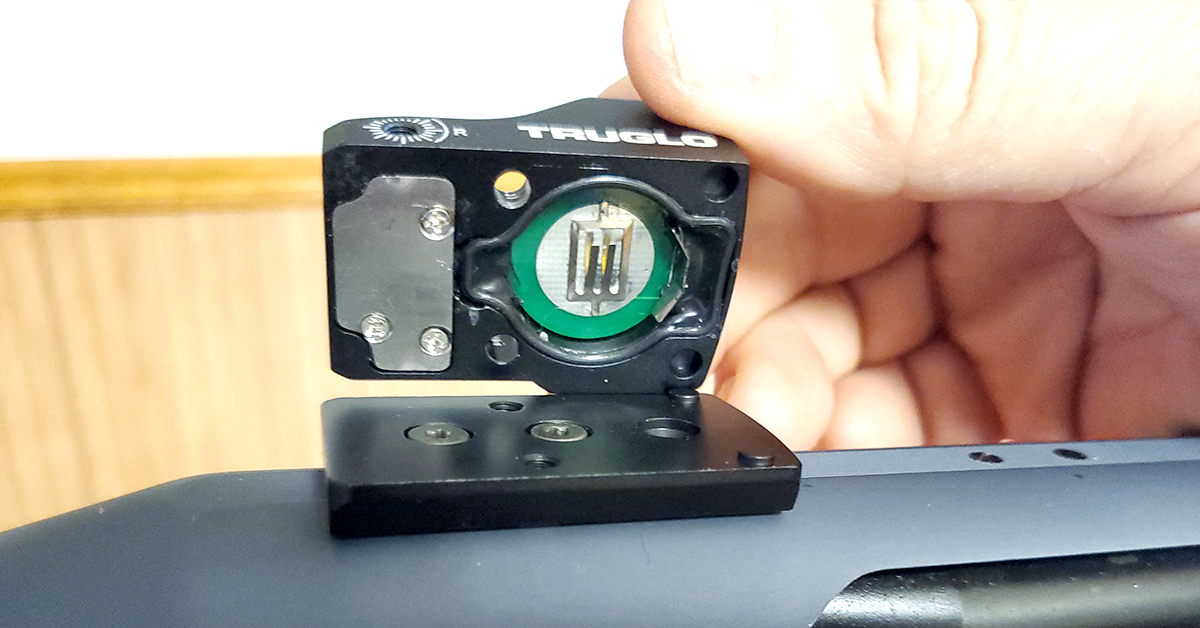
The bottom side of the optic and the top of mount as they fit together. We’re using the RMR pattern mount with an RMR pattern Tru-Tec Micro red dot.
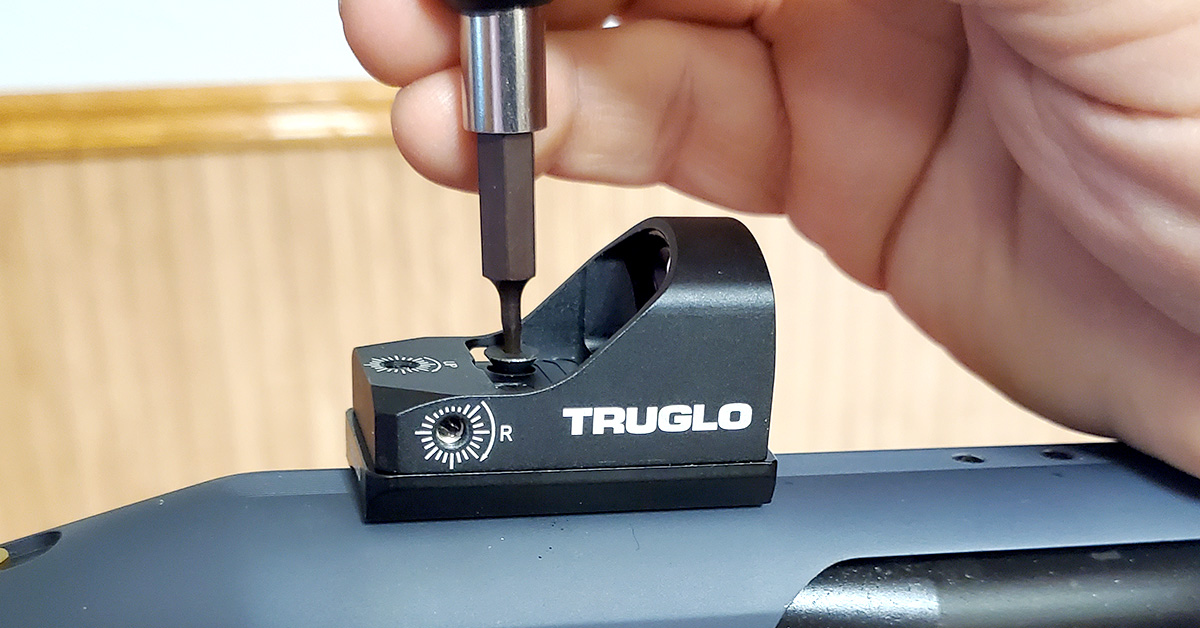
Place the optic onto the mount and secure with the supplied screws.
The TRUGLO Dot Optic Mounts give you ease of installation and the peace of mind of having a secure, bombproof mount for the optics on your firearm, be it a rifle, pistol, or shotgun. These items are not listed on TRUGLO’s website as of this writing, but you can find them at Optics Planet or at other big box retails and online stores.

