With the preliminaries behind us, we begin the journey up the reloading learning curve
by Lou Patrick
In the first installment of our extensive reloading series, I recommend that prior to reloading your own ammunition you first get your firearm and shooting gear squared away. While doing so, I advised learning about the reloading process and the tools available to the reloader prior to purchasing any equipment. In this article — one of two installments on this topic — we’ll look at the reloading process and the tools needed to accomplish the task.
We tend to use the term “reloader” or “handloader” to describe those who reload their own ammunition. While these terms certainly work, the proper term is “metallic cartridge reloading,” as this draws a distinction from shotshell reloading. Regardless, if we are reloading for a bolt-action rifle, a semi-auto rifle/handgun, or a revolver, metallic cartridge reloading is “metallic cartridge reloading.” At least this is how it is on the surface since the steps required to reload a metallic cartridge remain the same and are not dependent upon firearm type.
To reload a metallic cartridge, you must:
- Remove the fired primer
- Clean the cartridge case
- Resize the cartridge case
- Trim the cartridge case to the proper length
- Install a new primer
- Add the appropriate weight of powder
- Install a new bullet
The order in which these steps are accomplished has some flexibility. For example, resizing and removal of the fired primer are commonly performed in one operation, although these operations can also be done separately. I simply listed the steps in the order in which I prefer to do things. As you gain experience, you may develop your own methodology.
This begs the question…if metallic cartridge reloading is the same regardless of firearm type, then why? In the first article, I mentioned that these articles are being presented from the perspective of reloading for a bolt-action hunting rifle. Of course, we can easily drop the “hunting” as I say this mostly out of habit to draw a distinction between hunting or general-purpose rifles versus those used in competition. Obviously, the important distinction here is that of being a bolt-action rifle.
While the steps to reloading a metallic cartridge remain the same regardless of what type of rifle we are reloading for, the approach or application of these steps will vary when reloading for a semi-auto as compared to a bolt-action rifle. This is especially true when reloading for U.S service rifles such as the M1 Garand. Using the incorrect burn rate of powder when loading for the Garand may result in a bent operating rod.
Combined with other factors and considering that we must start from somewhere, I find it wise to begin reloading by loading for a bolt-action rifle.
One of those other “factors” is that of safety. Bolt-action rifles are far less complicated and operate at a much slower pace as compared to semi-auto rifles. The shooter also has complete control over the operation of the bolt-action rifle. The bolt of a bolt-action rifle will remain in the locked position (lock-up) until you unlock it. This “lock-up” is what safely contains the high-pressure gas (60,000 psi for example) that is generated upon firing, whereas the bolt on a semi-auto will, practically instantly upon firing, automatically rotate out of the locked position.
The operation of the bolt is also of concern to the beginning reloader during the loading/chambering process. A bolt-action rifle will be loaded by placing a round in the magazine. The bolt is then manually pushed forwarded to chamber the round. If, for some reason, the round does not chamber (resizing), you’ll know it; however, the semi-auto is going to chamber the round for you automatically. If the round does not chamber properly, you may not know it. This greatly increases the chance of a slam fire or, even worse and potentially more dangerous, out-of-battery fire. In my opinion, it is best for the novice reloader to have as much control as possible over his firearm. Semi-autos simply do not provide this.
For the novice reloader, complete control over the reloading press is important as well. Progressive presses with their high production rates are certainly appealing. In my opinion, though, progressive presses bring some additional complication to the novice reloader who already has enough to learn. It has also long been accepted, and I certainly agree, that beginning with a single-stage reloading press is the easiest way for a beginner to get started reloading. A single-stage press is quite capable of feeding your bolt-action rifle, so there is no need to be concerned with “production rates” at this time. The novice reloader’s primary goal is to learn to reload safe, accurate, and dependable ammunition. The single-stage press also represents the most cost-effective way to start reloading. As a “handloader,” you’ll always have use for a single-stage press, and as you gain experience, your reloading tools and equipment will grow over time.
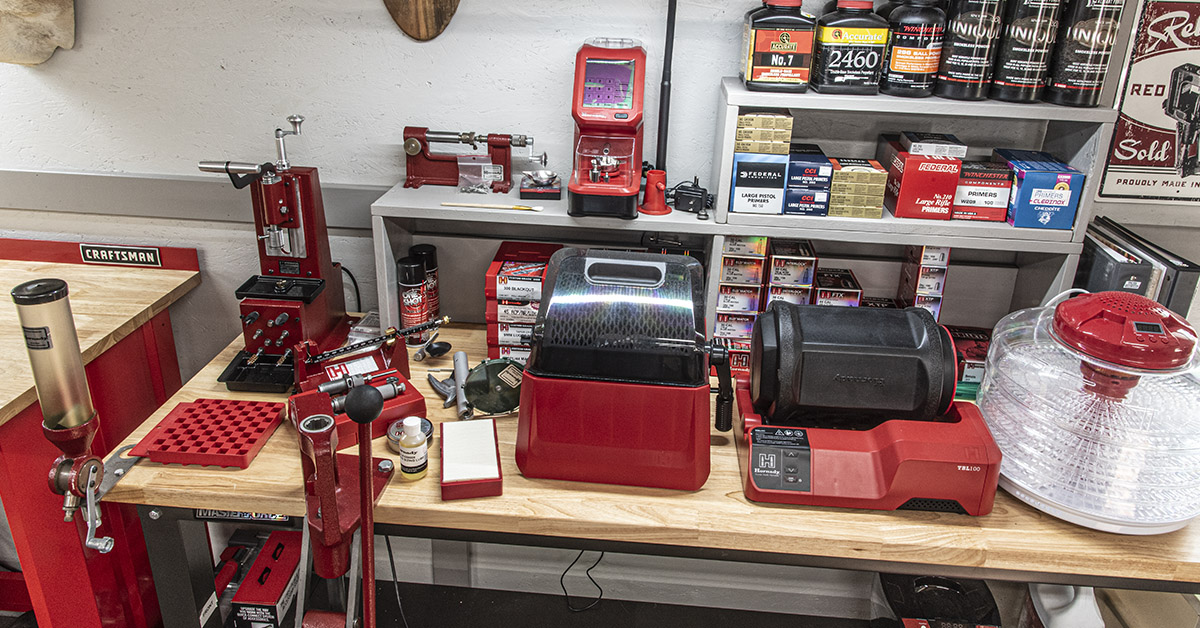
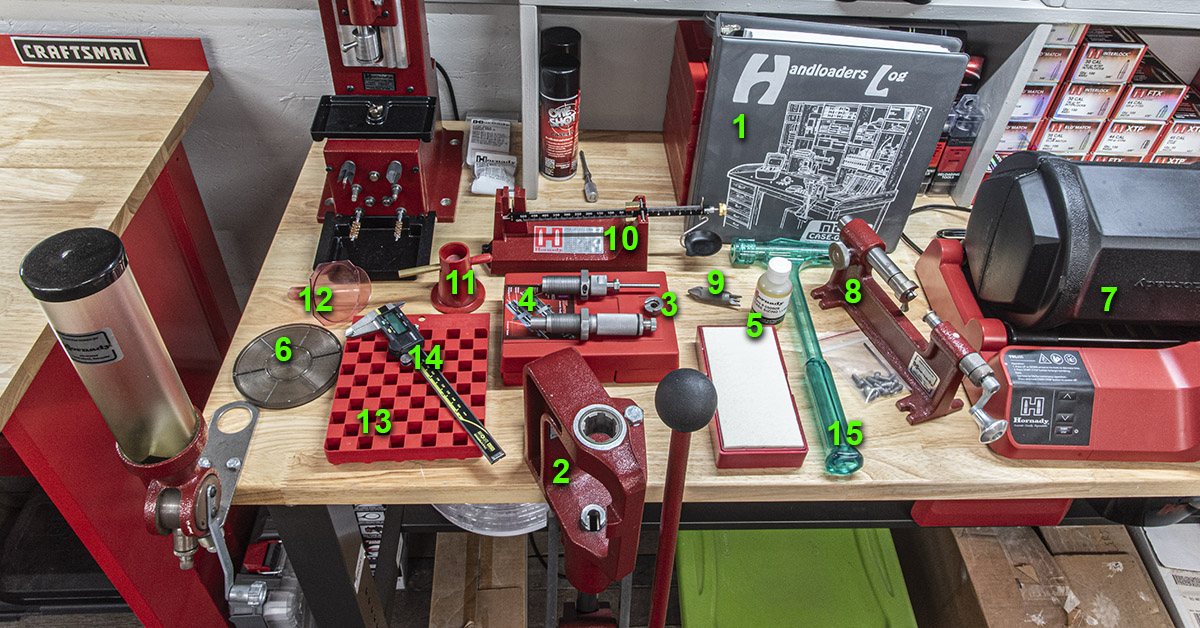
With such a plethora of reloading tools available today, tool selection can become quite confusing for those just getting started. Many of the tools pictured here are designed to help speed up and/or simplify the reloading process. As such, not everything pictured here is needed to reload a safe, accurate round of ammunition.
Pictured above is what I consider to be the absolute minimum tools needed to reload a metallic cartridge case. These include:
- MTM Handloaders Log
- Single-stage reloading press
- Shell holder
- Full-length resizing and bullet seater die set
- Case lubricant and pad
- Primer flip tray
- Tumbler and media
- Case trimmer
- Chamfer/deburr tool
- Powder scale
- Powder trickler
- Powder funnel
- Loading block
- Six-inch dial or digital caliper
- Kinetic bullet puller
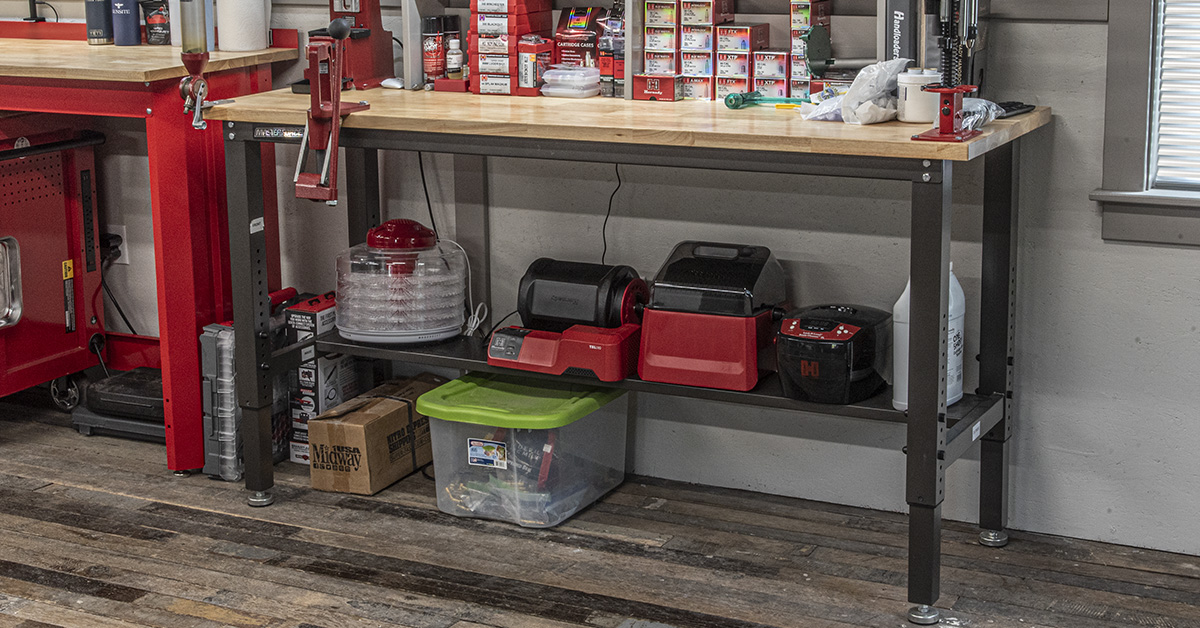
Often overlooked and perhaps the first thing that should be addressed is that of a proper reloading bench. Whether it’s a prefab unit or something you build yourself, the bench needs to be sturdy, level, and preferably bolted to the floor and a wall if possible. The reloading bench doesn’t need to be large. Mine is 6 feet wide and 2 feet deep. While I find this a comfortable size, I could easily get by with a somewhat smaller bench.
My advice is to get your reloading bench in place prior to purchasing any reloading equipment.
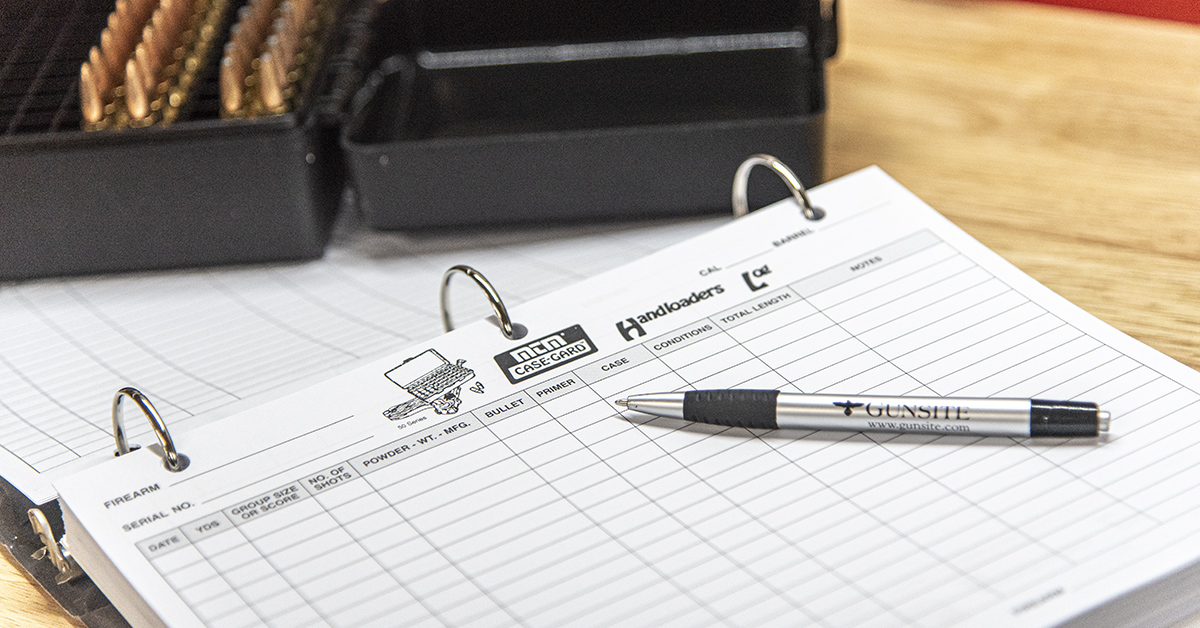
A handloader’s log such as the one available from MTM Case-Gard is one the most important items found on the reloading bench. Accurate record keeping cannot be over-emphasized. Unfortunately, this is where I have seen many reloaders veering off the path to success.
Reloading does have a certain element of experimentation to it. A particular load that shoots well in my rifle may not perform very well in yours. You are going to have to do a little experimenting to find what your rifle shoots best. If you do not keep accurate records of what you have reloaded and tested in your rifle, eventually you’ll find yourself going in circles trying to develop a load.
Next in importance to the handloader’s logbook is properly labeling the ammunition box containing your reloads. My advice is to label each box of reloaded ammunition with the following information:
- *Rifle serial number
- Cartridge
- Date Loaded
- Bullet
- Bullet weight
- Powder
- Charge weight
- Case
- Case length
- Primer
- **OAL
* Reloaded ammunition should only be fired in the rifle that was used while testing/developing the reload.
**OAL is an abbreviation for the overall length of the cartridge.
Don’t trust your memory! Time passes quickly, and if the box isn’t labeled, you will most likely forget exactly what that load is. My advice is to label the box prior to inserting the cartridges.
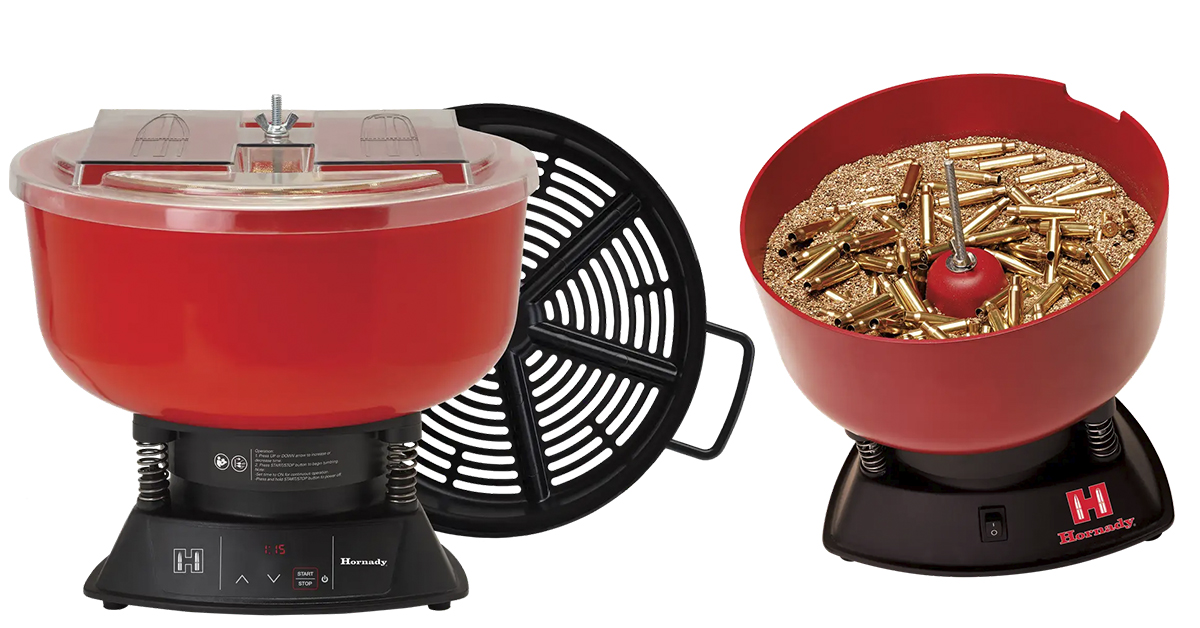
For many reloaders, the process will begin with the cleaning of the once-fired cartridge cases. Traditionally, this has been accomplished with a vibratory case cleaner, or tumbler, as its commonly called. These tumblers typically use crushed walnut shells or corn cobs as a cleaning media. The dirty cartridge cases along with the appropriate type of media are placed inside the tumbler. Turn the tumbler on and it vibrates, causing the media and cases to move within the bowl. How long it takes to clean your cases will depend upon how dirty your cases are, and the type of media being used. Walnut is more aggressive while corn cob tends to provide a better sheen.
Although this method is effective and I have used it successfully for several years, there are some things to consider before buying your first tumbler. While the media does last a long time, it will eventually break down and need to be replaced. The dirt cleaned off the cases also stays within the media. Dirt is another reason that may cause you to change the media.
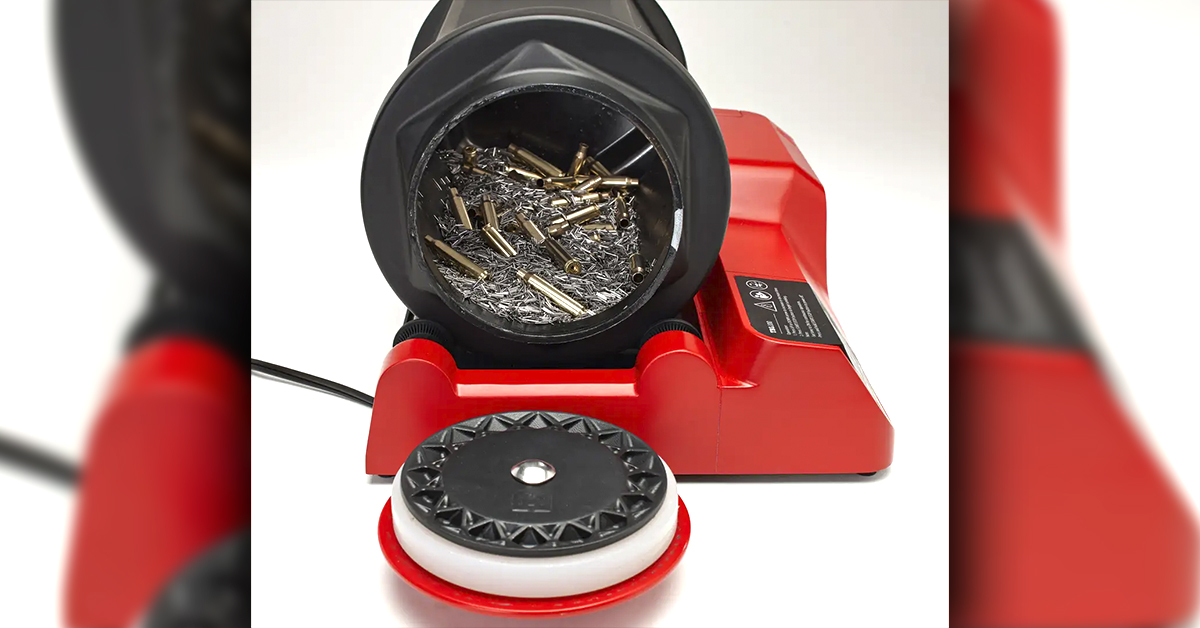
Cartridge cases can also be cleaned by wet tumbling. The Hornady Rotary Case Tumbler uses water with a small amount of cleaning solution added. Small, stainless-steel pins are then added to this cleaning solution to act as the cleaning media. The advantages to this method include a one-time purchase of the stainless-steel pins, and the cleaning solution along with all the dirt is discarded after each use while the pins are reused. This means that each time you clean your cartridge cases you are doing so with clean media. While some reloaders may shy away from getting their brass wet and view wet tumbling as a potential drawback, it has become my preferred method of cleaning cartridge cases. To see how it works, check out this video from Hornady.
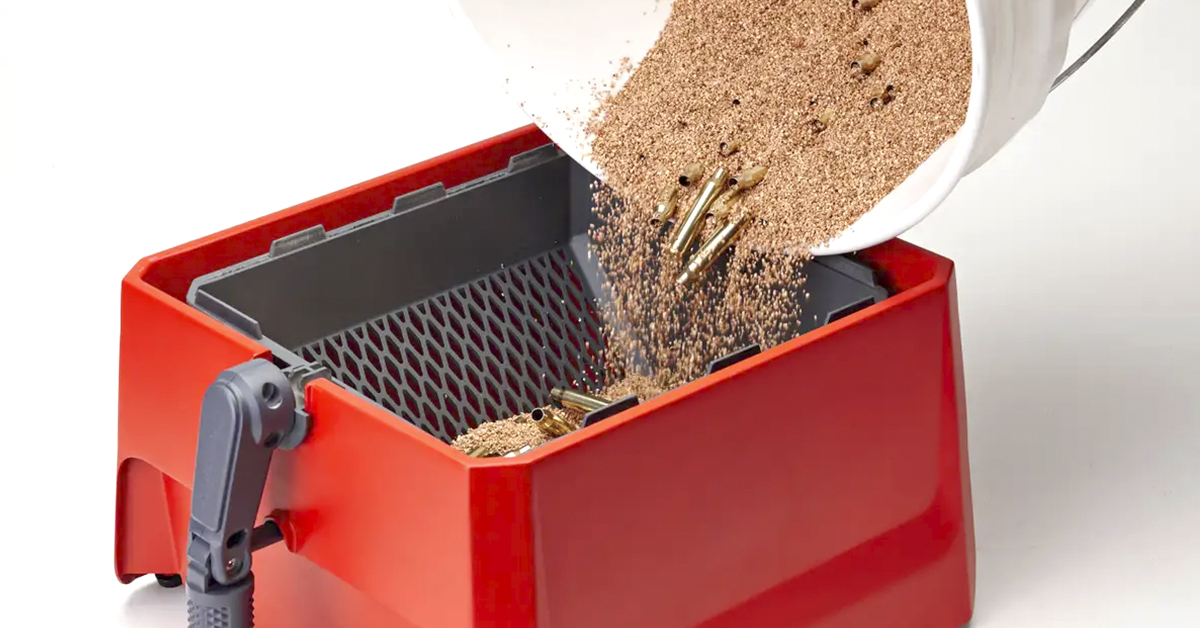
Whether you are wet- or dry-tumbling your cases, once the cases are clean, you will need to separate the cases from the cleaning media. A media sifter isn’t an essential item. As a young reloader, I separated my cases from the tumbler media by hand. Yep…one at a time. It’s not that difficult, but it is time-consuming and a bit tedious. This task is easily accomplished with the Hornady Rotary Media Sifter.
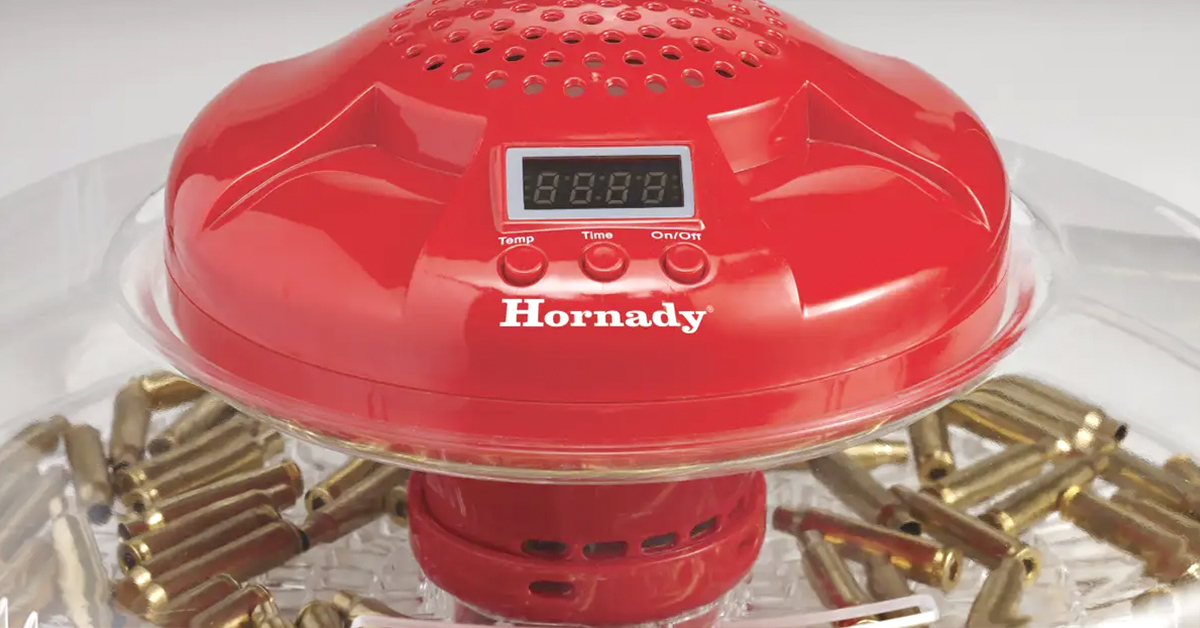
If you decide to wet-tumble your cases, once they are separated from the cleaning media, they will need to be dried. An easy and effective way to dry the cases is with the Hornady Digital Case and Parts Drier. If you have, or have plans to purchase, an ultrasonic gun parts cleaner, the Hornady drier will serve double duty as it also works well at drying gun parts following ultrasonic cleaning.
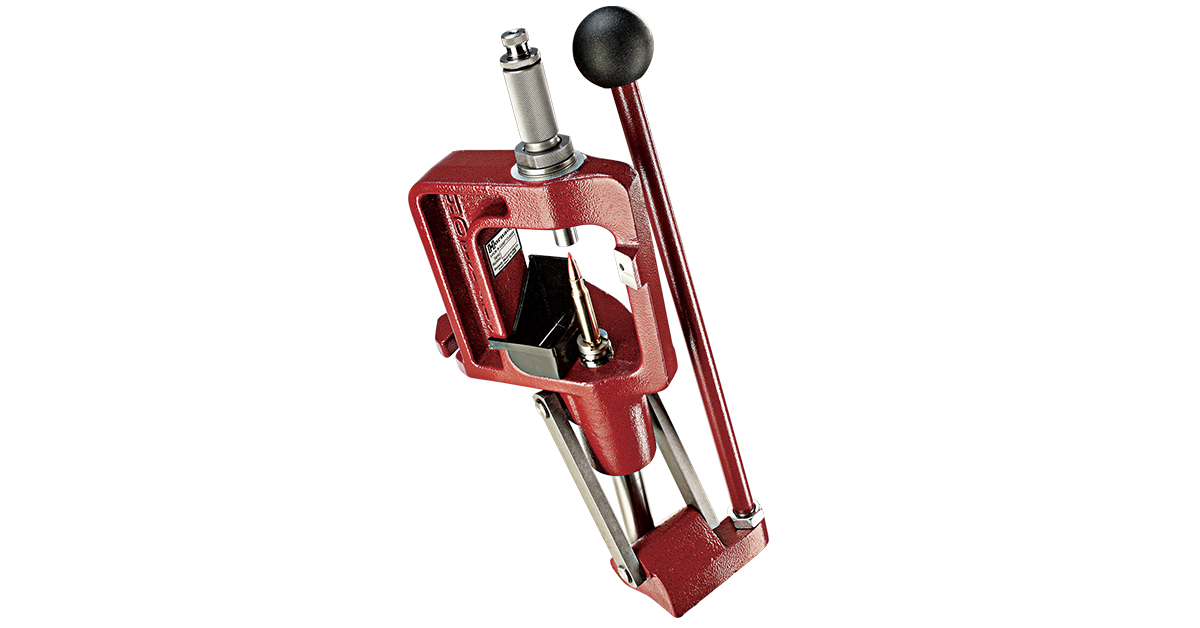
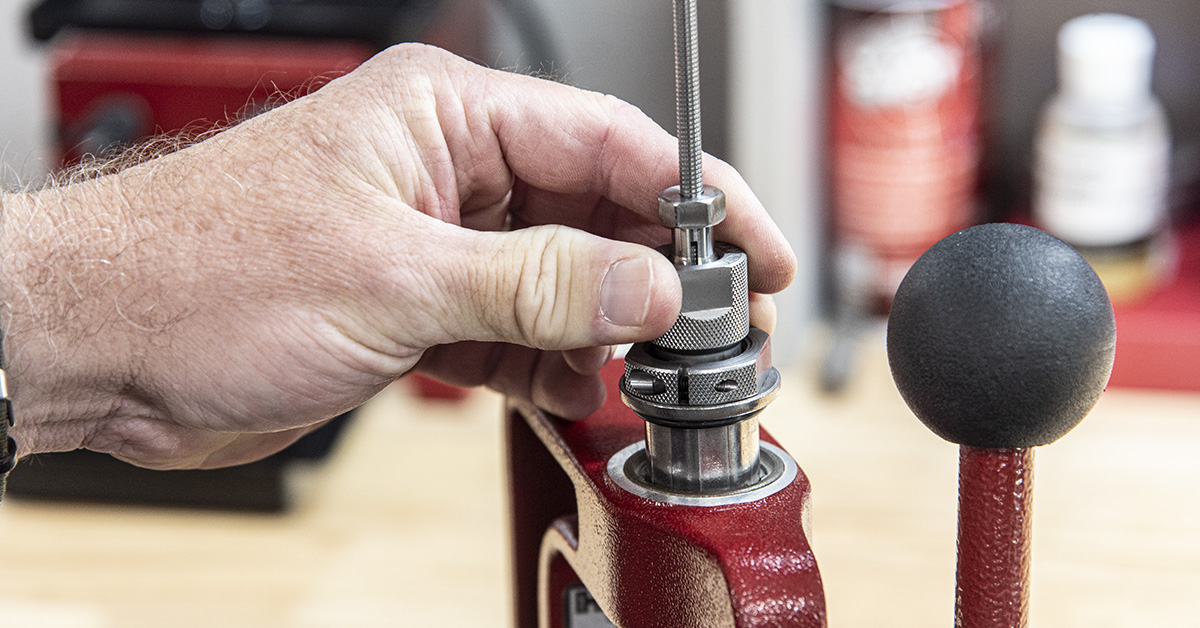
A single-stage reloading press such as the Hornady Lock-N-Load Classic, provides all the pressing capabilities needed to reload accurate ammunition and it is also an easy platform for the novice to master.
Out of the box, a single-stage press provides the means to de-prime and resize cases and to prime and seat bullets. There are, though, some additional items required to accomplish these tasks that are not typically included with the press.
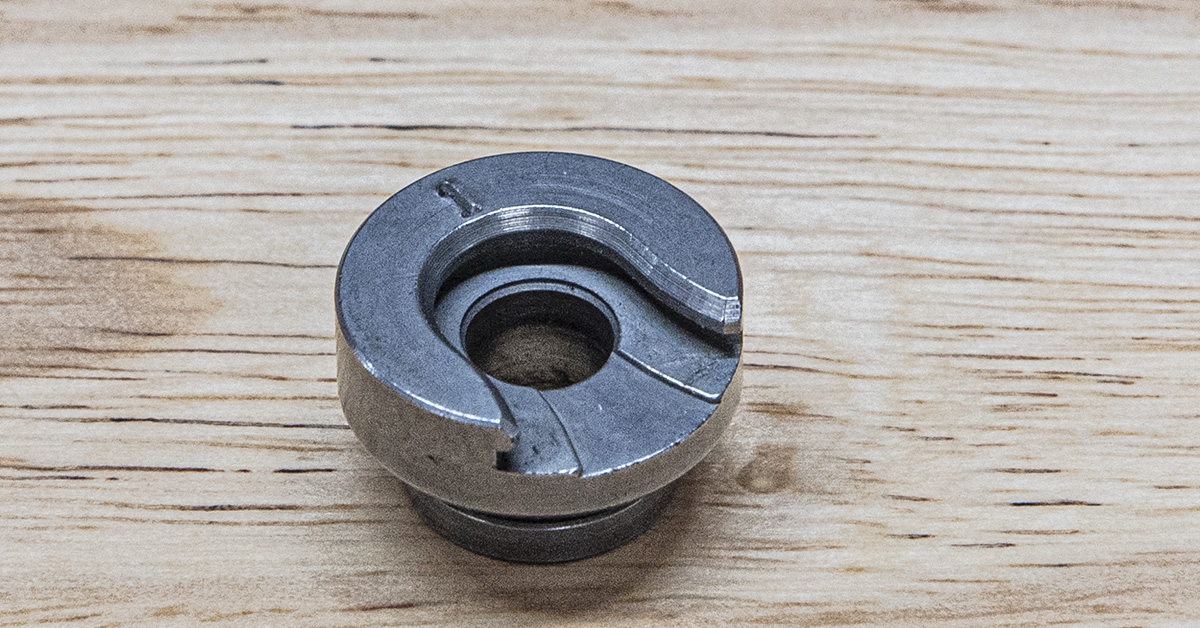
The shell holder is one such item. The shell holder attaches to the press ram and provides the means to hold the cartridge case in place atop the press ram. Shell holders vary in size according to the cartridge case they are manufactured to hold; however, they are not entirely cartridge-specific. Shell holders will typically work within a “family” of cartridges cases. For example, .30-06, .270 Win, .308 Win, along with all other rimless cartridges with the same case head diameter, will all use the same shell holder.
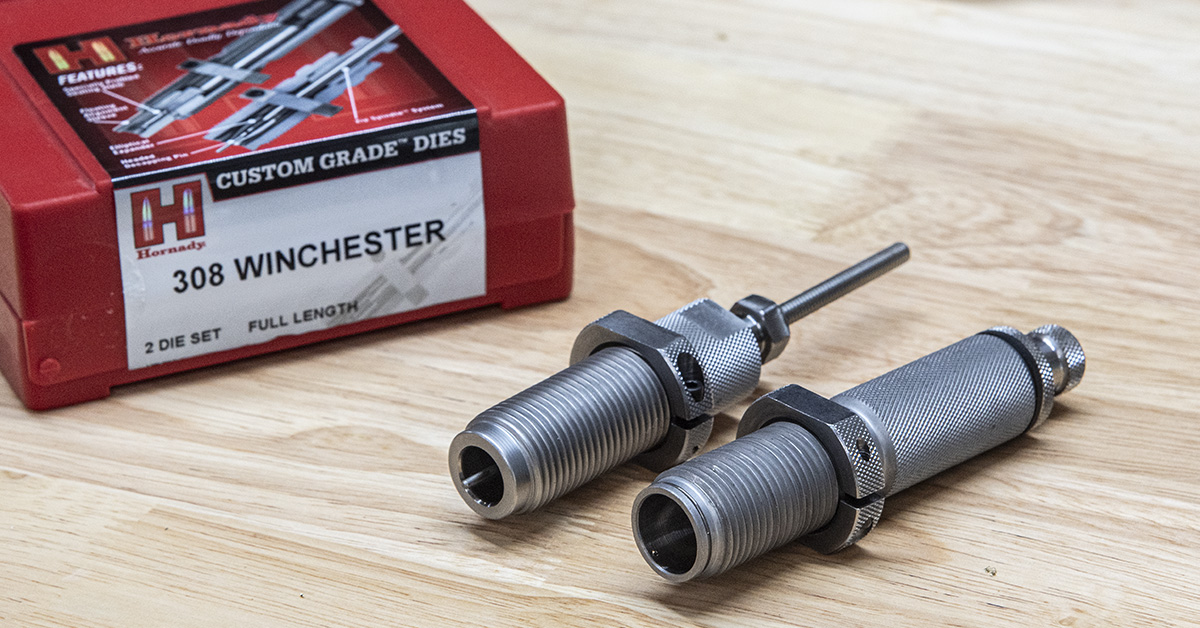
A reloading die set is the next item that you will need to get your press operational. Unlike shell holders, reloading dies are cartridge-specific. You will need a die set for each different cartridge you intend to reload.
Rifle reloading die sets are typically packaged with two dies to a set. The most common dies found in a two-die set are a full-length resizing die and a bullet seating die.
Once the cartridge is fired, the cartridge case will expand to completely fill the firearm’s chamber. When the chamber pressure drops, the case will somewhat go back to its original size; however, after firing, the case will be slightly larger as compared to its original size and it will need to be “resized” for future use. The full-length resizing die is the first die that you will use. This die will resize the cartridge case across its full length and simultaneously remove the fired primer.
As previously mentioned, the reloading process has some flexibility that allows you to choose what best suits your needs. If, for example, the cartridge case that you are reloading is going to be used in the same rifle that originally fired it and that rifle is a bolt-action, the cartridge case does not need to be full-length resized; only neck resizing is required. When using a neck resizing die, only the neck of the case is resized to properly hold a new bullet. This method results in much less stress being placed on the case during resizing since the body of the case is not resized. Because of this, neck resizing will ultimately result in longer case life as compared to full-length resizing. Eventually, though, neck-resized cases will need to be full-length resized as the case will grow enough that it will no longer fit into the rifle’s chamber. How many firings this takes depends upon many factors, including the rifle’s chamber dimensions, the cases being used, and the pressure of the handloads produced.
Much has been said over the years concerning an accuracy benefit, or at least a perceived accuracy benefit, of neck-resized cases versus full-length resized cases. In my experience, the only benefit that I have seen from neck resizing is extended case life.
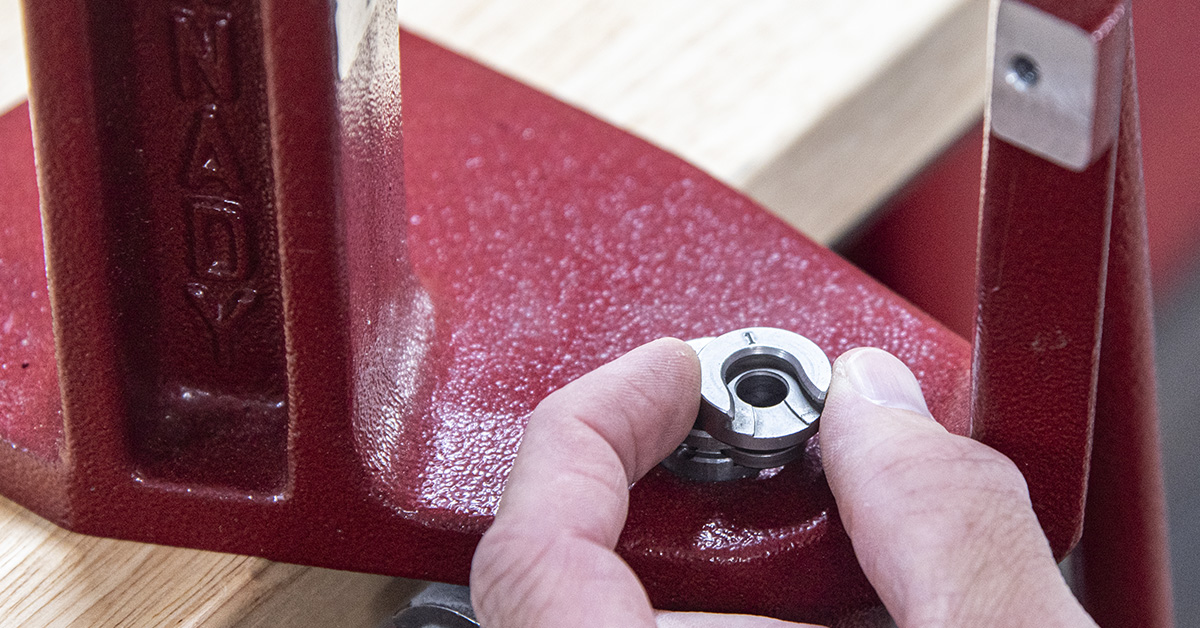
As you prepare to reload your first cartridge, the first thing you’ll do is install the proper shell holder on top of the press ram. The shell holder simply slides onto the press ram and snaps in place. Once in place, the shell holder may be rotated into any orientation that you desire.
Install and adjust the full-length resizing die into the reloading press in accordance with the manufacturer’s instructions.
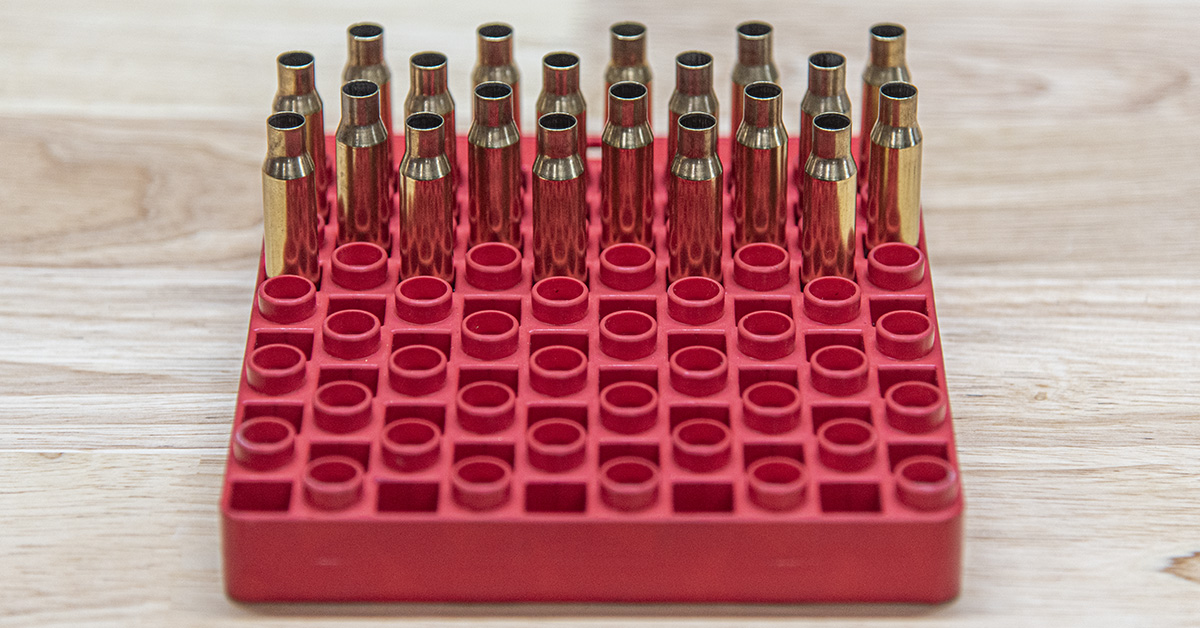
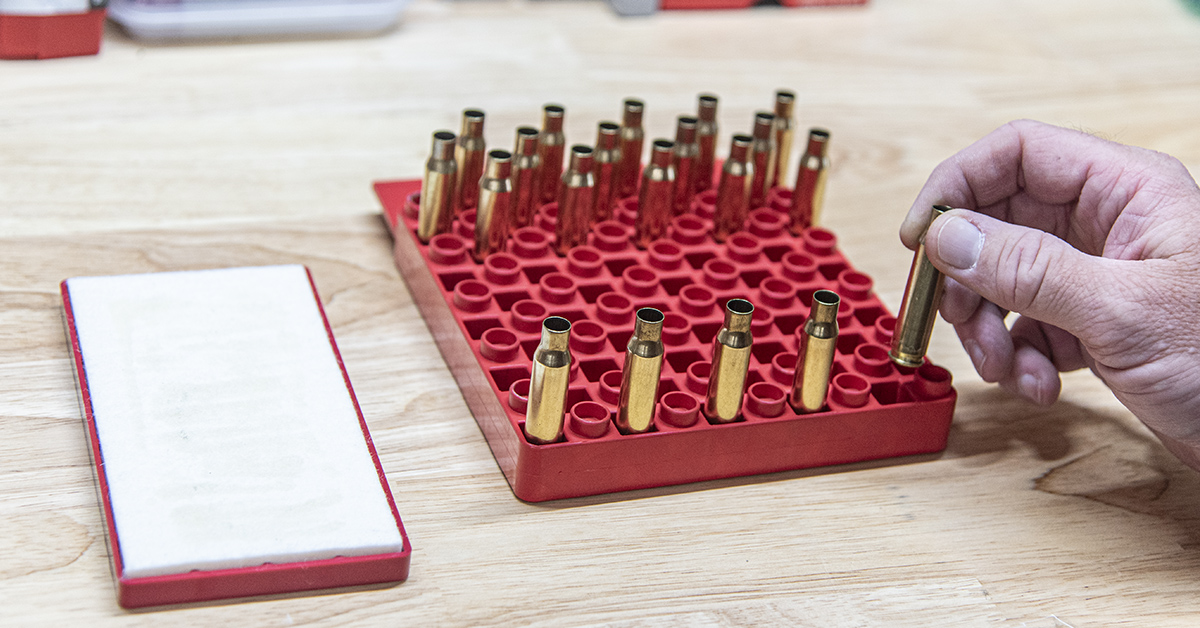
The reloading block is used to hold the cartridge cases upright as you work. It also serves to keep track of your work, ensuring that you do not repeat or skip a step with one of the cases. Reloading blocks usually have 50 holes in which to place the cartridge cases; however, the idea here is to not fill the block completely with cartridge cases. A minimum of one row of holes must be left empty to use the block correctly.
I prefer to have about half of the block empty when I reload. Considering that rifle ammunition is generally packaged 20 rounds per box, I will load rifle ammunition in 20 round lots. Begin by placing 20 cartridge cases at the end of the block furthest away from you.
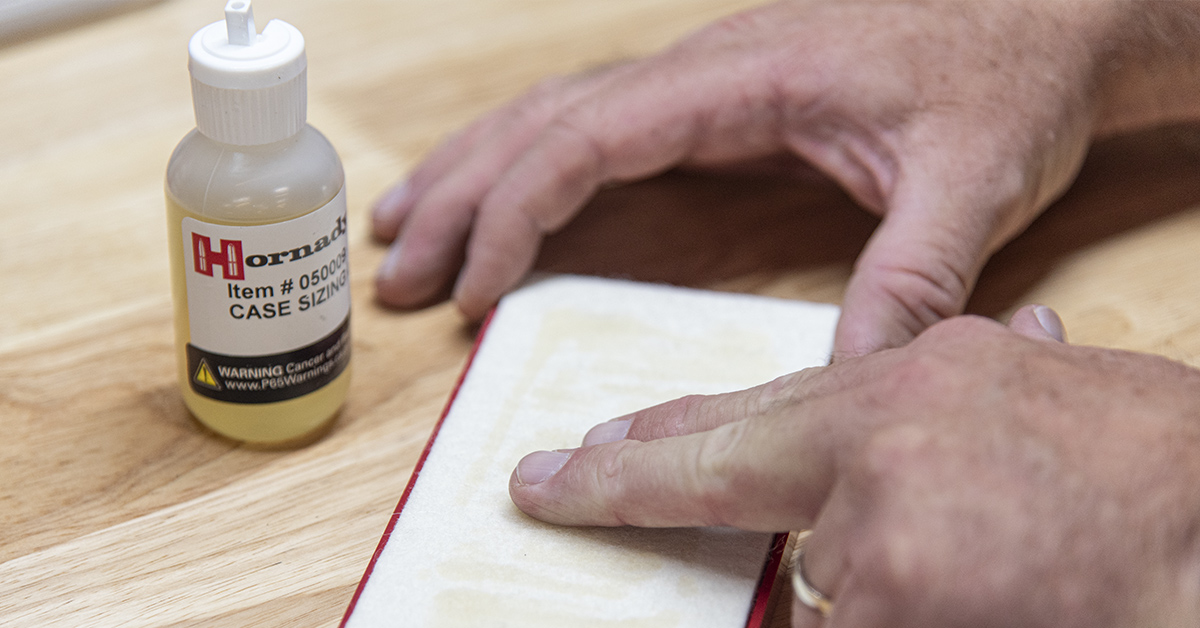
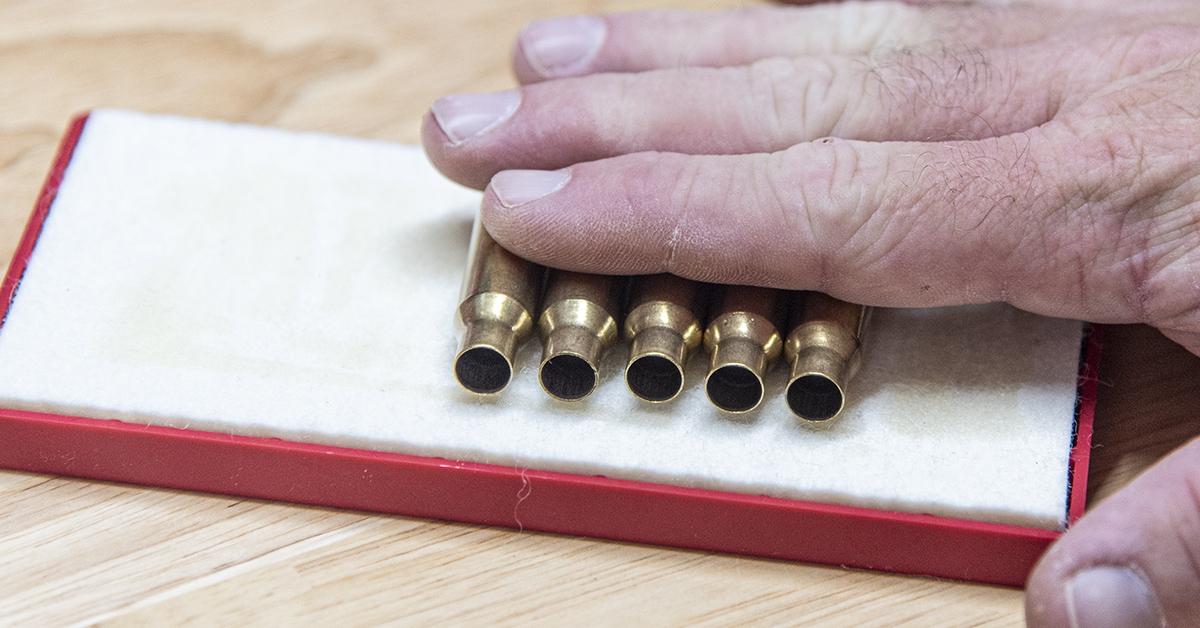
In preparation for resizing, the cartridge cases must be lubricated, an unlubricated cartridge case inserted into a full-length resizing die will most likely become stuck inside the die. Spread a little case lube evenly across a lube pad. It doesn’t take much lubricant…just enough so you can see it on your fingertips as they pass across the pad. The pad will eventually become dirty with use but is easily cleaned with dish washing detergent and warm water.
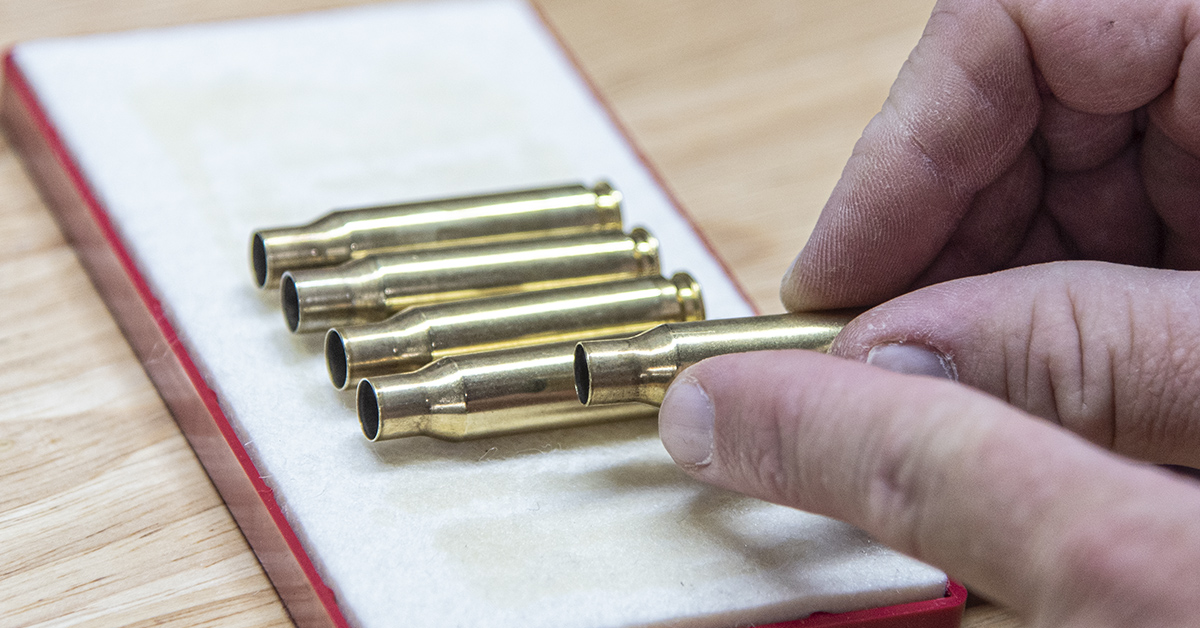
When lubricating your cartridge cases, ensure that you do not get any lubricant on the shoulder of the case. Lubricant on the case shoulder will typically result in dented shoulders during the resizing process because the lubricant will be pressed into the shoulder.
Only the case body needs to be lubricated, and it doesn’t take much. Just a light coating of lube on the body of the case is all that is required. I typically lube five cases at a time, placing them on the lube pad and rolling them in unison from one end of the pad to the other.
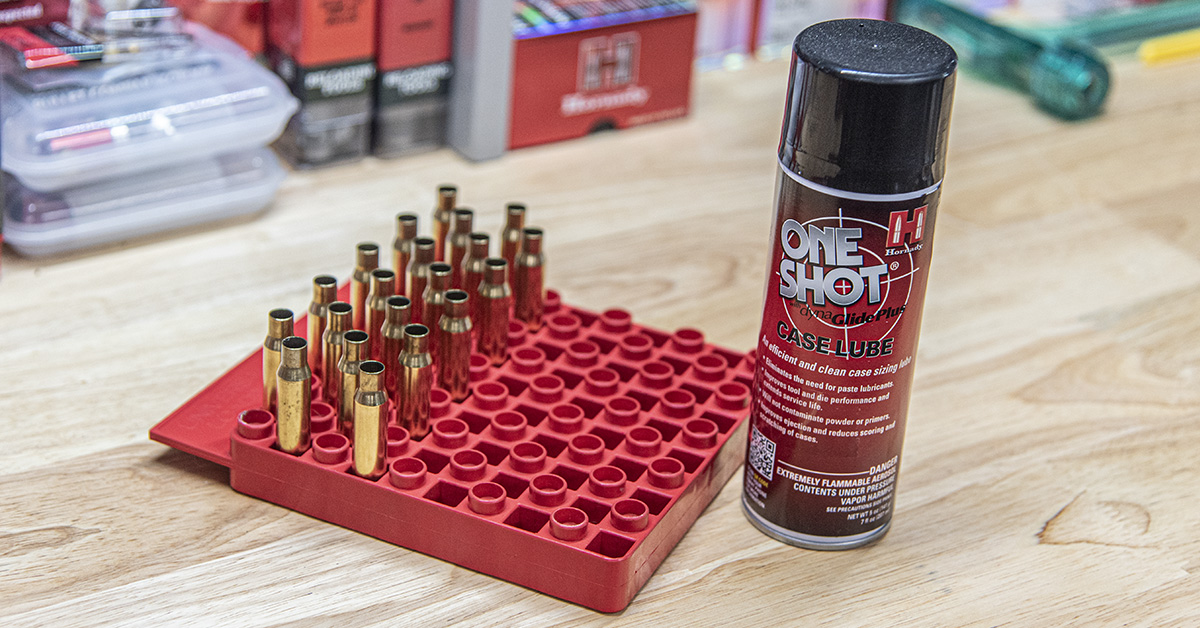
Case lubricant is also available in an aerosol can. This method of lubricating cases is somewhat faster and eliminates the need for the lube pad and the sticky fingers that come from its use. All you need to do is simply spray a light coat of lubricant onto the body of the cartridge cases.
As you lubricate your cases, move them forward in the reloading block. Once all the cases are lubed and placed in the forward end of the block, rotate the block 180 degrees. This effectively moves them to the rear in preparation for the next step in the process.
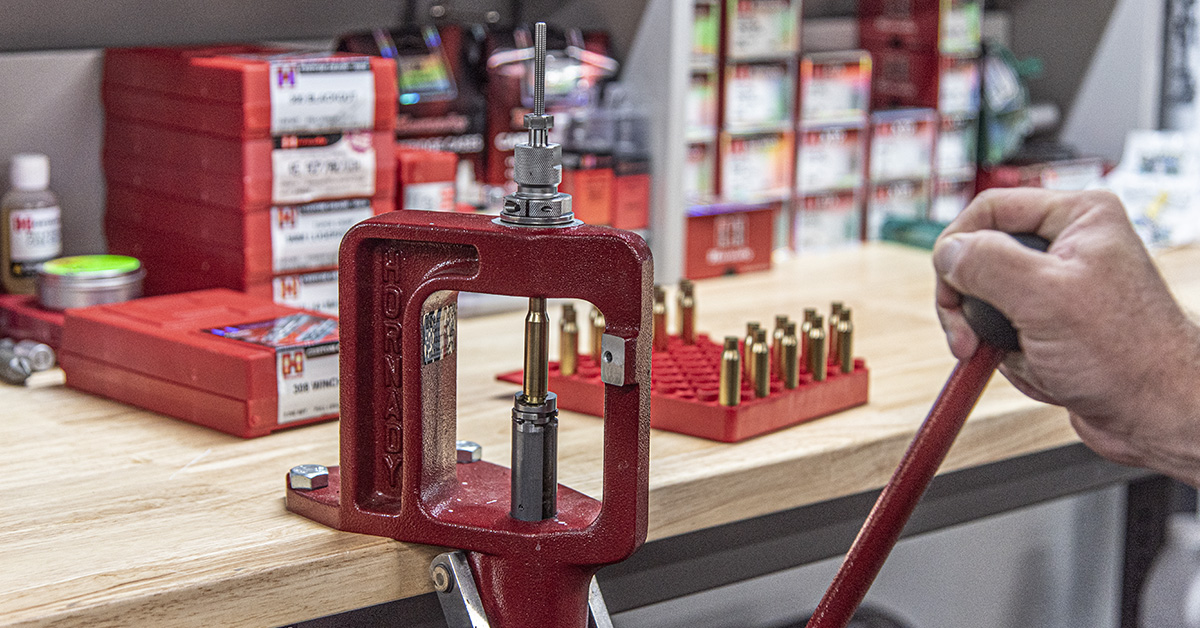
Insert the once fired and lubricated cartridge case into the shell holder. Lowering the press arm will raise the cartridge case and force it into the resizing die. Once fully inside the die, the case will be resized across its full length and the fired primer will be removed. Once resizing and primer removal is completed, raise the press arm (which will lower the press ram), remove the case from the shell holder, and place it in the front of the reloading block. Repeat this process with all the cases. Upon completion, all the cases should now be in the forward portion of the reloading block.
Once again, rotate the block. Next is to remove the case lube from each of the cases. This is commonly done by simply wiping off the lubricant with a clean, dry rag. It is important for the cases to be clean and free of lubricant. Once completed and all the cases are in the forward portion of the reloading block, rotate the block, putting the cases towards the rear.
As with many things in our hectic lives today, it can be difficult for us to find the time needed to do the things we enjoy. Reloading is certainly not immune to these time constraints. Plan your work wisely so that if you must stop and tend to something else, you do so at a convenient step within the reloading process. After resizing, in my opinion, is a perfect time to stop.
We will pick up again with the second portion of this reloading tools and processes article, wherein we will discuss case preparation, priming, powder measuring, bullet seating, and more, bringing you to your first completed cartridge reload. Stay tuned…

