Learning safe firearm operation and receiving effective training are the most important aspects of gun ownership. Unfortunately for many (most?) defensive handgun owners, proper pistol cleaning and maintenance are not even on the radar. Here’s what you need, and what you need to know…
by Rob Reaser
As of this writing, the FBI’s National Instant Criminal Background Check System (NICS) has reported a whopping 214,913 background checks conducted on Black Friday (11/23/23). That is all in one day. Given the alarming escalation in criminal activity and violent assaults we’re experiencing not only in the cities, but also in the suburbs and now rural areas, you can bet that many of those gun purchases were by new gun owners.
As veteran shooters and personal defense practitioners know, learning safe firearm handling and receiving qualified training are the two areas new firearm owners must immediately focus on. What is not typically covered in the classroom, though, is how to care for those guns. Keeping a firearm clean and maintained is essential not only to preserve the investment but also to ensure the gun works when it is needed most.
For those of us who have been around the block a few times, gun cleaning is something we can do almost on auto pilot; however, new gun owners simply don’t know what they don’t know, and when faced with shelves and peg boards full of gun cleaning tools and supplies, it can be daunting to try and figure out what is needed. Then there is the issue of how to go about cleaning a gun.
For all those who are new to the rank, we wanted to develop a basic overview of what is involved with cleaning a defensive pistol. Those of you who know the drill may find this a good article to share with any family and friends who are just learning their way around their guns. And who knows? You may discover a new tip or two you can use. Of course, with Christmas on the near horizon, a comprehensive gun cleaning kit will be a most welcome gift for the beginner.
The Big Question…How Often?
Let’s get this out of the way from the start…cleaning a pistol is no fun, but it must be done. Keeping your gun free of dirt, debris, and fouling from use and the firing process is essential to preventing damaging rust and corrosion from gaining the high ground, and it will ensure that your pistol will operate when you need it.
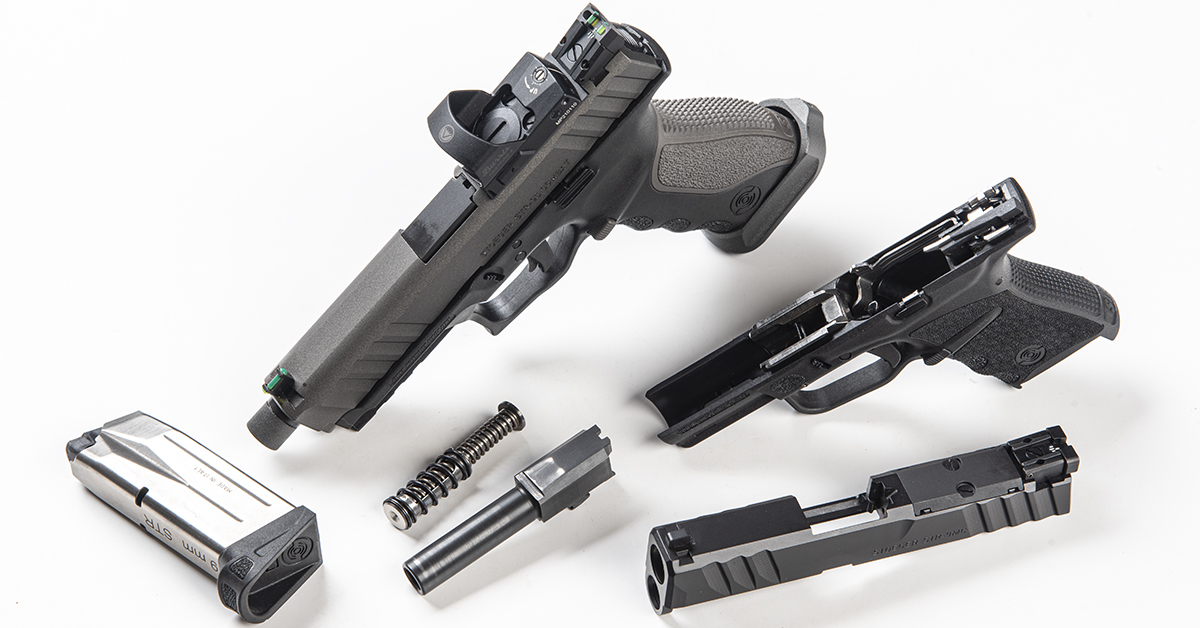
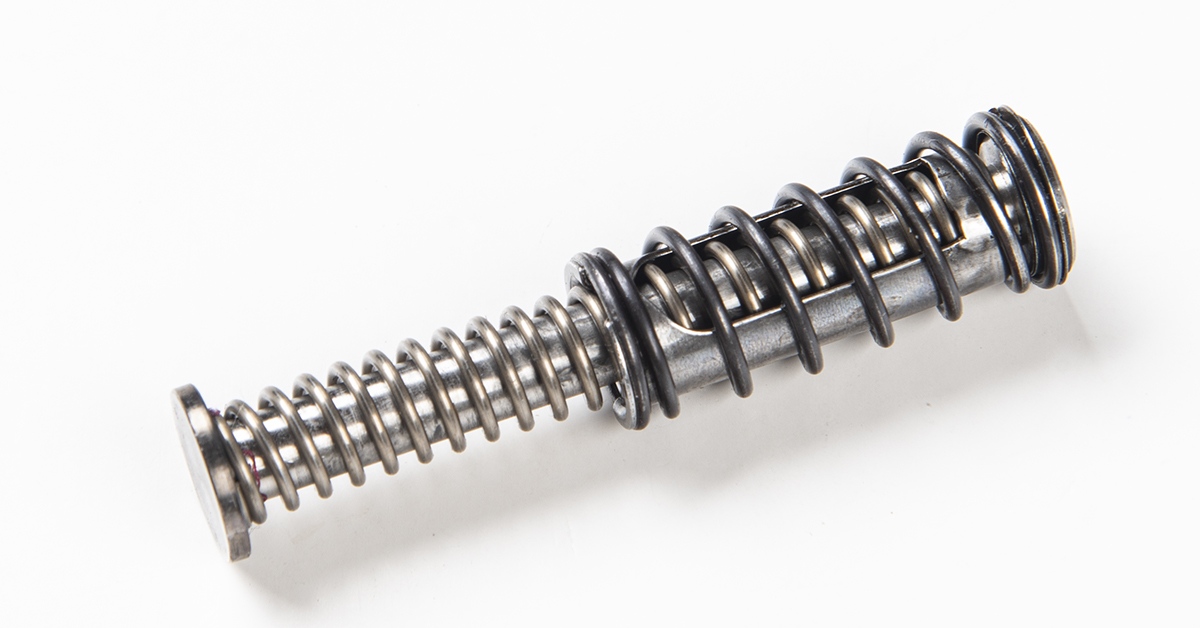
Proper pistol cleaning involves separating the gun into its basic components: barrel, slide, guide rod/recoil spring, and frame. These components are then cleaned of debris and fouling with a gun solvent, dried, and lubricated per the manufacturer’s recommendations.
There is no set interval for when a pistol should be cleaned, but our philosophy is that a gun should be cleaned after every shooting session — whether that is after an hour’s-long range session or whether the gun was fired only once. In other words, a pistol should always be in a state of cleanliness and be correctly lubricated.
That is not to say a pistol doesn’t need to be cleaned and lubricated between shooting sessions. A pistol that is carried every day or frequently must also be tended to. This is because routinely wearing a pistol will expose the gun to humidity, dust, lint, and other environmental detritus that can then promote rust formation or interfere with the mechanical workings of the gun. Pistols (which is how we generally classify semi-auto handguns) can be especially sensitive to dirt and poor lubrication because the cycle of operation requires the slide to move back and forth unhindered. A poorly lubricated and dirty gun may fail to fully eject a fired cartridge case or to load a new cartridge. This is why pistols must always be maintained.
And just because a pistol is not fired or carried daily doesn’t mean it can be ignored. A gun that is seldom used should be cleaned and lubricated once or twice a year. This is especially true if the gun is not secured in an environmentally controlled vault — one with a stable temperature and a dehumidifier.
Tools for the Job
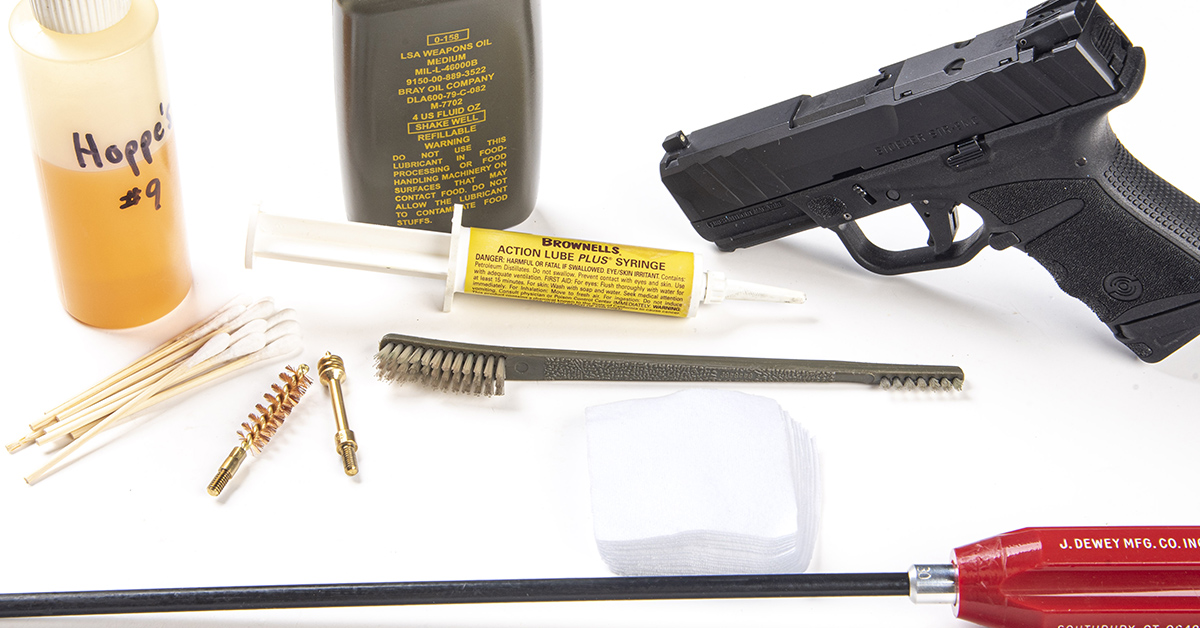
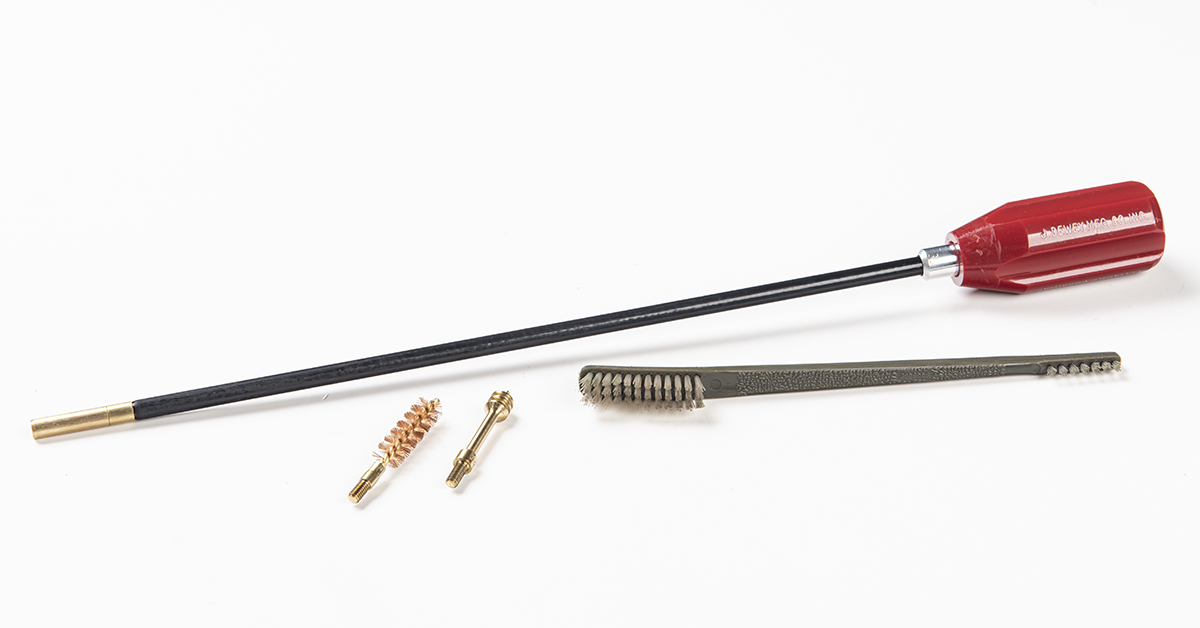
Tools needed to clean the most common semi-auto pistols are no different than what is needed for any firearm. Start with a good cleaning rod. By “good,” we mean a solid rod with a rotating handle. The rotating handle allows the brush and patched jag to follow the barrel’s rifling and get into the grooves to remove lead and copper fouling. The rod should also be coated (not bare metal) to protect the barrel from metal-on-metal damage.
Next, you’ll want a bronze cleaning brush and a piercing-point brass jag. Both items are sized for the gun’s caliber, so use a 9mm brush and jag for a 9mm pistol, et cetera. The brush is used to scrub the tough fouling out of the barrel and is used in conjunction with a solvent. The jag is used with a cotton cleaning patch to remove fouling loosened by the brush and solvent, as well as to dry the barrel bore and to apply the final light coat of protective lubricant.
Finally, a nylon cleaning brush is needed for applying solvent and for scrubbing fouling out of tight spots along the slide, and to access hard-to-reach areas in the frame. Our favorite is the standard MILSPEC nylon bristle brush with dual brush heads. (NOTE: never use a metal brush on any gun part as it will damage the protective finish!)
Supplies Needed
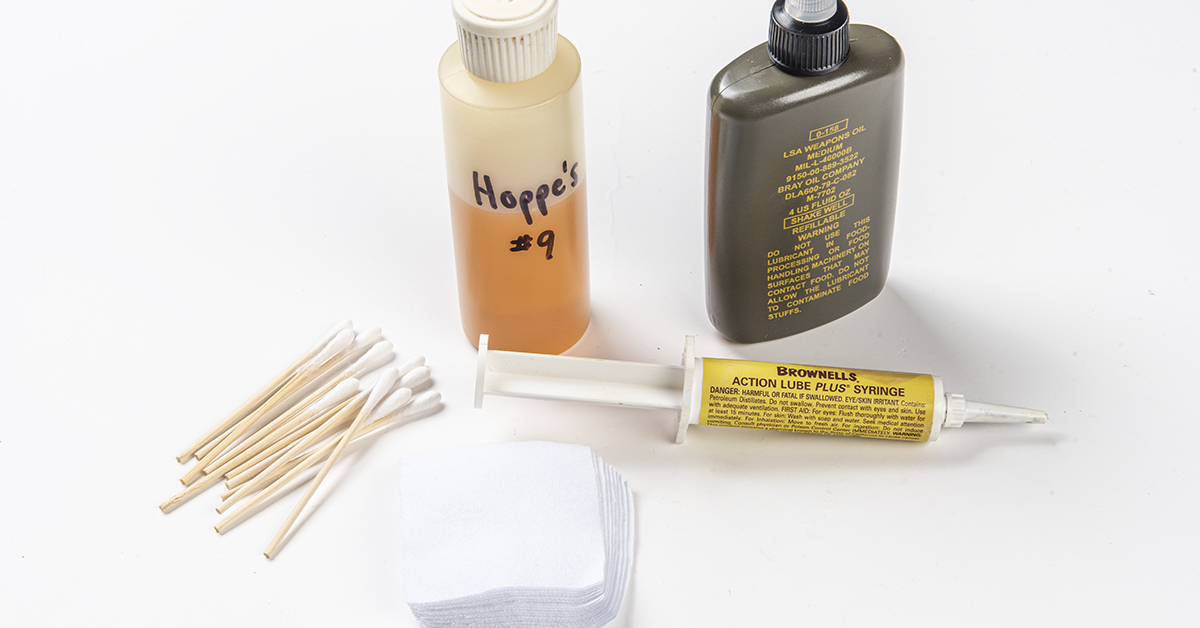
The pistol cleaning supply list is also a short one. The absolute essentials include a solvent, a lubricant, and bore cleaning patches. Optional items shown here include cotton swabs (for cleaning tight nooks and crannies) and a quality firearm grease (which some pistol manufacturers recommend for specific components).
Many shooters will use a multi-function CLP (cleaning, lubricant, protectant) in place of solvent and oil. CLP has been used successfully for many decades for firearm cleaning and maintenance. Our preference (and recommendation), though, is to employ a dedicated solvent and a dedicated lubricant. Why? We know these items provide maximum performance for their specific tasks. Our solvent of choice is Hoppe’s #9. For lubricant, we opt for military LSA Weapons Oil. This is a semi-fluid lubricant that flows where you need it to go yet has a high “cling factor.”
As with brushes and jags, cleaning patches are selected based on caliber size, although one size patch can cover multiple calibers. We recommend using only 100-percent cotton patches because they are more absorbent than the synthetic variety and they seem to do a better job of picking up the smallest fouling particles in a barrel bore.
Before You Start
Safety is always the number one consideration when in the presence of a firearm. There are two rules to always follow:
- Before cleaning, be sure the gun is rendered safe by removing the magazine and ensuring there is no cartridge in the chamber.
- Remove all ammo from the work area.
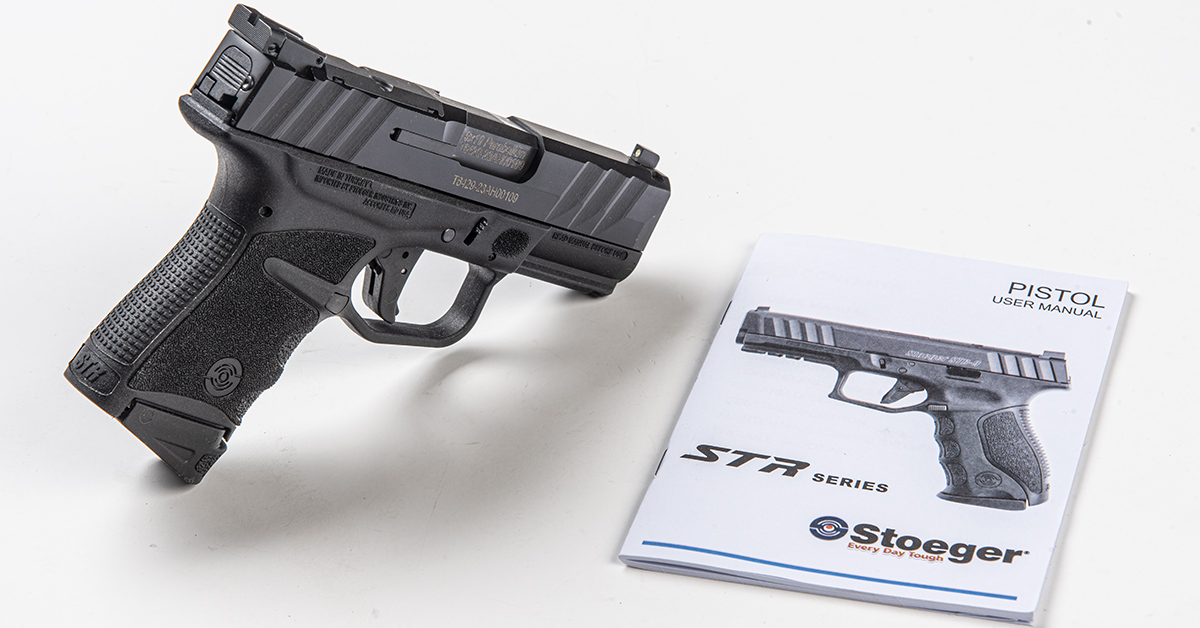
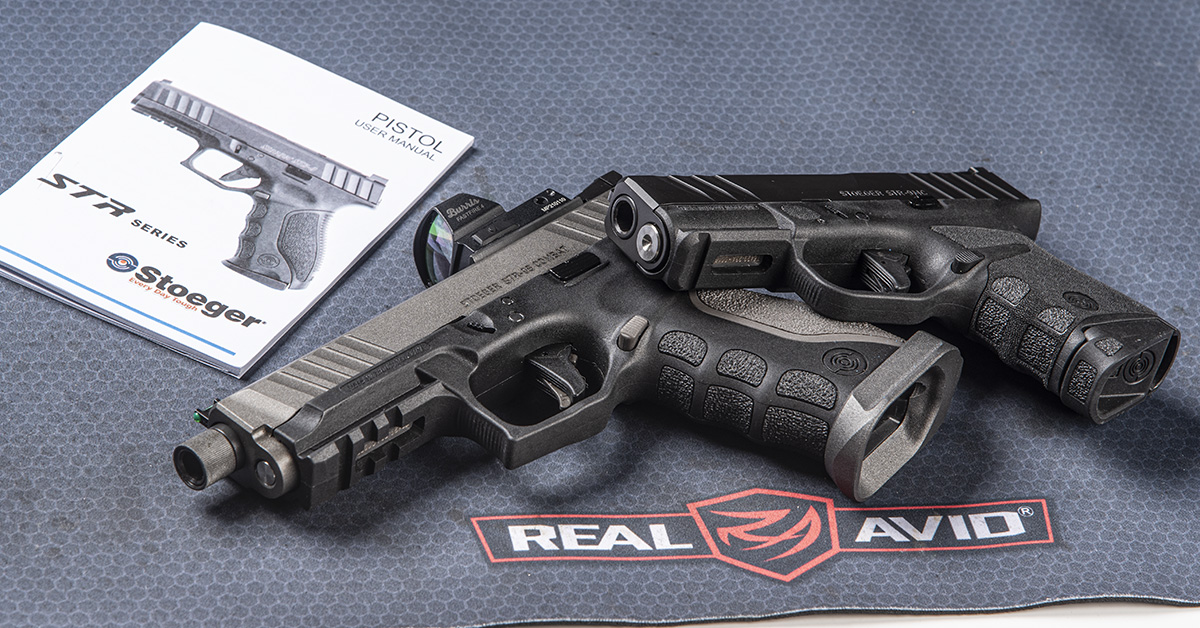
While we are going to cover in this article the generic procedure for pistol cleaning, it is always recommended that you consult your owner’s manual for the procedures outlined for your specific firearm. Some manufacturers dictate lubricant be placed in specific locations, for example, where other manufacturers do not. Likewise, the use of oil versus grease. Following the manufacturer’s recommendations. If you have purchased a previously owned gun that did not come with the owner’s manual, you may be able to download a PDF version through the manufacturer’s website.
Finally, set aside a clean and clutter-free work area, and acquire an absorbent mat to work on. We like the roll-up Smart Mats offered by Real Avid. They have held up through years of hard use and chemical exposure, have a thick, rubberized backing that won’t slide around on slick benches or tabletops, and they come with a convenient plastic tray secured on one end to prevent small items from rolling around and becoming lost.
Cleaning Process
Cleaning requires the pistol to be separated into its primary components. Pretty much every polymer-frame striker-fired pistol, like these STR-9 models from Stoeger, break down the same: frame, slide, barrel, guide rod/recoil spring, and magazine.
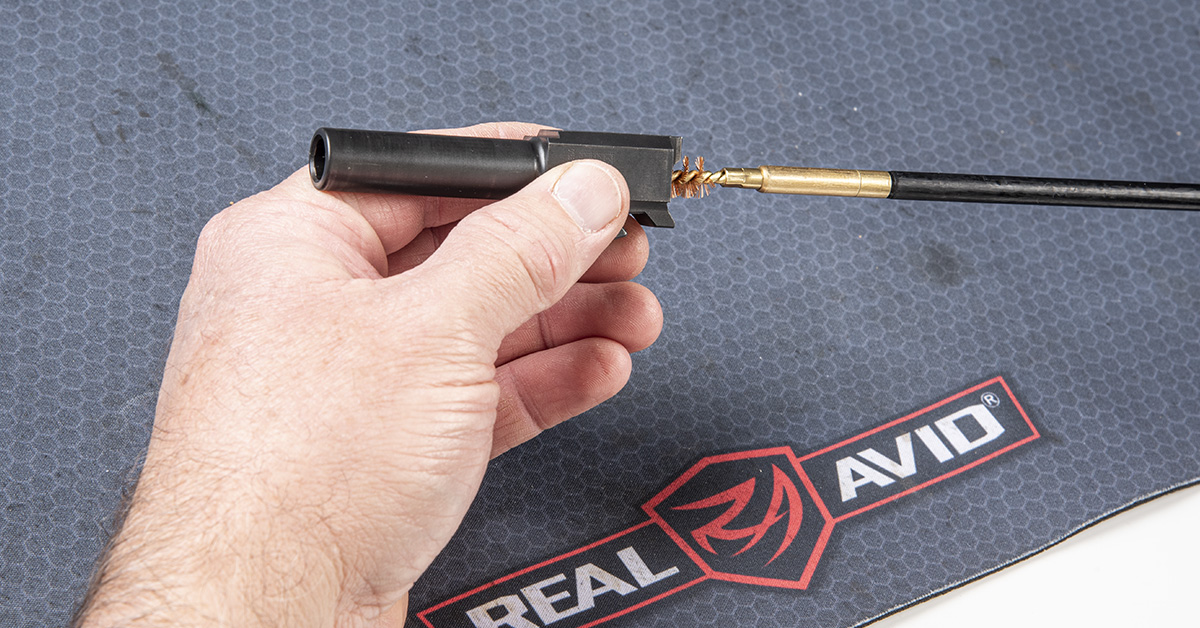
We like to begin with barrel cleaning because it is a good idea to let the solvent work in the bore for 10-15 minutes to better dissolve and loosen any fouling. Start by dripping solvent into the bore and then run the solvent-saturated bore brush back and forth through the bore about 10 times. CAUTION! Do not reverse the direction of the brush while it is in the bore! Doing so can cause it to become stuck, and getting a stuck brush out of a bore can be extremely difficult. Instead, be sure to make a full pass of the brush through the chamber end, out the muzzle, and then pull it back out of the chamber end with each pass.
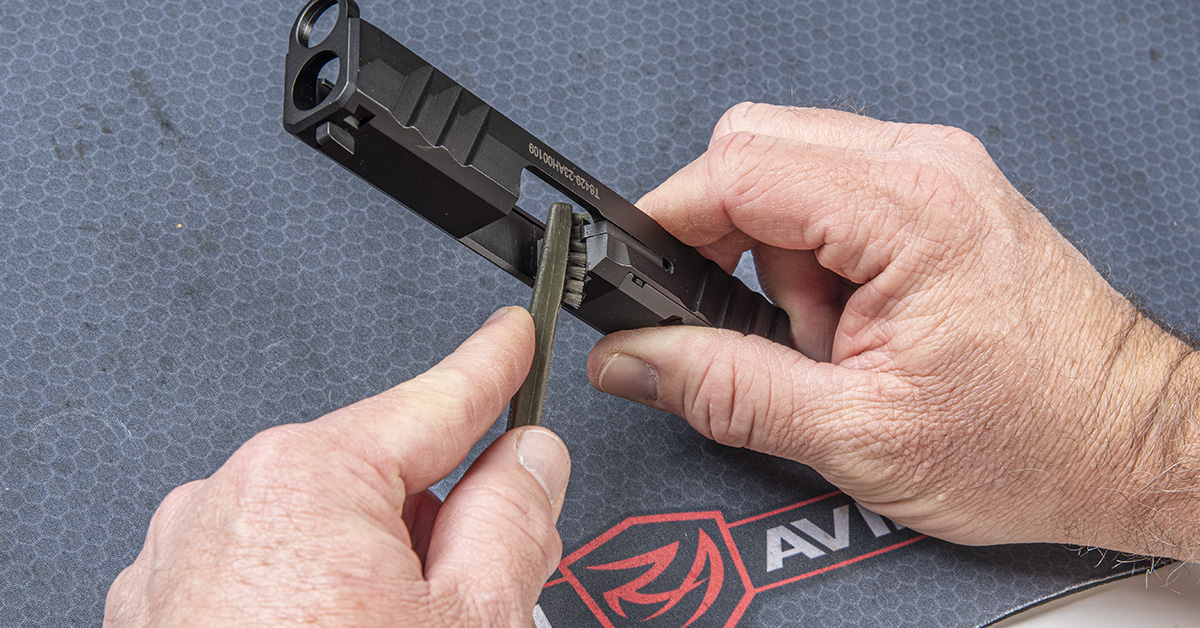
Solvent applied to a nylon cleaning brush is, in our opinion, the most effective and efficient method for cleaning the slide. This includes the interior and exterior of the slide. The narrow end of the brush is perfect for deep cleaning sharp corners, such as around the breech face (seen here), underneath the extractor claw, and the slide rail grooves. Be careful, though, not to allow solvent to get into areas that you do not access during routine cleaning and lubrication. These include the firing pin hole in the breech face, as well as the firing pin channel and the firing pin safety and the extractor. These are lubricated and secured inside the slide. Solvent getting into these areas can minimize the effectiveness of the lubricant.
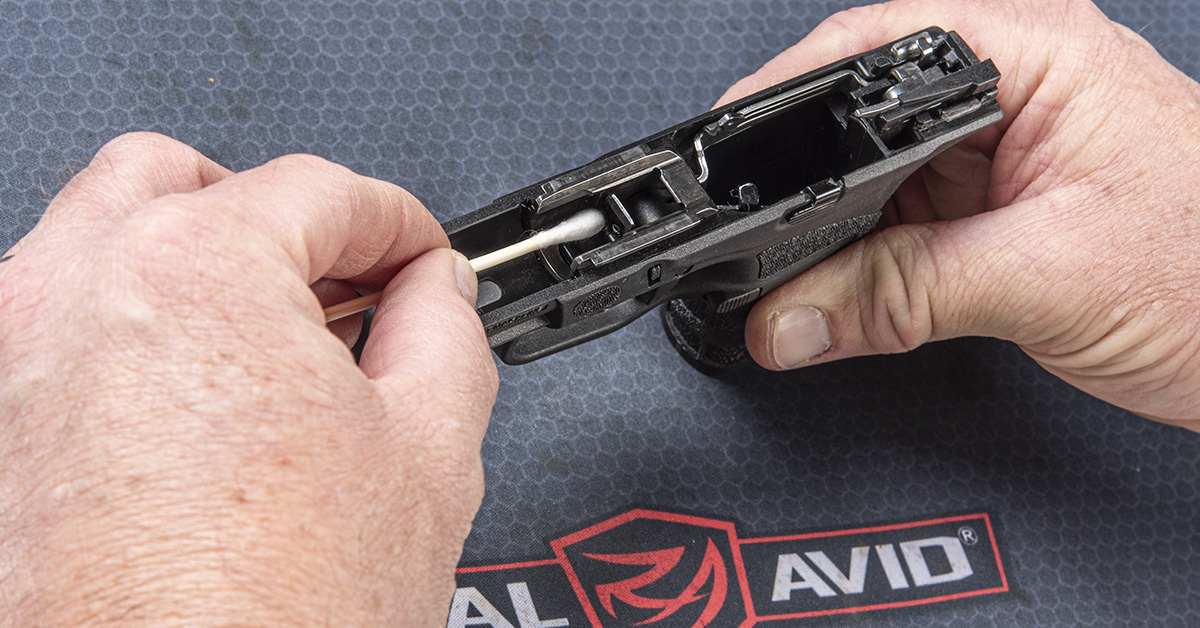
The frame interior should be wiped clean, but the intricate nature of the assembly makes for some difficult-to-reach areas. This is where cotton swabs come into play.
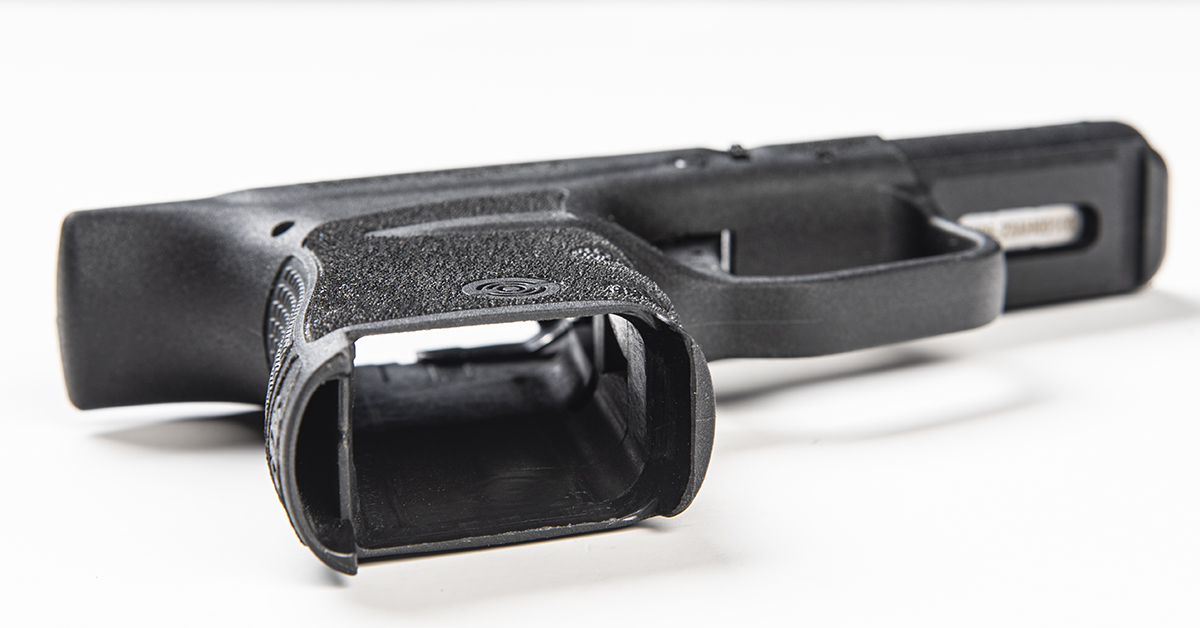
Also, pay attention to the magazine well in the grip. Excessive debris here can prevent the magazine from falling free during a speed reload.
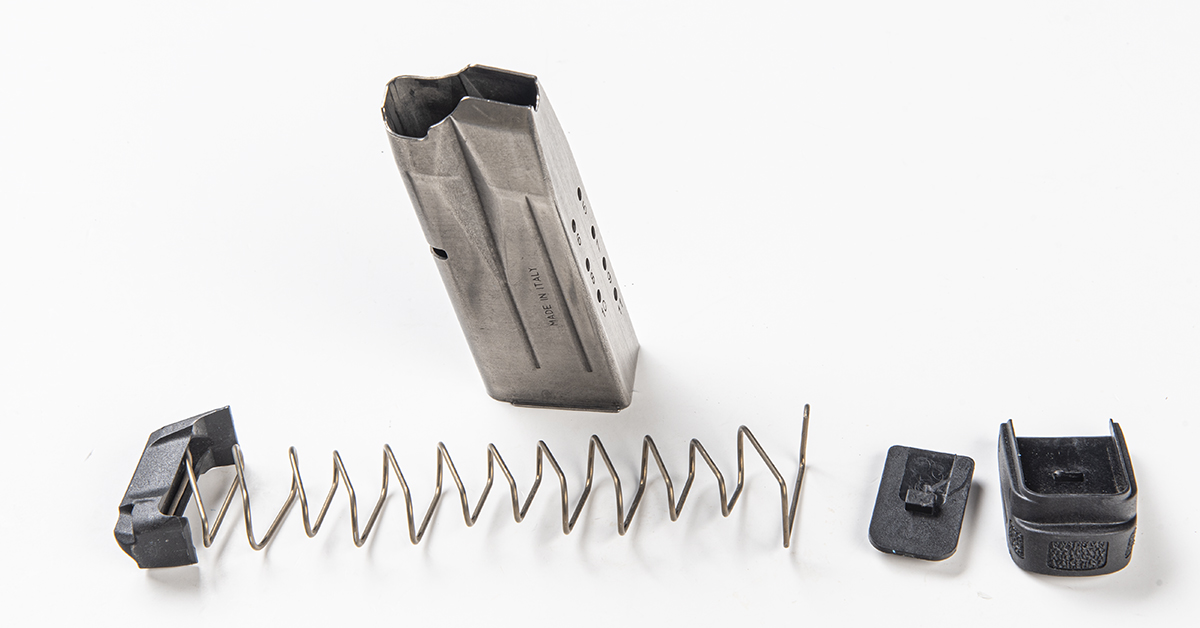
Speaking of magazines, they should also be periodically examined to ensure good operation. Follow the manufacturer’s procedure, but most disassemble in the same manner by depressing the plate, pushing off the floor plate, and removing the plate, spring, and follower assembly from the magazine body. Clean the inside of the magazine body, lightly lubricate the spring, and reassemble.
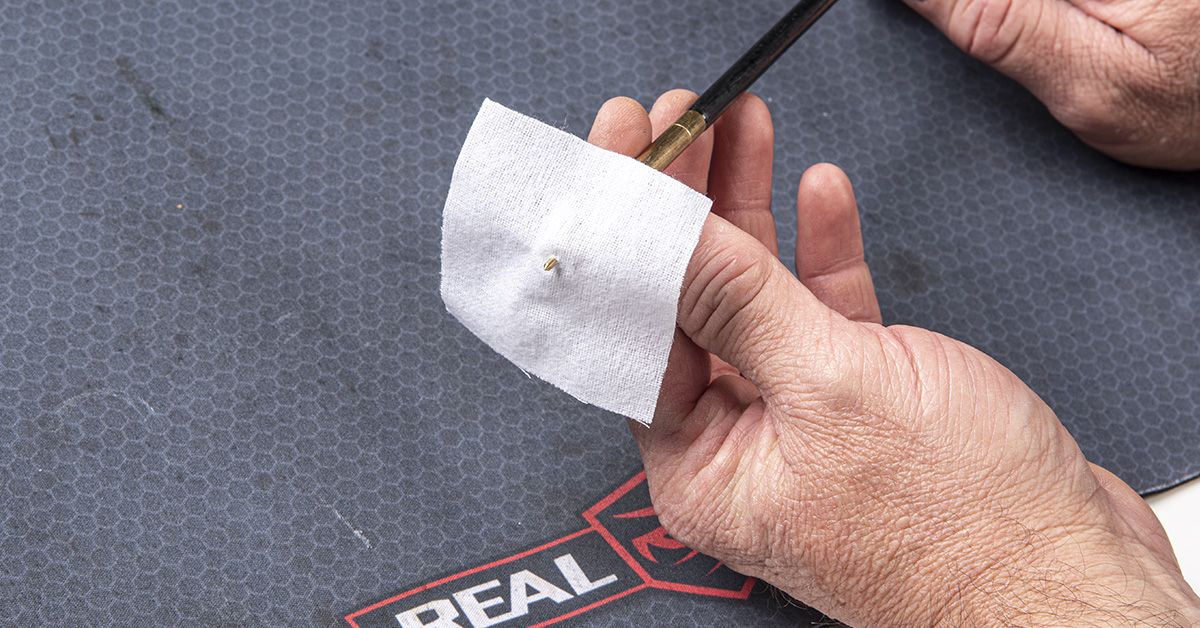
With the frame and slide cleaning complete, attention can be turned back to the barrel now that ample time has been given for the solvent to work inside the bore. Start by running a solvent-soaked patch down the bore to remove the fouling. We recommend using piercing-tip bore jags rather than patch loops (fittings with a slot that the patches go into) because the tighter fit allows for more effective removal of fouling, especially in the rifling grooves. To use, simply center the cotton patch over the jag and push the tip through the patch.
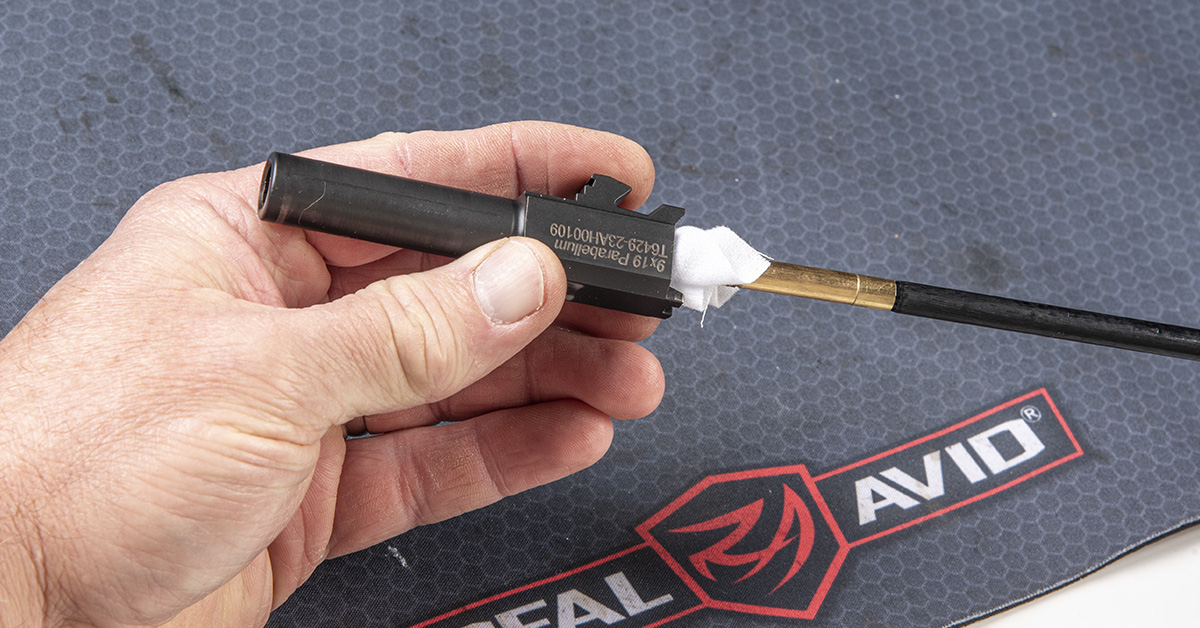
Next, push the patch through the barrel from the chamber end. Follow this by running a couple dry patches through the bore. The goal is for the dry patch to come out clean. It may take several sessions of additional solvent and bore brush scrubbing before the bore is thoroughly cleaned. Be patient. Once clean, wipe down the outside of the barrel with solvent, dry, and run a lightly lubricated patch through the bore.
Lubrication
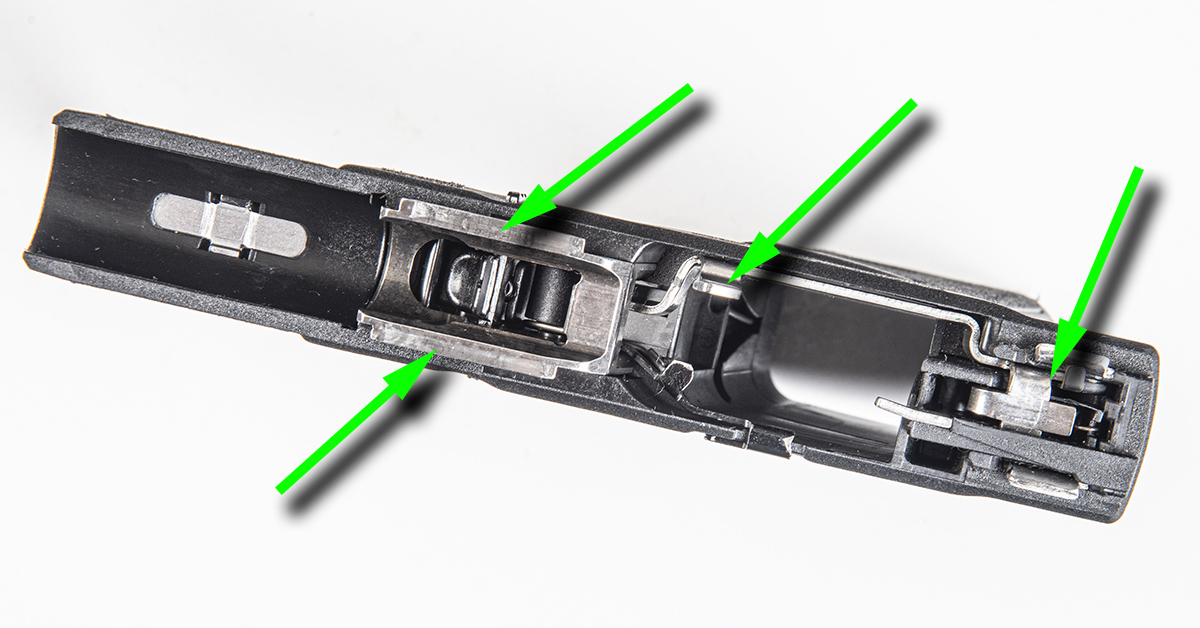
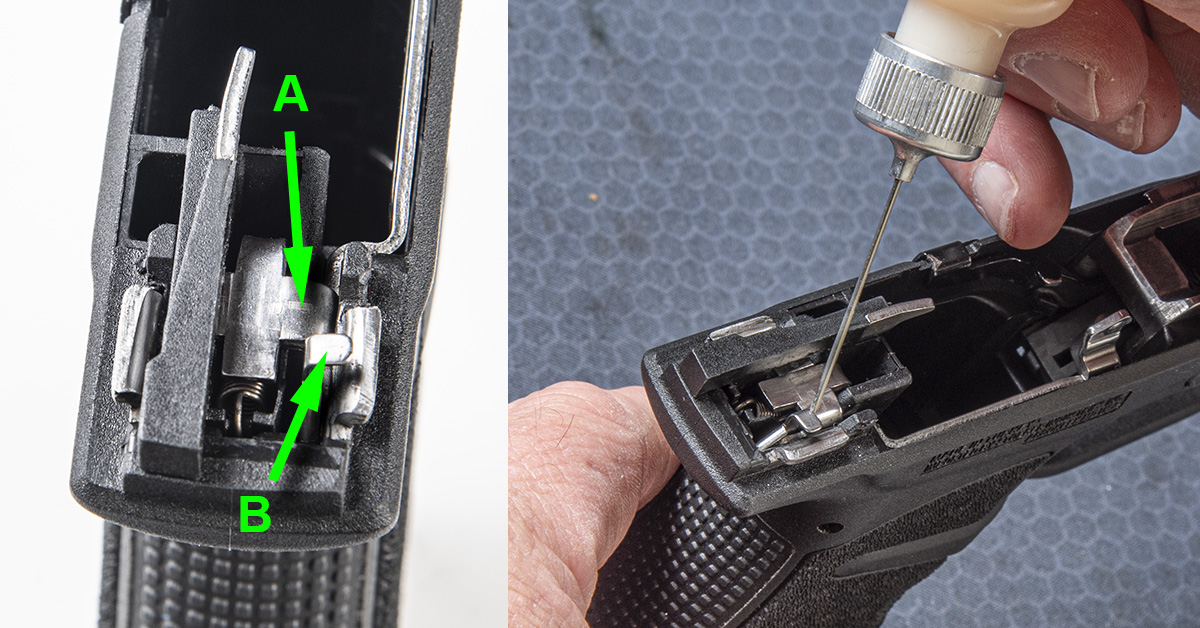
With the barrel, slide, and frame cleaned, it is now time to apply lubrication. Again, check your owner’s manual for the recommended lubricant type and locations for your specific pistol model. Generally, polymer-frame striker-fired pistols have the same lubrication points and the require very little lubricant. We’re talking a small drop, not a slathered coating! These include the locking block rails, top of the firing pin safety lever, and the contact point of the trigger bar and connector.
Identifying the trigger bar and connector lubrication point can be confusing for new gun owners since illustrations in most manuals aren’t always clear. This Stoeger STR-9 uses a similar trigger mechanism as GLOCKs and many other striker-fired pistols, and so makes for a good representative sample. The trigger bar is marked A and the connector B. One drop of lubricant is placed where the two components meet. Here, a needle oiler is used for precise lubricant placement.
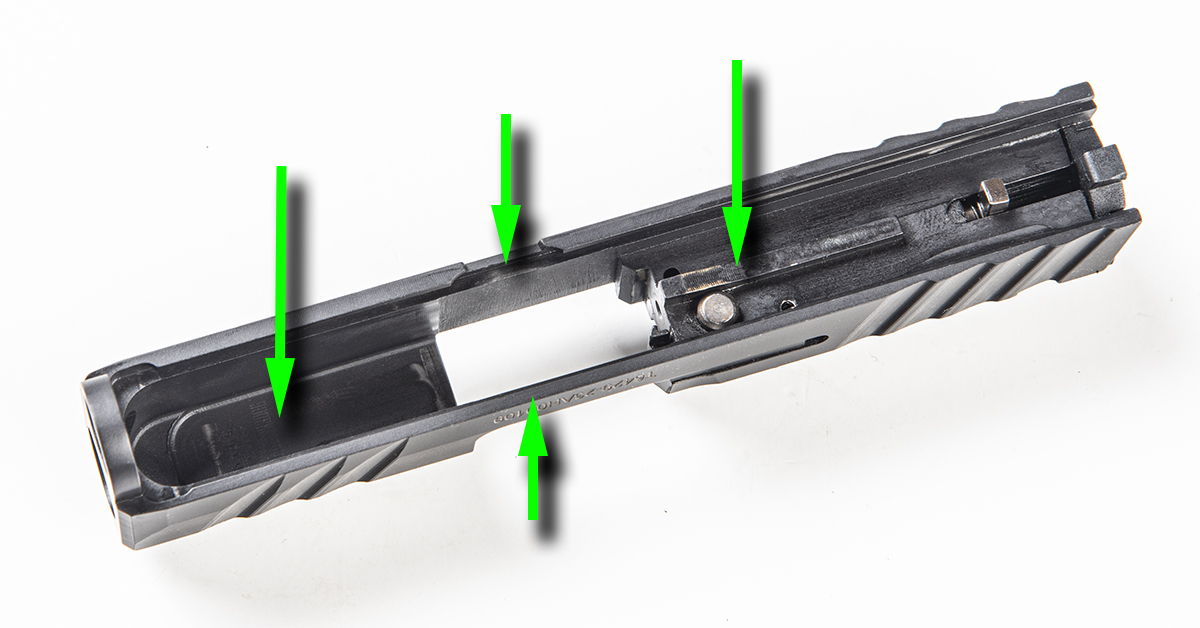
Slide lubrication generally involves the following areas: inside top of the slide (spread it around), both slide rail cuts (one drop in each cut and allowed to flow down entire length of the rail), and the raised portion that overrides the trigger bar cruciform (a light coating of grease).
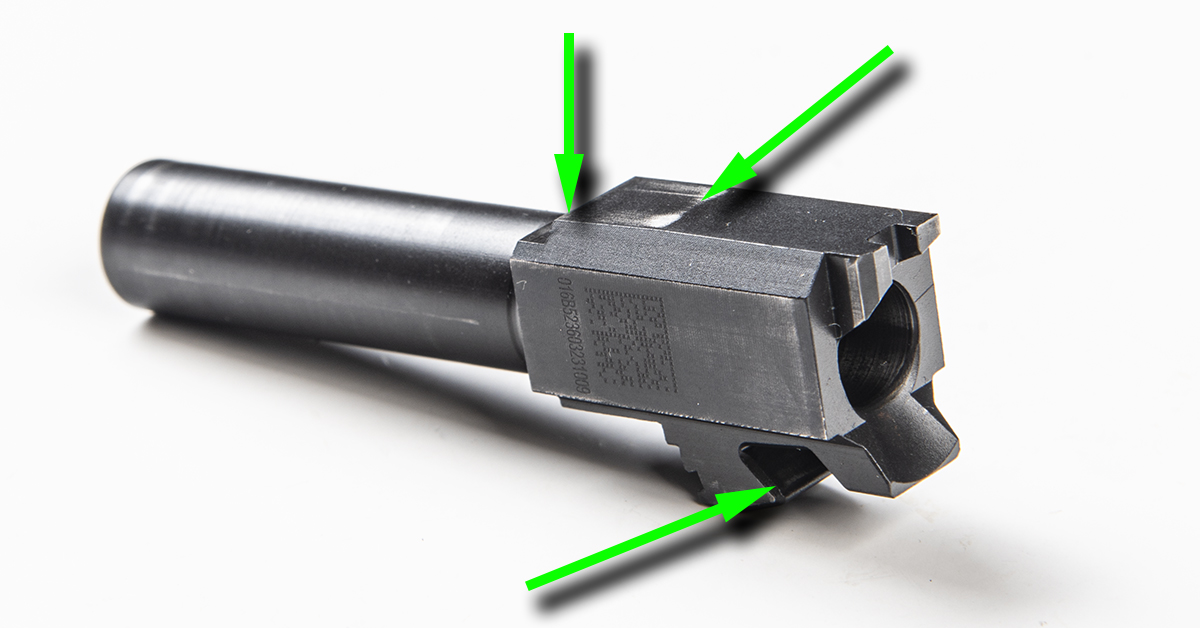
For the barrel, spread a light coating around the barrel. Other lubrication points include the front of the barrel hood, the top of the barrel hood, and the barrel locking lugs.
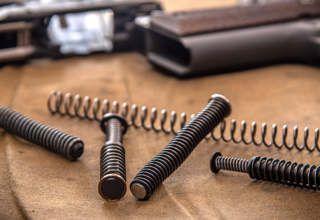
Finally, apply light lubrication to the cleaned guide rod/recoil spring assembly. Just put some oil on your fingers and spread it around the spring coils.
Don’t Forget the Optic!
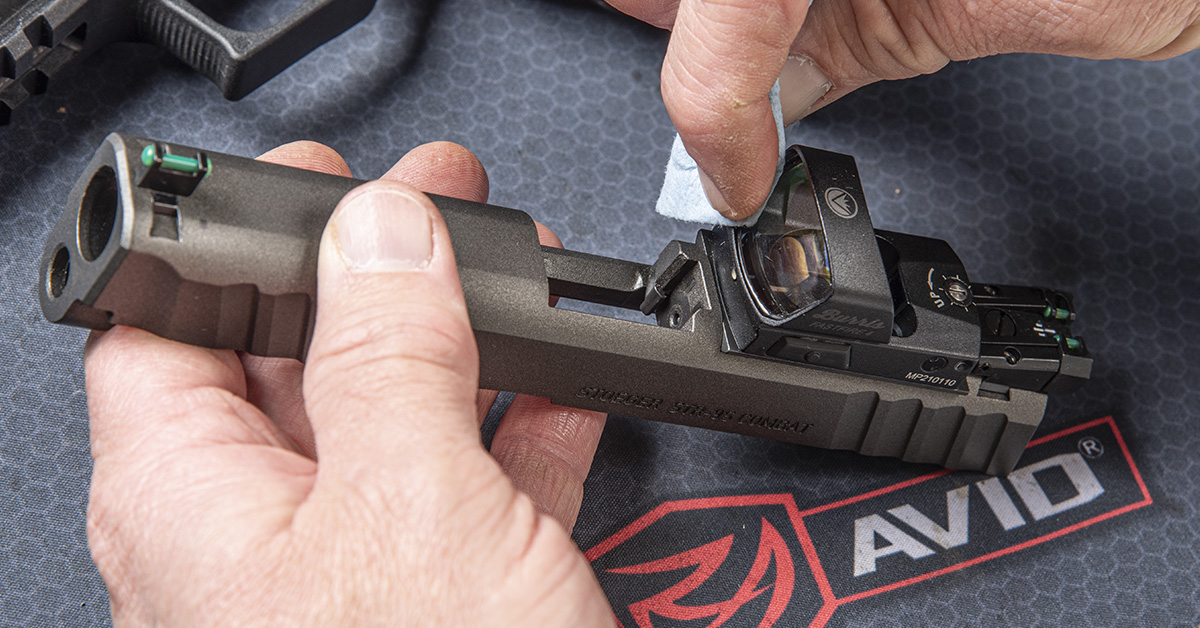
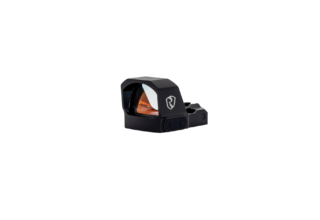
If you are one of the growing number of folks running optics on their defensive pistols, take a moment to tend to that red dot. Routine carry of the handgun means lint, dust, and smears will build up on the lens. These must be clean to ensure a clear sight picture and to protect the lens coating over the long term. We keep a clean beaver hair shaving brush to remove fine particles from glass and housings, and use a mild solvent (typically denatured alcohol) to remove oil and grease from the lenses. Just be sure to check with the optic manufacturer before applying any chemical or solvent to the lenses, as some may damage the coating.
Pistol cleaning isn’t the most fun thing to do, but it is quite simple once you learn your way around your gun. Do it after every shooting session — and check your gun frequently if you carry it every day — and you can be assured that your pistol will perform reliably when you need it most.

