Once again, the Heritage Rough Rider offers firearm DIY fans some easy “tinker time” and a fun alternative to the classic single-action revolver
by Rob Reaser
OK, we’ll admit it. We’ve gotten on a bit of a kick lately that takes us from the moderate to advanced DIY gun tech we typically cover here at Shoot On to something a little more relaxed and just plain fun. It all started when we picked up a Heritage Manufacturing Barkeep .22 LR revolver and, taking advantage of Heritage’s long list of available parts and accessories for their popular line of Rough Rider revolvers, swapped out the classic plow handle grip for what we thought was a more appropriate bird’s head grip and an engraved .22 Magnum cylinder. Since then, we’ve also explored customizing Heritage revolvers for creating an Old West-theme home or office display.
Well, because we find these old-school-style revolver intriguing, we couldn’t leave well enough alone and wanted to play around with Heritage’s most unusual six-shooter, the 16-inch Rough Rider. This isn’t your typical 1873 single-action clone, given its way long 16-inch barrel, and it’s not something you would carry on your hip every day (although Heritage does offer a slick holster for it). Not long after the 16-inch Rough Rider came out, Heritage developed a backstrap assembly to replace the standard plow handle grip backstrap, added a rifle butt stock, and presto…the Rough Rider Rancher Carbine rifle was born.
As it turns out, Heritage made the carbine backstrap and butt stock available in their parts store, clearing the way for Rough Rider enthusiasts to convert their 16-inch model into a carbine.
And that’s just what we did…
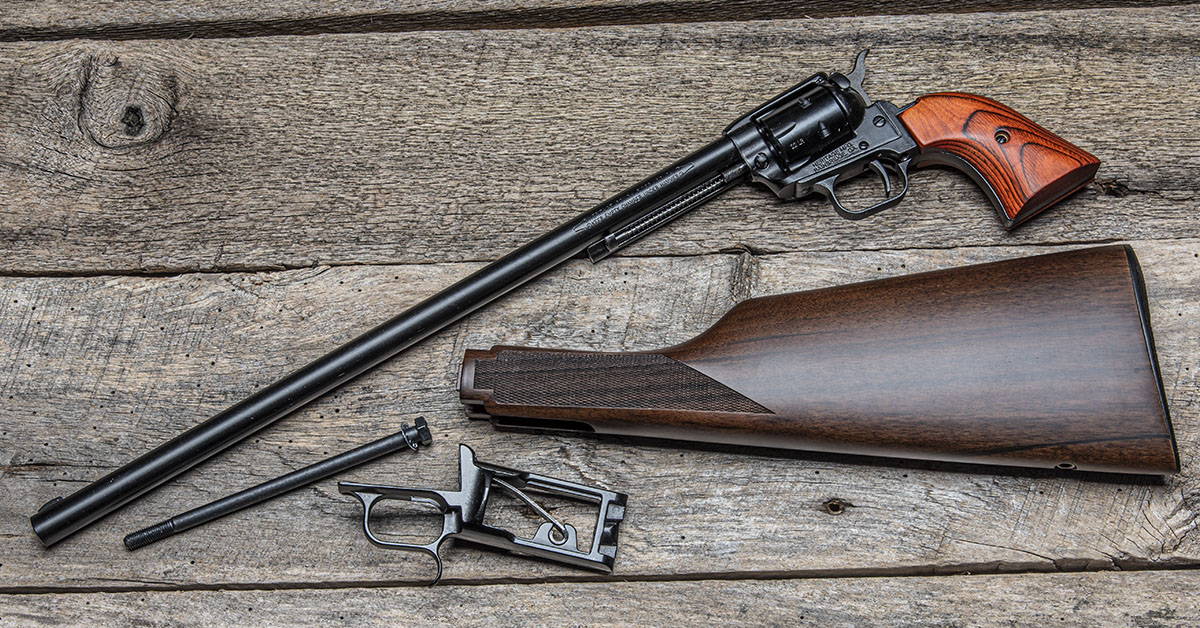
The 16-inch Rough Rider is a fun revolver. While the lengthy barrel does make it somewhat awkward on the hip, the enhanced accuracy of the longer sight radius (compared to a standard-length revolver barrel) covers that sin. To enhance the gun’s carry and plinking potential, conversion to a carbine platform is in order. It’s a simple process made possible with only a few items—a carbine backstrap and a hardwood butt stock, and a stock screw and washer assembly.
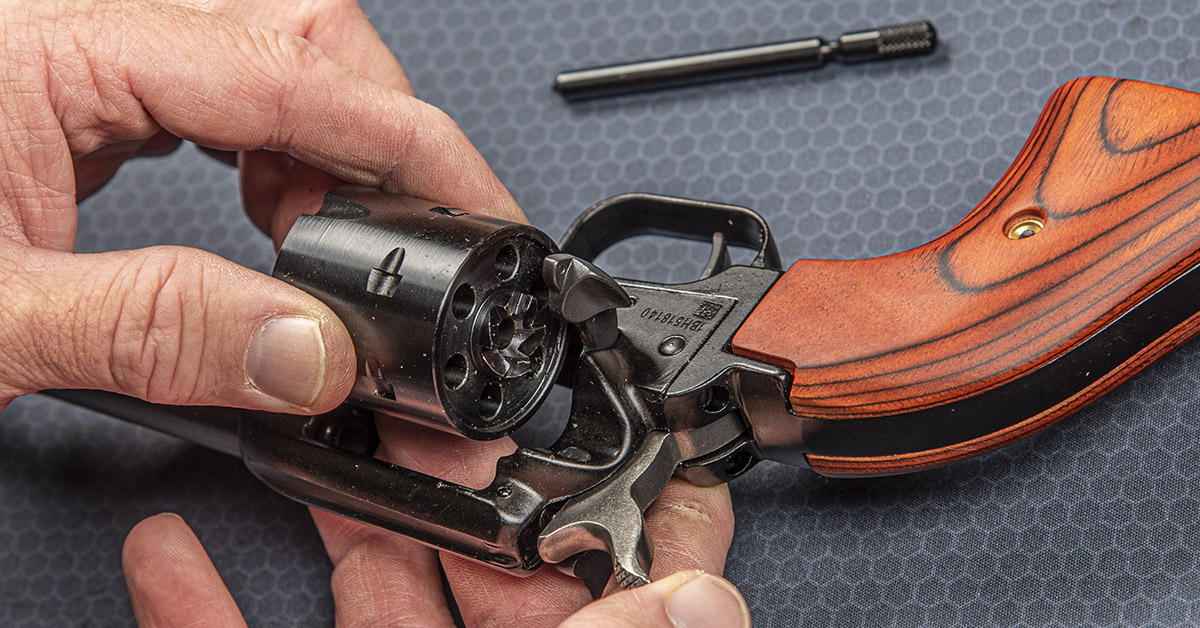
Begin the conversion by clearing the revolver of ammunition and removing the cylinder.

There are five screws that secure the backstrap/grip assembly to the revolver frame. From the bottom of the frame, two screws are located behind the trigger guard and there is one in front of the trigger guard. Remove these screws with an appropriately sized flat head driver bit. We recommend the Real Avid Smart Drive 90 kit because it includes an assortment of different size driver bits, allowing you to find one that best matches the screw head slot and frame recess to prevent damage to the screw and frame.

The final two screws secure the backstrap to the frame, just behind the hammer. Be careful here. The backstrap is under slight spring tension from the loading gate detent spring. Use one hand to squeeze the frame and backstrap together before completely removing these two screws. This will prevent losing the loading gate detent spring and detent.
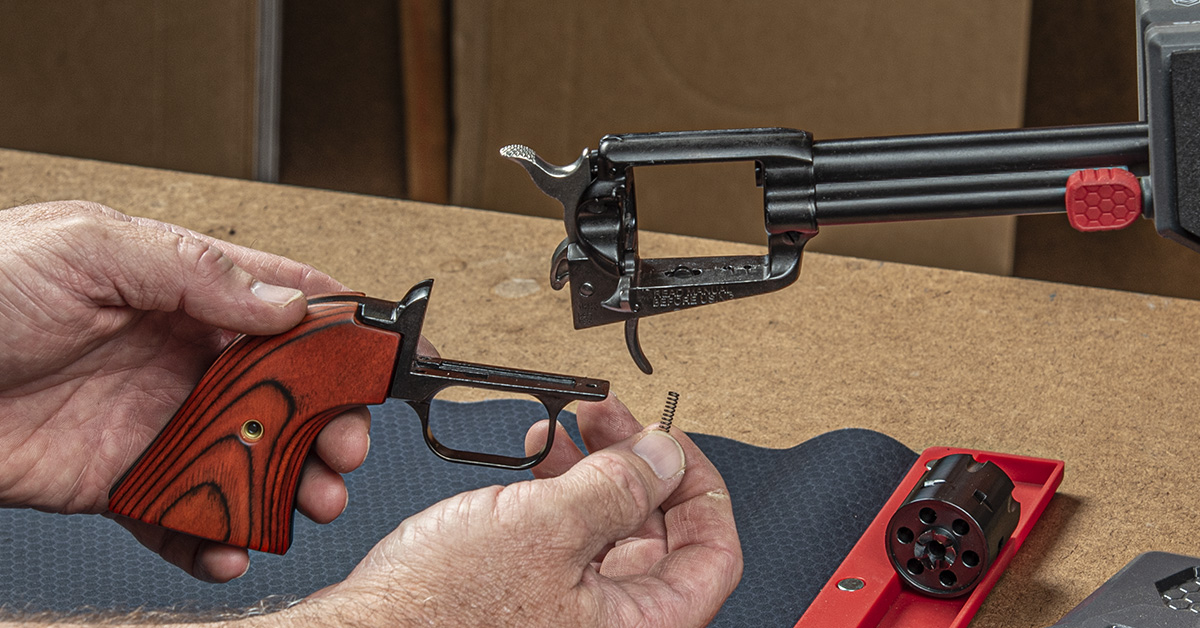
The backstrap/grip assembly and loading gate detent spring can now be removed from the frame. The loading gate spring will fall out in this orientation, although the detent may or may not (ours didn’t). Just be sure not to lose it.

Turn the frame over and reinstall the loading gate detent and spring, if removed.
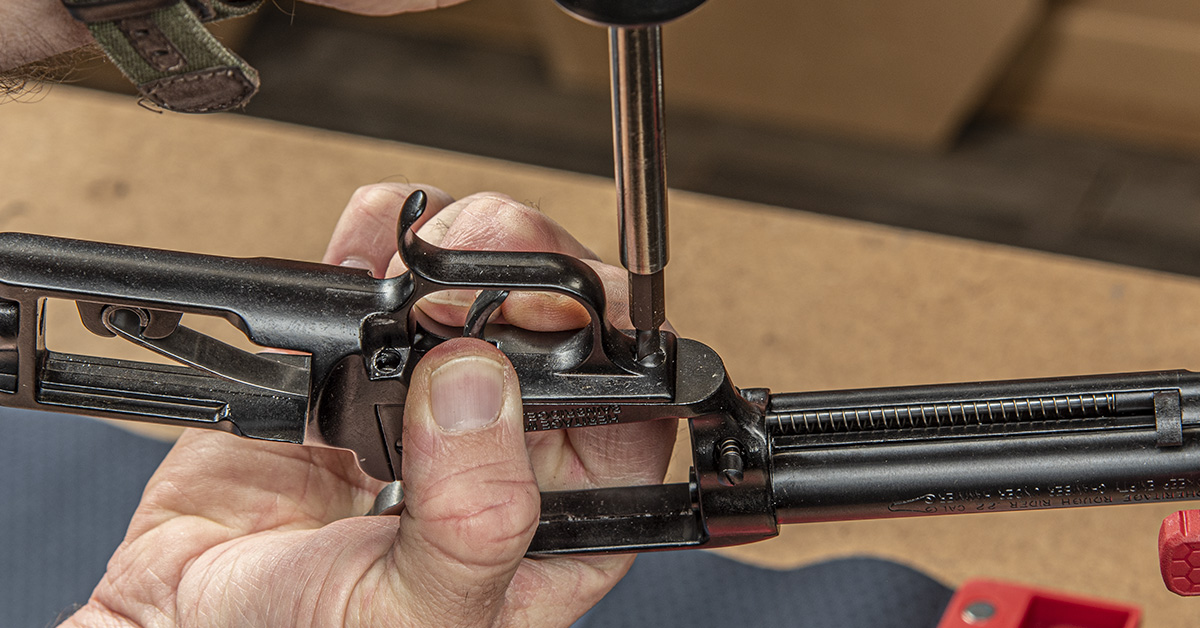
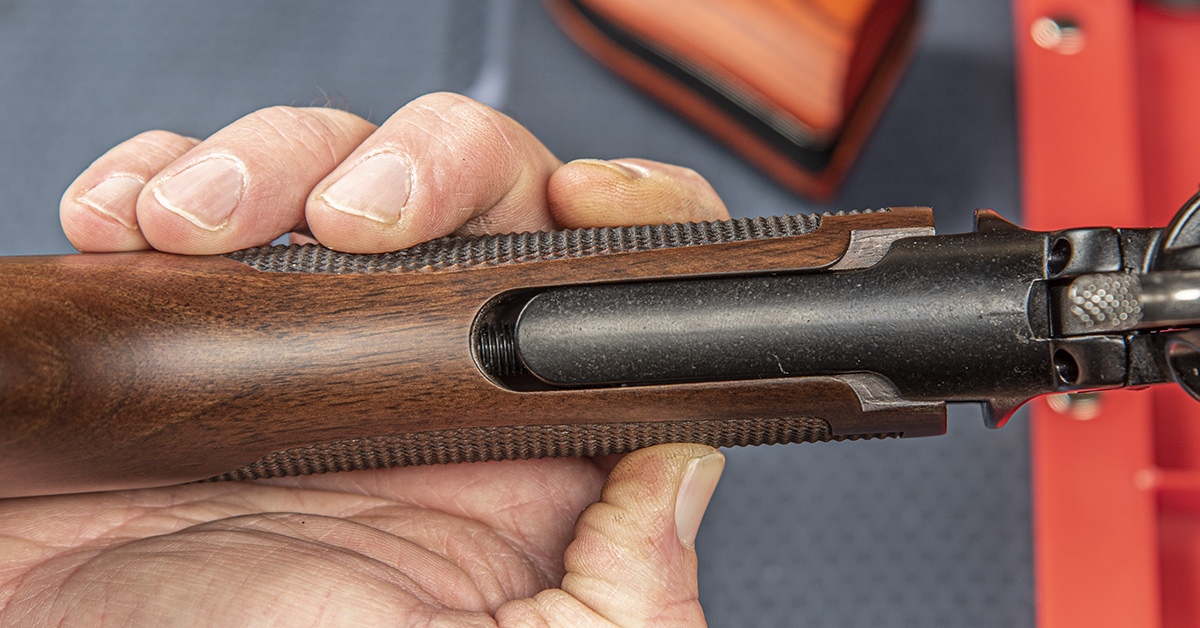
Install the carbine backstrap by compressing the loading gate detent spring and aligning the backstrap with the frame as shown and reinstall the five backstrap screws as removed.

Work the hammer and trigger through their range of motion to ensure the system is working and the hammer is properly engaging the new backstrap’s hammer spring.
Our stock screw had a close-tolerance fit with the backstrap threads, making it difficult to start the threads into the backstrap with the wood stock in place. Before installing the stock, run the stock screw through the backstrap to burnish the threads and to ensure the two will join when the stock is fitted in place.
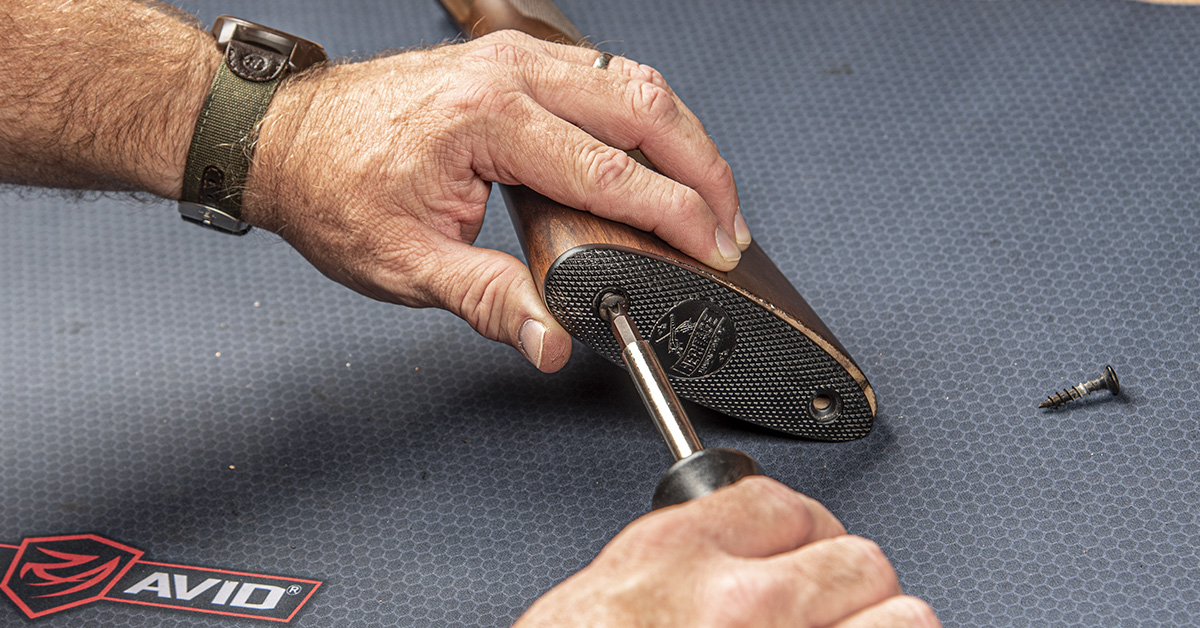
Remove the butt stock plate to access the stock screw channel.
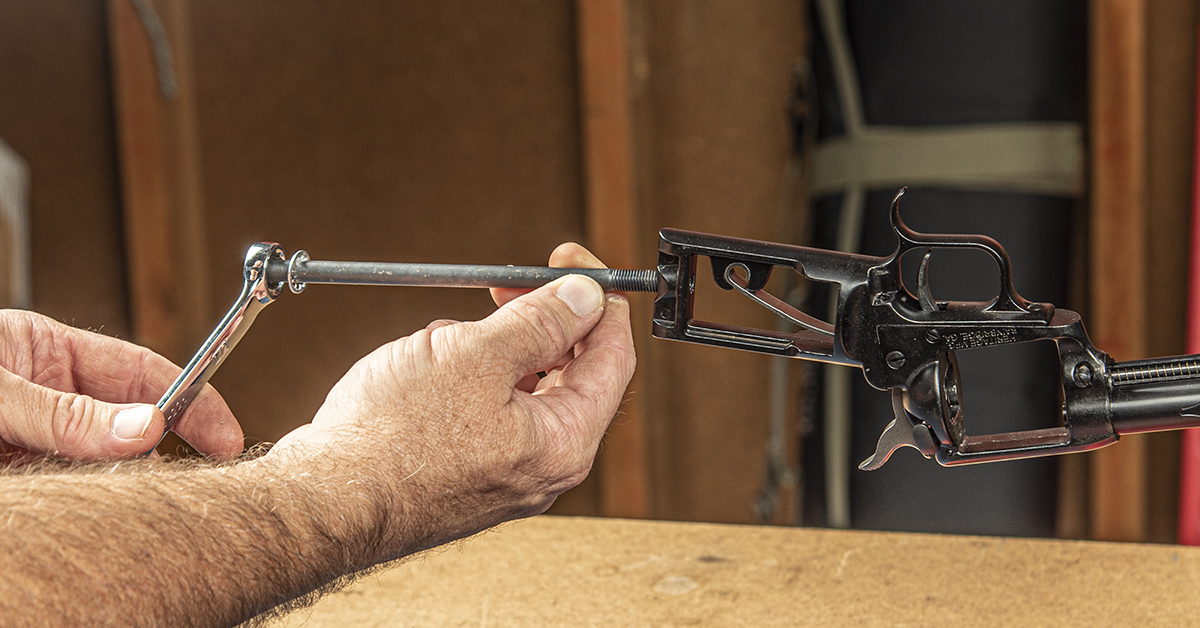
Install the stock screw into the stock and slide the stock partway onto the backstrap just enough to engage the screw threads. You’ll need a 1/2-inch socket and a long extension to install the stock screw.
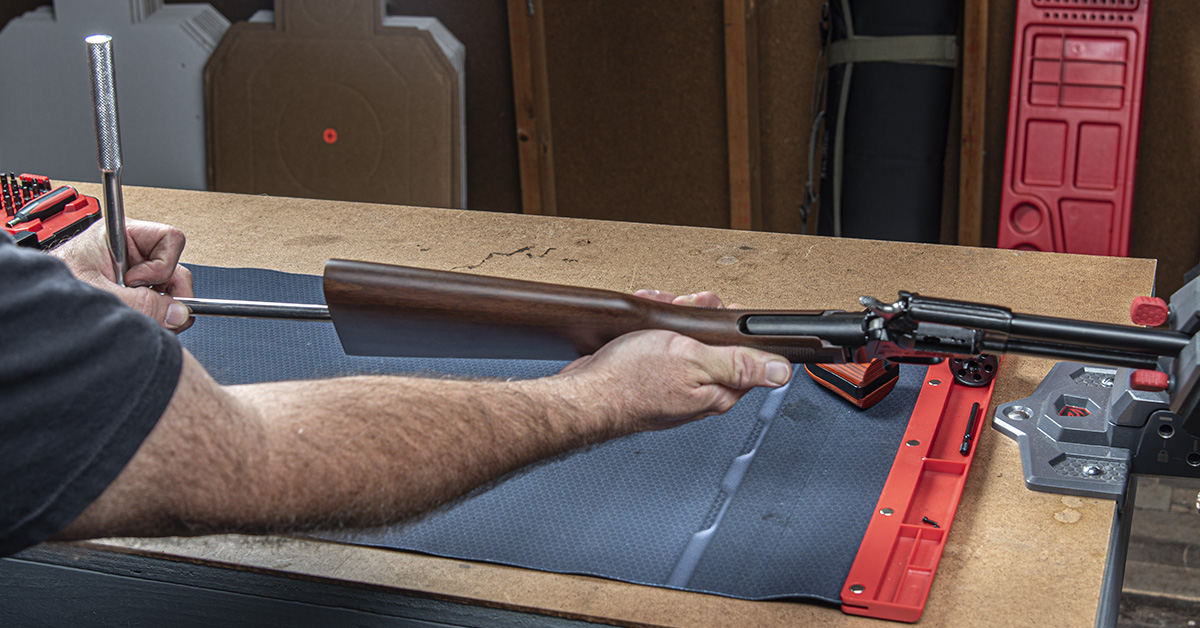
Once the stock screw is several turns into the backstrap (be careful of cross-threading!), finish the installation by slowly screwing the stock into its final position. Pay attention as the stock moves its final quarter of an inch to ensure it seats properly and doesn’t bind against the backstrap.
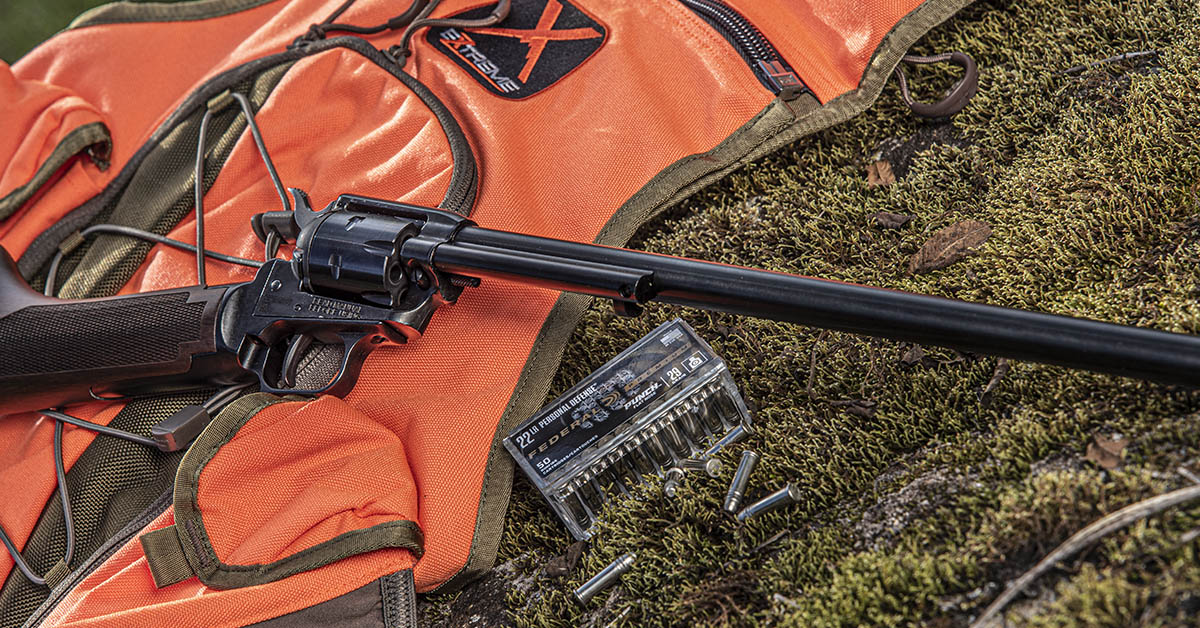
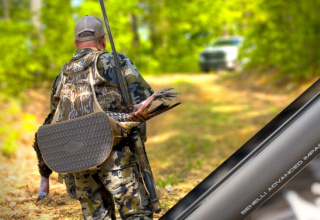
Our converted Rough Rider carbine is ready for a weekend of squirrel hunting! If you wish to add a sling to this set up, Heritage Mfg. offers a high-quality leather sling and you can pick up this QD sling swivel kit from Uncle Mike’s to mount it.
The Needed “Third Hand”
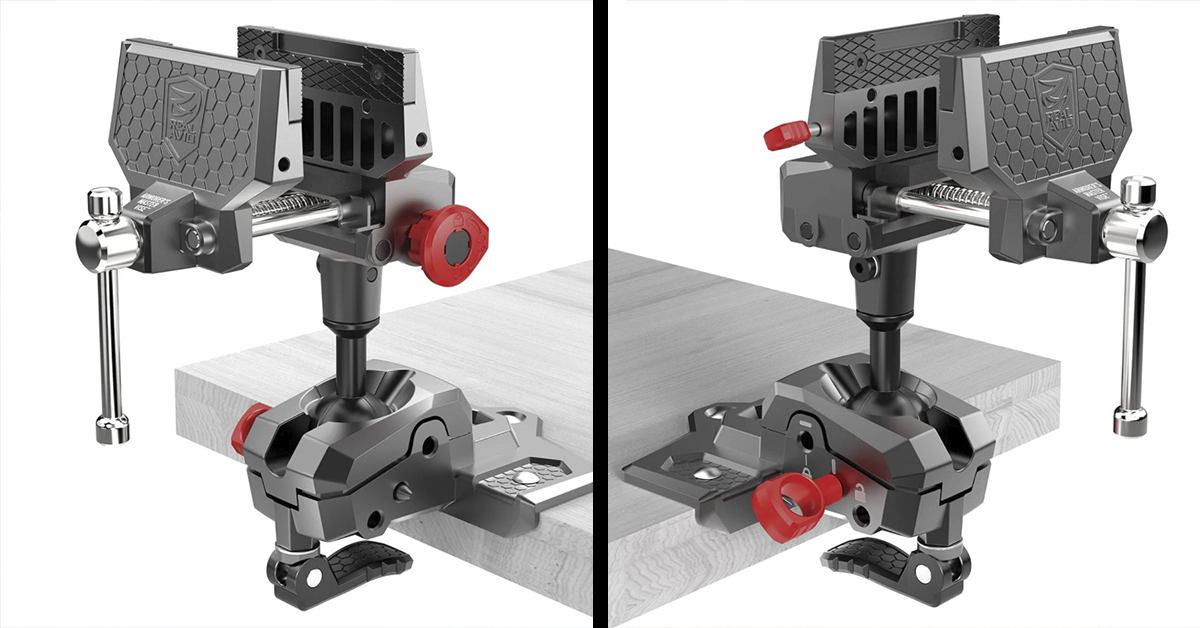
This project gave us a chance to try out a new product from Real Avid called the Master Gun Vise. This is a bench vise with a variable-axis ball-and-socket joint that is perfectly suited for a broad range of gunsmithing tasks.
If you’ve ever used a standard bench vise for gun work, you understand how challenging it can be to get the position you need—be it for better light, a better reach angle, or what have you. The Master Gun Vise solves these problems with its broad rotational angles. The Speed Cam Locking Lever allows for quick adjustment of the vise angle, allowing you to move the work piece without having to adjust the vise jaws. For high-torque applications, the ball-and-socket joint can be locked into position.
Another cool feature includes the dual-sided Gun Fit jaw sleeves. One side is a tough polymer with channel grooves that easily lock onto a barrel. Flip the sleeves around and there is compression foam that offers a soft yet sturdy grip on delicate items such as wood stocks.
Finally, the vise has a 6-degree micro-adjust leveling knob. This is ideal for leveling rifles for scope installation.
To learn more about the new Master Gun Vise, visit RealAvid.com.