Heritage Manufacturing’s popular single-action revolvers are a great buy-in, but you can take that shooting iron to the next level with easy-to-install factory upgrade parts
by Rob Reaser
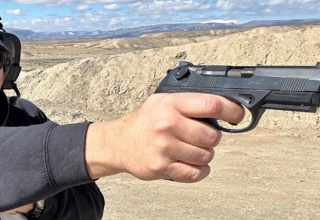
Connoisseurs of classic American firearms “get it.” Even if you are not steeped in the history, the lore, or the romance of 19th century arms—favoring instead the fighting prowess of modern polymer-frame striker-fired pistols—there is simply no way to wrap your strong hand around an single-action revolver grip and not feel “it.” Shoot On contributor Wayne van Zwoll elegantly captured the spirit of the Old West revolver in his recent article Plow Handles and Big Lead:
“Boom! The revolver rocks easily. So it was designed. You don’t grip an SAA but let it pivot, nose up, in the smoke. Magically, gently, it settles on point, your thumb licking the hammer on the way down. Snickickety. Boom! Thank uncanny balance, perfect placing and proportions of trigger, hammer, and that plow-handle grip.”
If there is one manufacturer who has excels at delivering the essence and the thrill of shooting Single Action Army Colt clones to the masses, it would be Heritage Manufacturing. The company’s Rough Rider series of small- and big-bore revolvers hits the mark for anyone looking for a break from the intensity of modern semi-auto handguns—a chance to slow things down and to appreciate the technology and styling that effortlessly captures the hearts and imagination of shooters of all persuasions. Part of the appeal of Heritage revolvers is the price. For somewhere south of $200, you can get a classically-style single-action revolver that is accurate, easy to carry, and as much fun as you can have with your boots on.
If you don’t already own a Heritage revolver, you probably know someone who does. What’s not so commonly known or taken advantage of are the many options to customize the Heritage single-six—including changing the entire grip assembly to create a gun with a personality totally different than what came in the box. We’ll show you how to do that shortly.

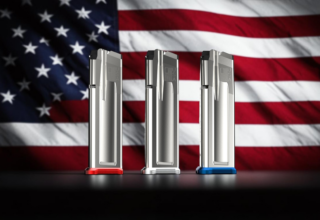
One of the cool features of the Heritage Rough Rider series and its rimfire variants is the interchangeability of the cylinders. If your revolver came with only a .22 LR cylinder, you can purchase direct from the factory a cylinder chambered for .22 WMR. The cylinders are easy to swap because they are supported by a base pin instead of a crane. Take out the base pin and the cylinder comes right out. Having the option of shifting from .22 LR to .22 WMR seriously expands the revolver’s versatility, allowing you to go from target plinking to small-game hunting in a blink.
Aside from the utility of shooting two different cartridges, the available cylinders come in a variety of finish treatments and even special engraving designs. This is perfect for developing a handgun with just the right visual flavor, especially if you want to change the grips.
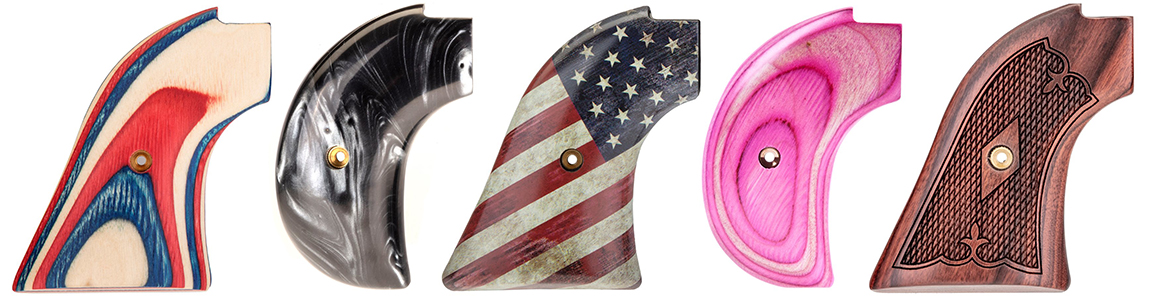
Speaking of grips, Heritage offers many different models in both the standard “plow handle” design made by Altamont as well as the trim bird’s head style. From laminated to solid hardwood, plastic to mother of pearl, engraved and printed designs, multiple wood types, colors galore…finding a grip to make your own statement is easy and inexpensive, with most grip sets costing $25-$30.
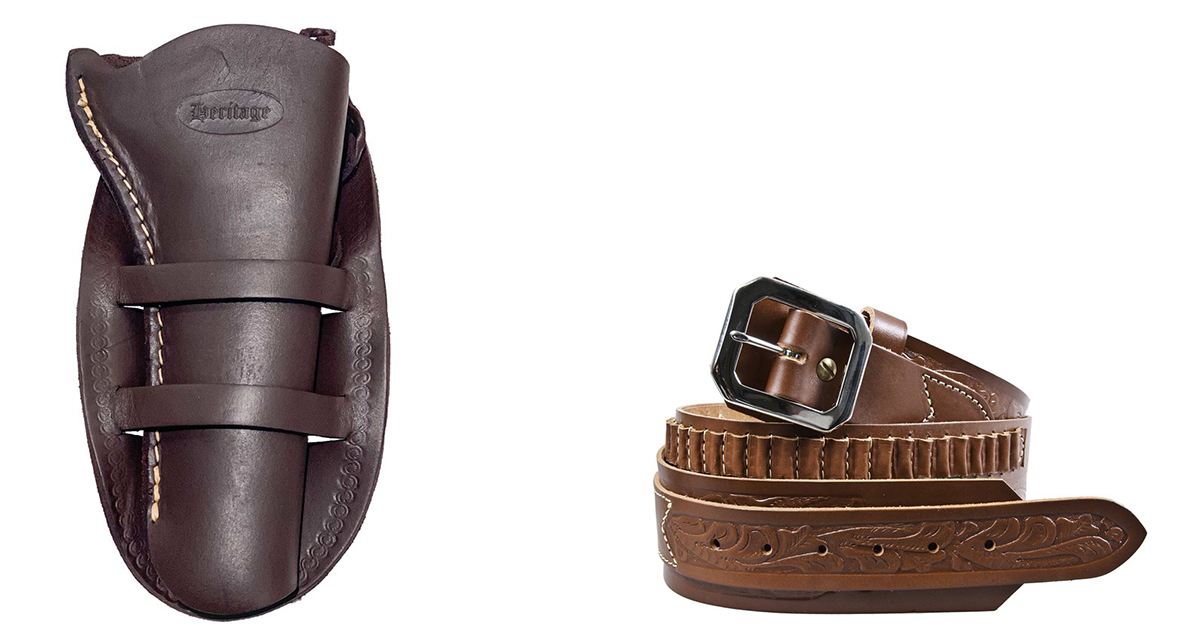
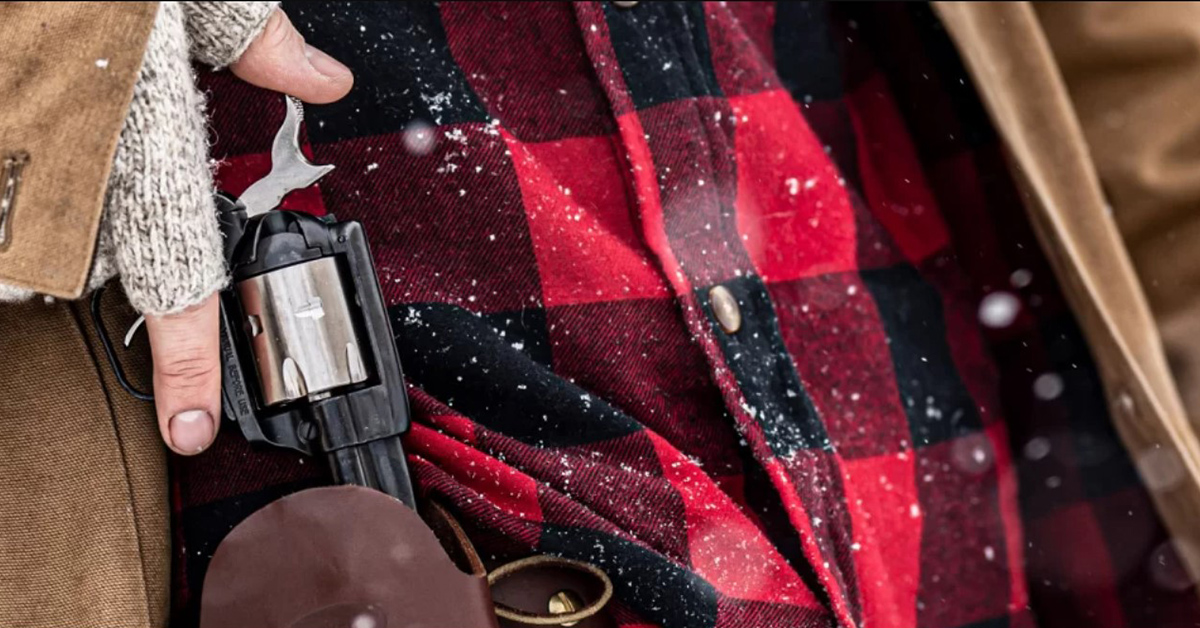
Of course, no western-style revolver is complete without some premium leather to hold it in. Again, Heritage delivers with model and barrel-length-specific holsters. Several styles are offered, along with standard and cartridge belts as well as leather ammo pouches.
Going All the Way
The primary single-action revolver handle styles are the original plow handle type and the bird’s head. What most folks who own Heritage revolvers don’t realize is that these handguns can be converted to accept either style. Heritage sells a broad range of parts for the Rough Rider series, and that includes the bird’s head backstrap. This is a particularly cool modification if you have a short-barrel rimfire because, quite frankly, the smaller bird’s head grip is a better-looking setup for revolvers with 2.5- to 4-inch barrels.
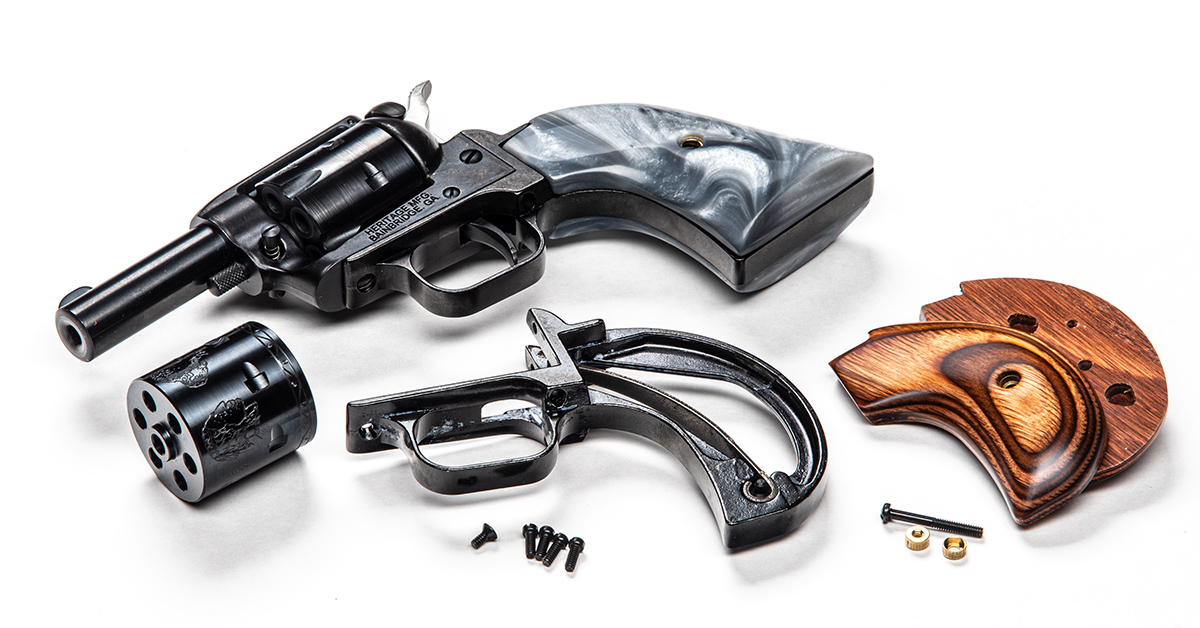
We picked up the new Heritage Barkeep in January (go here for our complete review) and love it. The only downside was that the original plow handle grip seemed aesthetically too big for the diminutive 2.68-inch barrel. Since all Heritage rimfires are built on the same frame, and since the backstrap (the subframe to which the grips are attached) can be removed and replaced with a bird’s head backstrap, that’s exactly what we decided to do.
For the grip, we chose wood laminate with a satin finish, and to expand the revolver’s function and to round out the styling, we added a .22 WMR cylinder with the Buffalo Nickel Homage engraving into the mix.
If you want to go down this road, be sure to buy new screw sets. This would include the 5-piece small-bore backstrap screw set and the small-bore grip screw/bushing set for the bird’s head.
So, how easy is it to convert a Rough Rider revolver to your liking? Check out this simple firearm DIY upgrade…
Bird’s Head Grip Conversion
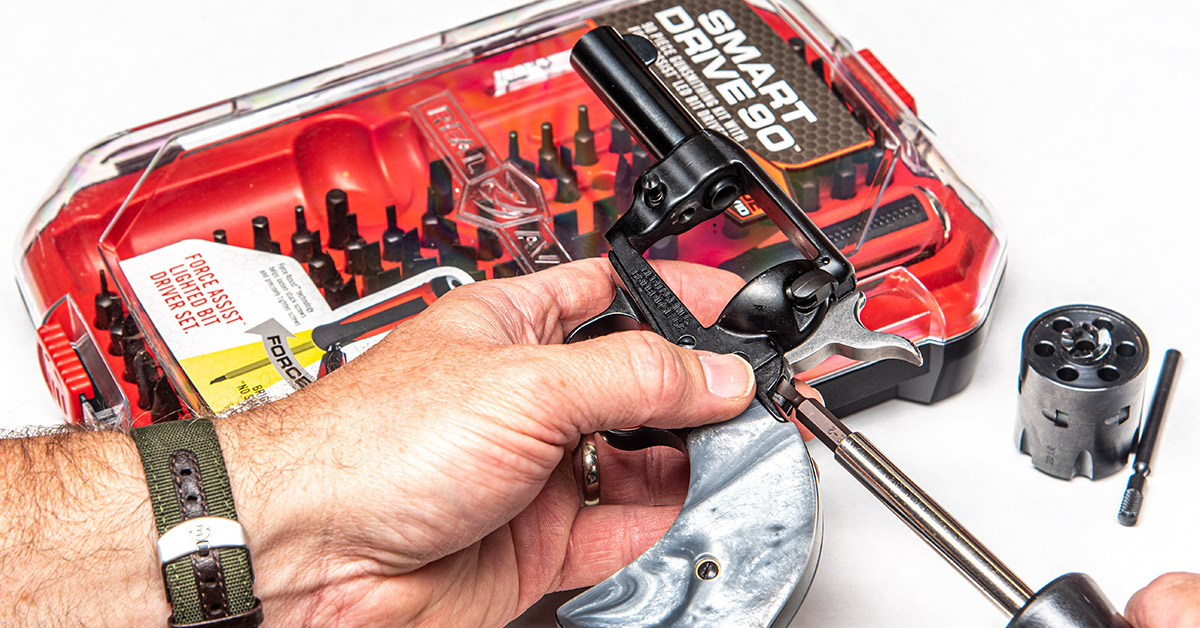
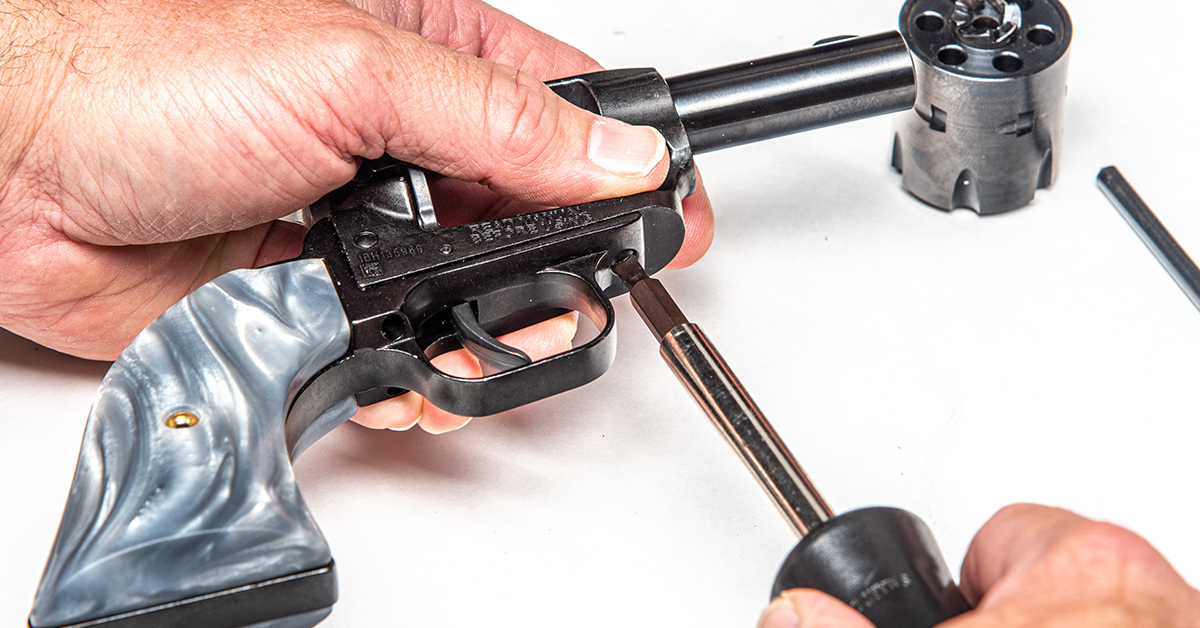
There are five screws that secure the backstrap to the pistol frame. After clearing the firearm and removing the cylinder, select an appropriately sized parallel flathead driver bit and begin by removing the two screws at the back of the frame.
One of the reasons we keep Real Avid’s Smart Drive 90 screwdriver set on hand is because it offers a wide range of bit sizes to precisely match the screw head widths and slot dimensions. This prevents damaging the screws and the gun, which is what can happen if you use tapered and incorrectly sized “automotive” or “general purpose” screwdriver bits.
Next, remove the two backstrap screws located behind the trigger guard.
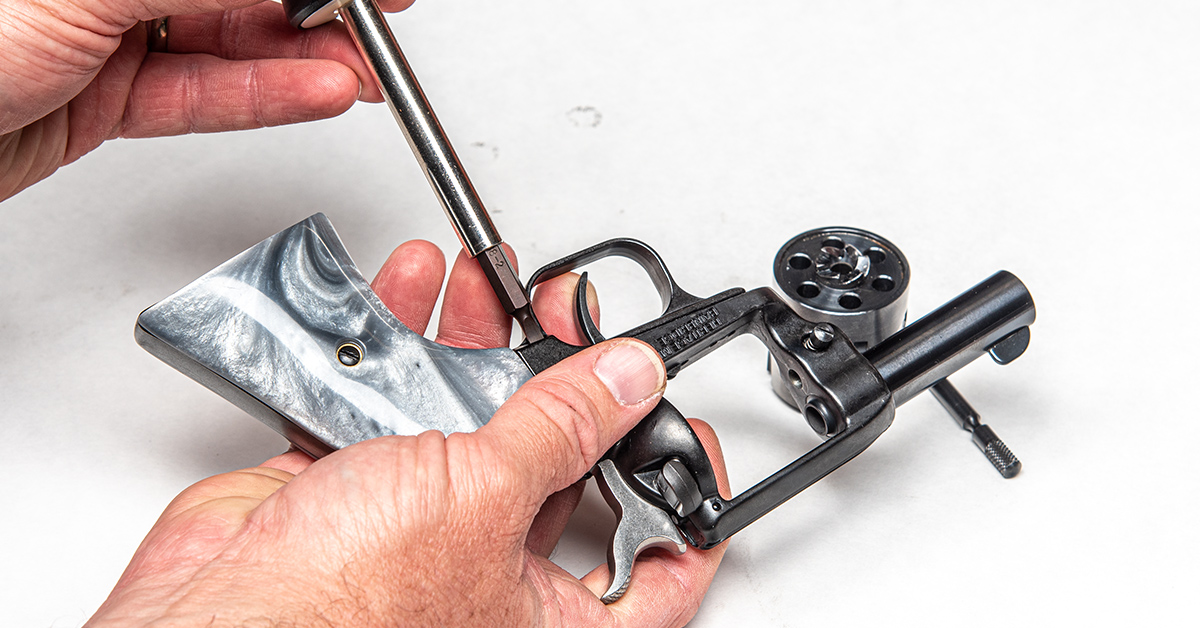
The fifth and final screw is located in front of the trigger guard. Before you remove this, note that the loading gate plunger spring is located inside the frame just behind the trigger. This spring is under tension and must be controlled while removing the front backstrap screw. Use your fingers to clamp the backstrap to the frame as you remove this screw.
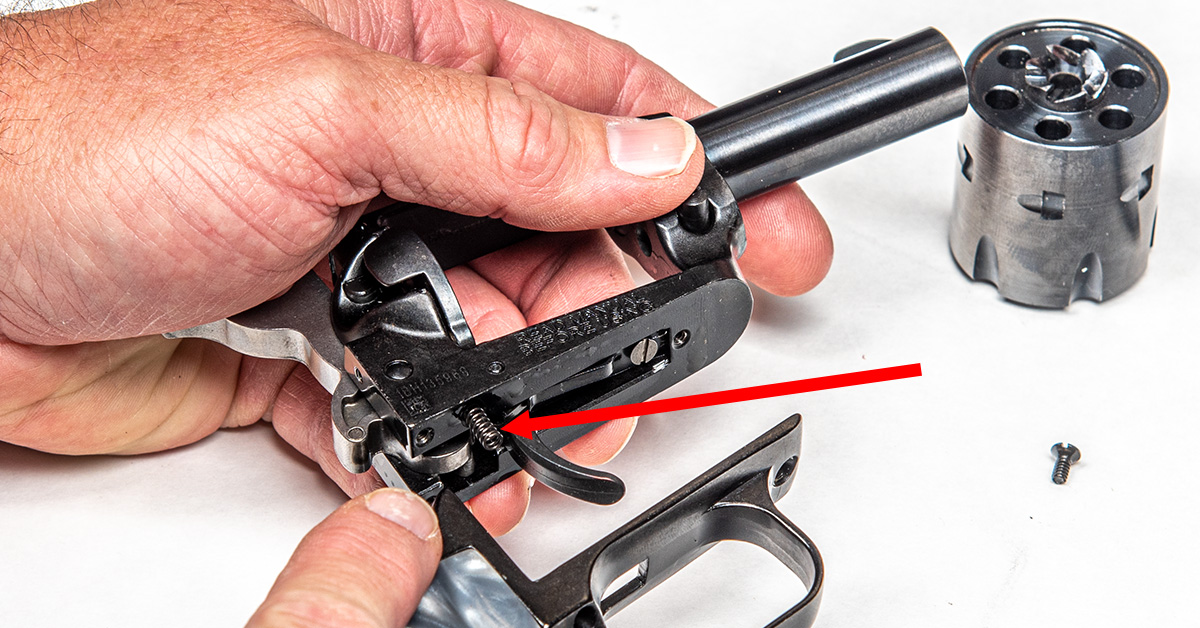
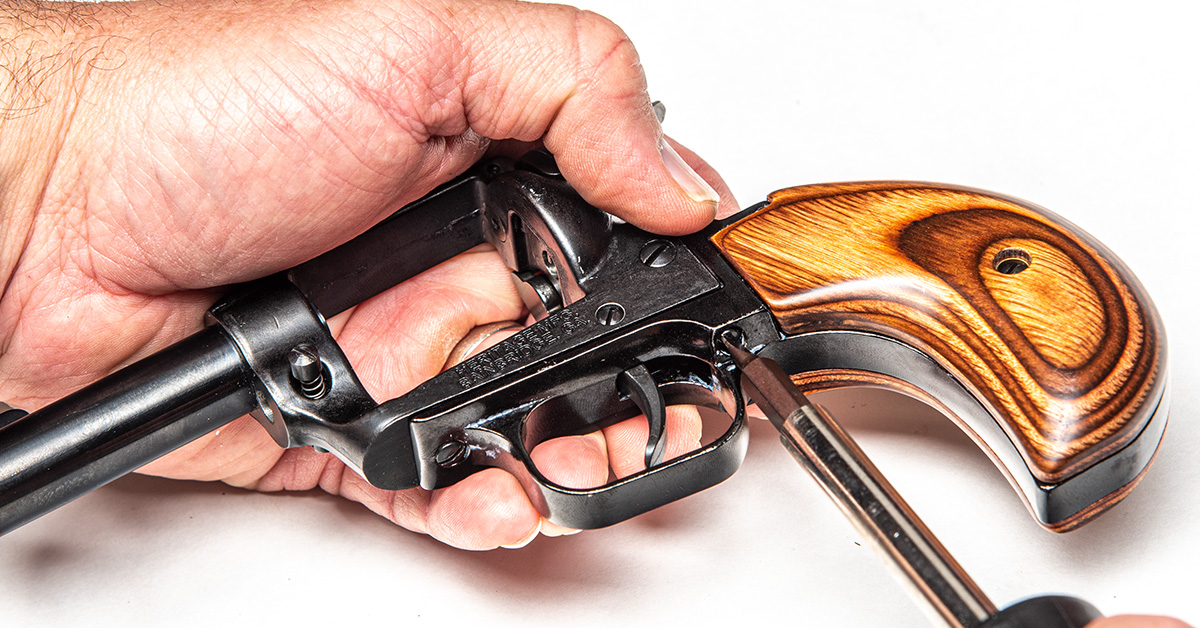
With the front backstrap screw removed, allow the backstrap to separate from the frame while maintaining control of the loading gate plunger spring (arrow).

Our new bird’s head grips came with the grip screw bushings pre-installed, so we did not need to use the ones that came with the new grip screw. If you need to install the bushings, be sure to place the tapered bushing in the right-side grip and the parallel bushing in the left-side grip, as shown.
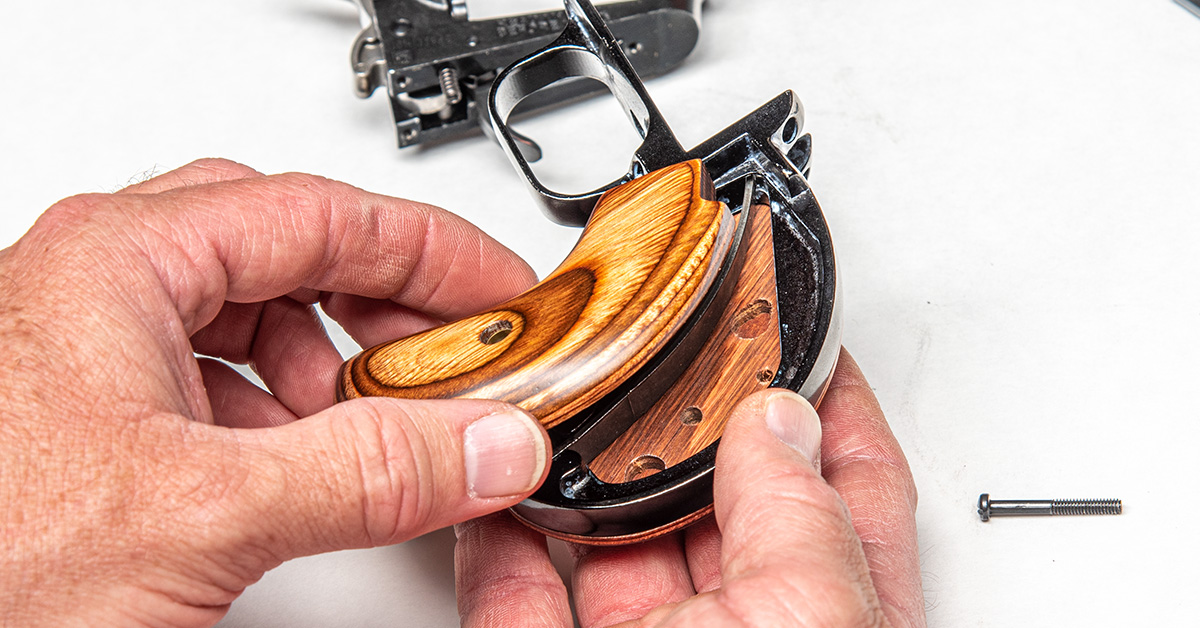
Install the new grips into the bird’s head backstrap.
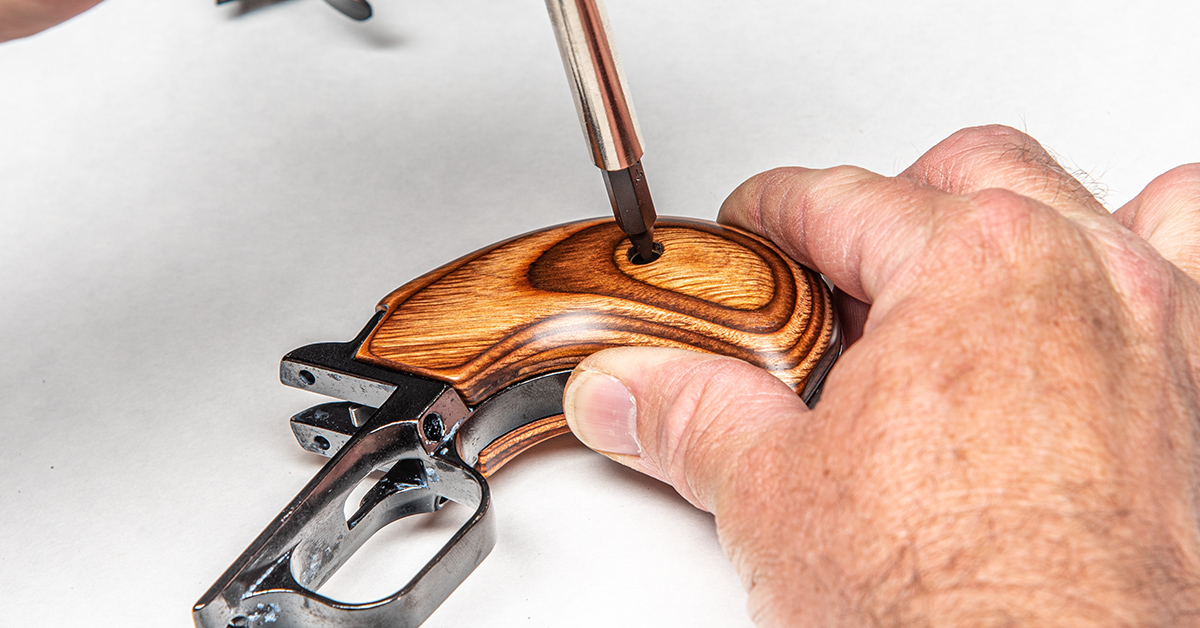
The grip screw goes into the assembly from left to right. Tighten until it is just snug. Overtightening can damage the grip or grip screw. This is especially true if you are installing a plastic grip.
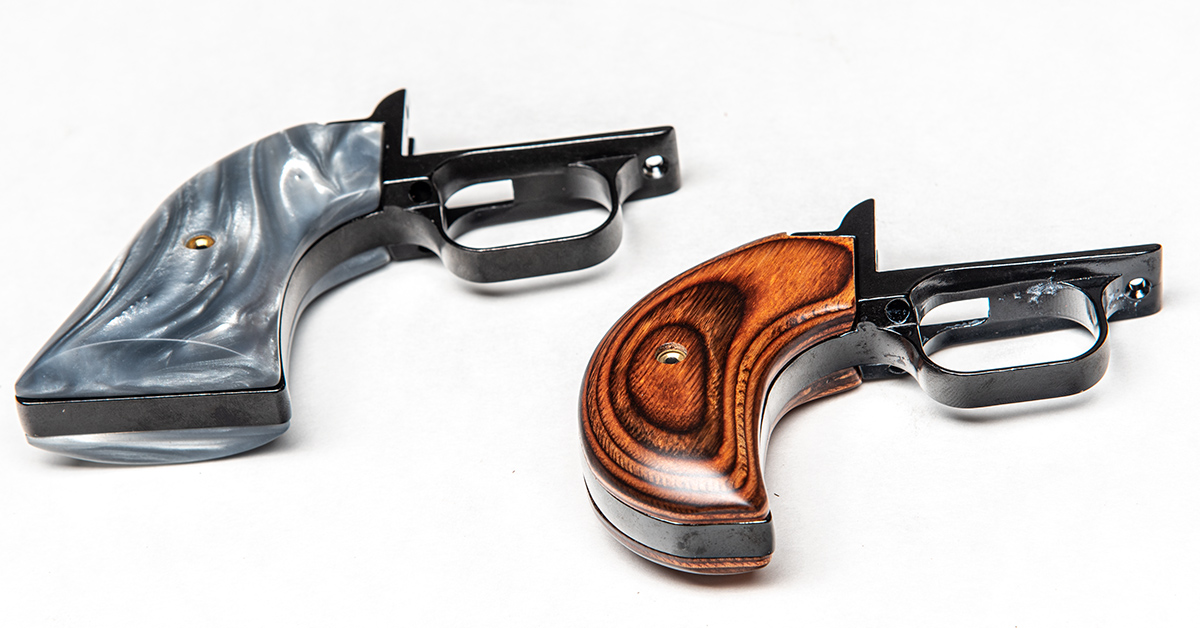
As you can see, there is a radical difference in profile between the plow handle grip (left) and the bird’s head grip (right). Both exude elegant, classical styling.

Heritage recommends that all backstrap screws be installed with a small amount of blue 242 (non-permanent) Loctite and torqued to 3 to 3.5 in/lbs (that’s inch-pounds, not foot-pounds!). To do this properly, clean the screw threads and the threads inside the frame with denature alcohol and let dry, and then apply a small drop of 242 Loctite to the screw threads.
Begin by aligning the backstrap with the frame and compressing the loading gate plunger spring back into the frame. Hold the assembly together while inserting the two rear backstrap screws. Do this first (as opposed to installing the front backstrap screw first) to prevent stressing the front backstrap screw due to spring tension. Torque to 3-3.5 in/lbs.

Install the front backstrap screw and torque to 3-3.5 in/lbs.
Install the bottom backstrap screws and torque to 3-3.5 in/lbs.
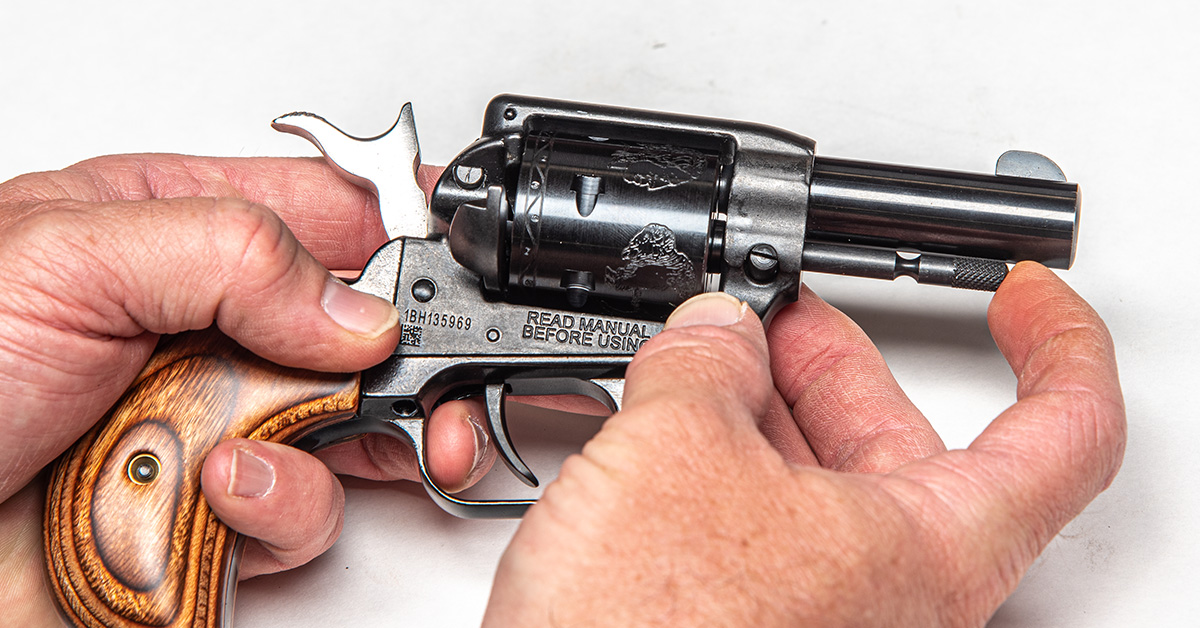
Install the cylinder and base pin. Perform a complete function check to ensure the trigger/hammer assembly and the safety are working properly.

The new grip and cylinder gives our shorty single-action an entirely new personality, feel, and function.
Personal Defense Ammo in .22 LR?
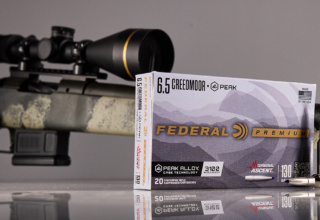
Ammunition is a sore spot for all of us right now, and manufacturers are stressed beyond any historical precedent to keep up with demand. Yet despite the chaos, the folks at Federal Premium have not let up on the gas in terms of new product innovation. One of their latest offerings is a rimfire cartridge intended to put the .22 LR into the personal defense zone.
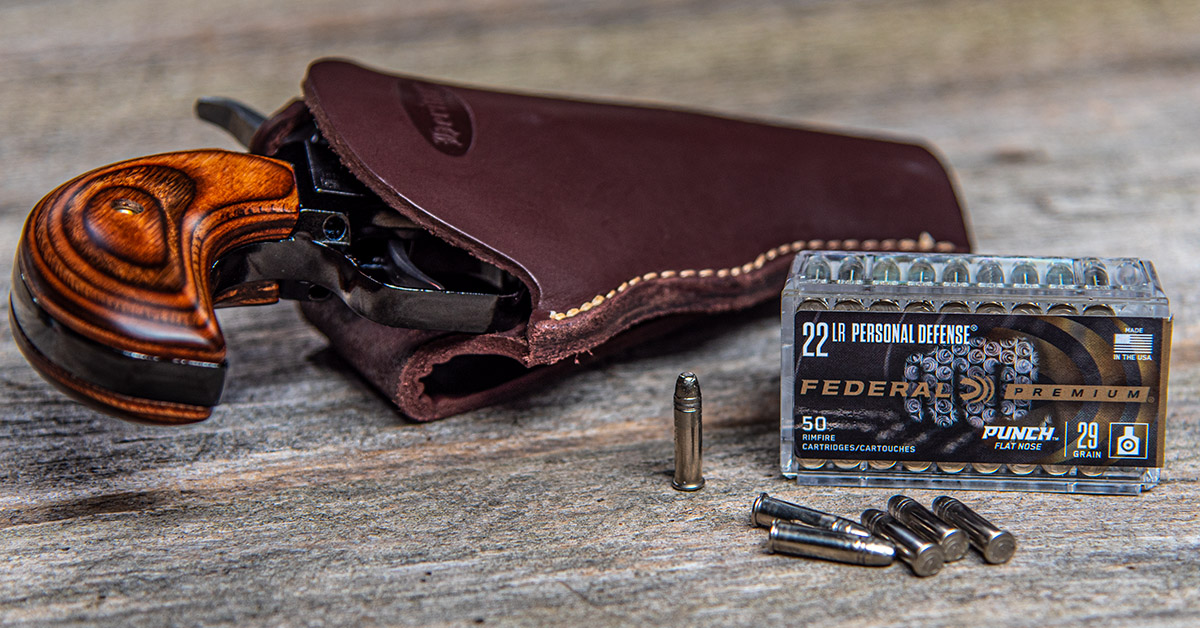
The new Federal Punch 22 LR combines velocity, bullet weight, and bullet composition to give the .22 LR a modicum of credibility as a defensive round for those who favor a small rimfire like the Heritage Barkeep as a backup, or who simply desire a harder hit from any .22 LR-chambered firearm. The cartridge features a 29-grain bullet with a flat-nose profile and lead core/nickel-plated composition to enhance penetration from short-barrel handguns. Propelled through a 2-inch barrel, the Punch 22 LR exits the muzzle at 1,070 fps. Also nickel-plated is the cartridge case. That’s a plus for corrosion resistance and to facilitate extraction—particularly from a revolver cylinder.
Going .22 WMR
The single-six is a popular sidearm for ranch and farm carry for good reason. It’s easy to pack and handy for close range encounters with rodents, varmints, and snakes. That being the case, it only makes sense to pack as much WHAM into your single-action revolver as possible. That’s where the .22 WMR cartridge shines, which is why the .22 WMR cylinder option is always the right choice for any Heritage Rough Rider owner.

For our upgraded Barkeep, we’ve been running CCI’s Maxi-Mag in the .22 WMR cylinder. Haven’t shot any rascally critters with it yet, but with the new crop of groundhogs about to pop out, you can bet there will be action forthcoming. The Maxi-Mag sends a 40-gr. jacketed hollow point downrange at a decisive 1,875 fps. At revolver distances, that will air out varmints with ease.