Updating your favorite open sight rifle with a fresh fiber optic sight set from HIVIZ is a simple and rewarding DIY project
by Rob Reaser
Many American shooters and hunters have moved away from open sights, favoring magnified and red dot optics for most applications — even shotguns. That’s a shame because open sights bring with them two major benefits. Most important is marksmanship skills. Learning to effectively use open sights simply makes for a better all-around shooter who is never at a loss should their optic be damaged or fail. Second, the satisfaction of delivering rounds on target with open sights surpasses that of doing the same with optics by an order of magnitude.
The latter is especially true with rimfire rifles. The basic .22 LR has served as the springboard for most of today’s lifelong shooters and hunters. Short-range engagement with targets, tin cans, and small game using open sights helped hone those early shooting skills, and that same platform is as much a thrill to shoot today as it was decades ago.
As our eyes age, though, standard iron sights become more difficult to work with. What once were distinct silhouettes with which we formed our sight picture have turned into black blobs for many of us. And this is where the current crop of fiber-optic open sights shine. When our eye’s ability to focus on near objects becomes more challenging or when shooting in low light levels, it is far easier to align three high visibility dots to form our sight picture than it is to center that dark front post into the notch of an equally dark and blurry rear sight blade.
That’s where HIVIZ Shooting Systems comes in. HIVIZ has spent years making upgrade open sight systems for a broad range of handguns, rifles, and shotguns. Do you have an old firearm that you loved to shoot many moons ago but have placed it on mothballs because it was too difficult to see the sights? HIVIZ probably makes a fiber optic sight solution for it.
One of the most popular rimfire rifles in the U.S. is the Ruger 10-22. These guns have sold at insane numbers for decades and are incredibly accurate in their factory form. We had one sitting in the “lonely rifle corner” for some time and thought it would be the perfect platform to walk you through the installation of an interchangeable fiber optic sight kit from HIVIZ.
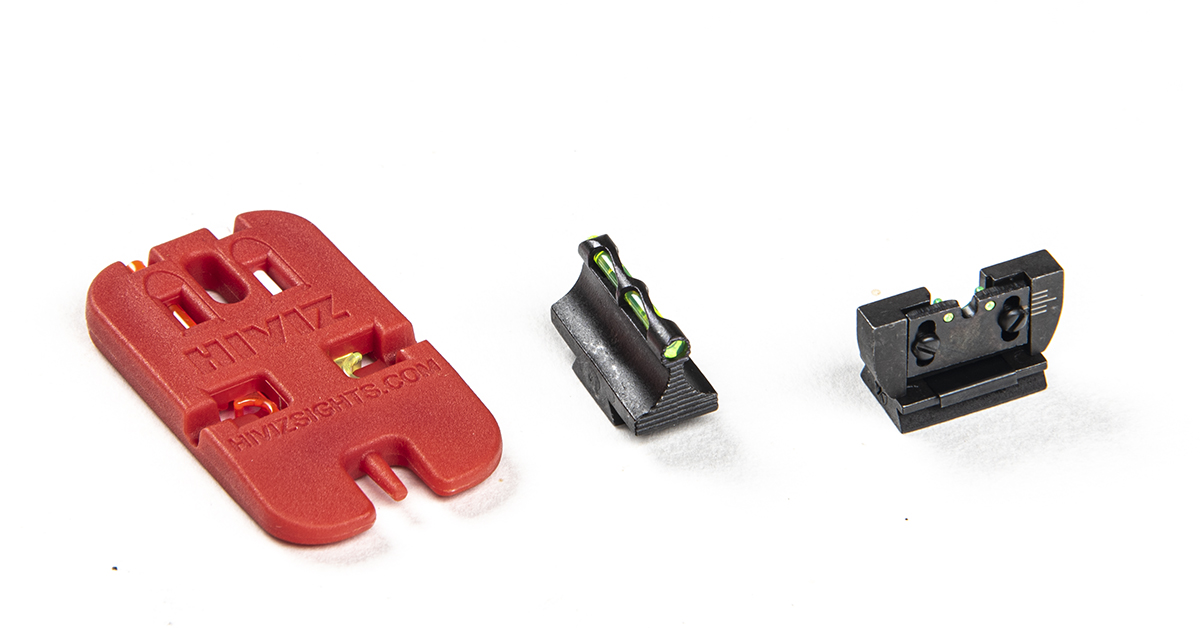
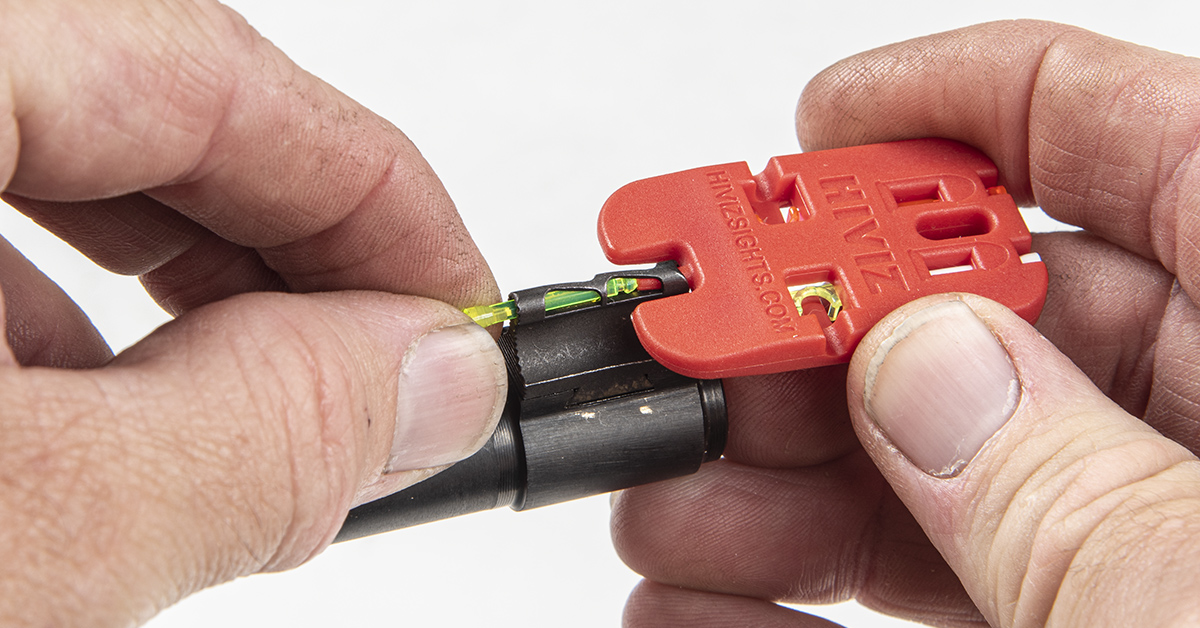
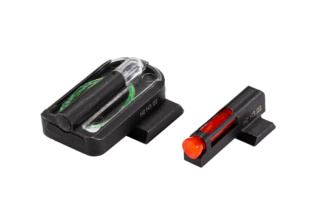
The kit included new front and rear sight assemblies plus additional front and rear fiber optics (HIVIZ calls them “light pipes”) in case you want to change the color scheme. The extra light pipes come secured in a special tool that incorporates a punch to remove and replace the front sight fiber optics.
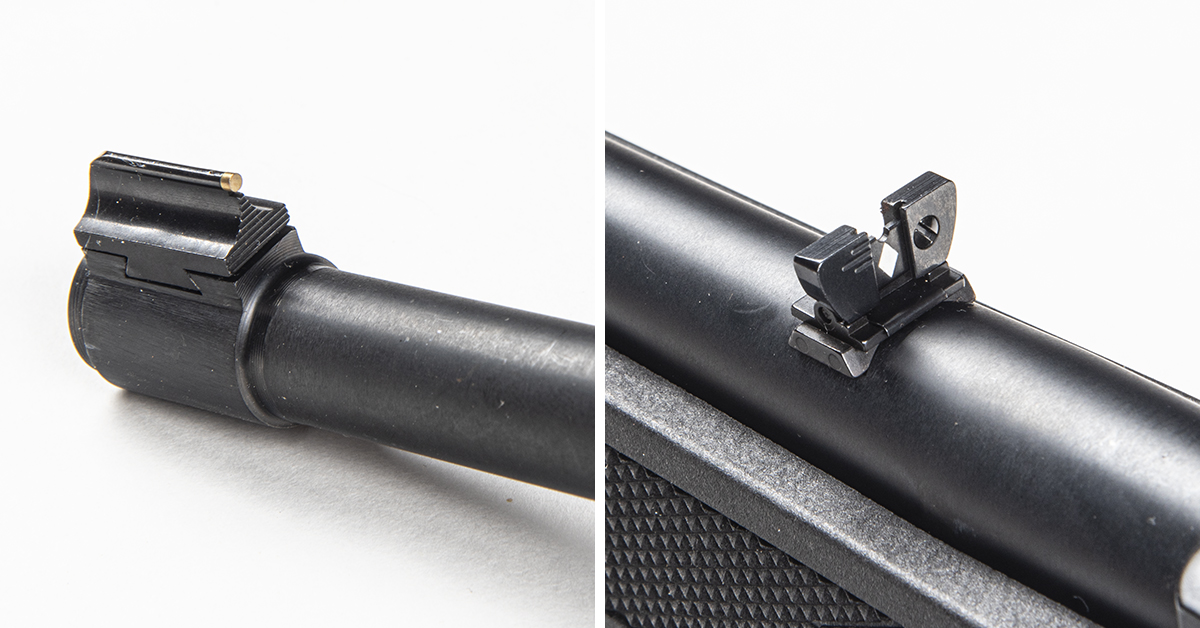
As you can see, these sights replace the factory sights but use the same dovetail interference fit as the originals. Historically, removing and replacing dovetail sights was a job relegated to gunsmiths. The truth is you can do this easy enough at home with the right tools. Fortunately, the tools needed are few: a small brass drift, a 6- or 8-ounce ballpeen hammer, flat file, and a solidly mounted bench vise. In some cases, a bench block either purchased or fashioned from wood may be necessary. That’s about it, and here’s how you do it…
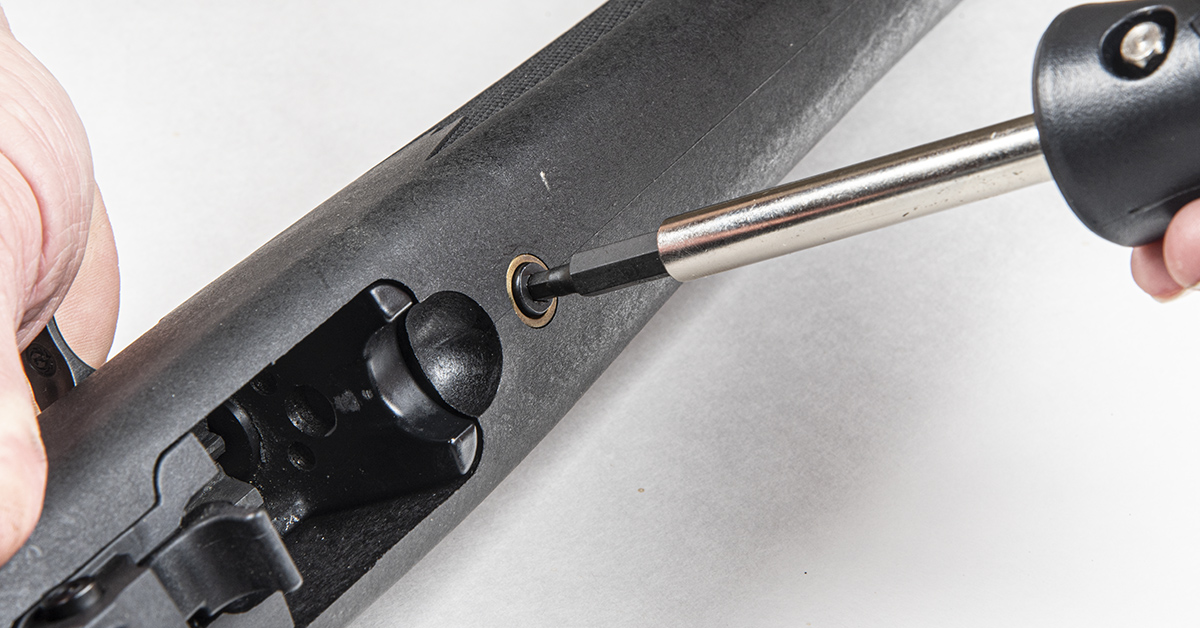
Ruger 10-22 barreled actions secure to the stock with a single screw. Remove the magazine, make sure there are no live rounds in the gun, and loosen the action screw until the stock can be separated from the barreled action.
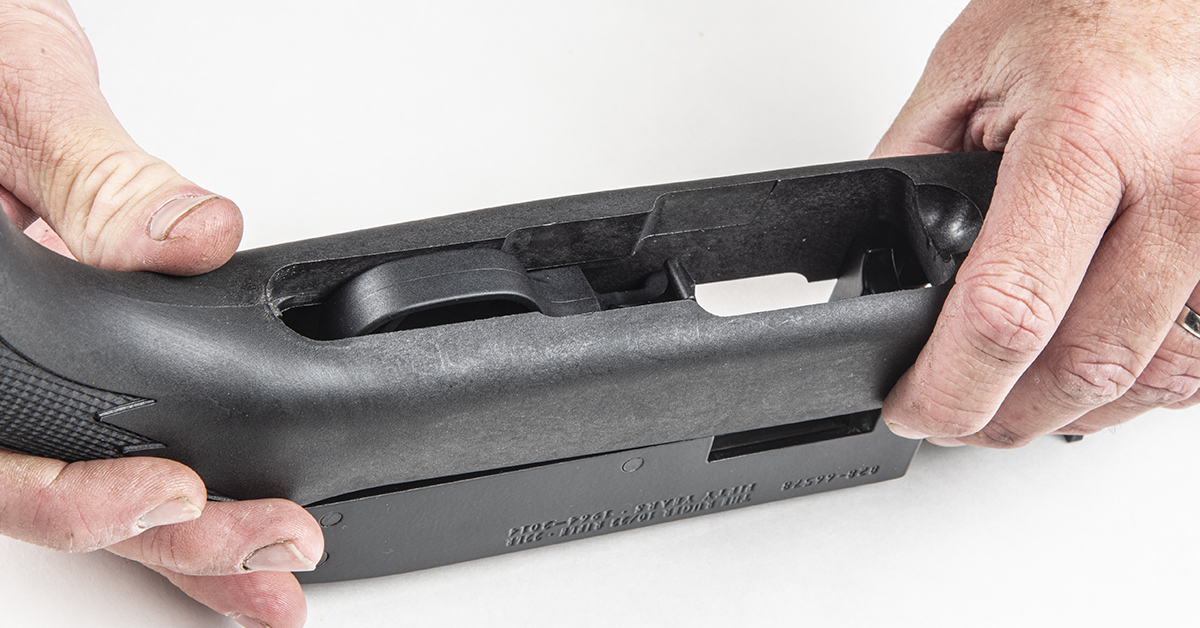
Place the safety bar midway in the receiver to provide clearance and then lift the stock off the barreled action.
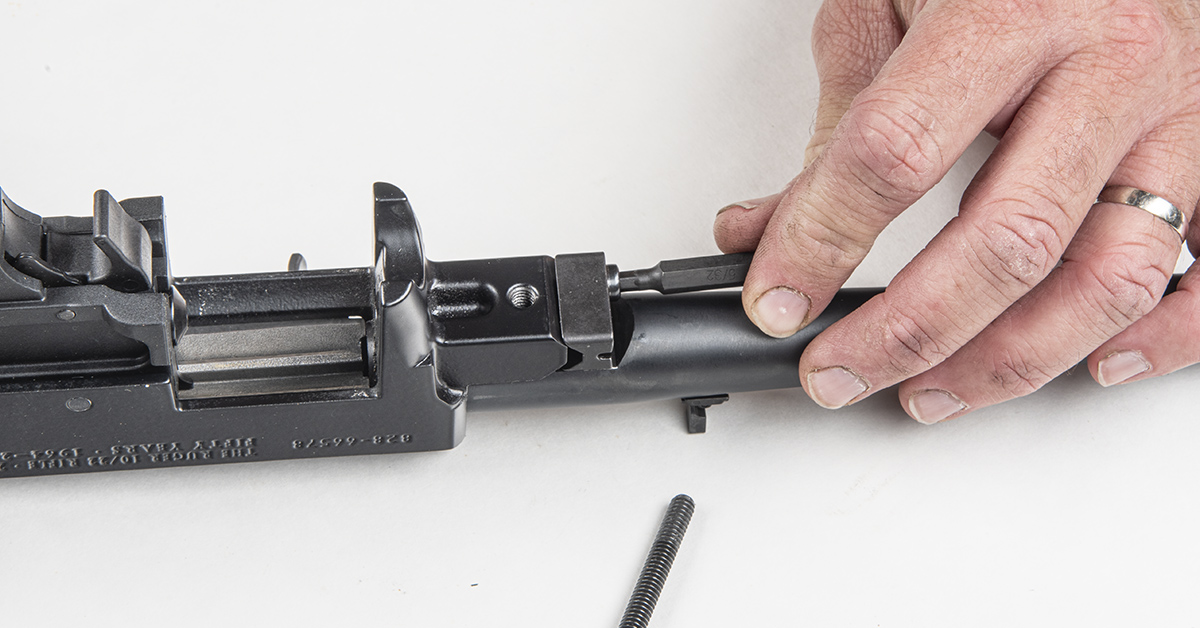
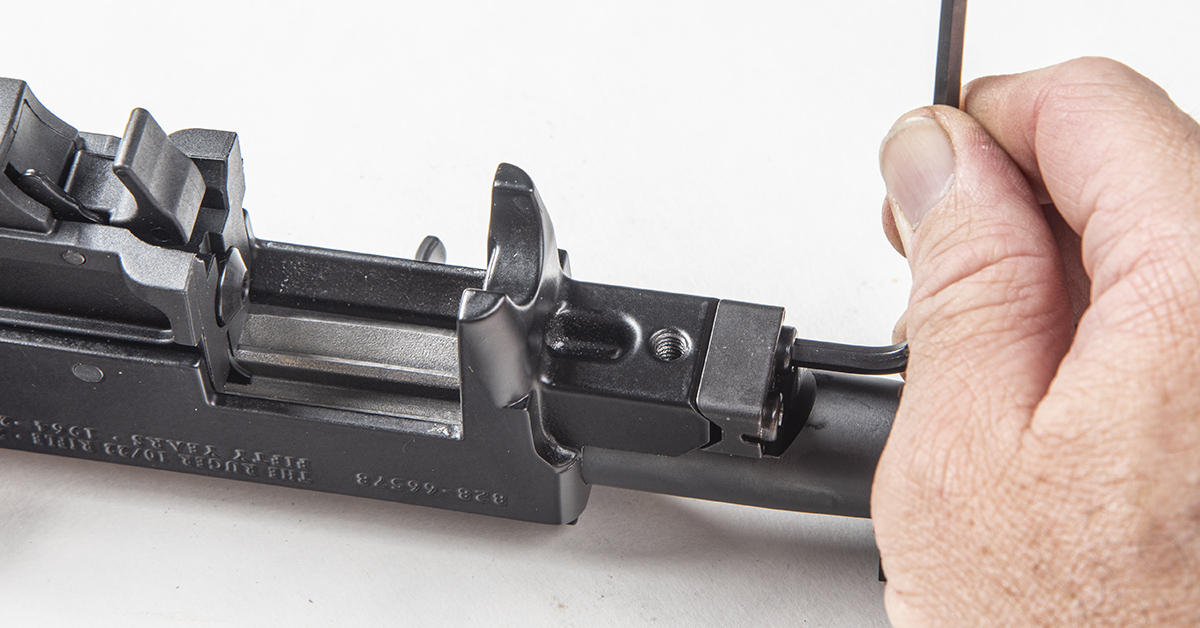
Depending on your bench block or vise setup, you may or may not need to remove the barrel from the receiver. Since our receiver is made of cast aluminum and we prefer to utilize a bench vise when installing sights whenever possible, we removed the barrel from the receiver. The 10-22 barrel secures to the receiver with a V-block and two screws. To remove the barrel, remove the two V-block screws and V-block from the receiver.
The barrel can now be pulled out of the receiver.
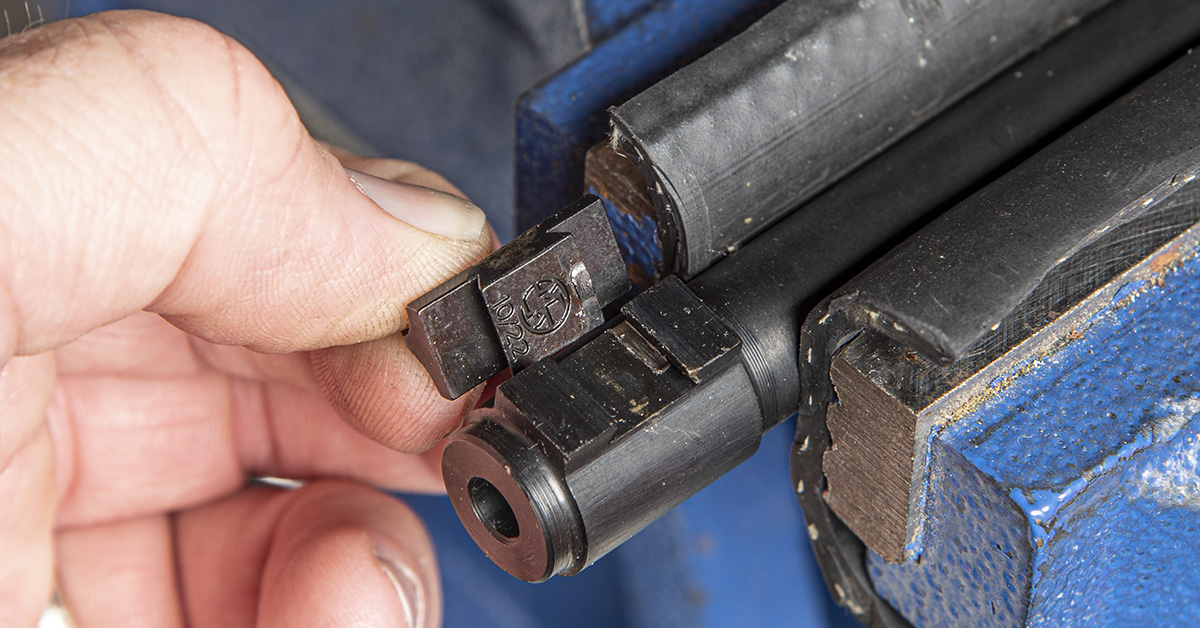
The rear sight on our 10-22 did not have an overly tight interference fit to the barrel, so we clamped the barrel in our Real Avid Master Gun Vise and used a brass drift and hammer to tap out the rear sight, pushing from the left to the right side.
Make sure that you only use brass drifts for removing and installing dovetail sights on guns. Brass is softer than steel, so it won’t damage the work piece.
The front sight proved to have a much tighter fit in our barrel than did the rear sight. This required more impact energy to remove, so we moved the barrel over to our standard bench vise for added support. We use split automotive heater hose to pad our vise jaws to prevent damaging the work piece. With the barrel secured in the vise, tap out the front sight with a brass drift and hammer, working from left to right.
Once off, we discovered the reason for the tight front sight fitment — a proud portion on the dovetail flat was added by the manufacturer to enhance the interference fit (note the channel dug into the barrel flat during installation).
Since the barrel is already secured in the vise for front sight work, we begin by installing the front sight. Start by test-fitting the new HIVIZ sight in the barrel dovetail. The sight should be able to be pushed about a quarter to a third of the way into the barrel dovetail by hand before using the drift and hammer to drift it into final position. Our sight dovetail could not even start into the barrel dovetail, meaning some material would first have to be removed.
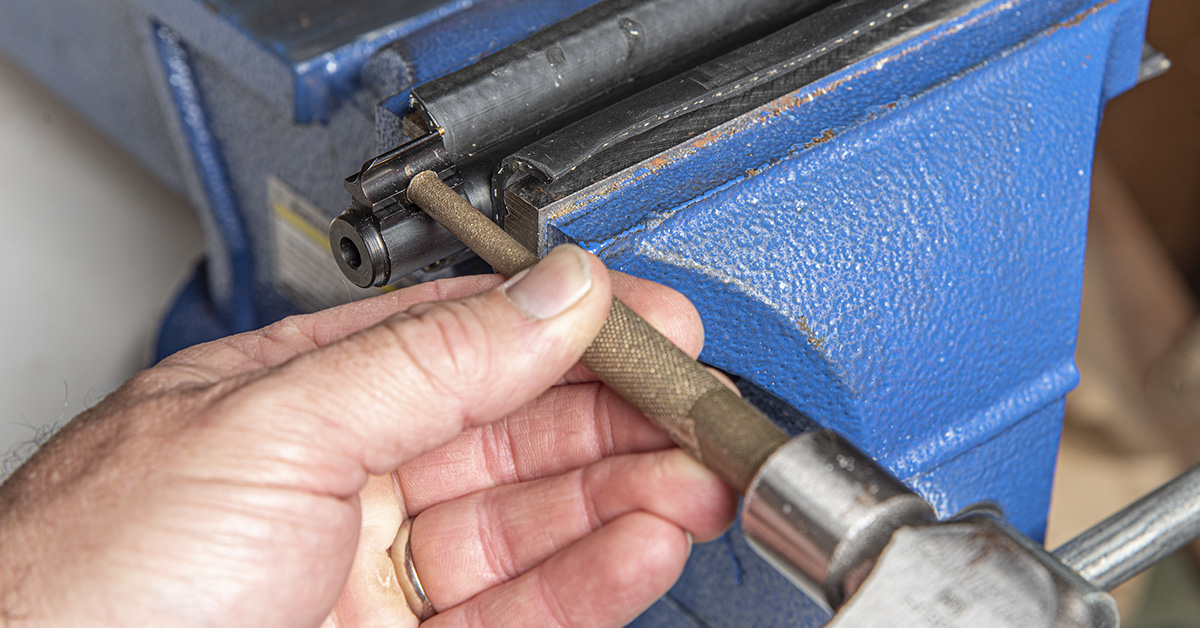
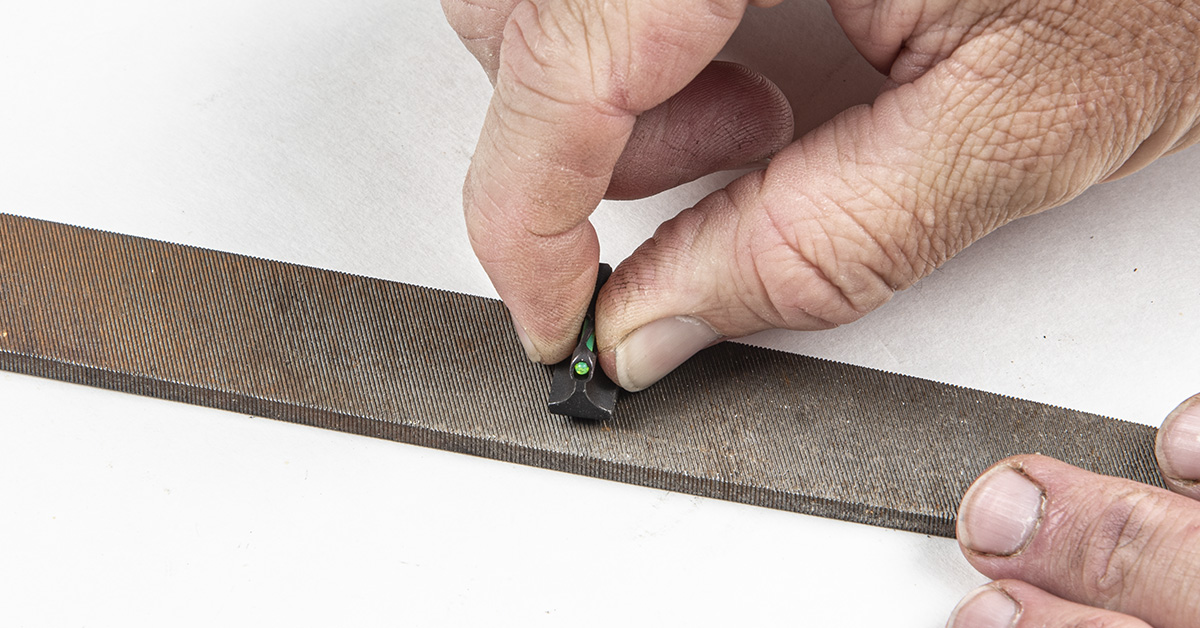
Removing material from the bottom of the dovetail is a slow and deliberate process that can be summed up with the phrase, “file a little, test fit a lot.” Lay the file on a flat surface. Grasp the sight with two fingers and place the dovetail flat onto the file. With light, controlled strokes, slide the sight along the file. At the end of the stroke, lift the sight, return to the starting point, rotate the sight 180 degrees, and make the next stroke. Repeat this several times and then stop and check for fitment in the barrel dovetail. Continue this process until the sight can be pushed into the barrel dovetail one quarter to one third of the way. Remember to GO SLOW! If you remove too much material, the sight will be too loose in the dovetail. You need the interference fit to keep the sight in place.
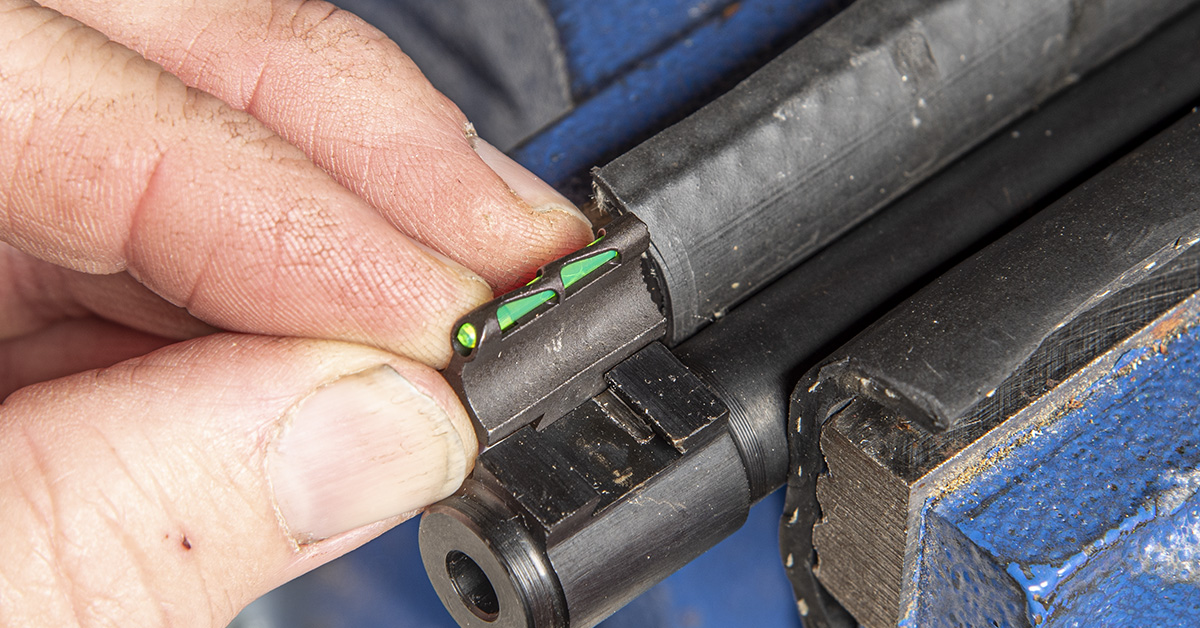
Once the sight can be pushed into the barrel dovetail one quarter to one third of the way, make sure the sight is correctly oriented with the larger flat portion of the light pipe pointing toward the shooter. Carefully tap the front sight into the barrel dovetail until it is perfectly centered in the dovetail groove.
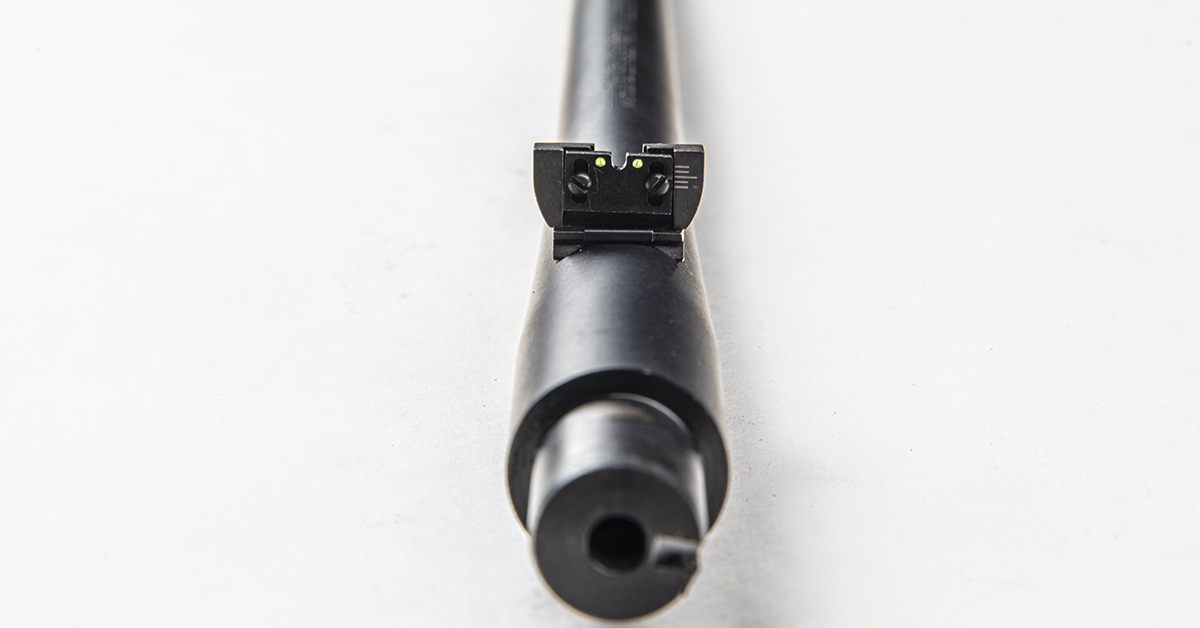
The sides of the HIVIZ sight are perfectly machined to match the sides of the barrel sight boss, so achieving proper alignment is simply a matter of making both sides of the sight flush with the sides of the barrel sight boss, as seen here.
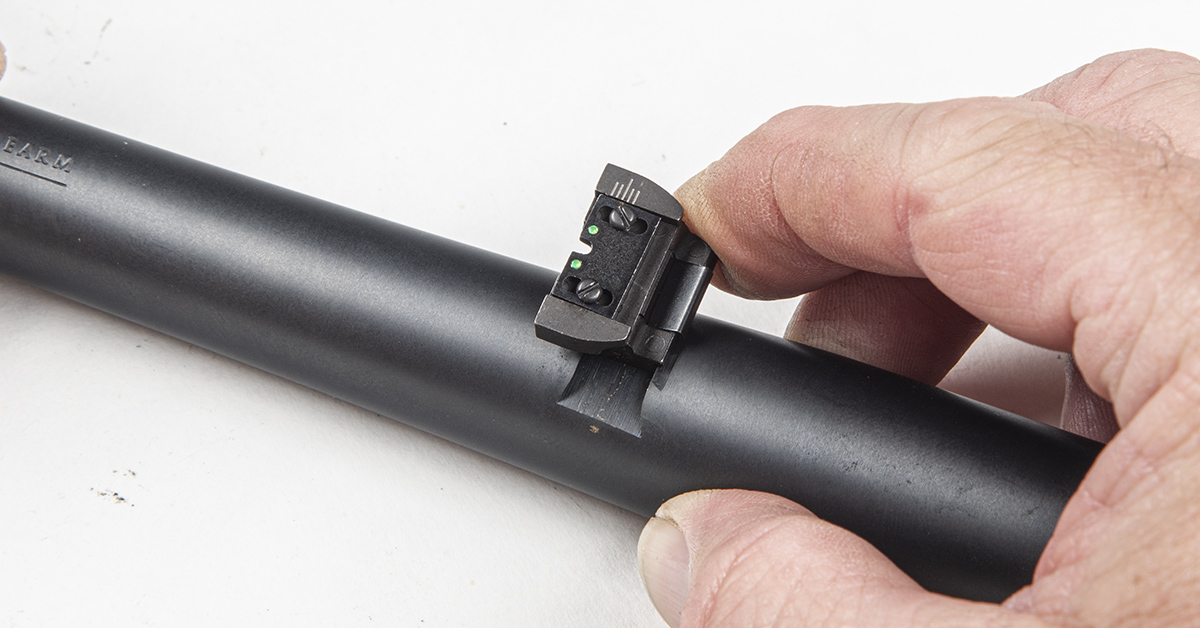
In test fitting our rear sight, we found the interference fit to be not as tight as the front sight. In fact, it was a bit looser than we like since the sight could be pushed in by hand halfway into its slot in the barrel. No dovetail filing necessary here!
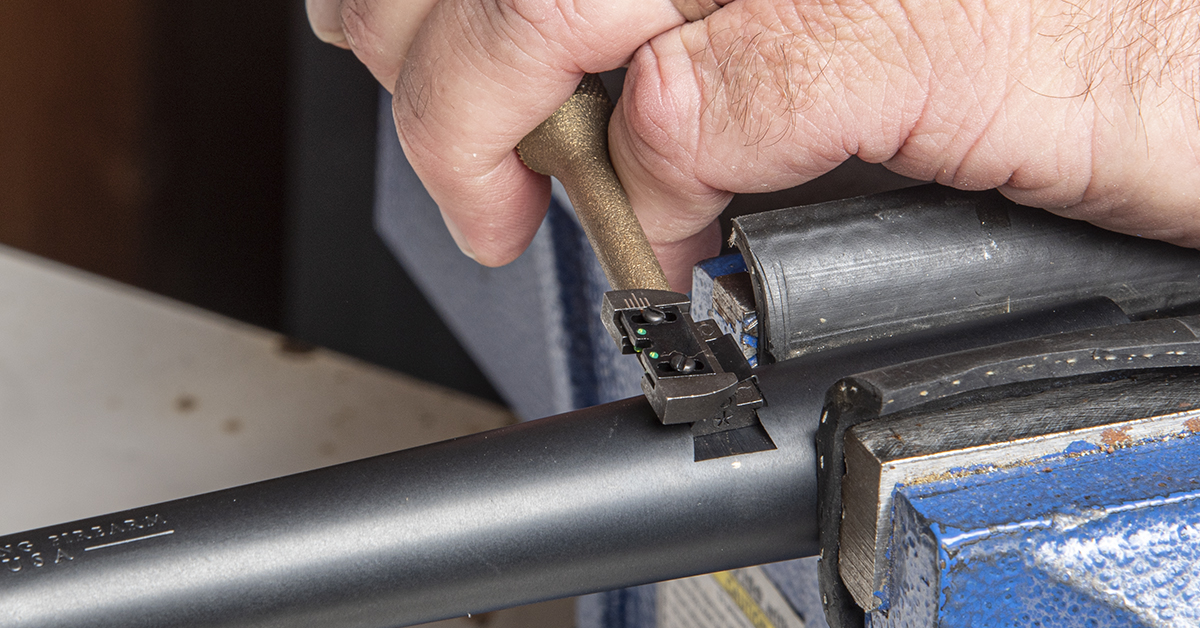
Again, with the barrel secured in the bench vise, tap the rear sight evenly into the barrel dovetail.
The goal is perfect centering of the sight on the barrel.
With the sights installed, the barrel can now be reinstalled into the receiver. Apply a light coat of mineral oil to the barrel shank and install the barrel.
Use the clamping flats of the barrel and receiver to correctly align the barrel with the receiver. Once aligned, install the V-block and secure with the V-block screws.
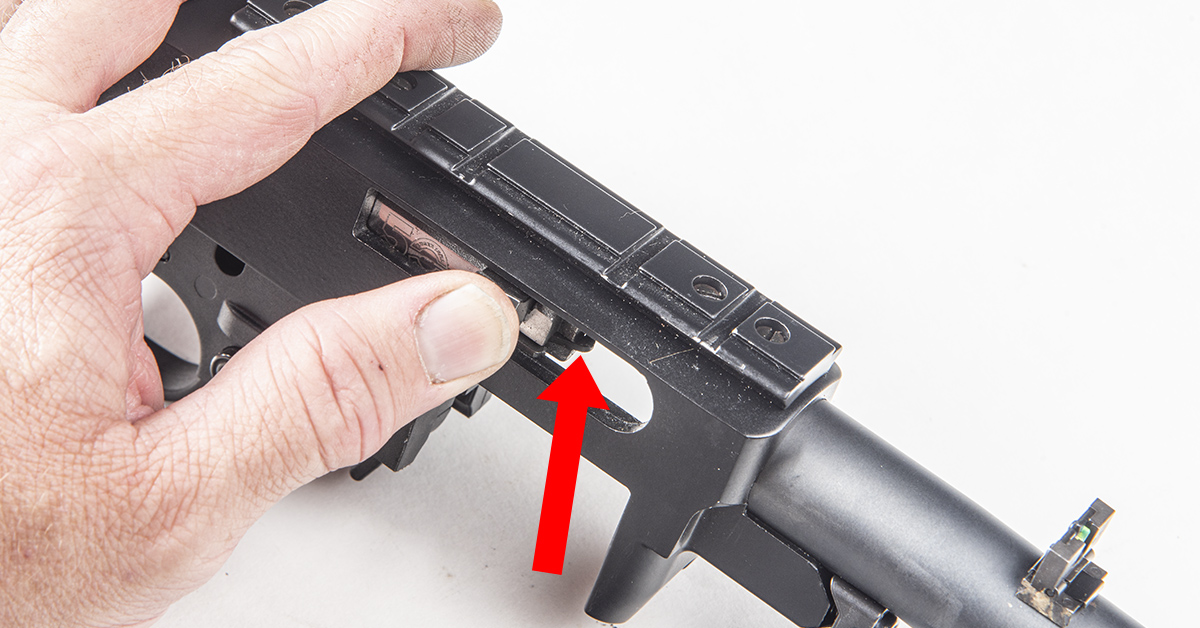
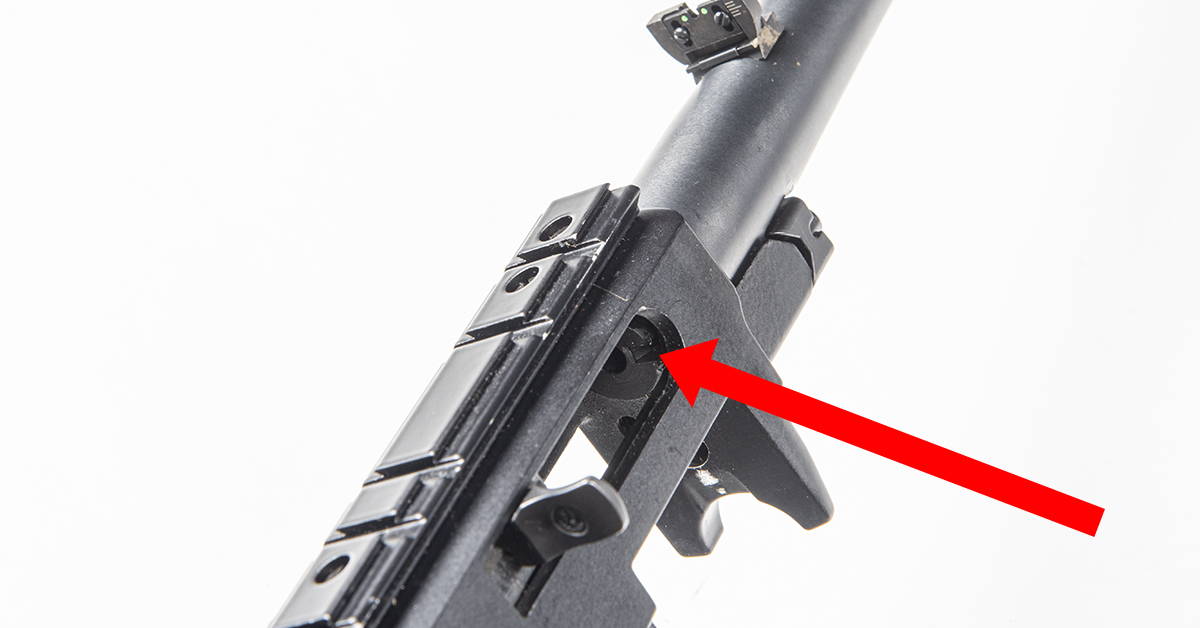
In addition to ensuring that the sights are directly atop (perpendicular to) the barrel bore, the barrel must be correctly aligned in the receiver so that the bolt extractor claw (arrow) is aligned with the extractor groove in the barrel shank.
When the bolt closes, the extractor claw should move into the extractor groove (arrow) without interference. If you have interference here, loosen the barrel and slightly rotate it in the required direction to eliminate the interference.
Once the barrel is correctly installed, center the safety bar in the trigger assembly as shown and lower the barreled action into the stock.
Tighten the action screw to complete the reassembly. Following this, check for proper operation of the bolt and trigger assemblies by performing a function check.
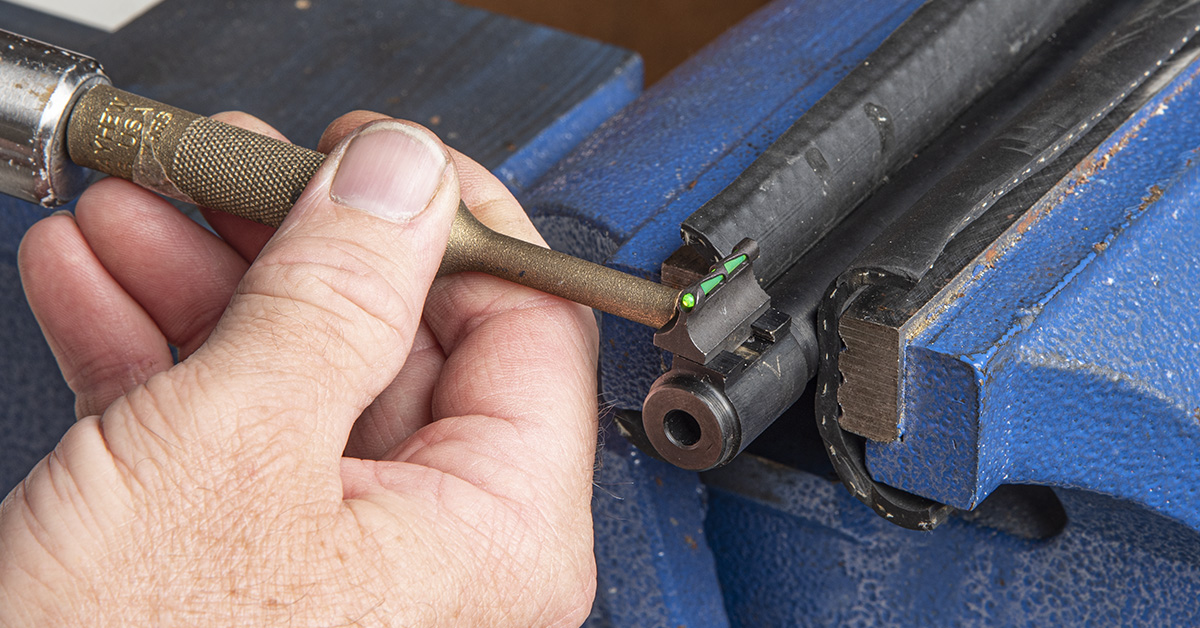
Changing out the front light pipes is easy. Use the tool pin to push against the back of the light pipe until it pops out of position. Installation of the new light pipe is the reverse.
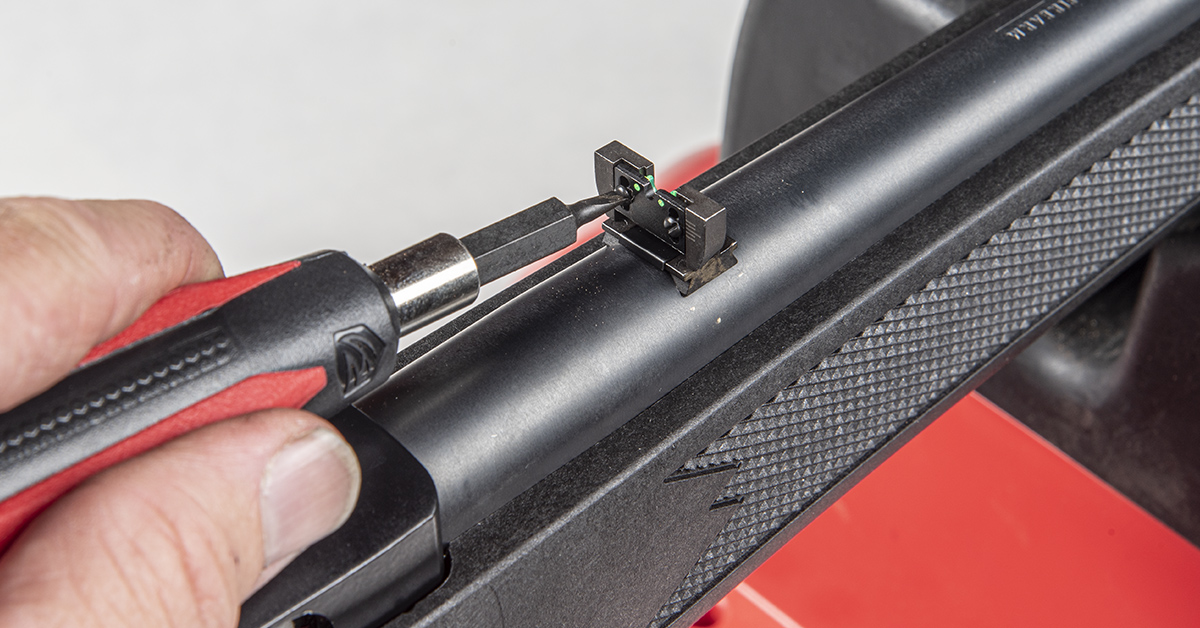
The HIVIZ rear sight assembly uses two screws to both adjust elevation and to secure the U-shaped light pipe in the rear sight blade. To change the rear light pipe, note the sight’s elevation position via the integrated elevation lines, remove the screws and elevation blade, remove the light pipe, and the reverse the process with the new light pipe.
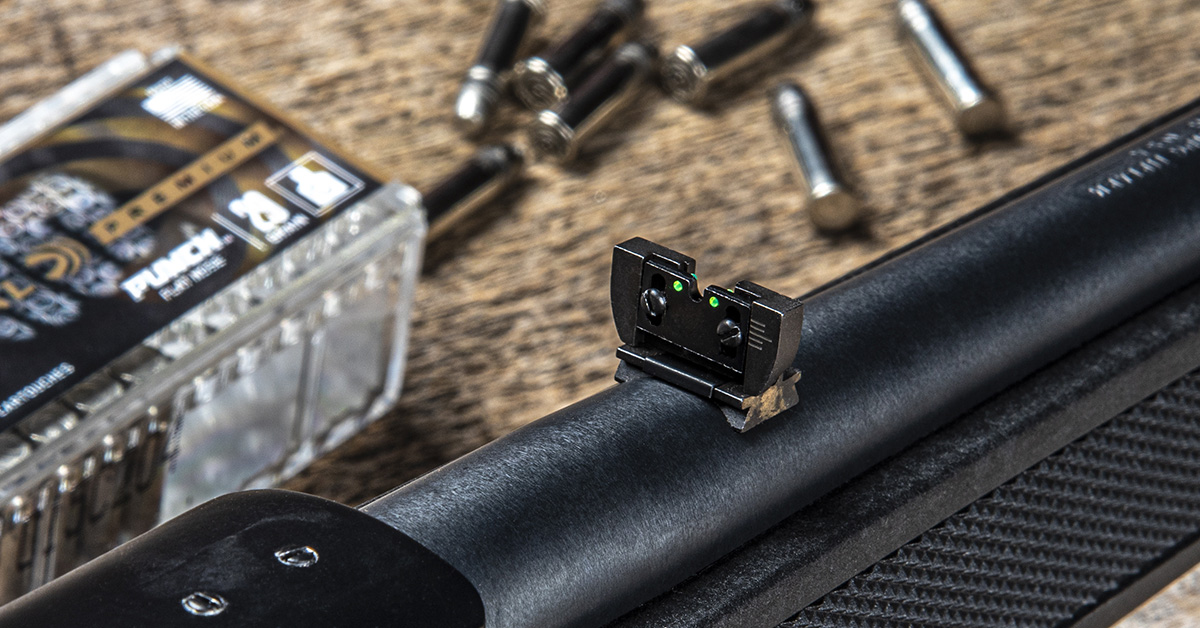
The new HIVIZ sight system changed the game for our 10-22. Once installed, we removed the Weaver mount for visual clearance and were treated to an open sight setup that provides crisp and highly visible three-dot alignment for dawn-to-dusk target shooting and small game hunting.
Of course, HIVIZ sights are as well suited for centerfire carbines as they are for rimfire rifles like the 10-22. Check out the models available for your gun and re-experience the fun, simplicity, and challenge of open sight shooting for yourself.

