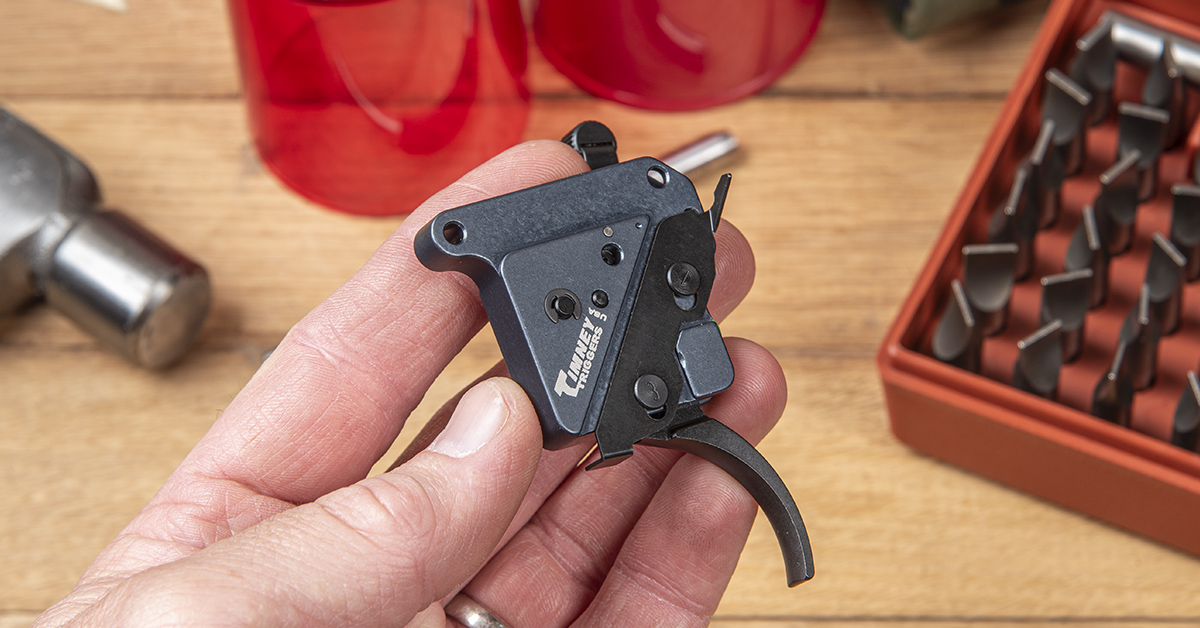
Timney’s new Impact 700 trigger system is a simple DIY upgrade that gives hunters the precise and reliable performance we’ve come to expect from Timney triggers in a no-fuss platform that is priced to meet the Everyman budget
by Rob Reaser
From the time I first started hunting until many, many years later, I never once thought about triggers other than you must pull them to make a gun go BANG. Scopes and ammunition were the peripherals of concern to me. The trigger…eh, it was just there to make it all happen.
That changed the moment I installed a precision aftermarket trigger into one of my AR-15s.
The lightbulb turned on.
Lightning struck.
A chorus sounded in the heavens.
I got it.
And I’ve never looked back.
Whether it is my favorite rimfire plinker/squirrel buster or any of my bolt-action big game hunting rifles, I don’t have one that is not fitted with an aftermarket trigger. The reduced pull weight and precise, clean sear break of a premium trigger makes that big of a difference in the shooter’s accuracy potential, but that isn’t something you can fully appreciate until you experience it for yourself.
Like I was in those early and somewhat ignorant days, I’d argue that most hunters are similarly unaware just how much accuracy improvement can be had by swapping out their typically long-pulling, heavy, and often gritty factory trigger (they’re called “lawyer triggers” for a reason) with a finely-tuned, precision-manufactured aftermarket trigger system. Many may know that aftermarket triggers are part and parcel of long-range and competitive shooters’ setups, but view such upgrades as difficult to install, complicated to set up, or just too expensive for the potential gain in their hunting rifle.
Allow us to dispel all those myths.
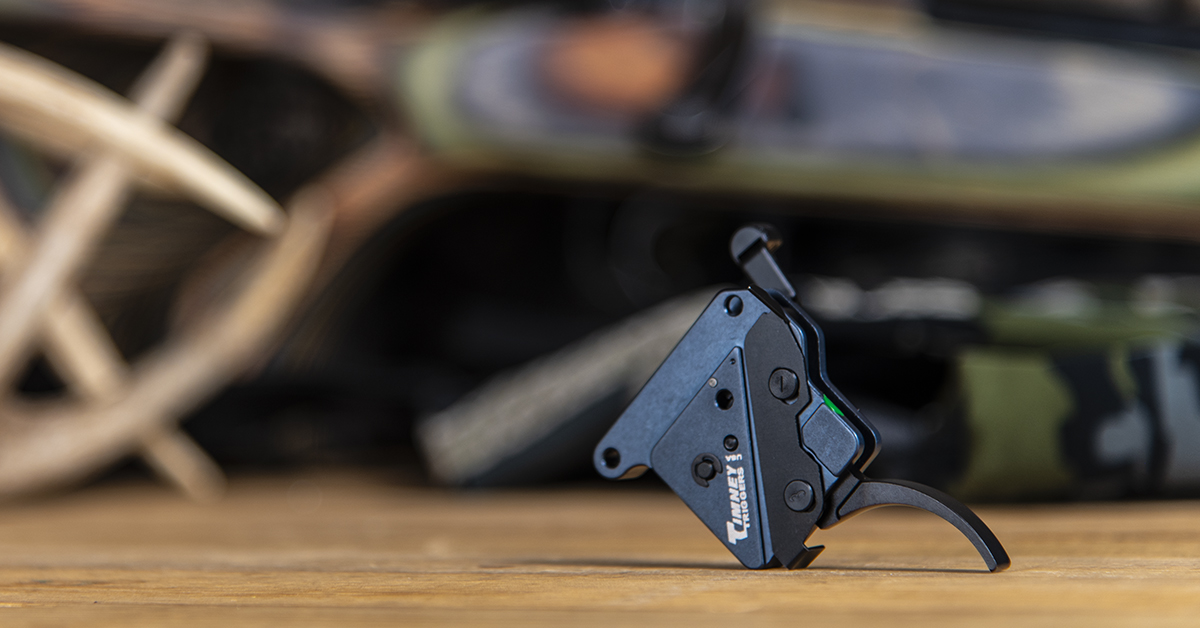
The folks at Timney Triggers have a long history (since 1946) of manufacturing top-quality, high-performance trigger systems for a broad range of firearms — not the least of which is the famed Remington 700 bolt-action rifle, one of the most popular rifles in America for several generations of hunters. Included in Timney’s precision trigger portfolio are numerous models for the Remington 700 that serious hunters and champion shooters have relied upon for years. Boasting high-tolerance machining and construction, state-of-the-art materials, hand-assembling and tuning, plus user-adjustability for pull weight, overtravel, and, in some models, sear engagement, Timney’s line of Remington 700 triggers are a huge step up from the factory units. If you want to better understand the nuances of the Remington 700 triggers and the case for the aftermarket option, check out our in-depth 101 and 201 articles on these triggers.
Most hunters, though, have no great desire to wade through the intricacies of trigger tech and fewer still wish to work through the process of custom-tuning a trigger. Simply put, the typical hunter wants a trigger that is easy to install and will reliably perform like a premium trigger for the life of the gun with no monkeying around required. Oh…and an easy-on-the-wallet price point is a must.
Enter the all-new Timney Impact 700.
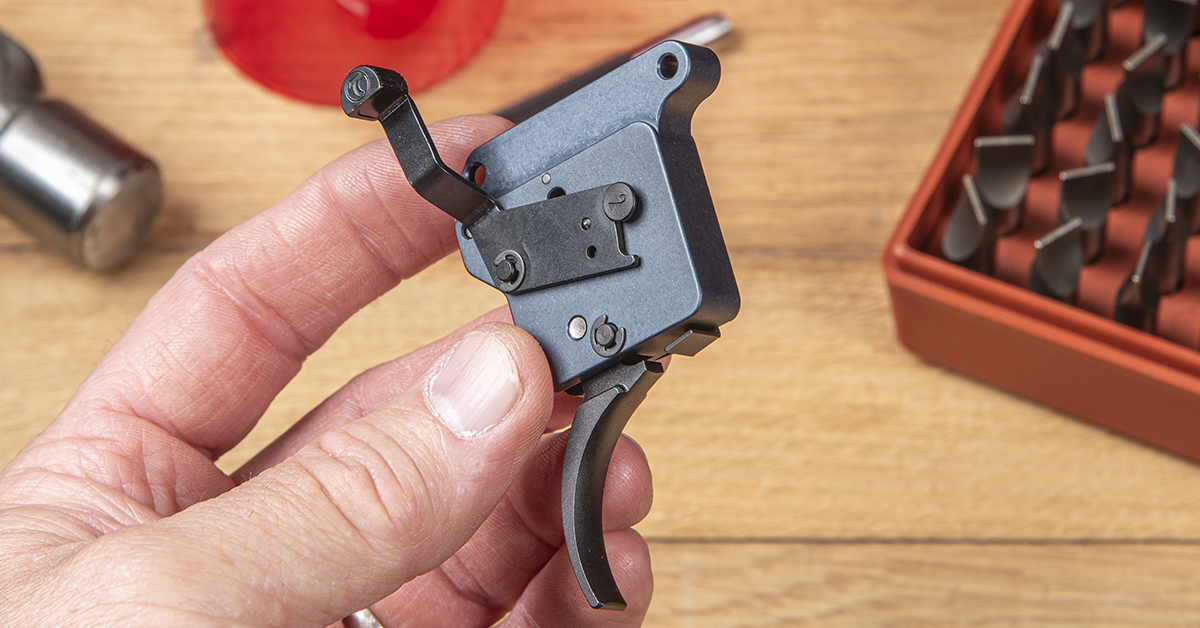
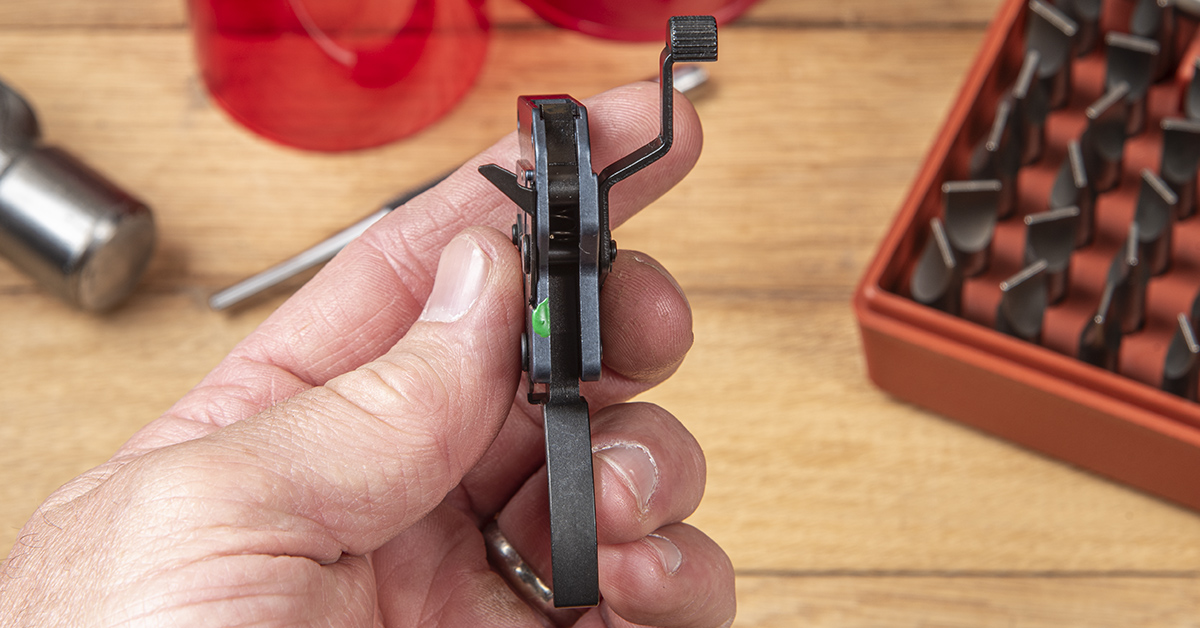
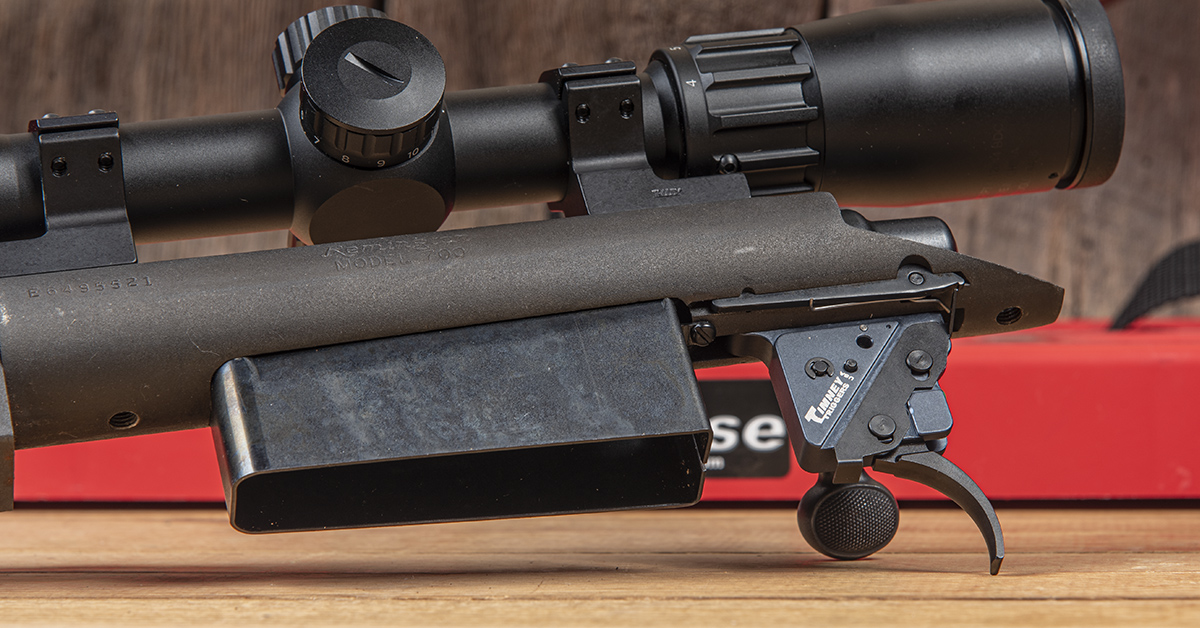
At first glance, you may notice that the new Impact 700 looks similar to the company’s Elite Hunter and HIT drop-in triggers. That’s because it is nearly identical in its general construction, with the same heat-treated billet steel machined components (no metal-injection molded or rolled parts), machined anodized aluminum housing, and a trigger shoe with a black oxide coating for enhanced corrosion resistance.
The difference is that the Impact 700 has no user-adjustment capabilities for trigger pull weight and overtravel. Rather, the Impact 700 is hand-tuned at the factory for a pull weight of between 3 and 4 pounds. For a hunting rifle, this is the sweet spot for most shooters. With this pull weight, the trigger is noticeably lighter than the stock Remington trigger but is heavy enough to work predictably with gloved hands. It also means there is ample resistance to dissuade prematurely pulling the trigger when you’re in the throes of buck fever.
Also absent is any adjustability for sear engagement. An adjustment usually desired in precision long-range competition rifles, sear engagement is defined by the length of travel between the time the trigger begins rearward movement and the moment the sear and connector engagement surfaces disengage (break), allowing the firing pin to move forward and strike the primer. This is an extremely delicate interface that is part of Timney’s “secret sauce.” For the Impact 700 trigger, Timney employs its Sear Engagement Adjustment Lock design, wherein the critical sear engagement is set by hand at the factory and locked so that the user need not be concerned with any adjustments and can be assured of a lifetime of worry-free precision engagement.
By virtue of its install-and-forget-it precision factory tuning and reduced mechanical complexity with the elimination of adjustable components, the Impact 700 can be manufactured and delivered to the consumer at a significant cost savings. With a $124.99 MSRP, the Impact 700 delivers all the critical performance and reliability of, say, the Timney HIT trigger but for around $100 less.
That’s going to move a lot of hunters off the fence.
Finally, let’s address the installation challenge, or lack thereof.
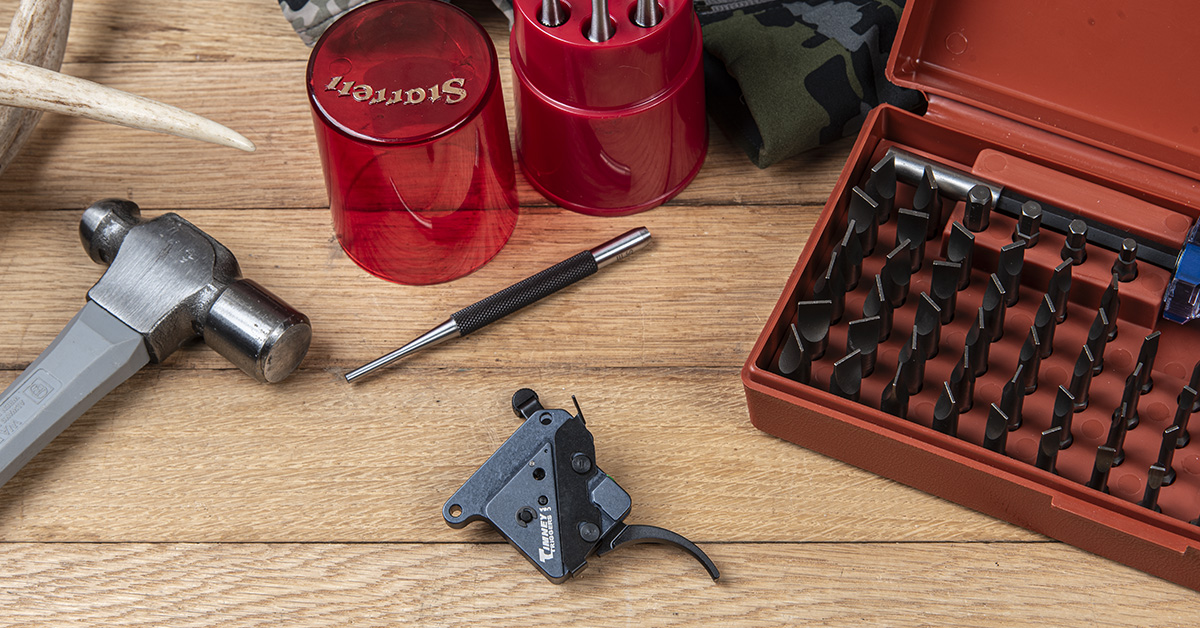
It doesn’t take much to swap out the factory trigger for a Timney drop-in like the Impact 700. A couple punches, a screwdriver, small hammer, and a bench block are the minimum tools required. Heck, you can do this in hunting camp in less than 15 minutes.
Check it out…
Installing the Timney Impact 700 Trigger
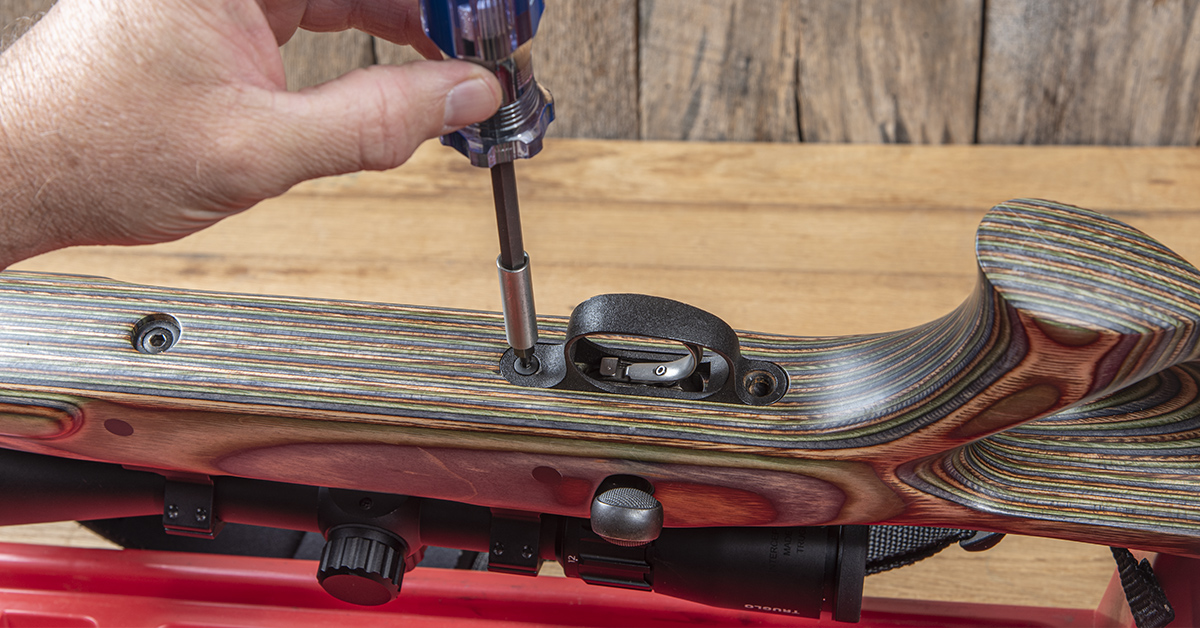
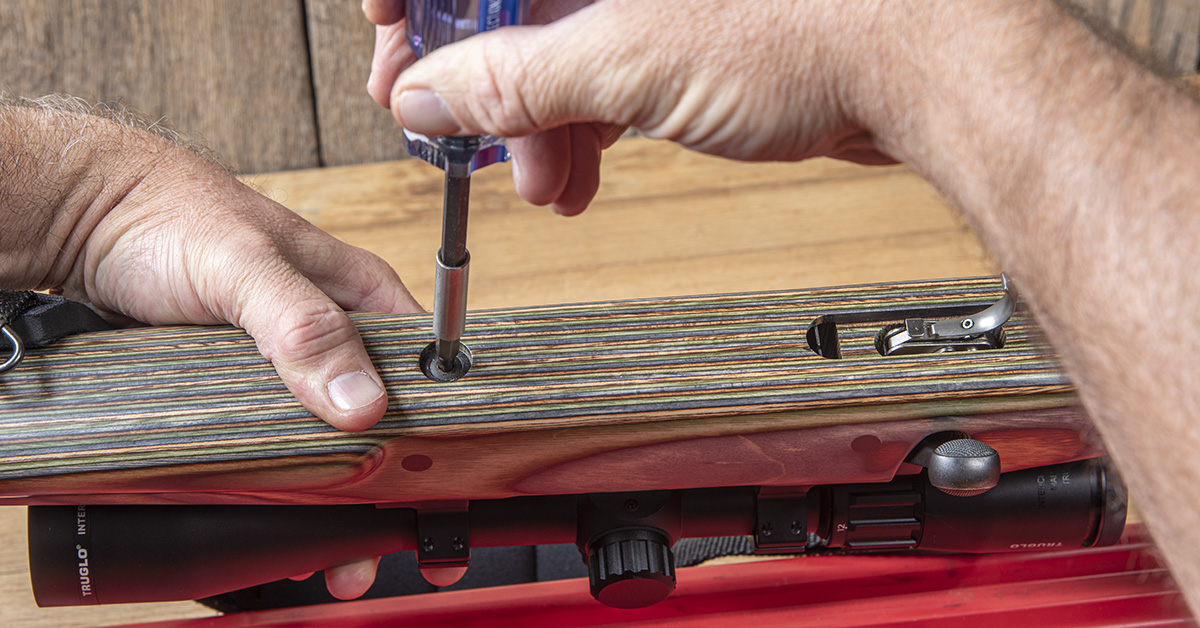
Starting with the rifle unloaded (no ammo in the magazine or chamber), remove the rear action screw. Rifles with the blind box magazine, like this 700 ADL, require removal of the front trigger guard screw.
While supporting the barreled action, remove the front/trigger guard action screw.
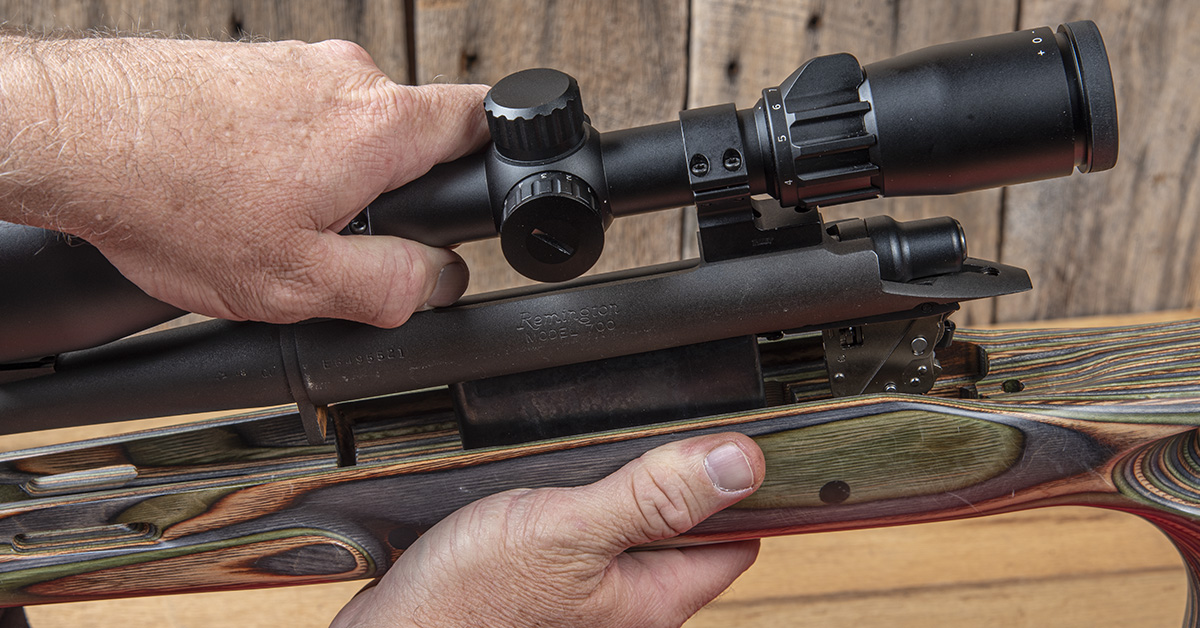
Carefully remove the barreled action from the stock.
With the safety in the safe position, depress the bolt release lever and remove the bolt from the action.
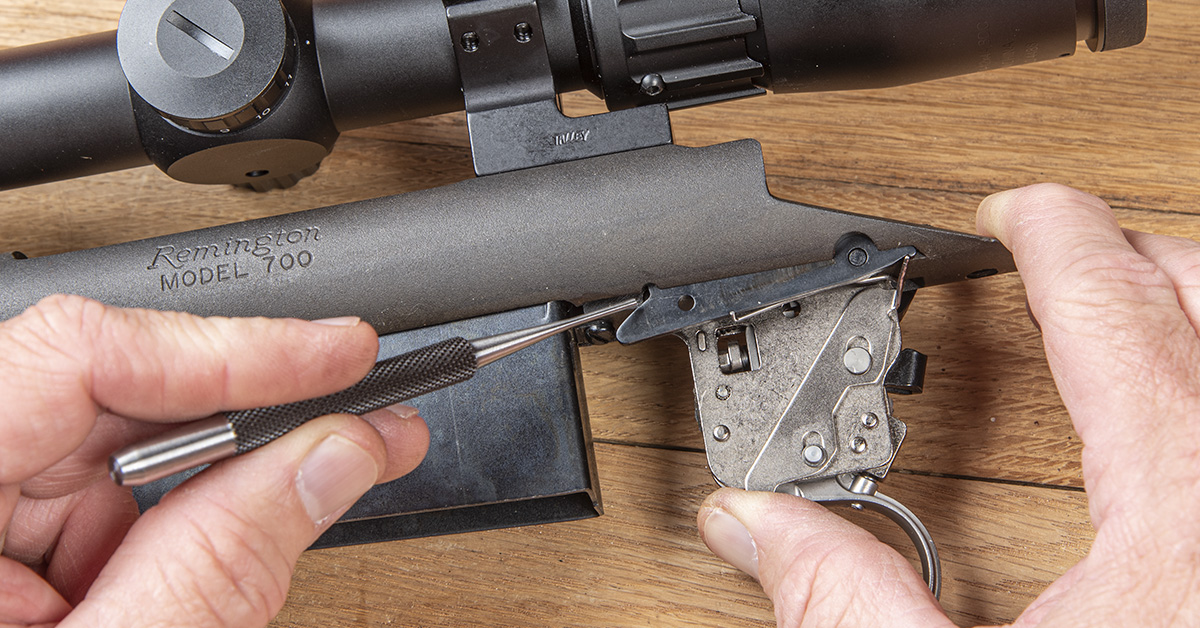
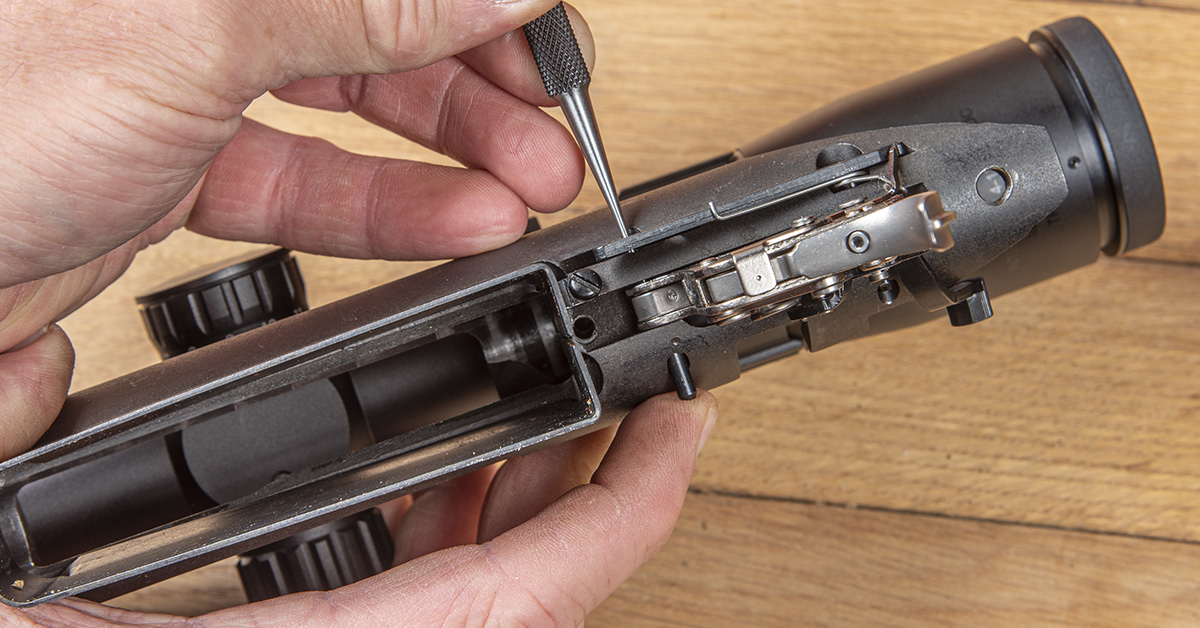
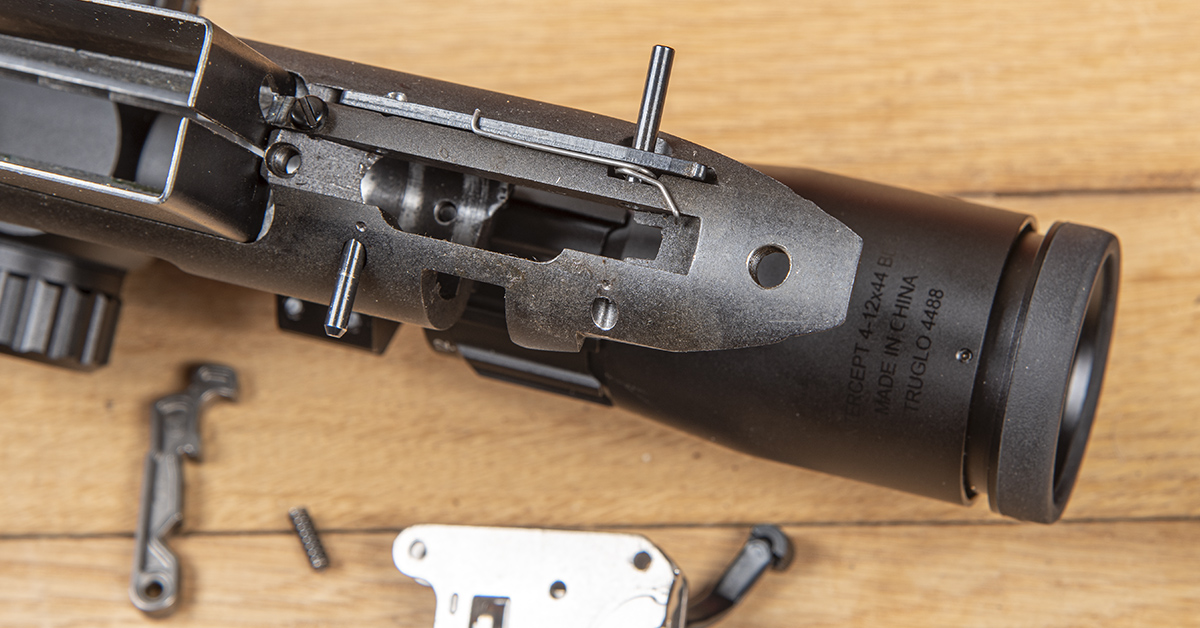
The front trigger housing pin is beneath and partially obstructed by the bolt stop. A small-diameter punch is required to push this pin from left to right.
Push the front pin only as far as is needed to release the front of the trigger housing. If you happen to push it out of the receiver, no problem. Just remember that the chamfered end of the pin points to the right side of the receiver, as shown.
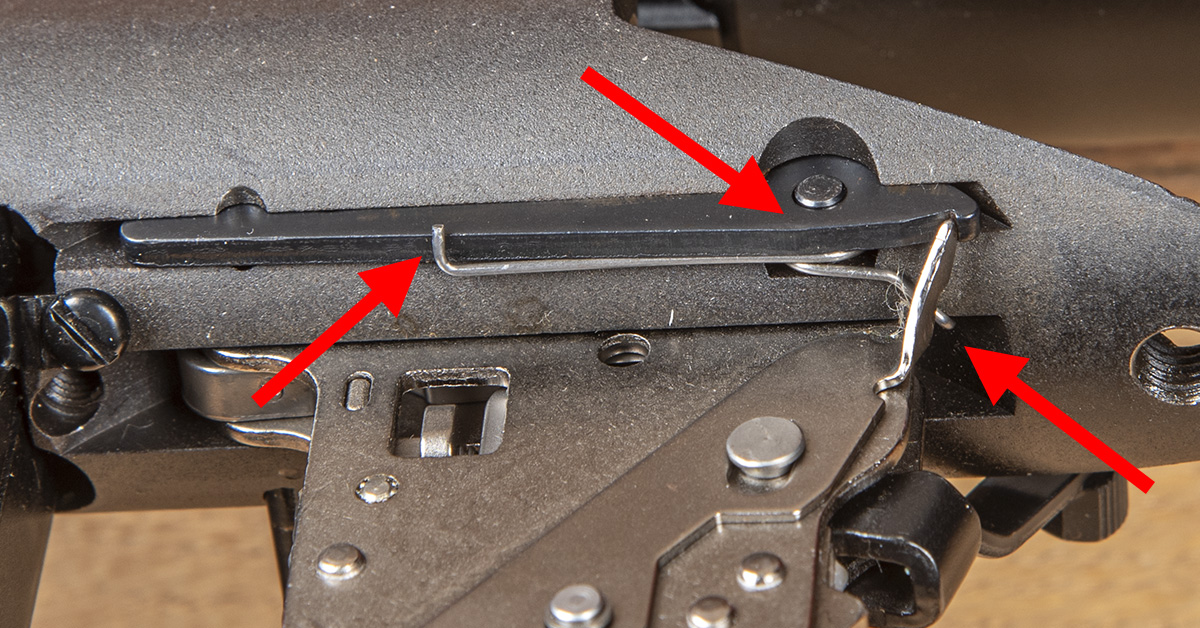
The rear trigger housing pin is the one you need to watch out for. Notice the orientation of the bolt stop spring between the bolt stop and the receiver, and its critical points of contact (arrows). It is a simple arrangement, but it can be difficult to assemble if the rear trigger housing pin is pushed too far out of the receiver and it all comes loose.
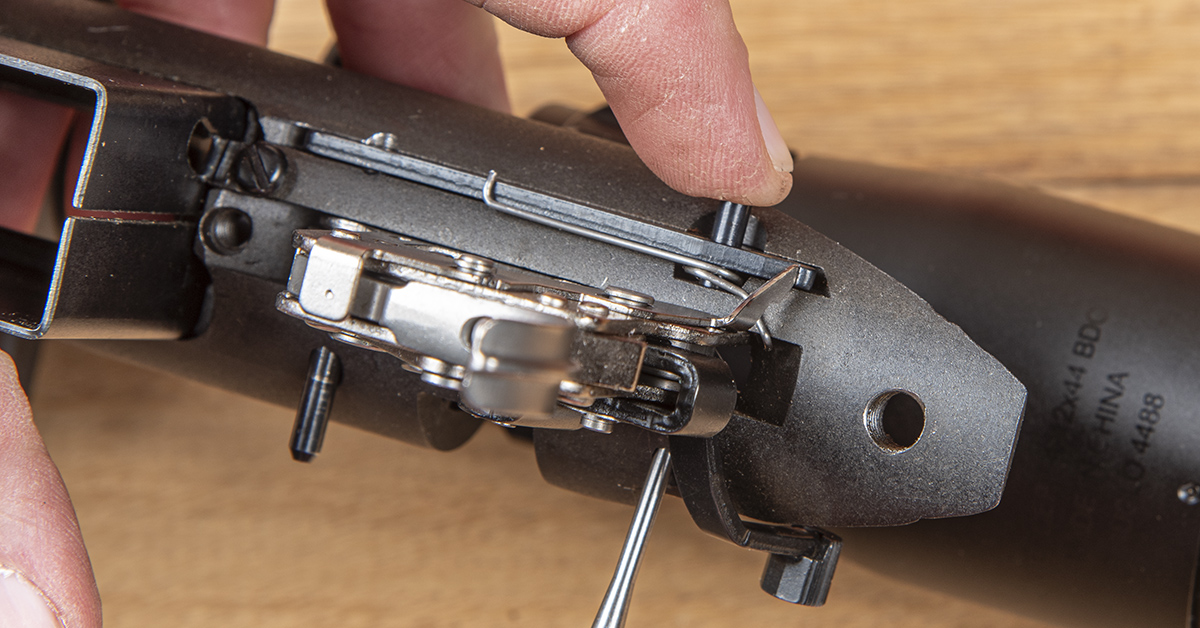
To release the trigger housing, push the rear pin from right to left while maintaining control of the pin. Carefully and slowly move the pin until the trigger housing is free yet the pin is still in the receiver. Again, if you happen to push the pin too far and the bolt stop and spring come loose, don’t fret. They can be reinstalled in their original orientation, but sore fingertips and a few choice words may be the price you pay.
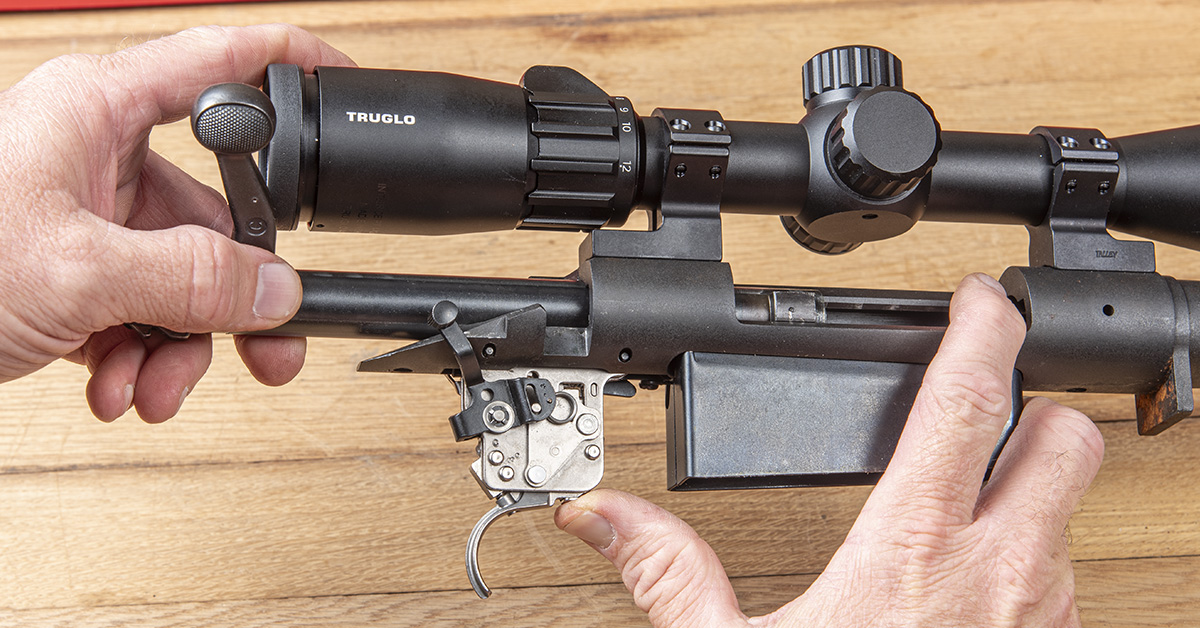
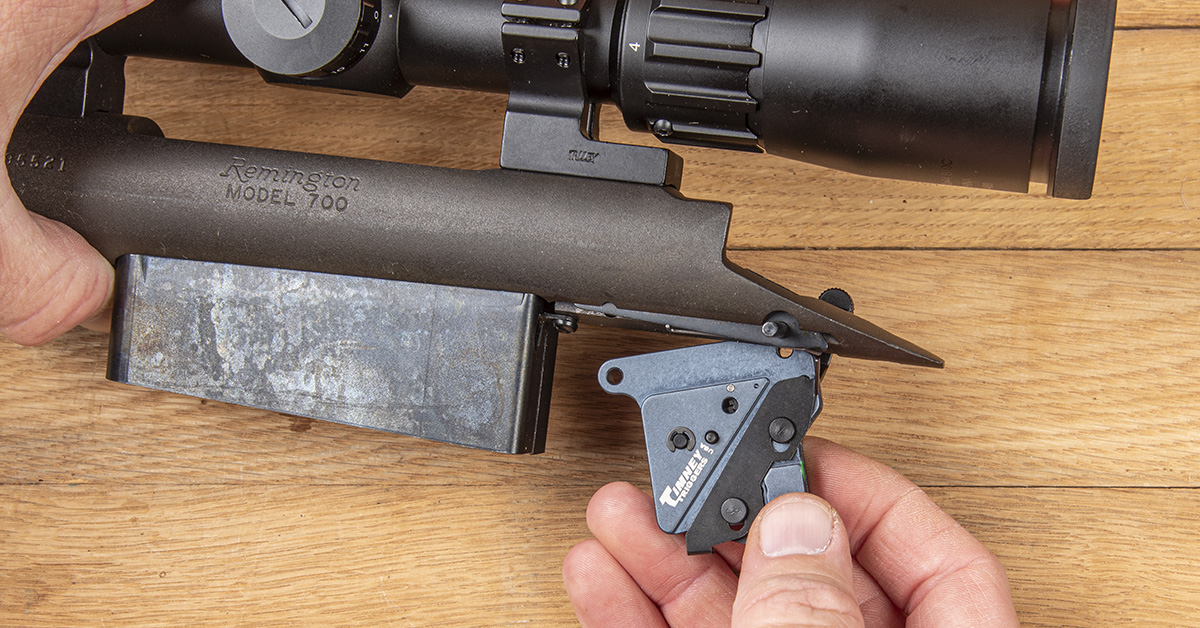
With the trigger housing, sear, and sear spring removed and the trigger housing pins in place in the receiver, the Impact 700 is ready to be installed.
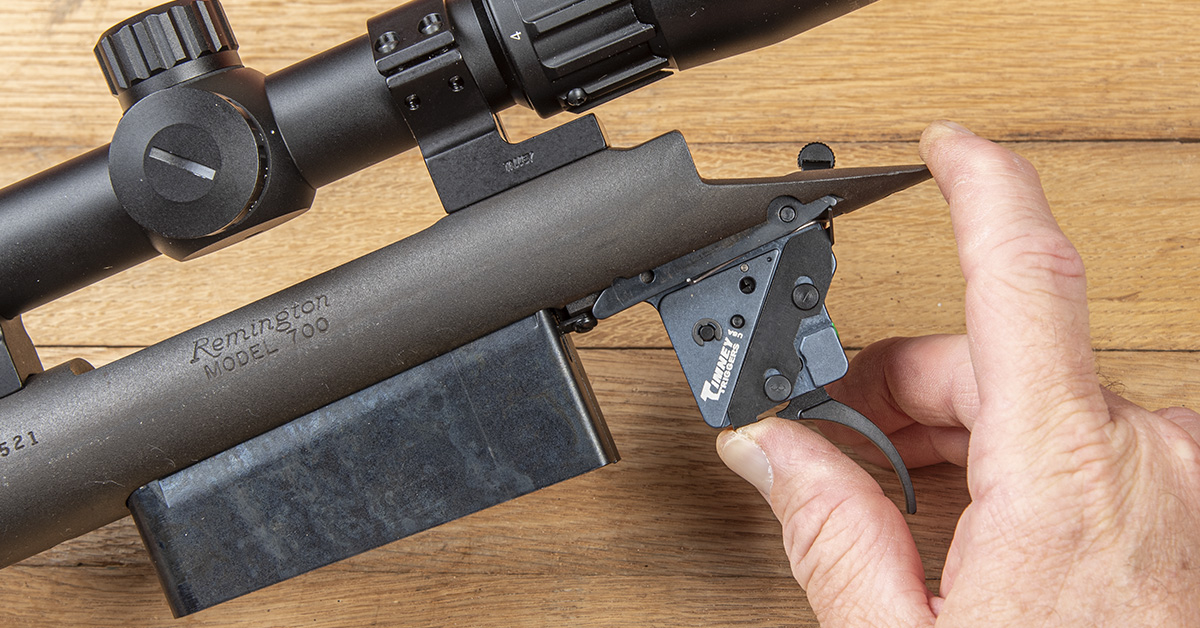
Start by placing the new trigger into position and align the rear pin holes.
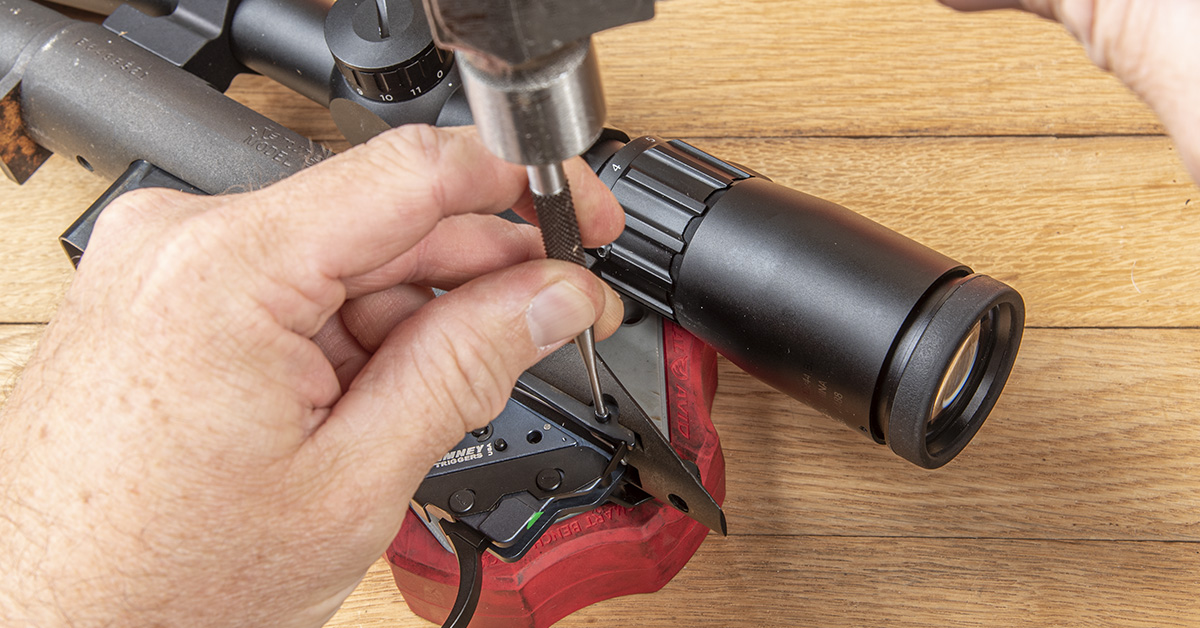
Push firmly or tap the rear pin into place. If you use a punch and hammer, be sure to support the action on a bench block or piece of wood to prevent damage. When finished, the end of the pin should be flush with the bolt stop.
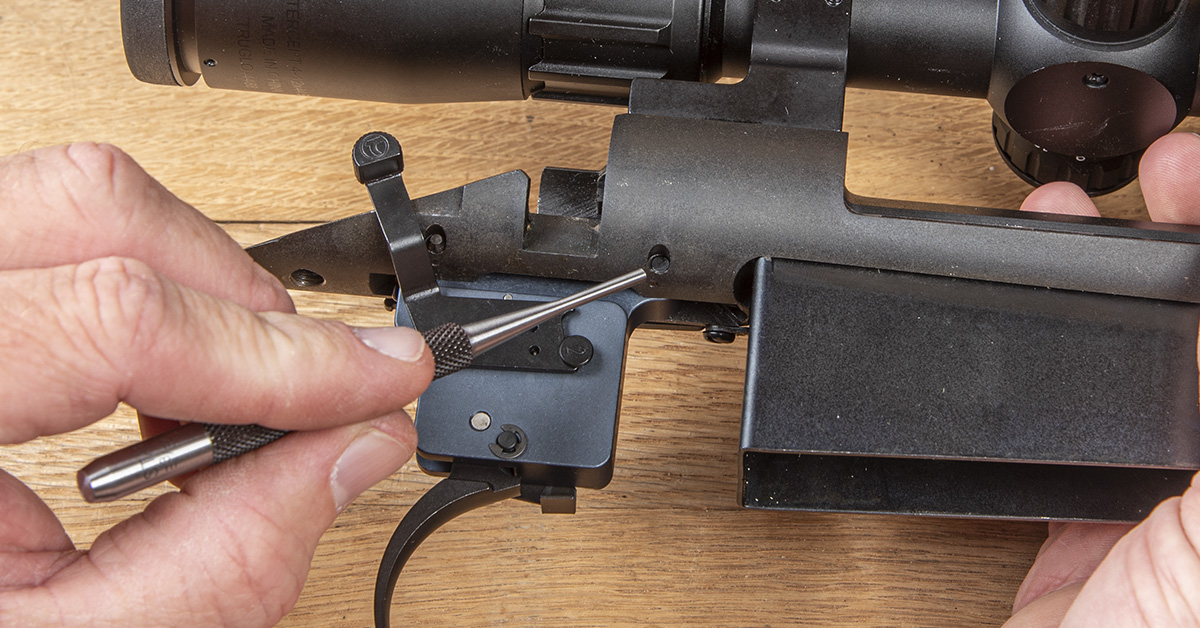
Install the front pin by rotating the trigger housing up and in alignment with the front pin holes. From the right side, tap the front pin into place to that it is flush with the receiver, just behind the bolt stop.
Press up on the bolt release lever to ensure the installed assembly is functioning properly.
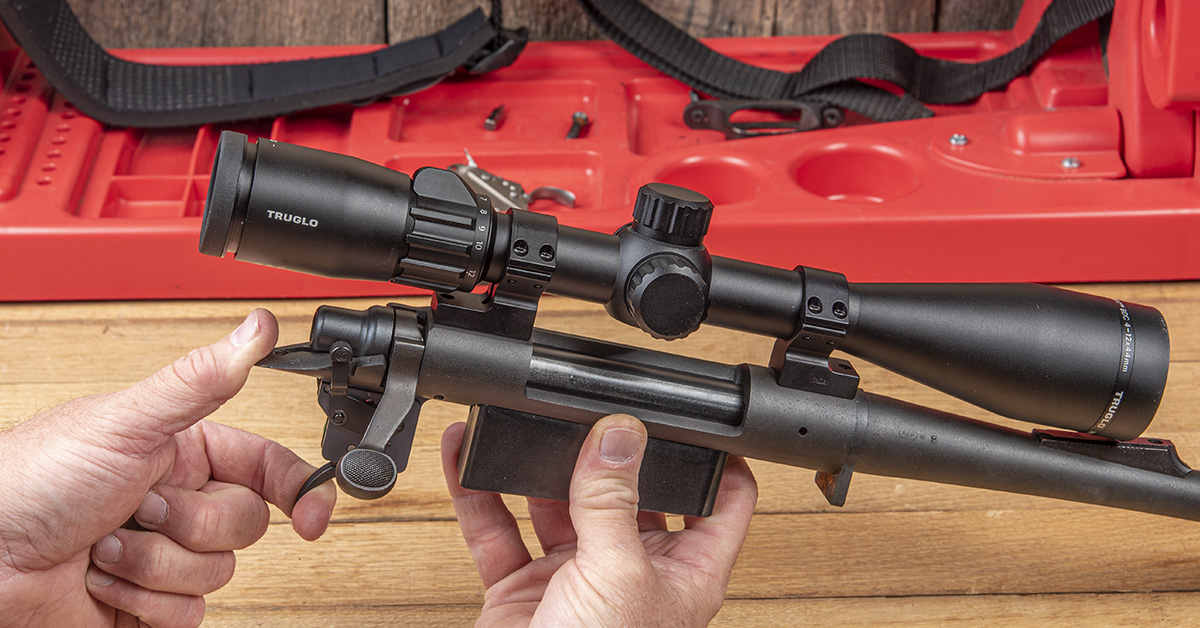
Reinstall the bolt and perform a function check. With the bolt cocked and the safety in the fire position, the firing pin should release when the trigger is pulled back. Re-cock the bolt, move the safety to the safe position, and pull the trigger. The firing pin should not be released.
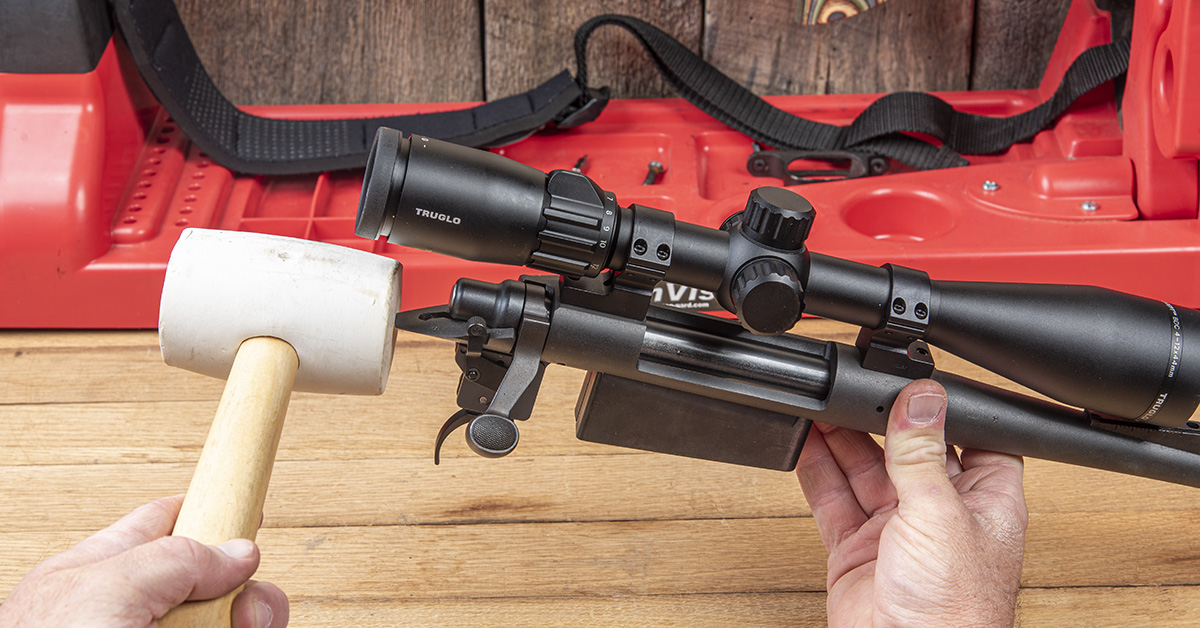
A final safety check involves tapping the rear of the action with the bolt cocked and the safety in the fire position. This is to test for “bump fire.” Firmly strike the back of the receiver with a rubber or nylon hammer, or carefully strike it against a block of wood, to ensure the firing pin does not release. If all function and safety checks prove out, reinstall the barreled action into the stock.
As you can see, upgrading your Remington 700 with Timney’s new precision Impact 700 trigger is an easy DIY project that will deliver big dividends on the range and in the field. But be warned! Once you use a high-quality trigger for the first time, never again will factory triggers be “okay.”

