The Remington 700 is one of the most popular and longest-lived bolt-action rifles ever. Here, we take a deep dive into the rifle’s trigger system so you can decide whether to “stay stock” or plan for an upgrade.
by Lou Patrick
From its introduction in 1962 to present, the Remington Model 700 rifle has been one of the most popular sporting rifles ever produced — so popular, in fact, that the company claims, “More model 700s have been sold than any other bolt-action rifle before or since.”
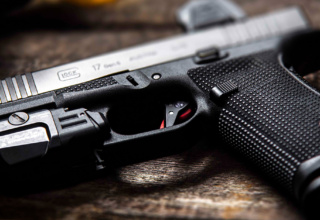
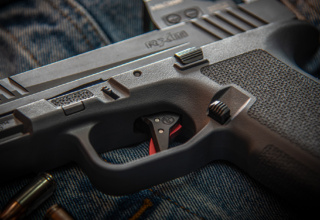
The Model 700 has certainly been a resounding success despite the controversy surrounding its trigger, or triggers. If you own a Remington 700, it most likely has one of four different triggers that were used during its production run. When the rifle was made, and its intended use, will determine what trigger was installed at the factory.
Let’s take a quick look at the triggers installed by Remington on the Model 700.
Walker Trigger
The Walker trigger was invented by its namesake, Merle Walker, in 1947 and had been used previously on the Remington Model 721. Remington installed this trigger on the Model 700 from 1962 to 2006, and most rifles produced during this period will have this trigger.
It is with the Walker trigger that the controversary concerning Remington triggers began. It didn’t take long to hear of rifles that had fired without the trigger being pulled and, of course, the lawsuits followed. Despite all the allegations, it wasn’t until 1982 that Remington made any significant changes to the original Walker design.
The original design locks the bolt closed when the safety is in the safe position. This proved problematic for owners of the Model 700 ADL version. The 700 ADL features a blind box magazine that requires the bolt to be cycled in order to eject cartridges from the magazine. Owners of the 700 BDL version, on the other hand, could simply open the hinged floorplate to remove cartridges from the magazine. For the 700 ADL owner, this meant that the safety had to be placed in the fire position in order to unload the rifle.
Not the best design.
The safety was redesigned in 1982 so that the bolt would not be locked with the safety in the safe position. This allowed the rifle to be unloaded with the safety engaged. It is also important to note that the safety on this trigger, when in the safe position, blocks only the sear. The trigger can still be pulled rearward when in the safe position.
40X Trigger
The 40X trigger became available in 1955 and was installed in 700s primarily intended for competition or for use as military/police sniper rifles. It featured an easily accessible screw just forward of the trigger shoe for adjusting the trigger’s pull weight, which can be adjusted to a slightly lighter weight of pull than the standard Walker trigger. At its core, this is very much a Walker trigger.
X-Mark Pro
Installed on Model 700s from 2007 to 2009, the X-Mark Pro represents the first major redesign of the original Walker trigger. I say “redesign” because it operates very much in the same fashion as the Walker trigger, so I don’t see it as something “new.” It is also apparent that the complaints of the previous trigger were heard since most of the changes found on this trigger seem to address safety concerns.
The X-Mark Pro does include some important and much needed modifications. The connector, a somewhat controversial component of the Walker trigger, is now gone. The safety also blocks both the sear and trigger movement. Unfortunately for Remington, even after this redesign, the company continued to be plagued with complaints concerning their triggers. These complaints ultimately resulted in Remington issuing a recall for the X-Mark Pro.
X-Mark Pro Adjustable
Featured on Model 700s from 2009 to present, this second version of the X-Mark trigger has an easily accessible screw in the trigger shoe that allows for adjustment of the trigger’s pull weight. Otherwise, it is identical to the X-Mark Pro trigger.
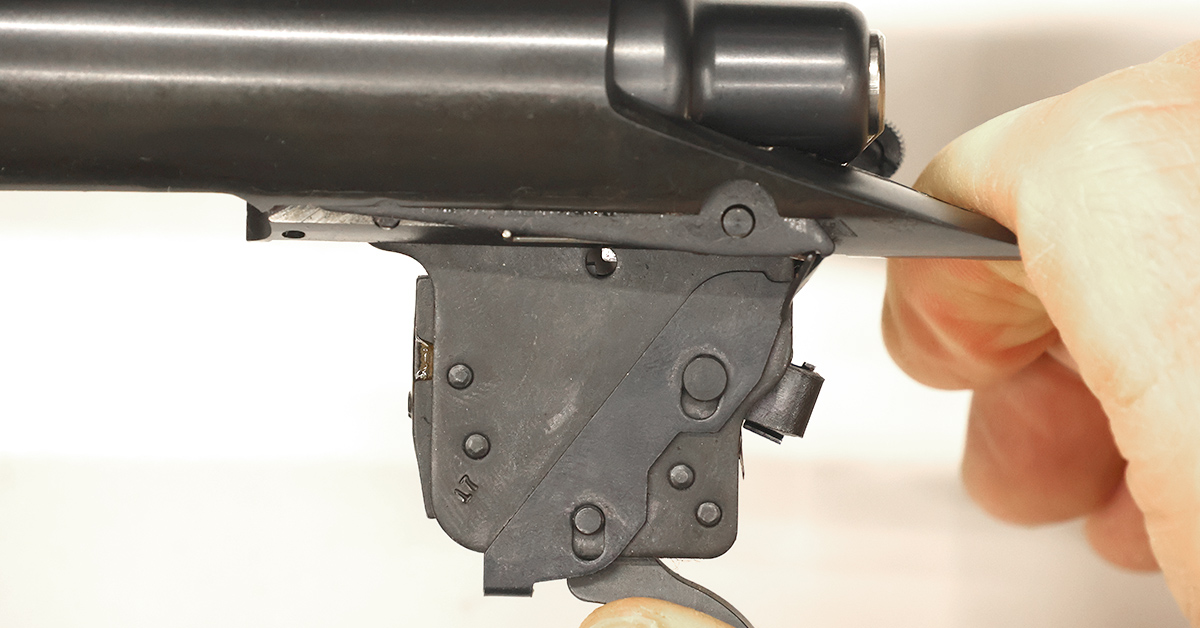
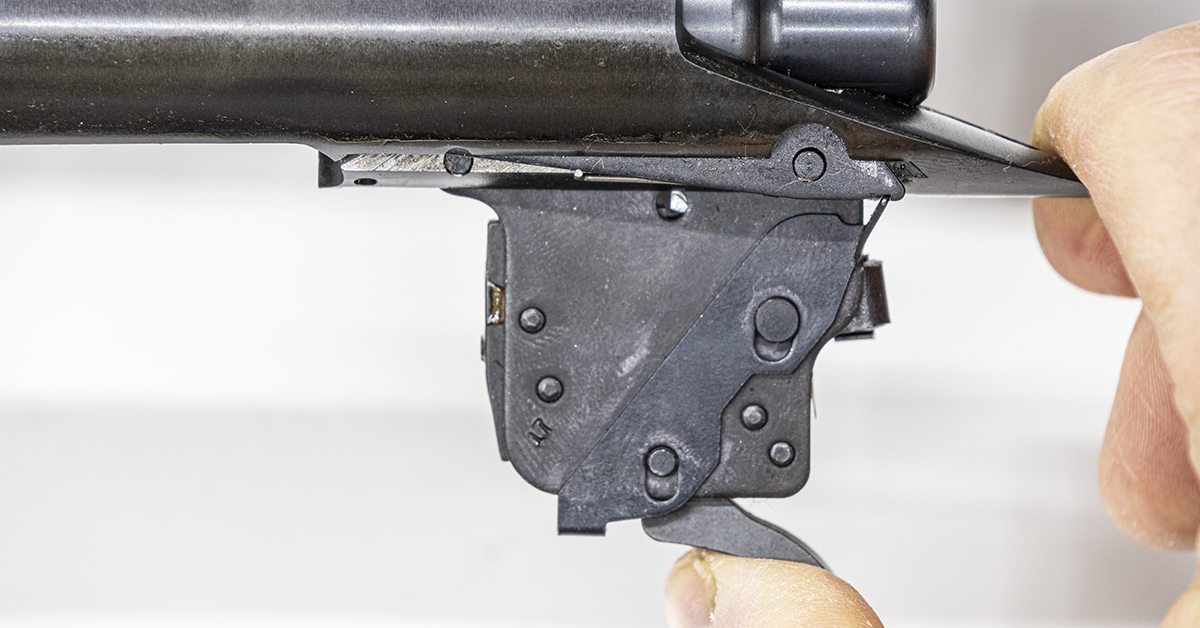
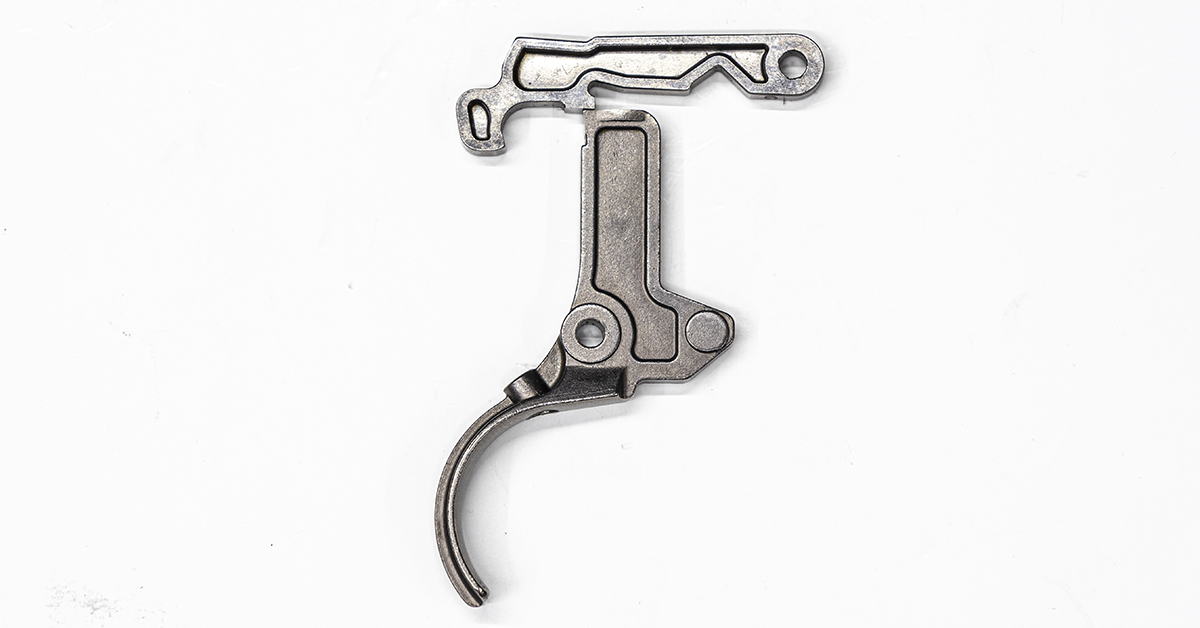
Regardless of which of these factory triggers your 700 has, operation of the rifle and trigger mechanism is very much the same. Remington 700 production began with the Walker trigger, so we will use it here to illustrate function.
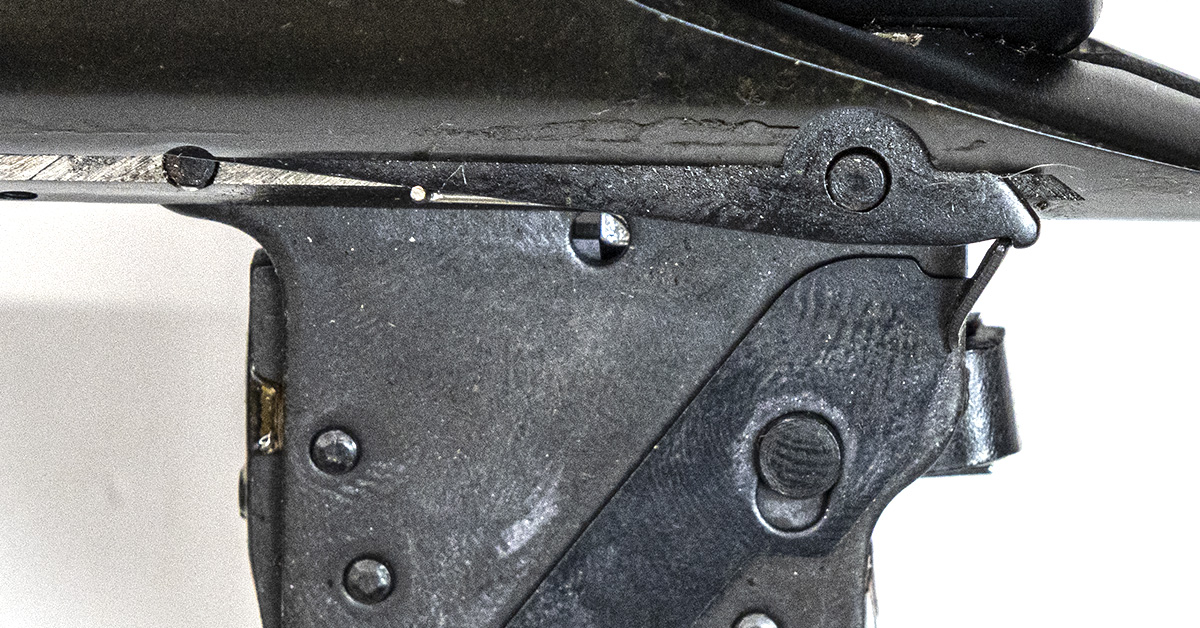
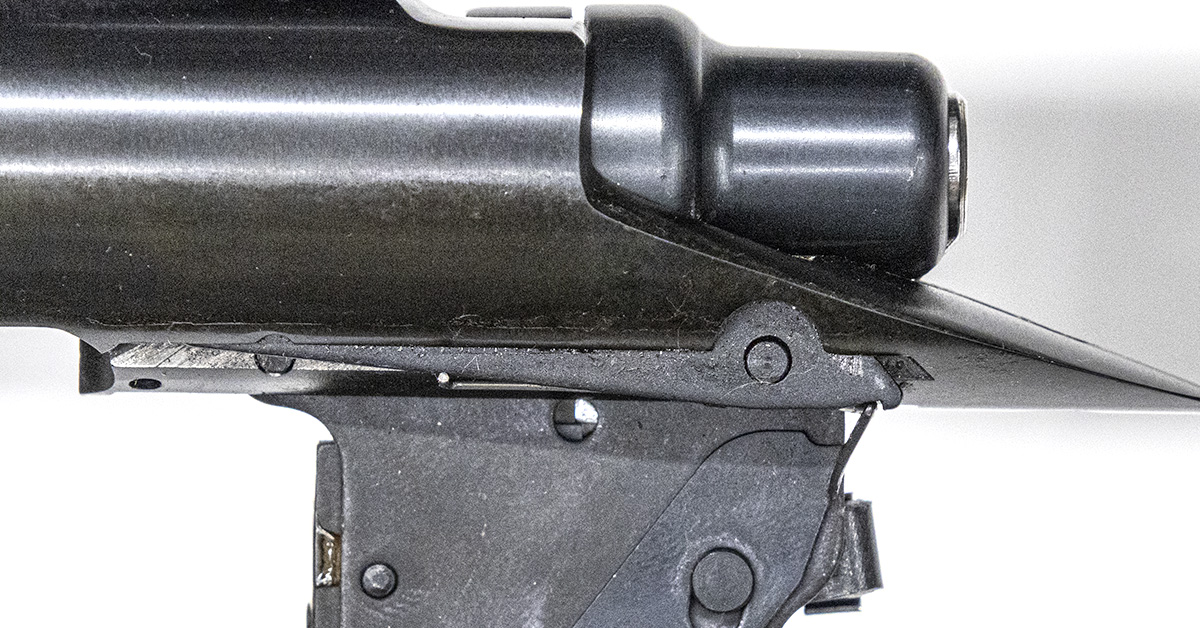
Look closely at the small inspection port at the top center of the trigger housing. This port allows inspection of the trigger’s engagement surfaces. The small silver “corner” that we see in the upper right of the port is the bottom of the sear. The darker component in the lower left is the top of the connector. In the un-cocked or fired position, these two components are not engaged and come to rest sitting corner to corner as pictured.
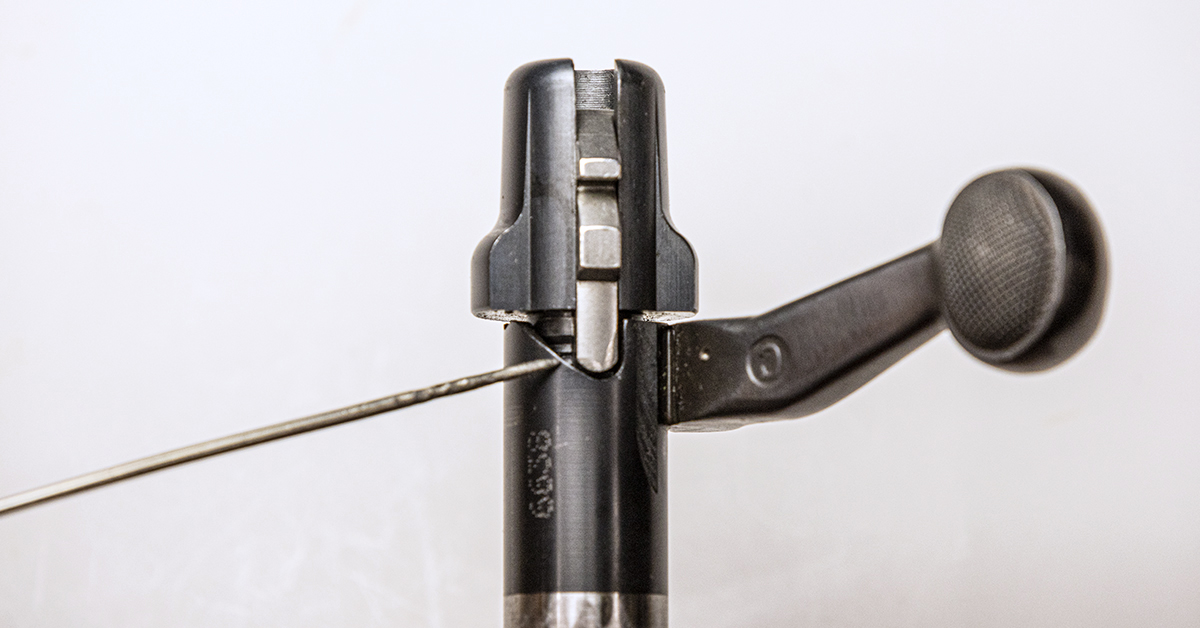
In the un-cocked or fired position, the firing pin head will be in its forward position. Note the cocking ramp to the left of the firing pin head.

Raising the bolt handle causes the firing pin head to ride up the cocking ramp, cocking the bolt. This moves the firing pin and firing pin head rearward.
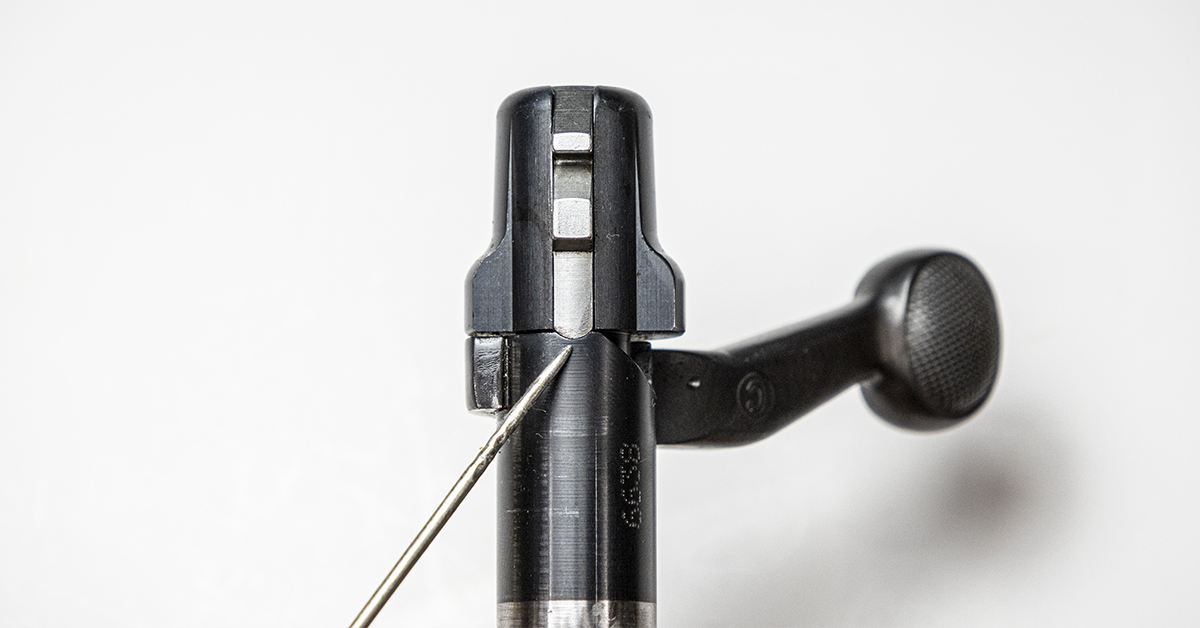
Once the bolt handle is raised to the top of its stroke, the firing pin head will come to rest in this notch.
As the bolt handle is lowered into its locked position, the firing pin head is held in the cocked position by its engagement (left) with the sear (right).
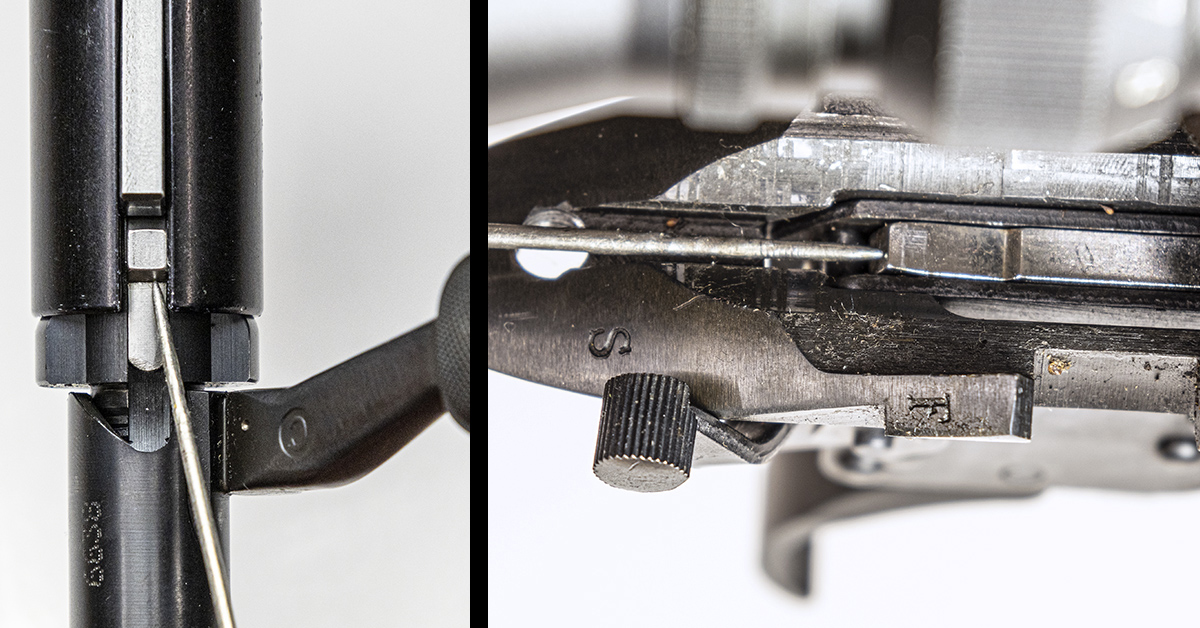
The rifle is now cocked with the safety lever in the safe position. The firing pin head visibly protrudes from the end of the bolt. Looking at the inspection port, you can see that the engagement surface of the sear (upper right in port) is now slightly forward and above the connector (lower left). The sear is not engaged with the connector because the safety, when in the safe position, is holding the sear up off of the connector.
With the safety lever in the safe position, the trigger can be moved rearward since the safety does not block trigger movement. Look carefully at the inspection port (lower left) and you can see how the connector has moved forward as the trigger moves rearward. In this position, the sear is no longer slightly above the connector. Moving the safety lever to the fire position at this time would cause the rifle to fire because the connector cannot prevent the downward motion of the sear.
With the trigger on safe, if the trigger is then moved rearward, the trigger spring is expected to return the trigger into the proper position. If the trigger is not in proper position, moving the safety to the fire position could cause the rifle to unexpectedly fire. While I’m not certain of the source or reason for Remington 700 trigger malfunctions, and I’m not making any assertions here, there have been complaints of the 700 firing unexpectedly. The safety on the X-Mark Pro triggers blocks both the movement of the sear and trigger.
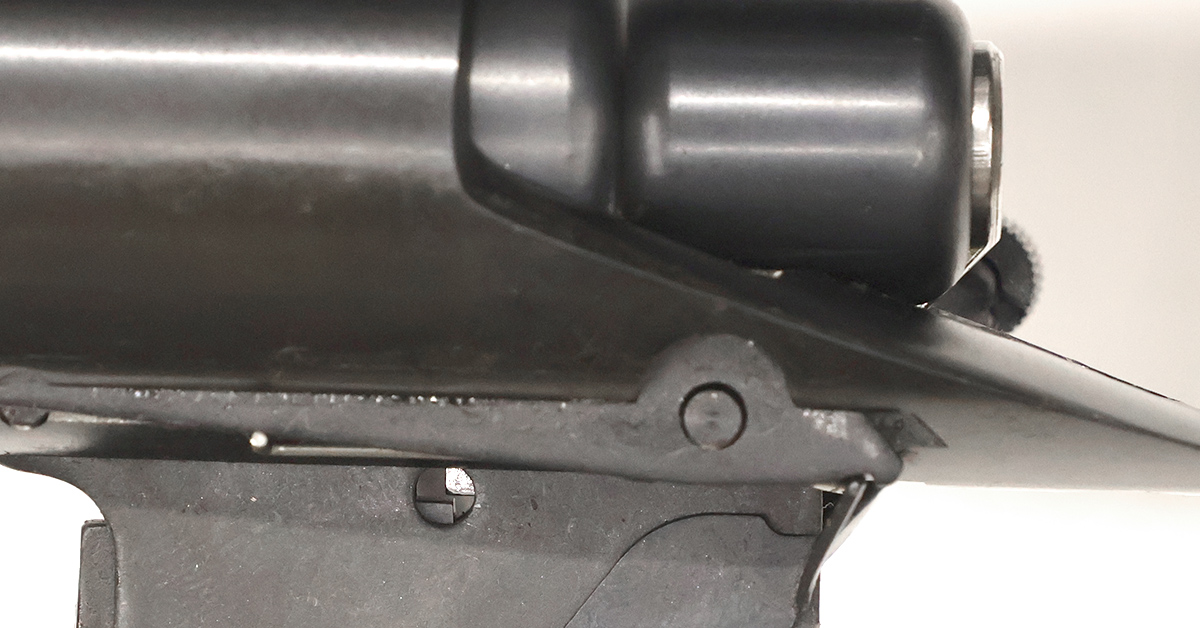
Once the safety is placed in the fire position, the sear then moves slightly downward. The downward motion is stopped by its engagement with the connector. This engagement is vitally important as this is all that prevents the rifle from discharging. Looking closely at the inspection port, you will see that there isn’t much engagement — let’s call it a 32nd of inch, which is also fairly typical of trigger engagement. This engagement is a delicate balance for trigger manufacturers to achieve. The trigger must first be safe, yet excessive engagement leads to an overly long “creepy” and undesirable trigger pull.
As the trigger is pulled rearward, the connector will move forward breaking its engagement with the sear. This allows the sear to move downward, breaking its engagement with the firing pin head and allowing it and the firing pin to move forward and fire the cartridge.

Once the connector-to-sear engagement is broken, the sear will move downward as pictured, breaking its engagement with the firing pin head and clearing the path for it to move forward to discharge the firearm. As the bolt handle is raised, the firing pin head will move rearward as it rides up the cocking ramp. Once the firing pin head clears the sear, the sear will then move upward, once again blocking the path of the firing pin head.
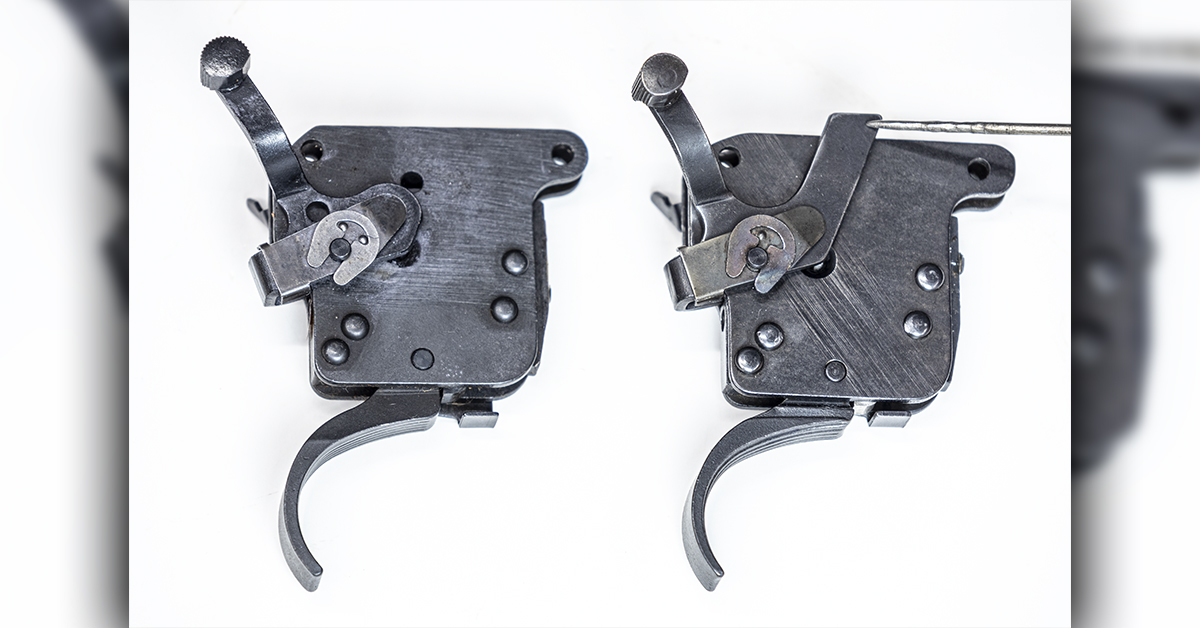
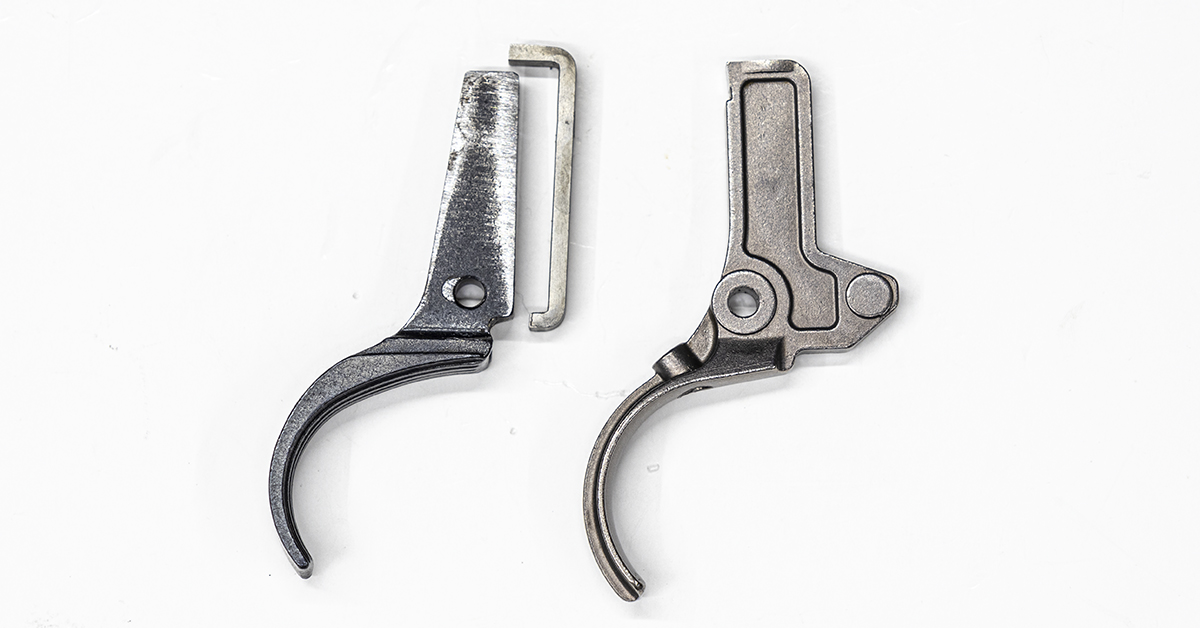
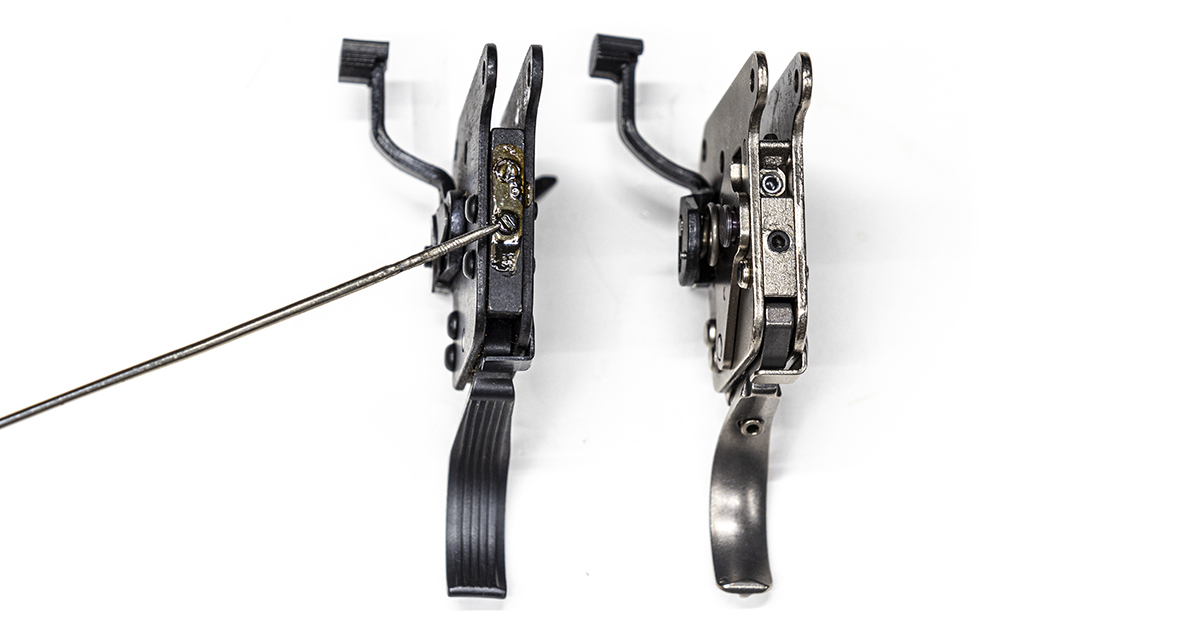
As mentioned, the Walker trigger received an update in 1982. Pictured on the right is a pre-1982 trigger. Note the safety lever extension. When placed in the safe position, this longer portion of the safety lever would engage the bolt, locking the bolt in place. The updated version (left) omits this feature. Otherwise, the triggers are identical.
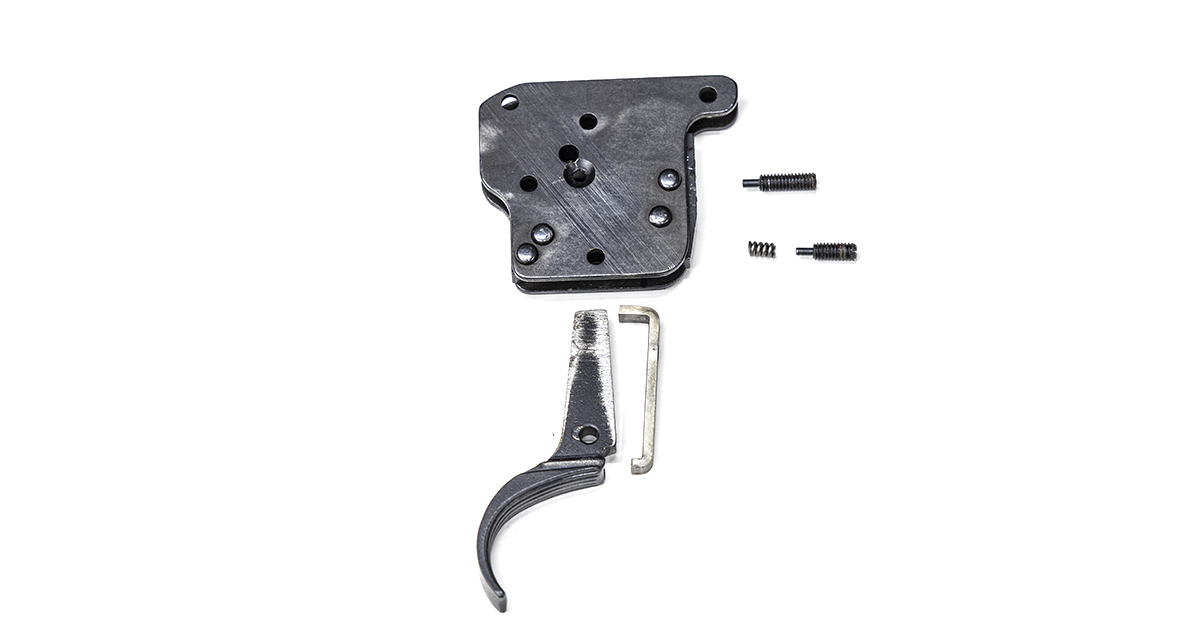
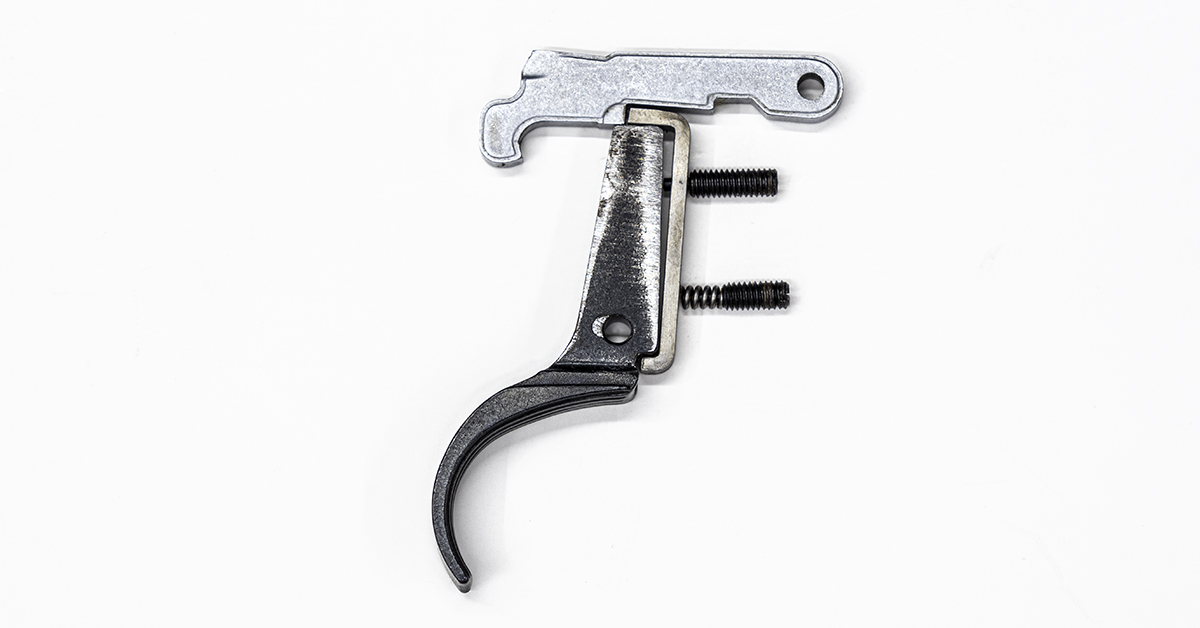
Some of the controversary with the Walker trigger concerns some of its internal components and the way they function (or could possibly malfunction). Pictured above is the trigger housing. The top screw is the over-travel adjustment screw. Below that is the trigger spring and the weight-of-pull adjustment screw. At bottom center is the trigger with the connector to its immediate right.
When you look through the inspection port of the assembled trigger, you are looking at the engagement surfaces of the connector and sear pictured above. In this configuration, the rifle is cocked.

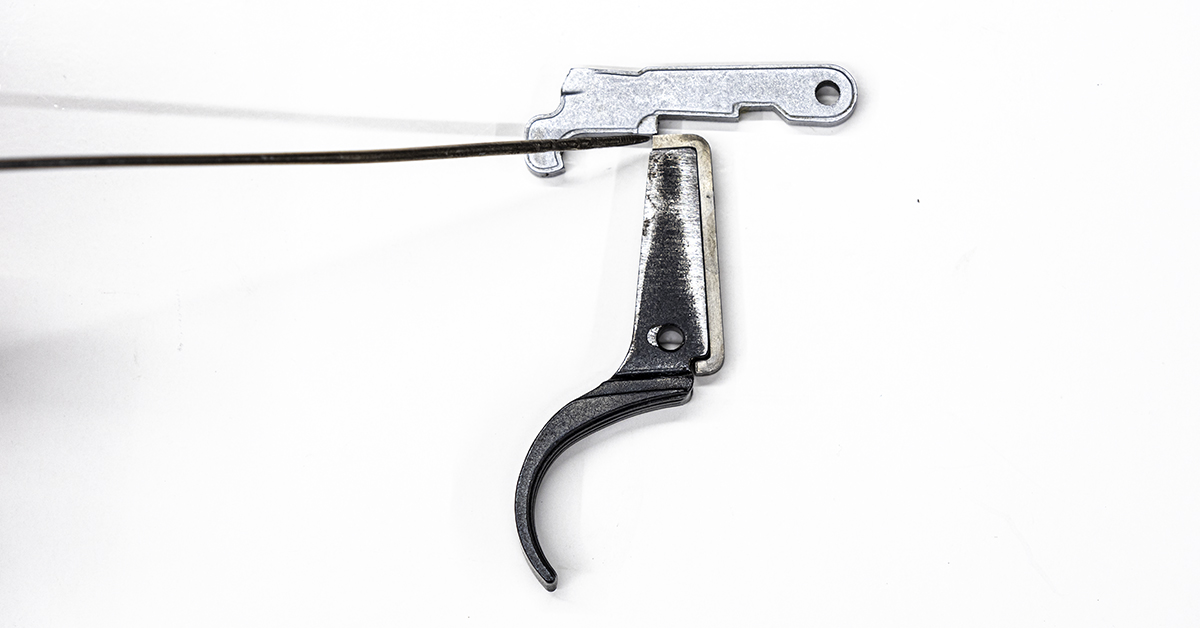
Squeezing the trigger rearward causes the top of the trigger, along with the connector, to move forward, breaking its contact with the sear. When in the fired position, the trigger will look as pictured here. Look closely at the square, sharp edges of the components. Now consider what the trigger must do to reset. The sear must move up far enough to clear the connector as the trigger is simultaneously moving forward, which moves the connector rearward towards the sharp edge of the sear.
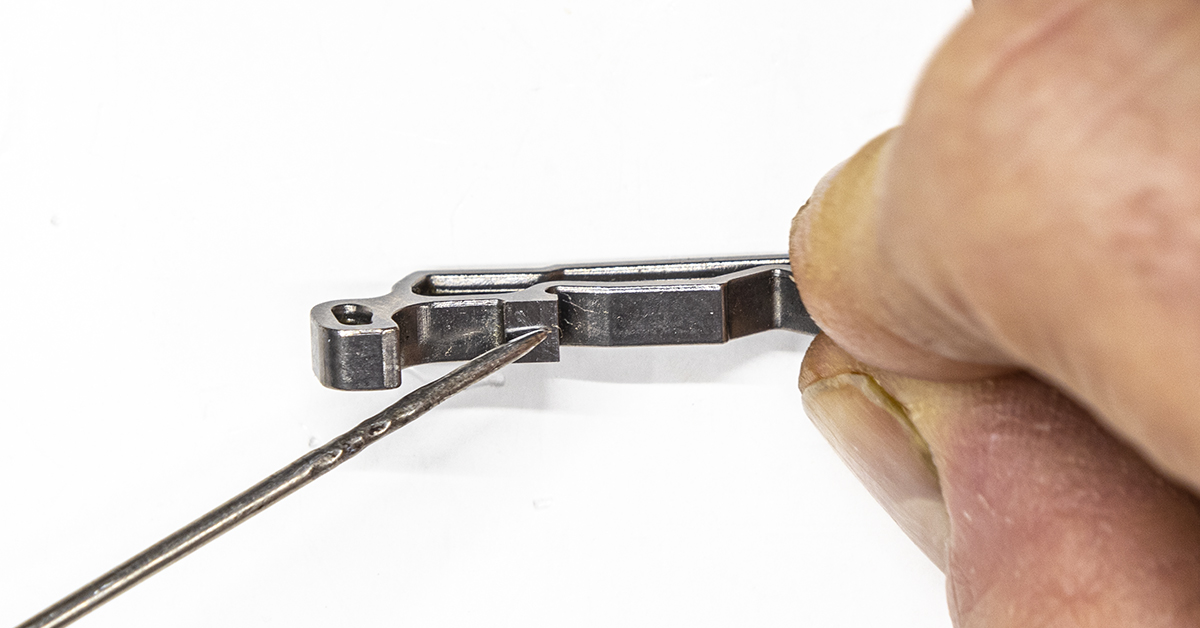
The connector and trigger being two separate components is a somewhat unusual arrangement as most triggers accomplish this with one component — essentially combining the two. Looking at the picture above, you can see where the overtravel screw contacts the trigger. The overall travel screw passes through the hole in the top of the connector (right).
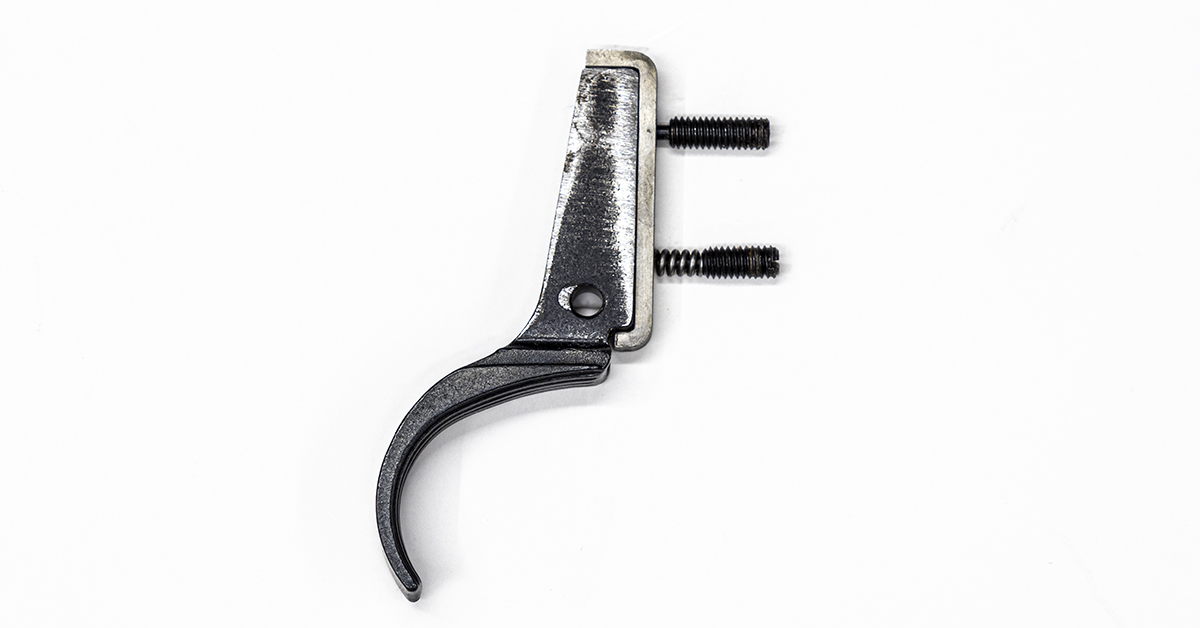
The overtravel (top) screw passes through the connector and contacts the trigger. The purpose of this screw is to prevent excessive rearward motion of the trigger after firing.
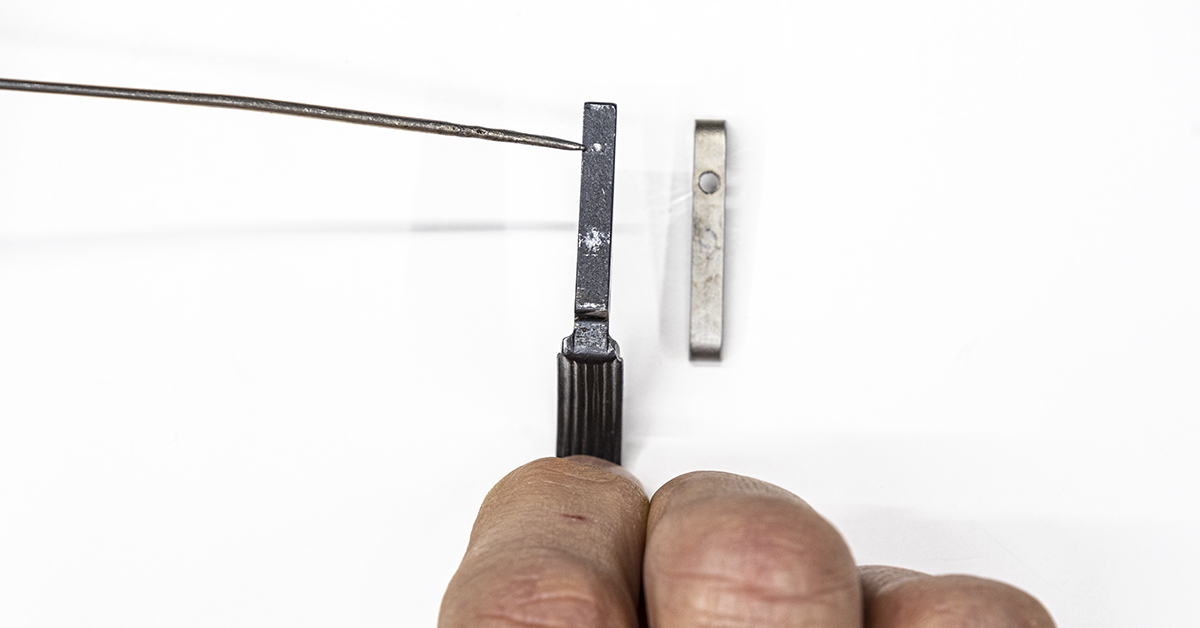
Look closely at the screw. It is a somewhat smaller diameter as it passes through the connector. This screw does not hold the connector in place. Below the overtravel screw and contacting the connector is the trigger spring. The screw to the right of the spring is used to adjust the pull weight of the trigger. Turn the screw clockwise and the pull weight will increase; counterclockwise will reduce the pull weight. All that is holding the connector against the trigger is the pressure generated by this spring. This is why some refer to this as a “floating connector.”
Keeping in mind that the connector is only held in place by spring pressure, and considering what takes place during trigger reset, you can’t help but wonder if this condition is a possibility. Once the bolt is raised to chamber a new round, if the trigger were to fail as pictured, as soon as you close the bolt on the cartridge the rifle will discharge. What is the probability of this happening? I don’t know and I’m not making any assertions, but I can’t help but wonder.
At left is the Walker trigger and connector components compared to the improved X-Mark Pro design at right. The improved design of the X-Mark Pro trigger incorporates these two components into a one-piece unit.
Looking through the inspection port of the X-Mark series triggers will yield this familiar view of the sear and trigger engagement. While this trigger has significant improvements to overall safety, with the adjustable version providing an easy means of fine-tuning the trigger pull weight, in my opinion, the basic operation of the trigger remains the same as the Walker.
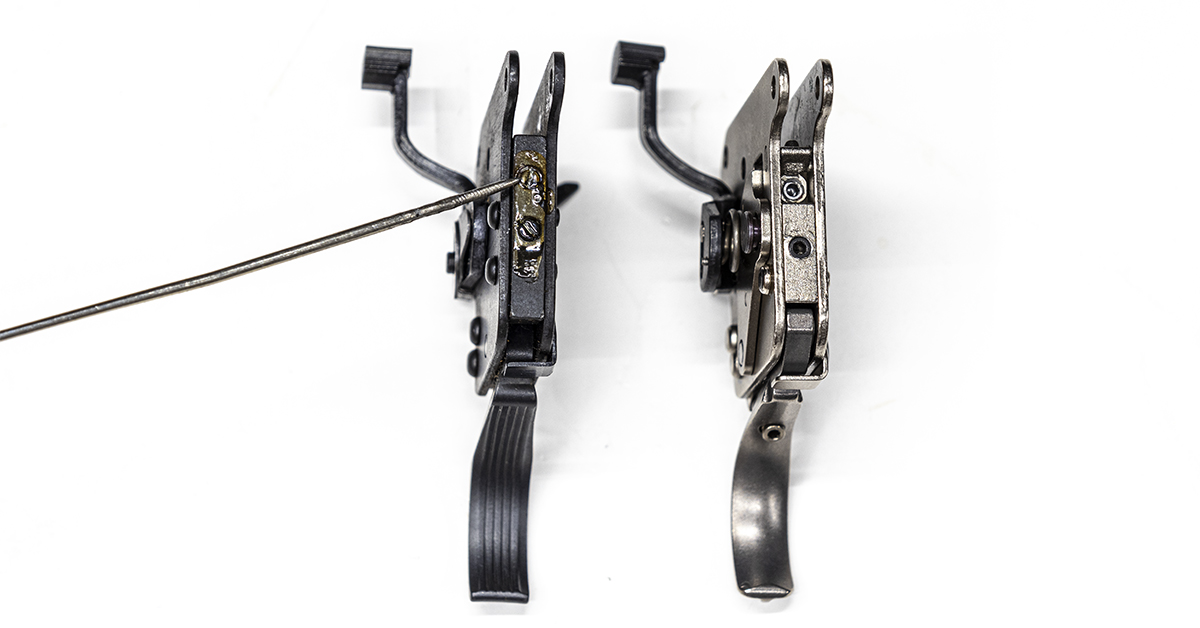
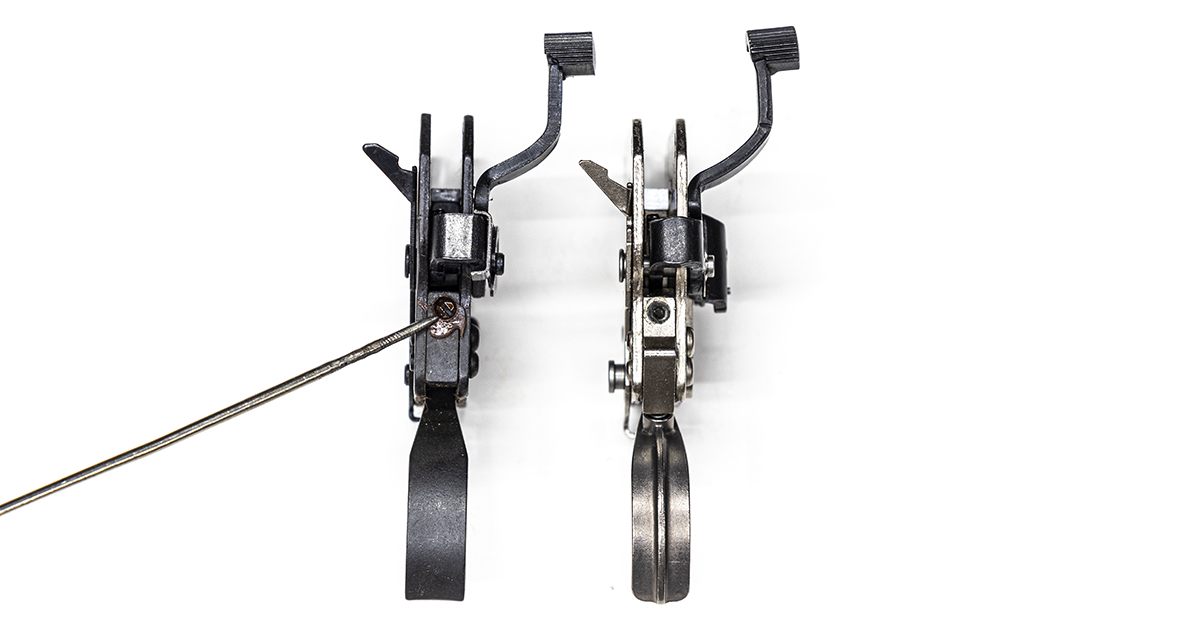
The Walker trigger (left) is readily identifiable by the grooved trigger shoe. X-Mark triggers (right) will have a smooth trigger and the adjustable version will have the adjustment screw in the trigger shoe as pictured. The top screw on the front of either trigger is the overtravel adjustment screw.
The bottom screw on the front of either trigger is used to adjust the weight-of-pull. Both screws on the front of each trigger are sealed from the factory — a clear indication that they are not intended to be adjusted by the owner. When considering weight-of-pull adjustment on the Walker trigger, remember that the connector is held in place only by spring pressure. When you lighten the pull weight, you are also going to lighten the pressure exerted against the connector. There are also lighter weight trigger springs available for the Walker trigger. These springs are used to reduce the weight of trigger pull. While these springs have been used successfully by many people, they also exert less force to hold the connector in place.

The weight-of-pull adjustment found on the X-Mark Pro adjustable version is the only screw found on either trigger that is not sealed from the factory, making it the only screw that is considered to be owner-adjustable. Adjustments to this screw will have minor influence on pull weight only, with the trigger remaining safe to use regardless of its setting. One full turn of this screw is supposed to change pull weight by one pound. Pull weight of this trigger is easily adjusted within a range of 3-5 pounds.
The adjustment screw found on the rear of the trigger provides a means to adjust sear engagement. This is the engagement that we see as we look through the inspection port. Turning the screw clockwise will increase engagement; counterclockwise will decrease engagement. This screw is also sealed from the factory and is not intended to be adjusted by the owner.
The X-Mark Pro trigger is said to having been produced using methods that result in smoother surface finishes. I find this to be true as the engagement surface of this X-Mark Pro is brighter and smoother than any component I have examined from a Walker trigger.

Upon closer examination, though, you can rotate the part and see tiny imperfections in the engagement surface. Drag your thumbnail across the surface and you can feel them. Imperfections on this engagement surface will result in a somewhat gritty feel as you squeeze the trigger. While the X-Mark trigger is an improvement for Remington, in my opinion, it’s still rather typical of what is to be expected from a factory-grade trigger.
The Remington 700 and its factory triggers have successfully served shooters for over six decades. But as with most factory parts, there is room for improvement that will deliver dividends in terms of safety and accuracy potential. The question is, do you modify the factory trigger or install an aftermarket unit? Having been in the gunsmithing business for quite some time and having built record-breaking rifles for competitive shooters, my answer has long been settled.
Stay tuned for the second part of this discussion where we’ll discuss the hands-down best method for improving your Remington 700’s trigger performance.