Precision rifles and high-speed pistols aren’t the only firearms that can benefit from improved trigger performance
by Lou Patrick
When it comes to trigger upgrades, our shotgun needs seem to get lost in the endless sea of aftermarket rifle and pistol triggers. No doubt this is due to the higher expectation of accuracy we generally have for our rifles. After all, shotguns are not aimed like rifles. We “point” our shotguns at the intended target and that target is usually close. So long as we can hit what we are pointing at, we are usually satisfied.
Of course, some shotgun applications do require precise aiming and more deliberate trigger control, such as when using a slug barrel for hunting. Overall, though, we feel that good trigger performance should be integral to and expected of ANY firearm because regardless of the platform, consistent and predictable trigger performance is essential for accuracy. For those of you who have a Remington 870, Timney has a trigger system for you.
The Timney Remington 870 Trigger Fix is compatible with all model Remington 870 shotguns, is fully adjustable for weight of pull, and is quite easy to install. The kit comes with a new sear featuring somewhat different geometry than the factory unit. It also contains a small adjustment screw, three different color-coded springs (red, white, and blue), and a small Allen wrench.
Our Remington 870 was manufactured in the mid-1970s, with somewhat long and creepy travel and a pull weight of 3 lbs., 14 oz. In other words, a perfect candidate for the Timney Trigger Fix.
Reading through the instructions supplied with the kit, we learned that the adjustment screw on the new sear provides for one pound of adjustment and should not be turned more than four times. The blue spring is designated as light, white is medium, and red is heavy. The springs and adjustment screw work together to provide the desired weight of pull. Once the sear is installed, you simply select and install the spring you want and adjust within the one-pound variance. Should you wish to swap to a different spring down the road, the springs are easy to change
After installing the Timney sear in our 870 and leaving the adjustment screw set at its factory location, we found the following variation in trigger pull weight by changing only the springs.
- Blue spring (light): 1 lb., 9 oz.
- White spring (medium): 2 lb., 9 oz.
- Red spring (heavy): 3 lb.
Ultimately, we decided to use the white spring and left the adjustment screw at its factory location. Not only did we shave 1 lb., 5 oz. off the pull weight, perhaps most importantly, the trigger operates much more smoothly now. Gone is the excessively long, creepy, gritty trigger pull.
Timney Remington 870 Trigger Fix Installation
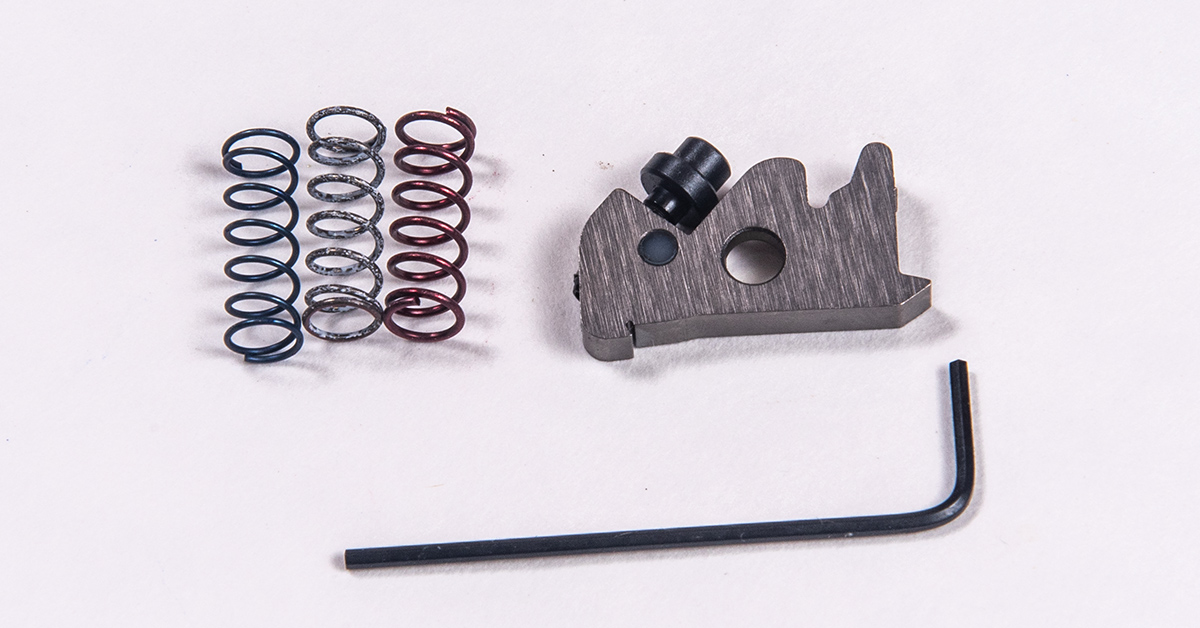
Timney’s 870 Trigger Fix kit includes three different weight sear springs, sear, and an Allen wrench.
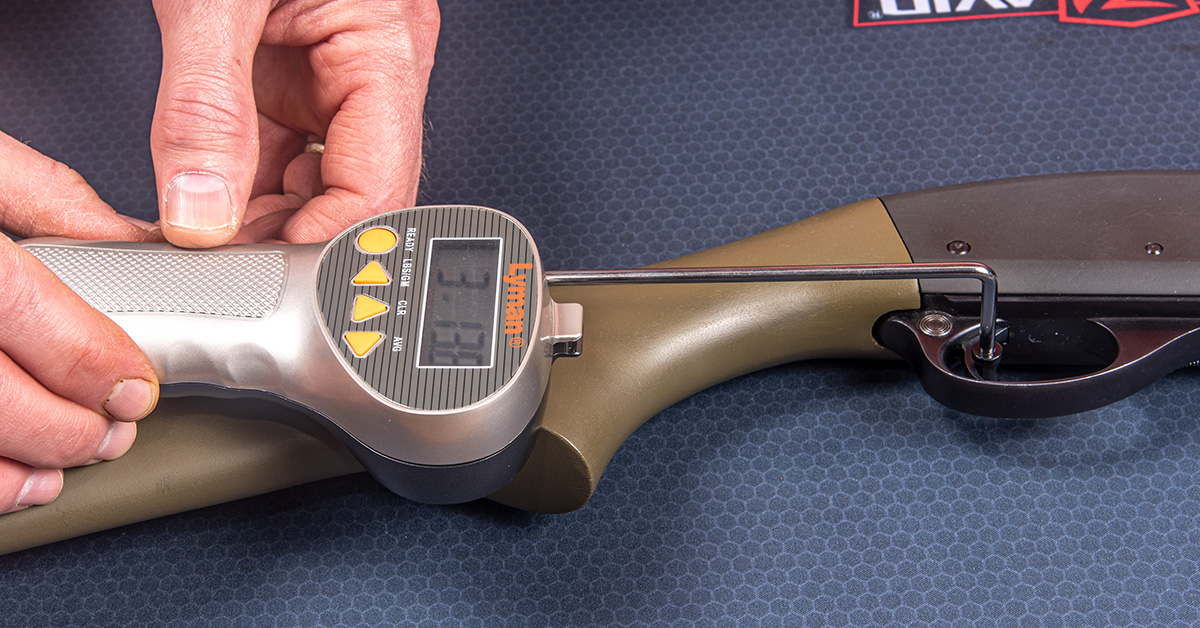
After a rather long and creepy pull, the trigger on our old 870 broke at 3 lbs., 14 oz.
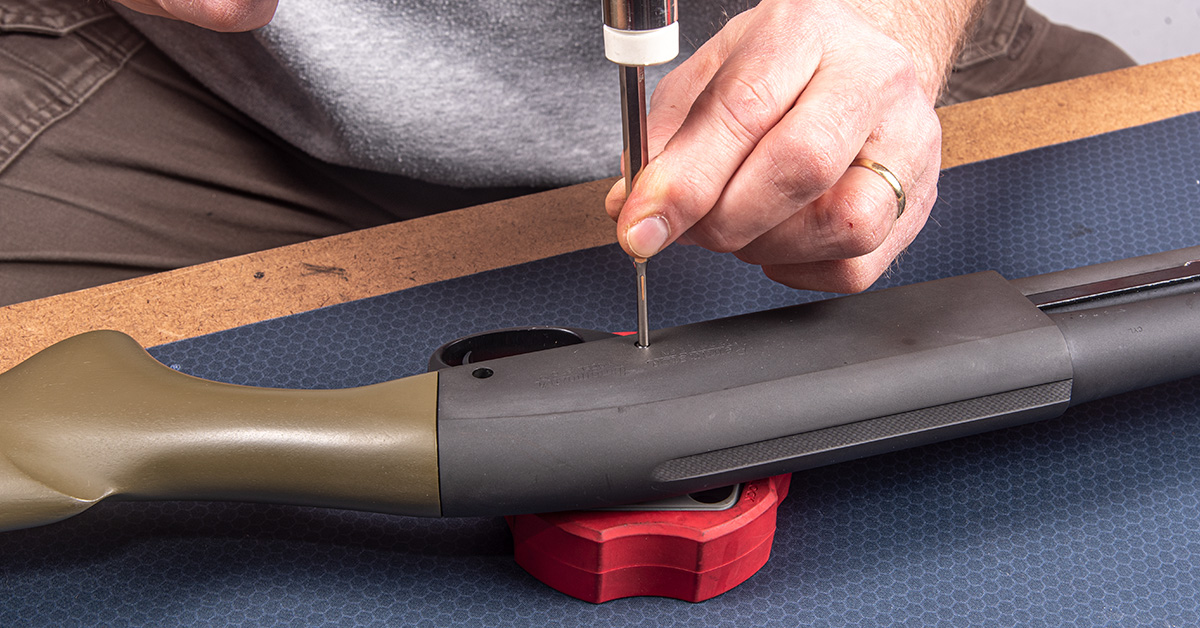
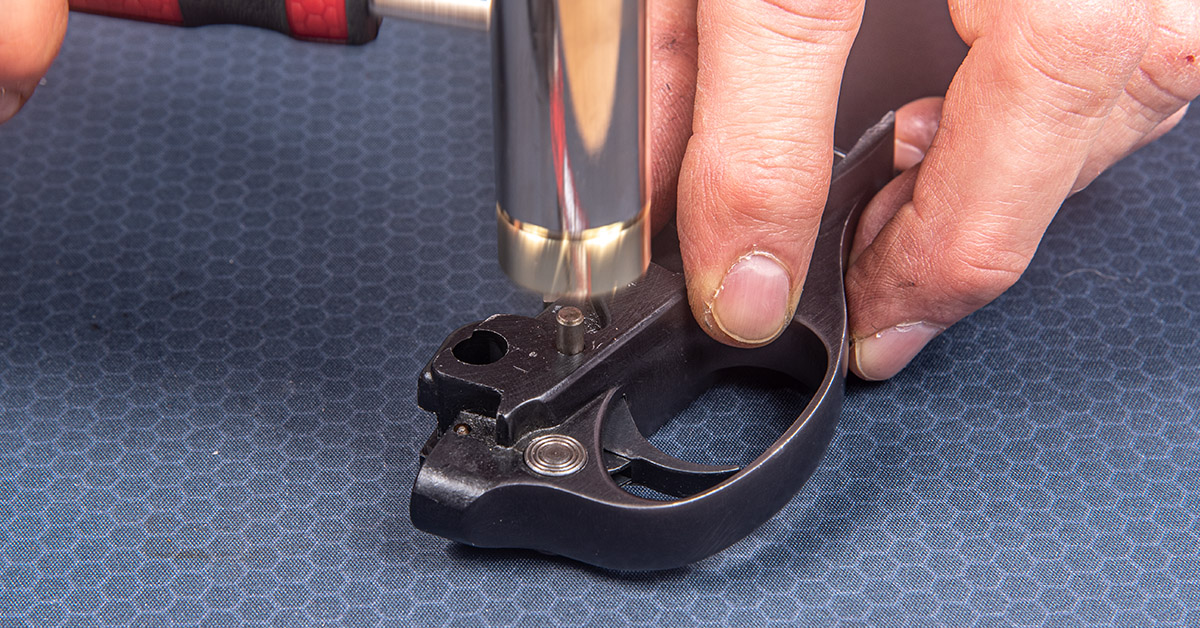
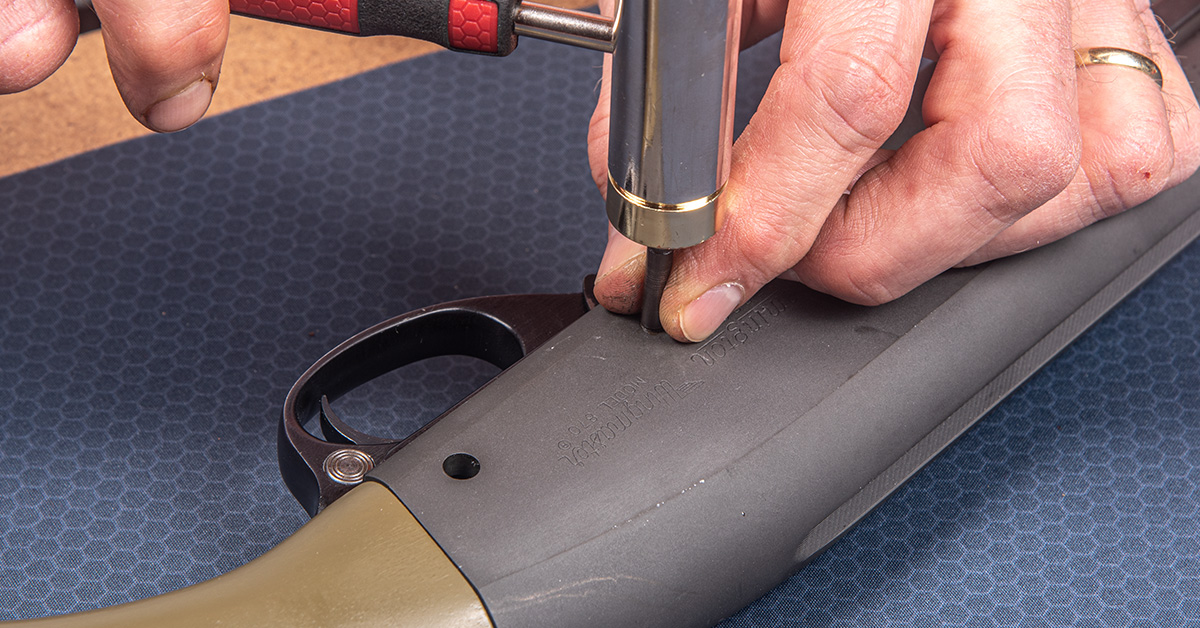
To remove the trigger plate, ensure that the firearm is unloaded, cycle the action to cock the hammer, place the safety in the safe position, and remove the front and rear trigger plate pins.
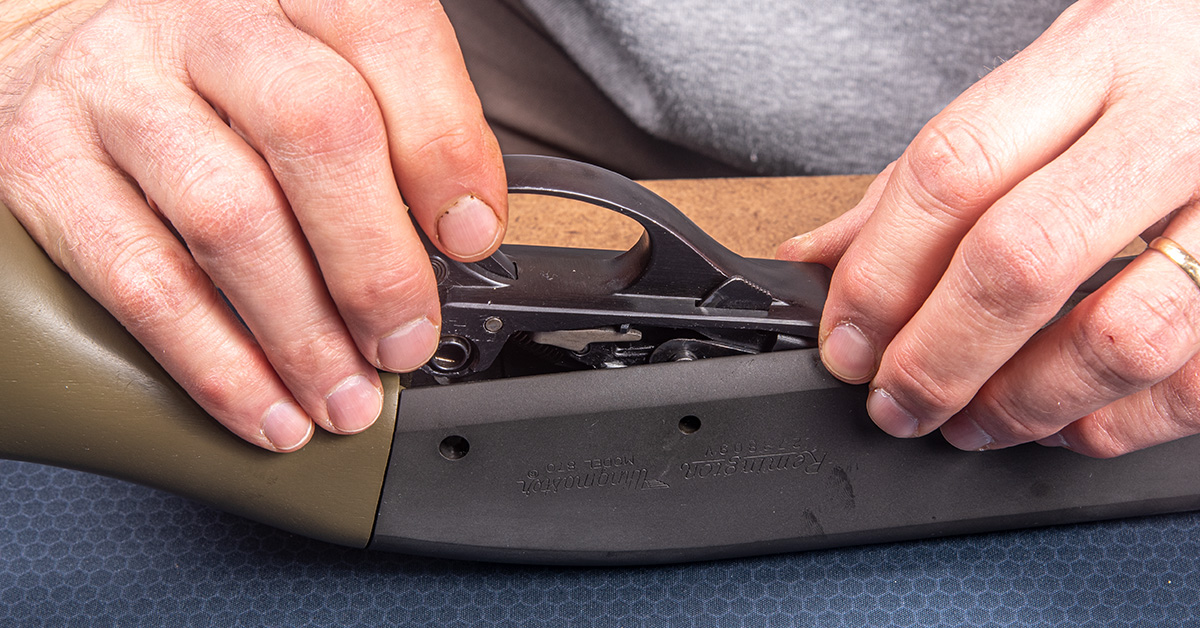
The trigger plate can now be lifted out of the receiver.

Remove the trigger plate pin bushing by pushing it from right to left.
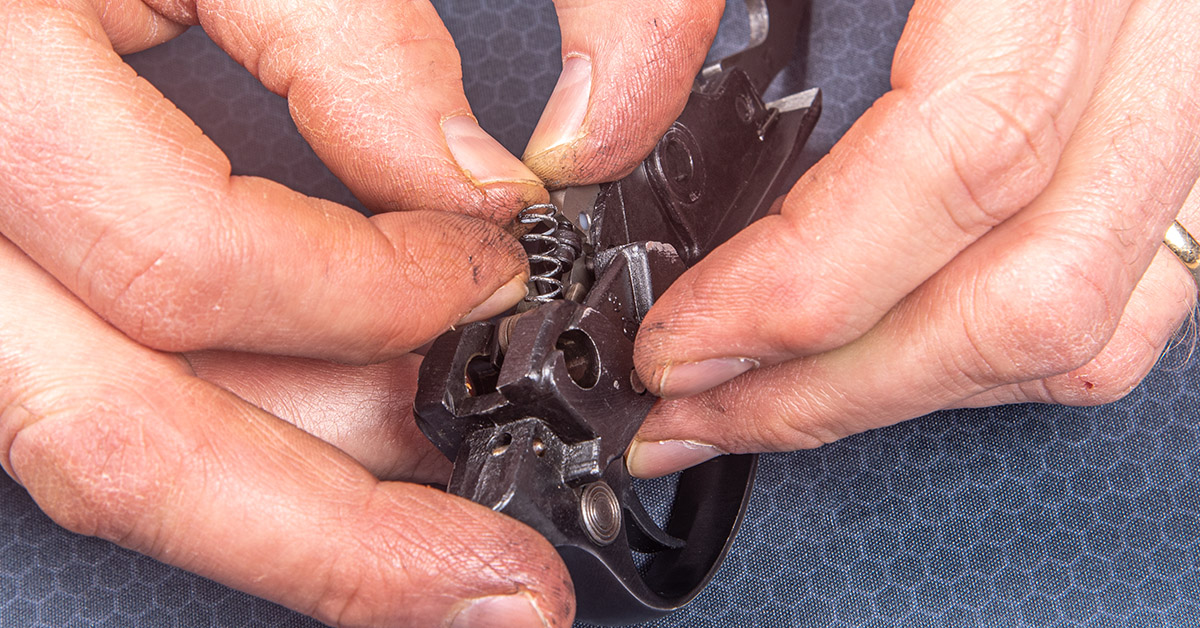
Remove the sear spring.
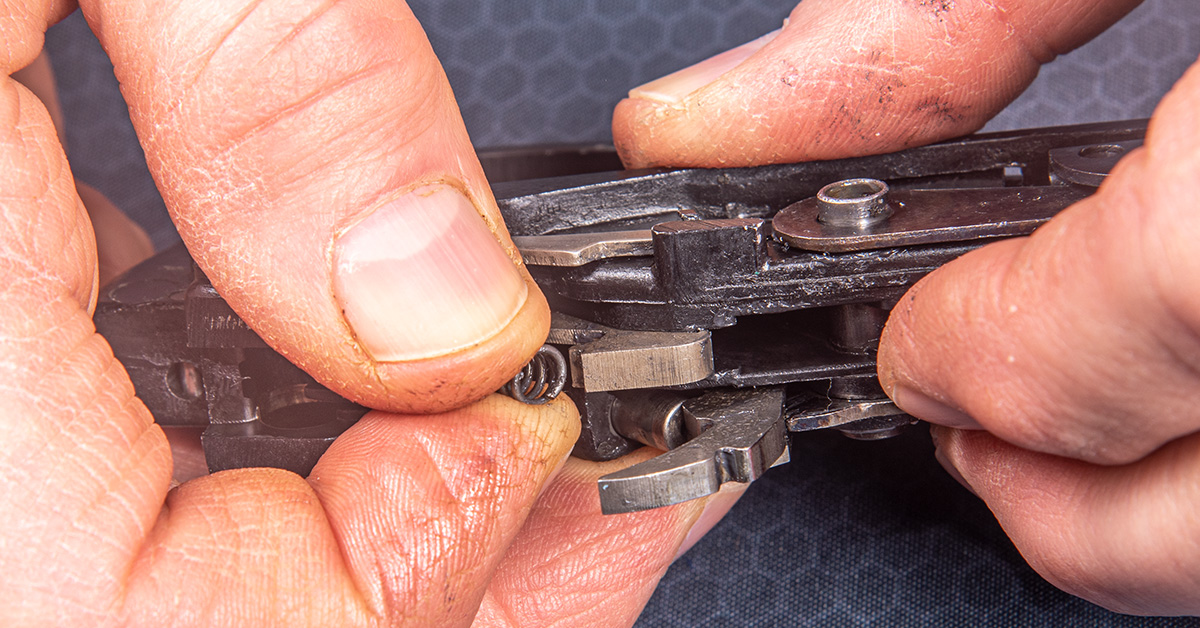
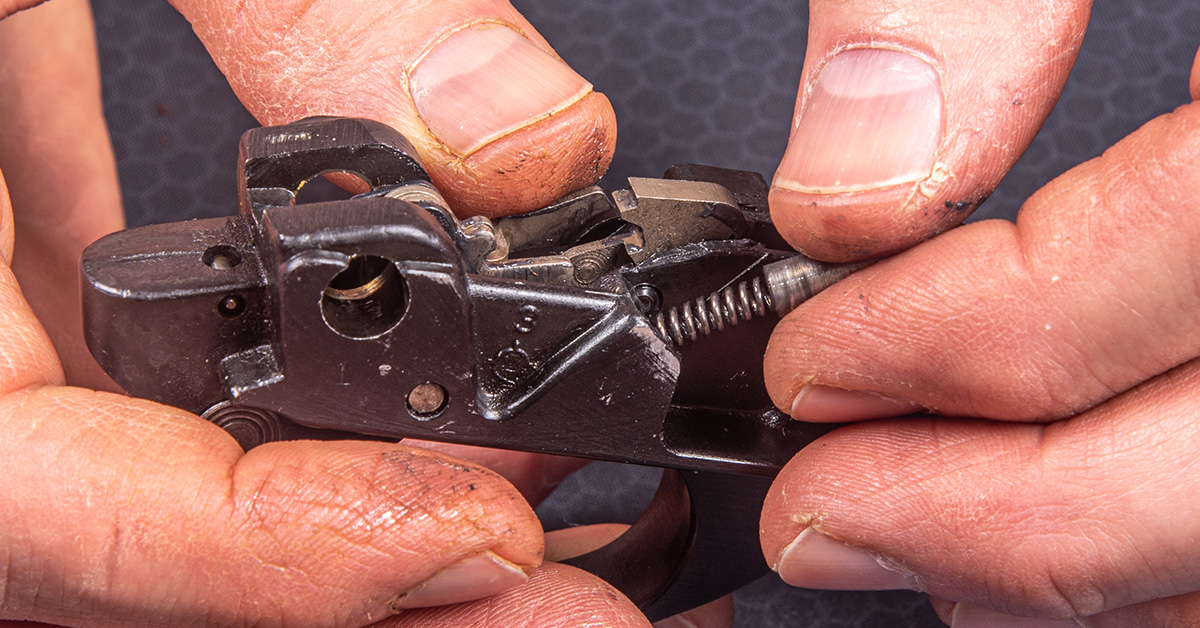
The carrier dog is under spring tension, so carefully remove the carrier pivot tube.
Maintain pressure on the carrier dog as the pivot tube comes out of the trigger plate. Once the pivot tube is removed, slowly release the pressure on the carrier dog.

Remove the carrier assembly.
Remove the carrier dog follower and spring.
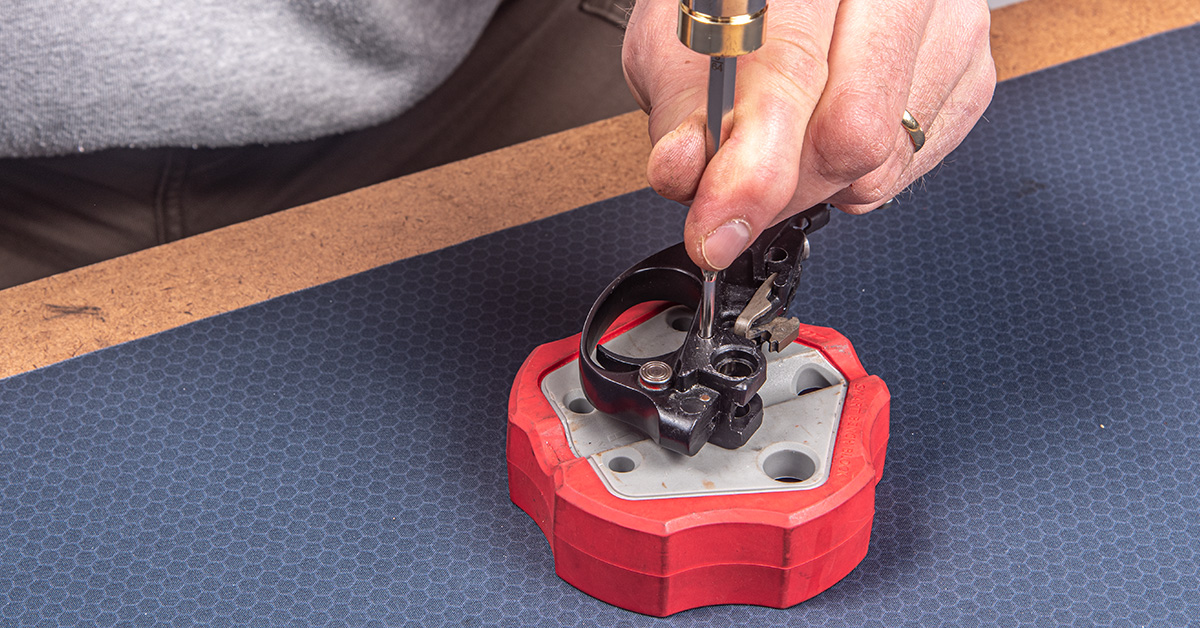
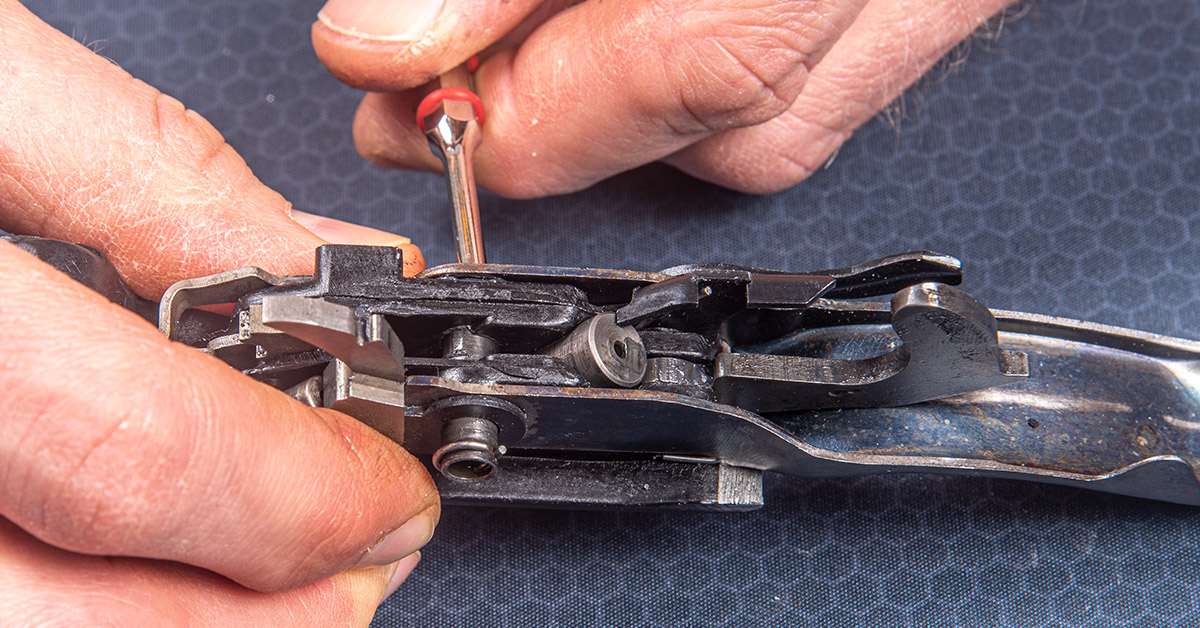
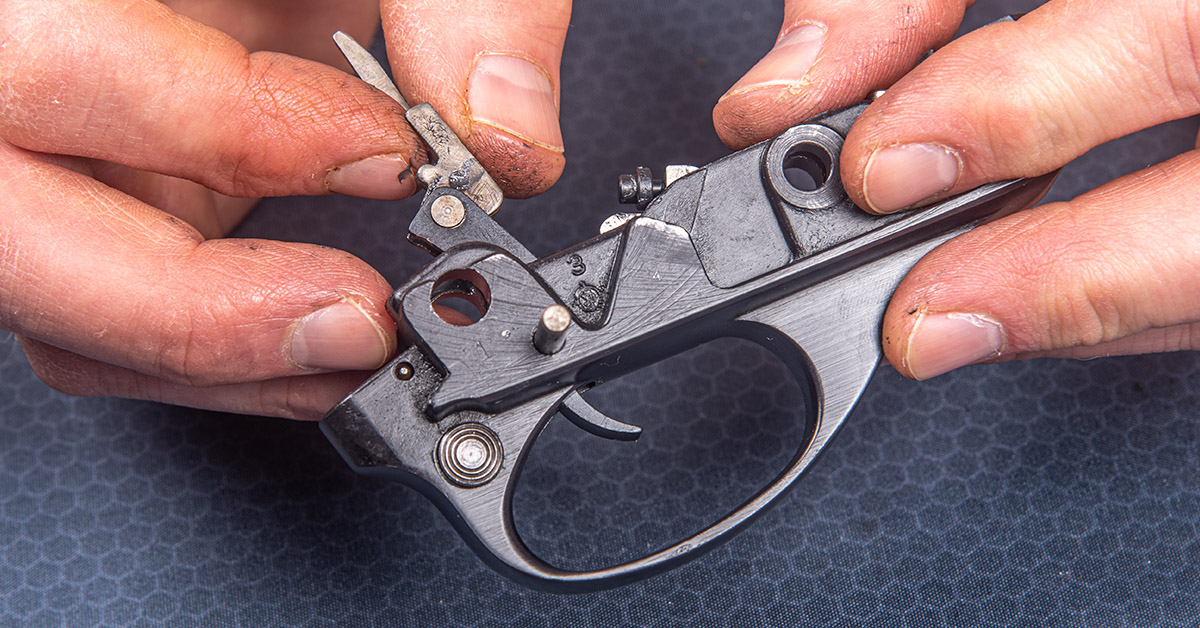
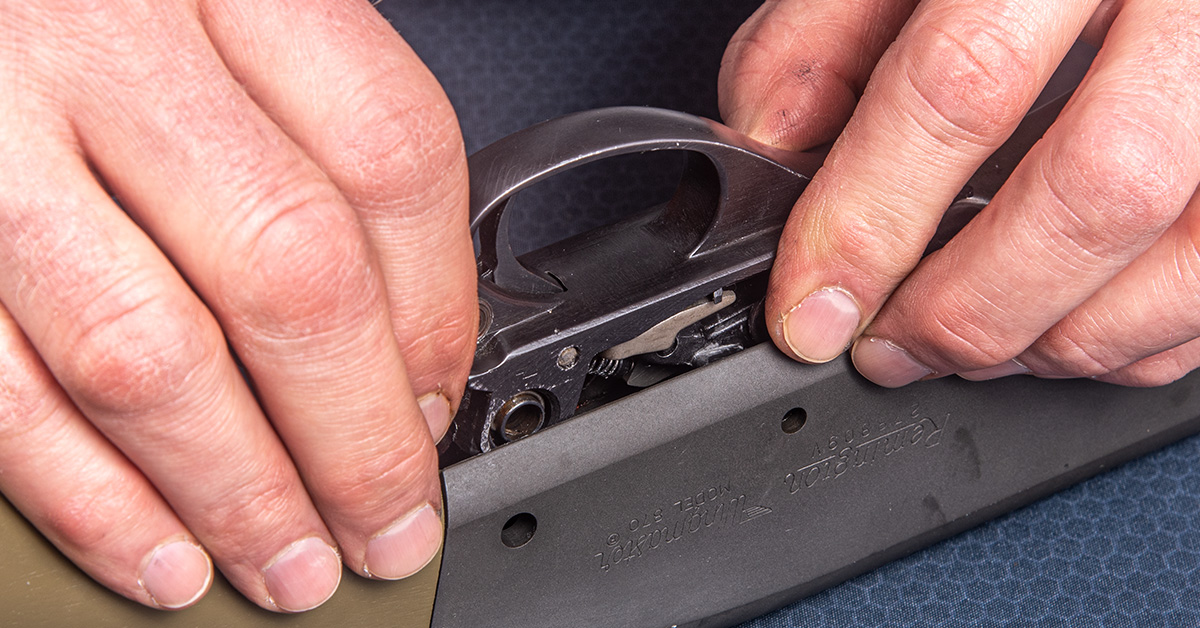
The instructions included with the kit are well written, and we followed them step-by-step up to this point. Here, the instructions tell us to use a small screwdriver to move the connector in order to gain access to the sear pin. On our trigger, this seemed a little tight and we chose to remove the trigger. Use a hammer and a punch and move the trigger pin from left to right. The pin does not need to be completely removed. It only needs to clear the trigger.
Once the trigger pin has cleared the trigger, remove the trigger.
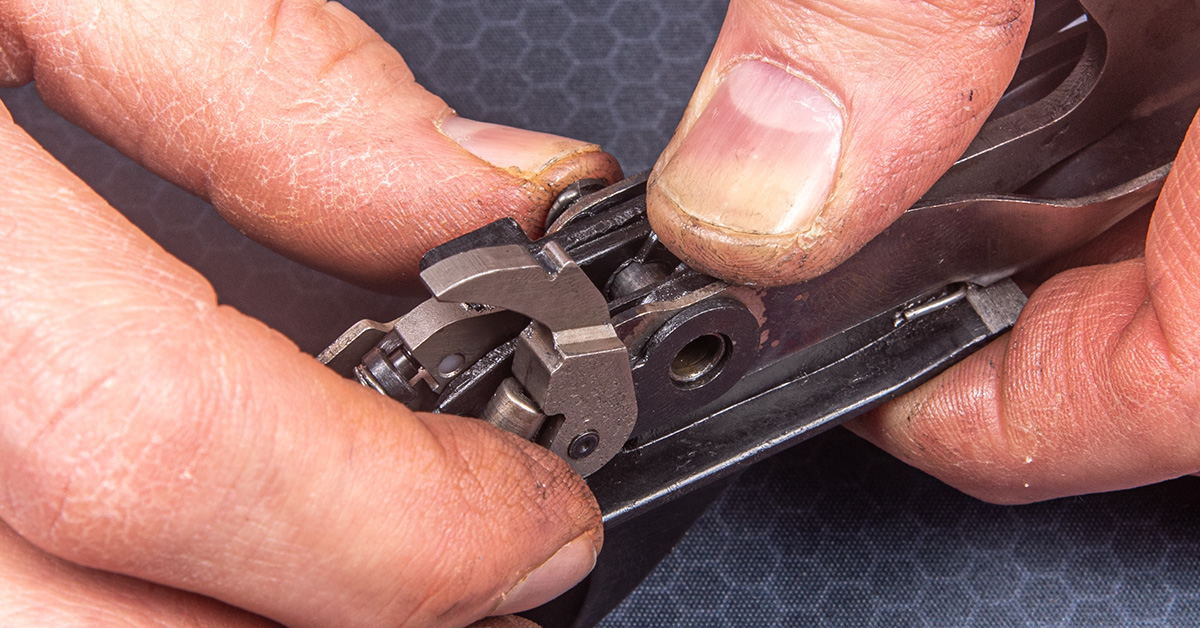
Use a punch and remove the sear pin. Once the pin is removed, the sear will lift out the top.
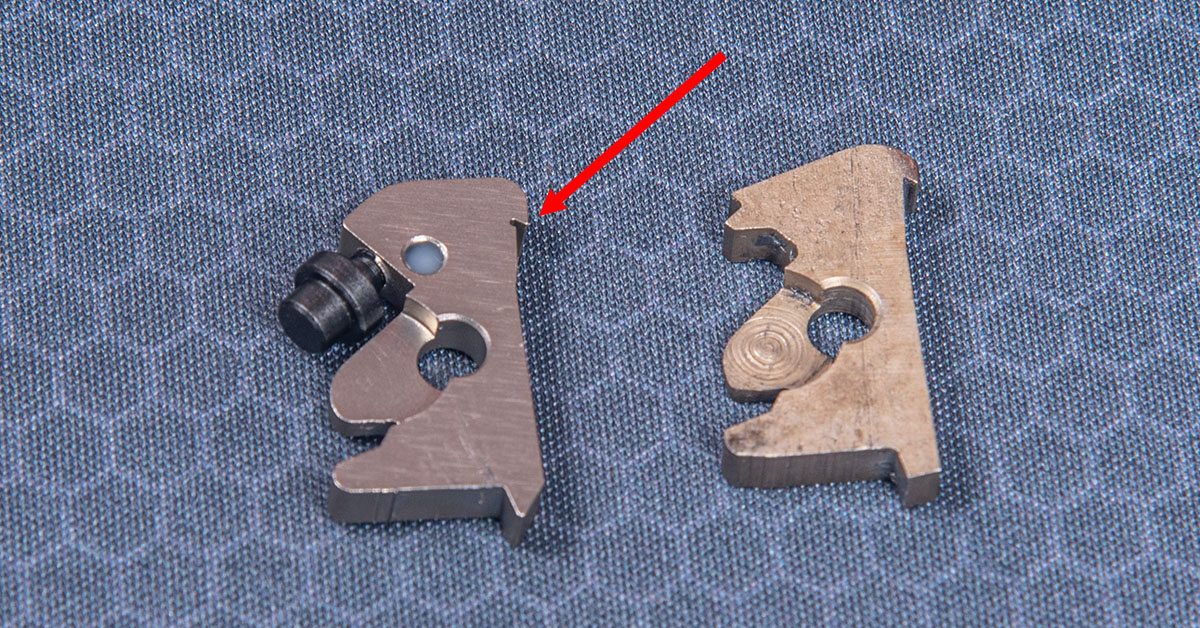
The Timney replacement sear is on the left and our Remington factory sear is on the right. The adjustment screw on the Timney sear is readily apparent. Look closely at the engagement surface (arrow) and you’ll see that Timney’s is somewhat smaller. This helps to eliminate that long, creepy trigger pull.
During assembly, lubricate all contact points.
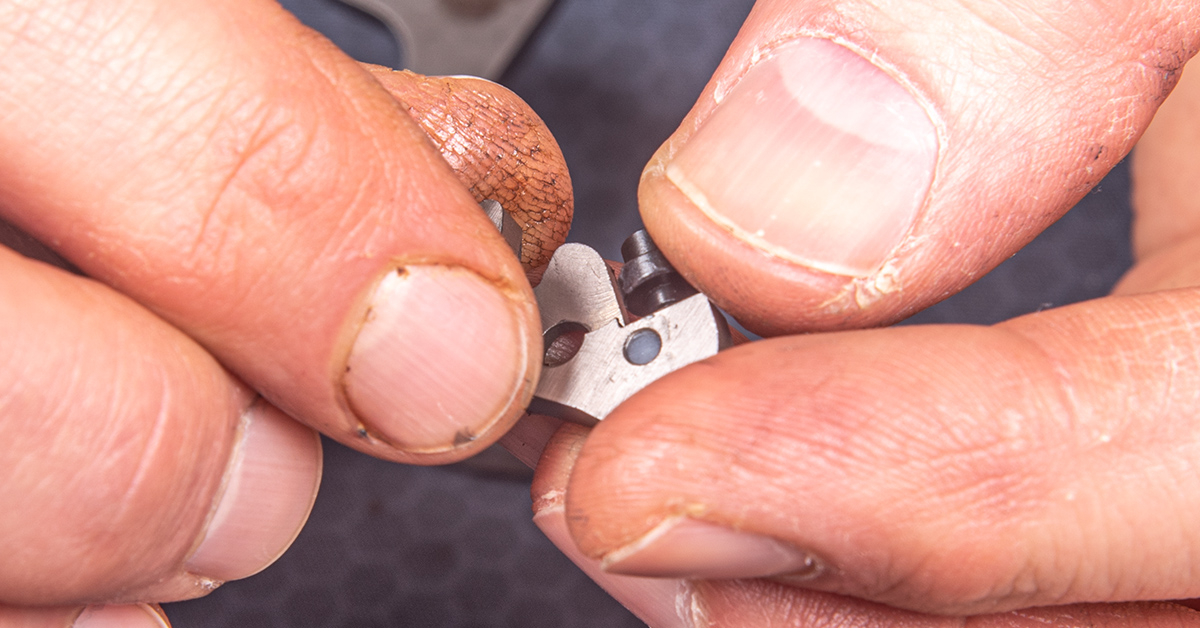
Install the new sear into the trigger plate.
Lubricate and install the sear pin. In our trigger plate, the sear can be installed in two different positions—one will work properly and the other will not. During sear installation, ensure that the sear is rotated as far rearward as it can be and still allow for sear pin installation. It is possible to have the sear rotated in a forward orientation while still being be able to install the sear pin. In this forward orientation, the trigger will not function properly. There is not much difference between these two positions.
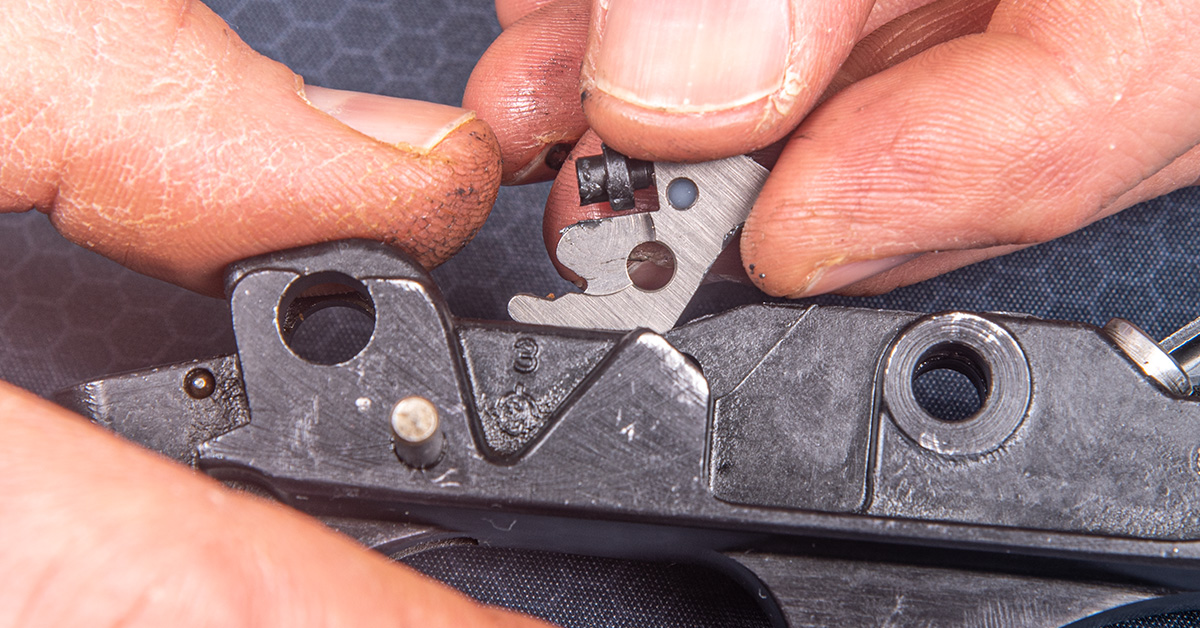
Install the trigger through the top of the trigger plate. You can see here that the trigger pin was not completely removed.

Properly position the connector and line up the holes through the trigger and trigger plate.
Use a hammer and tap the trigger pin into position.
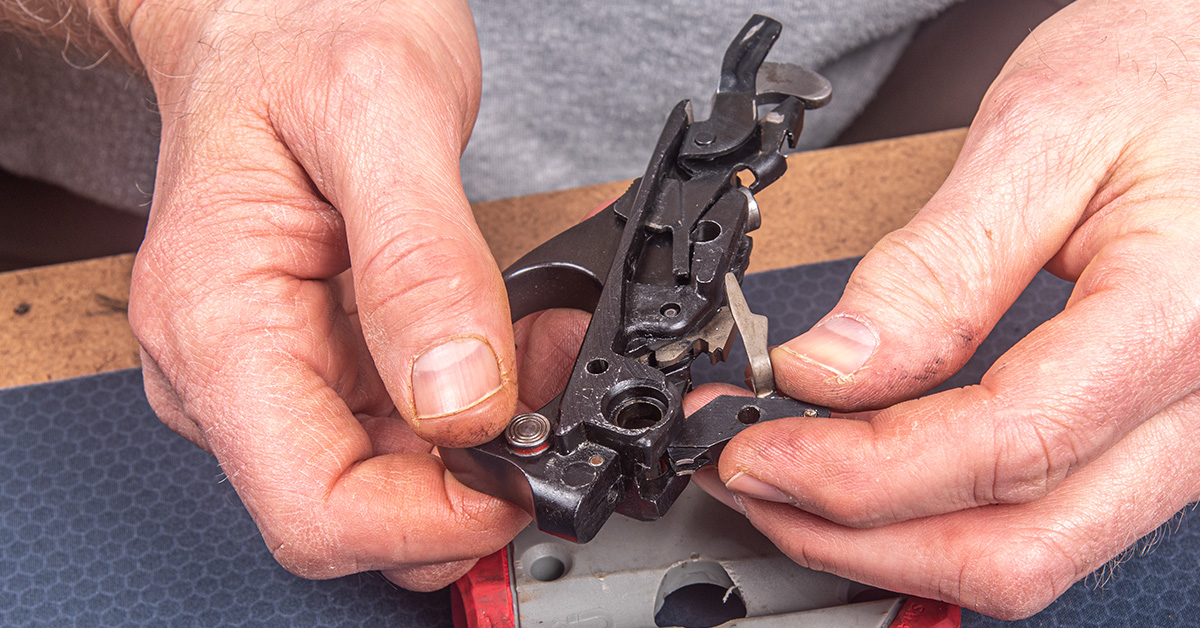
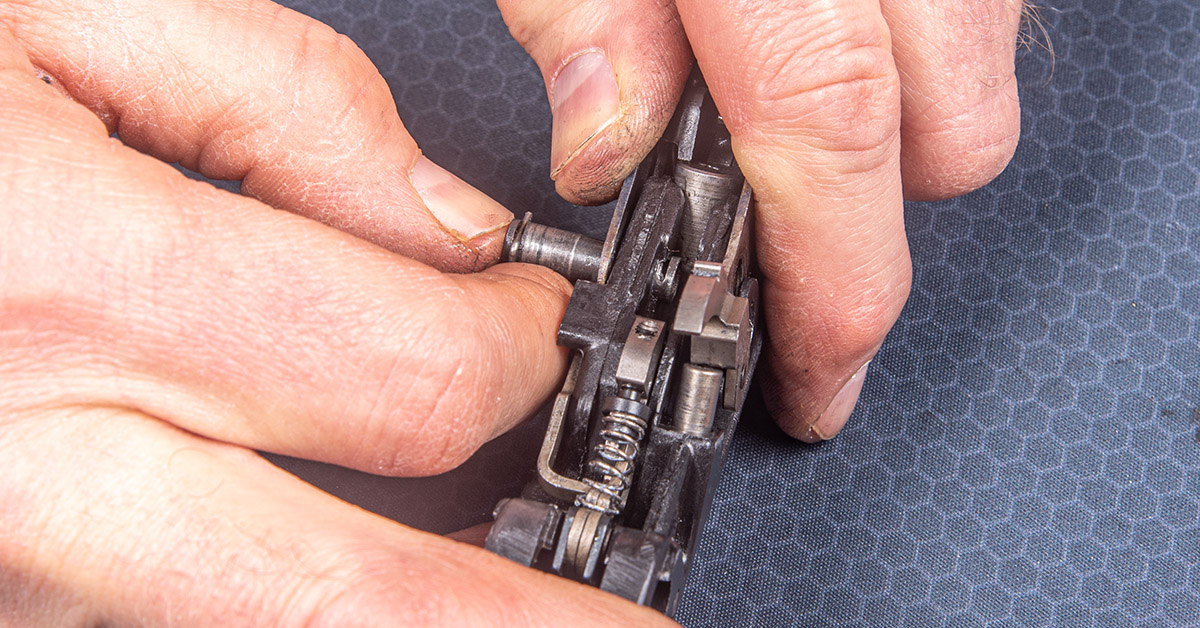
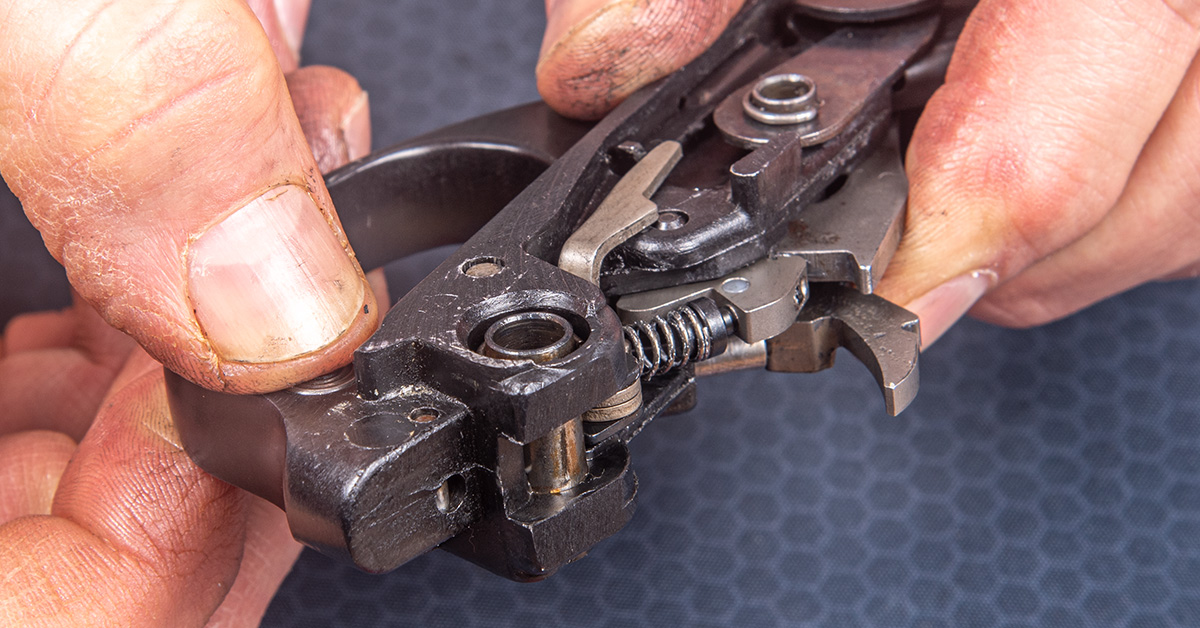
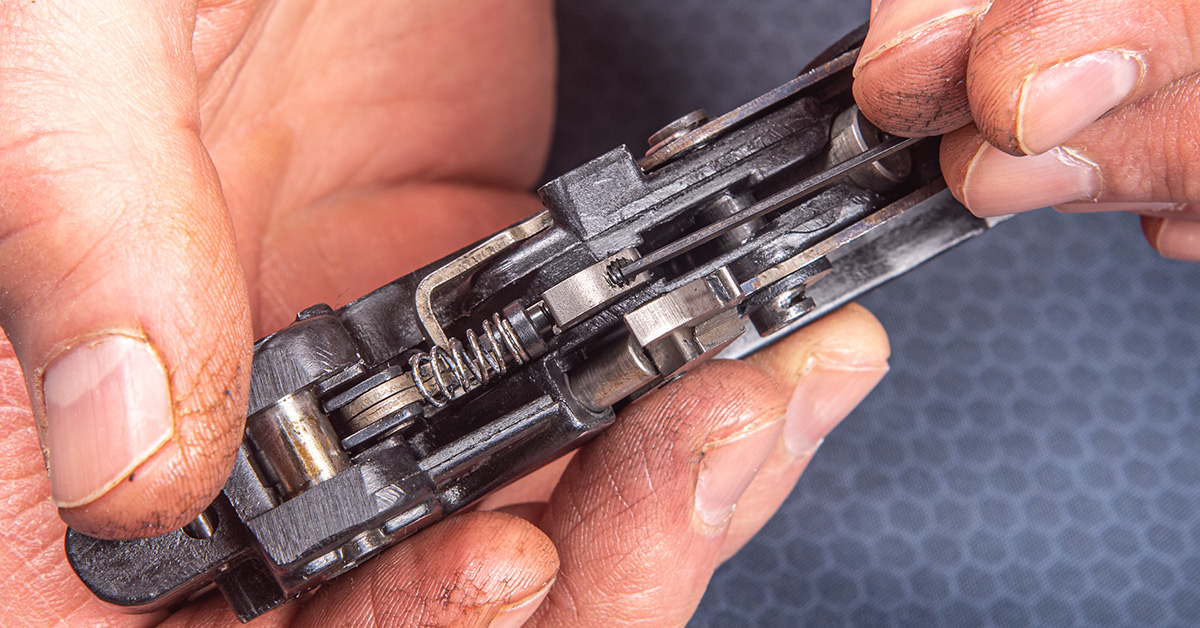
Lightly lubricate and install one of the Timney sear springs. We chose the white (medium) spring.

Lightly lubricate and install the carrier dog spring and follower.

Maintain tension on the carrier dog and install the carrier.

Line up the holes.
Lightly lubricate and install the carrier pivot tube.
The carrier pivot tube installs from left to right.

Lightly lubricate and install the trigger plate pin bushing from left to right.
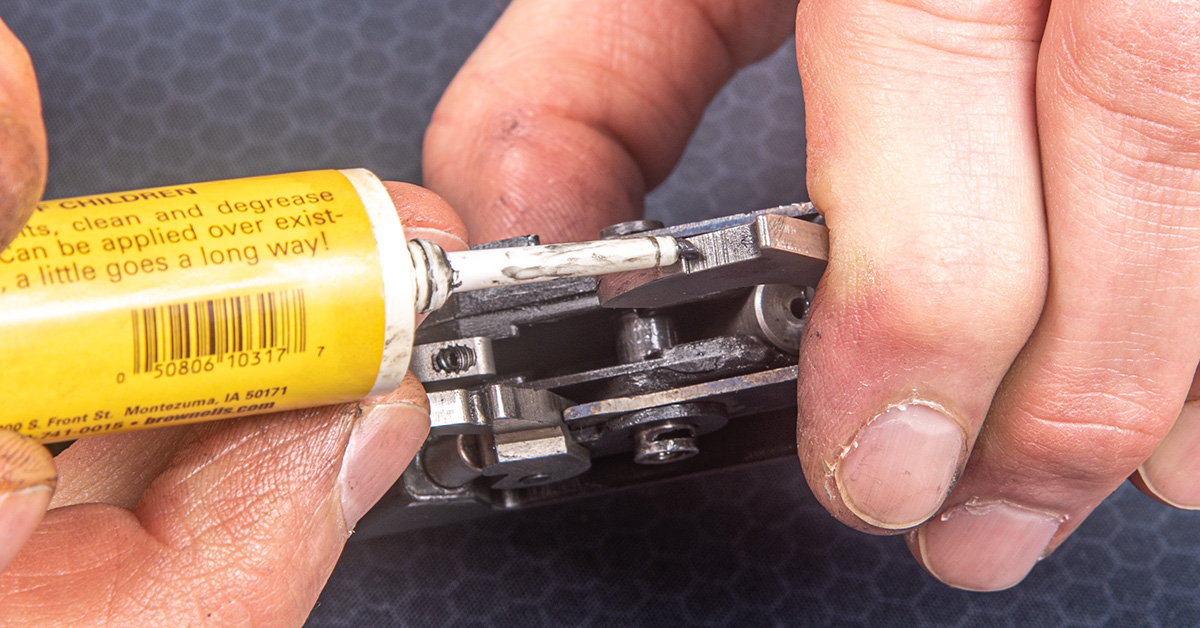
Lightly lubricate the sear contact surface on the hammer. A little Action Lube goes a long way.
Rotate the hammer downward into the cocked position.
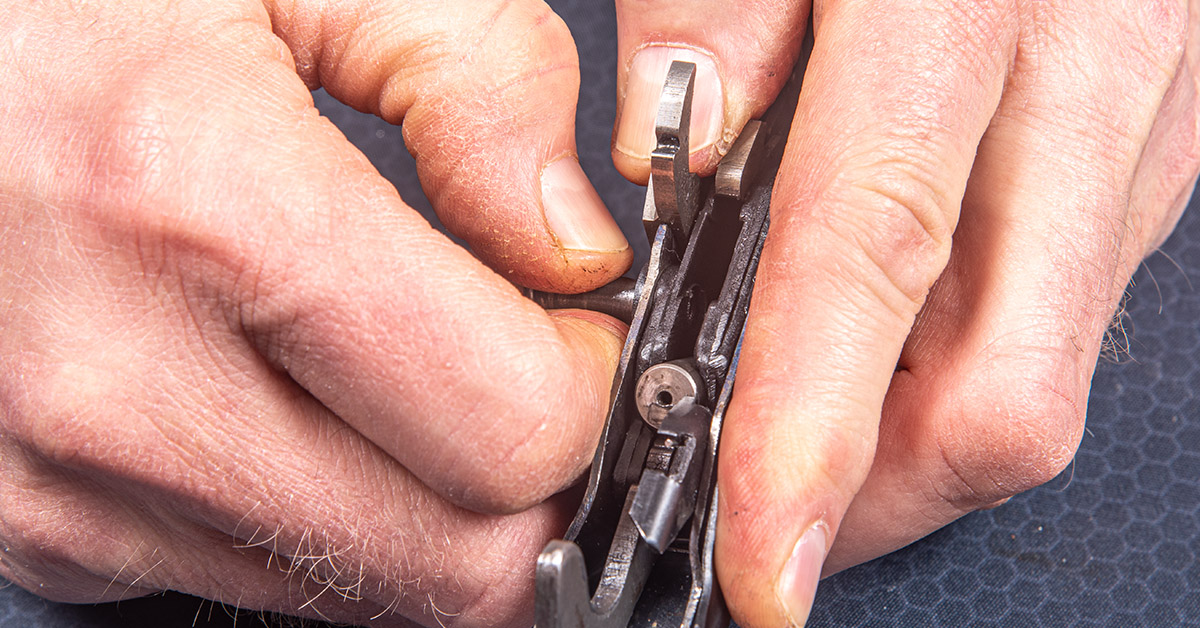
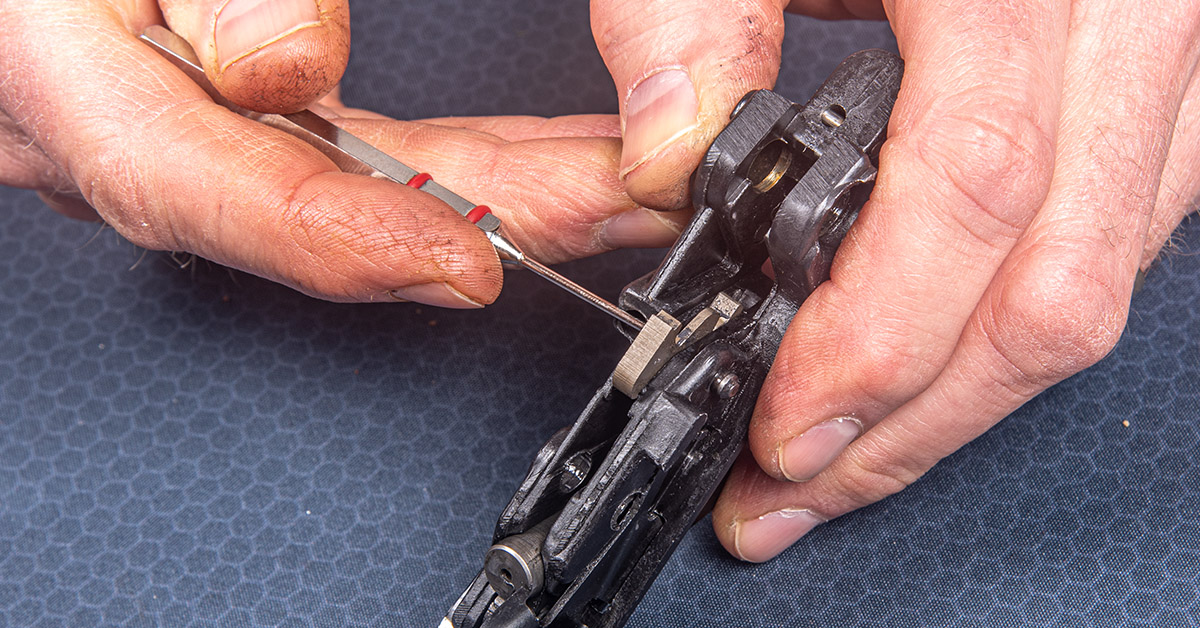
The Timney sear provides for up to a pound of additional adjustment with this small screw. Do not turn the screw more than four turns. We left the screw set at its factory location.
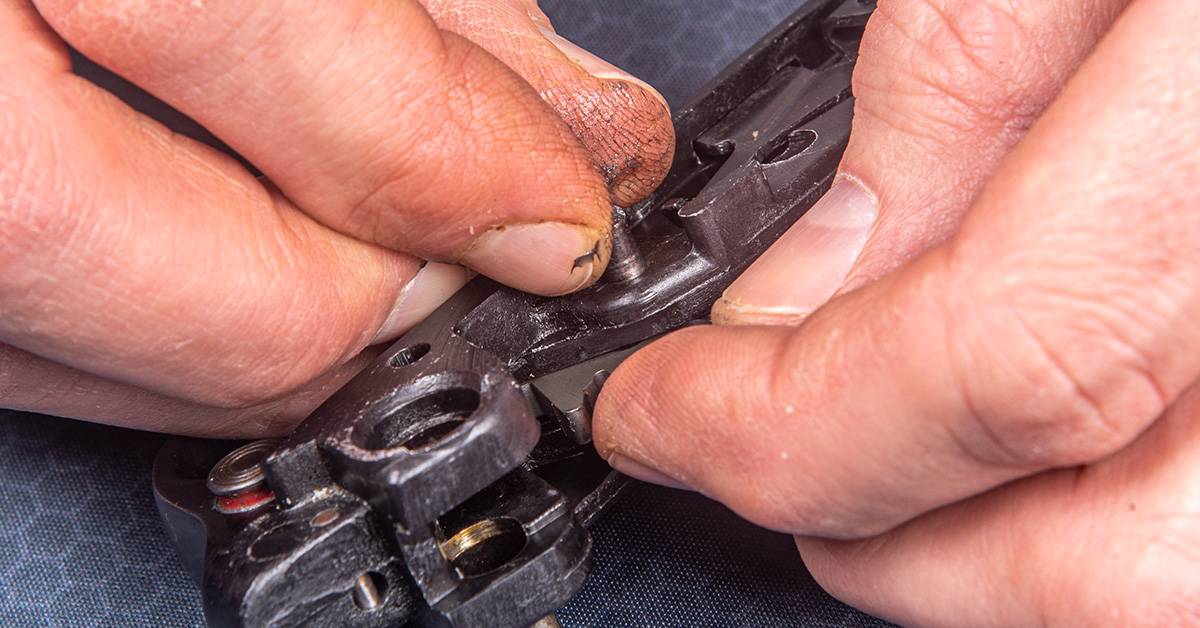
Install the trigger plate into the receiver.
Install the front and rear trigger plate pins flush to the receiver.
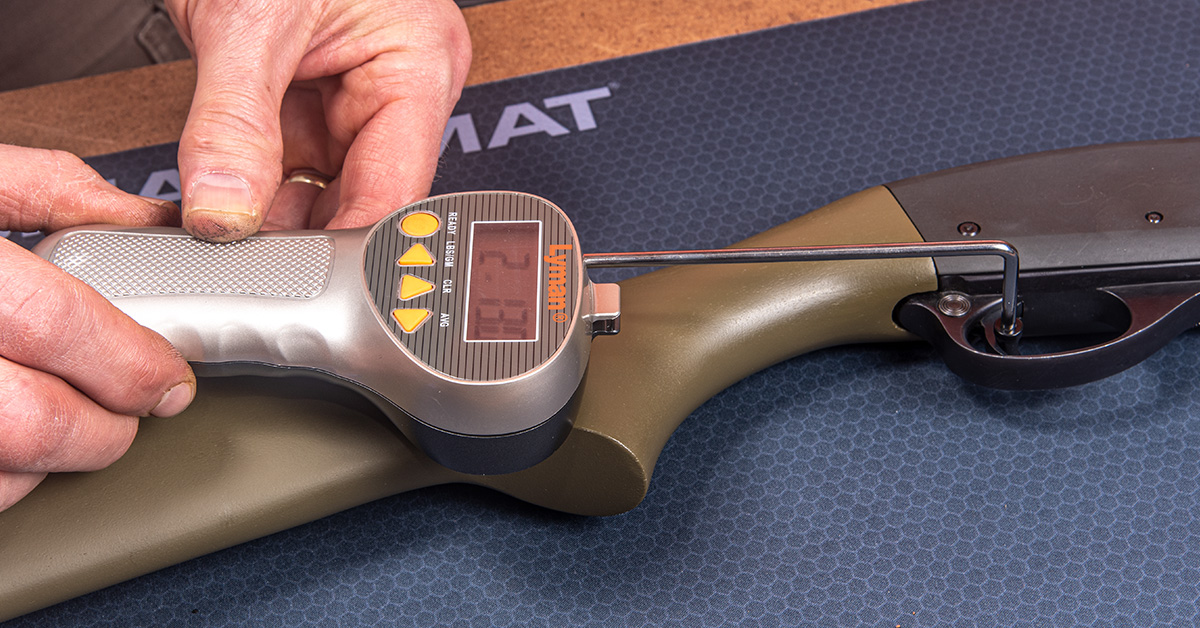
With the white sear spring in place and the adjustment screw left at its factory setting, our initial pull weight was 2 lbs., 13 oz. This quickly settled into a nice, repeatable 2 lb., 9 oz. pull weight. Not only is the new trigger over a pound lighter in weight, perhaps most importantly, gone is the excessively long, creepy trigger pull.