To effectively defend yourself with a handgun, you need to practice often, and these three drills should be at the heart of your training routine
by Brad Fitzpatrick
Over the last several years, there have been record increases in the number of background checks and firearms purchases. Part of this spike in sales was driven by uncertainty early in the COVID-19 pandemic, which was likely the first time many Americans closely evaluated their ability to defend themselves. The first step seemed obvious: buy a gun.
That may be the first step toward effective self-defense, but it’s certainly not the last step in the journey. The reality is that owning a gun doesn’t make you any safer than someone who doesn’t own a firearm. To be effectively able to save yourself, you must be able to effectively use your gun, and you must do so under the direst circumstances. Having a gun is a critical first step, but being trained to effectively use that gun is critical. And that takes practice.
Why Practice Matters
Imagine you have a medical emergency and drive yourself to the hospital, but when you arrive, the place is abandoned. All the equipment you need to save yourself is there in plain view, and it’s all in proper working order. The problem, though, is that despite having all the tools you need to save yourself, you lack the knowledge and skills to effectively use those tools. You have all the life-saving equipment you need, but without the ability to use that equipment, there’s no hope of survival.
So it goes with guns. You can’t reasonably expect the gun you bought and promptly locked away in a bedside safe to be of much use when you’re wiping sleep from your eyes because something is bumping around in the darkness outside your bedroom. If you’ve never been in a truly stressful situation, I can assure you that your fine motor skills and manual dexterity don’t generally improve when your adrenal glands are working overtime, and all your future outcomes are going to be determined by events lasting no more than a few seconds.
It’s important, then, to rely on your training to take over. During the days you spent perfecting your skill as a shooter, you were subconsciously building a playbook of survival skills. You learned drawing a gun, aiming, firing, and movement. You worked toward cover, kept your muzzle pointed in a safe direction, learned to index your finger when you weren’t shooting. Sight alignment became natural and instinctive, just like your grip and trigger press. All those skills practiced over and over again honed your abilities so that, even in the tensest moments of your life, you were still able to rely upon your training to accomplish the task at hand.
There’s no shortage of practice routines or YouTube videos about how to defend yourself with a handgun, and lots of people will be willing to give you advice; however, I try not to deviate too far from my standard routine. I’ll push myself, to be sure, but I’ve found that the latest social media gun training sensations are to personal defense what the Shake Weight was to personal fitness. They’re fads. Sure, some of them build on the fundamental self-defense skills, and some that don’t are just fun range games so long as you keep safety in mind. But when I’m training to survive in a real self-defense situation, I return to the same three drills over and over.
They’re pretty basic, and they don’t take long. But each one works on the fundamental skills you’ll need to make second nature if you’re faced with immediate and unavoidable violence. They’ve worked for years, and they work now — and you can build your self-defense training curriculum around them.
Failure/Mozambique Drill
The failure drill requires you to fire two shots to the chest and one shot to the head on a steel or paper torso target. It’s also known as the Mozambique drill because of an incident during the violent and bloody years following that country’s independence when a contractor man named Mike Rosseau found himself face-to-face with an enemy fighter carrying a rifle. Rosseau fired two shots from his 9mm pistol into the attacker’s chest, but to Rosseau’s shock and consternation the rifle-wielding attacker did not drop. Rosseau had the presence of mind to fire a third shot to the head, stopping the attack immediately.
The story of the incident made its way to Colonel Jeff Cooper, founder of the American Pistol Institute (API would later become known as Gunsite Academy, which is still in operation in Paulden, Arizona). Cooper was a student of all things self-defense, and he saw the value in this drill.
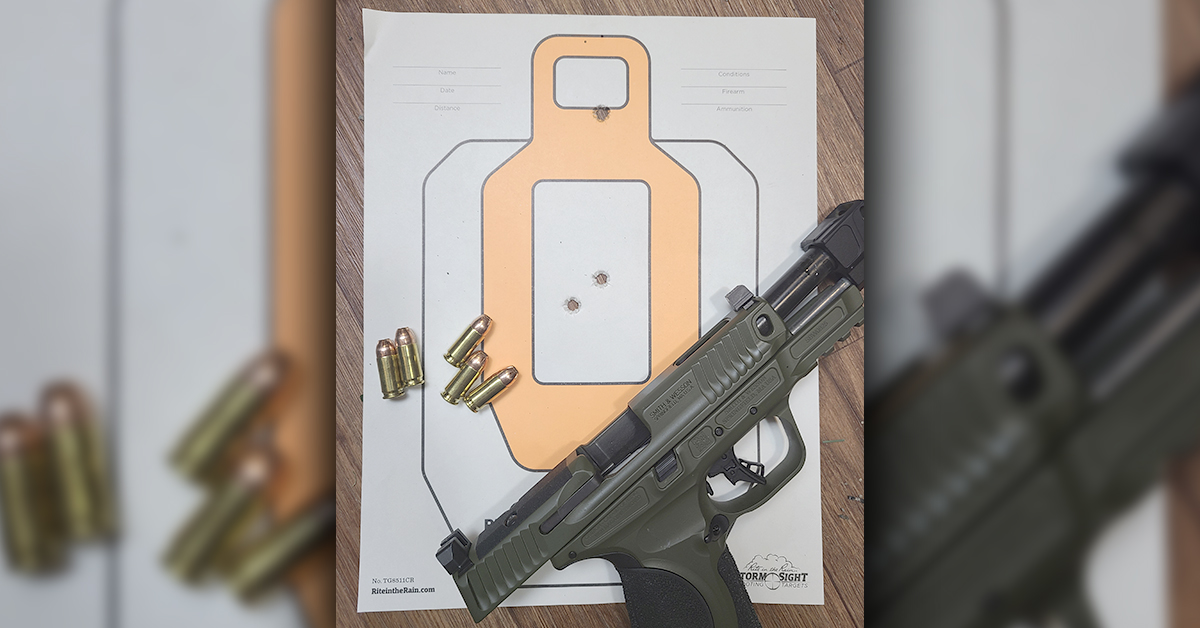
The failure drill is about more than making three fast shots. It requires obtaining a proper sight picture and making an accurate first shot, managing recoil to quickly deliver a second shot, and then transitioning aiming points to deliver a third shot at a considerably smaller target. When you practice the failure drill using a holstered pistol, you add another layer to the exercise.
I don’t believe, though, that you should start with a holster if you’re new to firearms. Learning an effective, efficient, and safe draw stroke is another skill that you should practice independently and, when you feel comfortable drawing, you can add that to the failure drill. If you’re a relatively new shooter, begin at a low ready or compressed (gun held in both hands close to the front of your body, trigger finger indexed on the frame above the trigger, muzzle pointed safely down in front of you) position. From there extend and obtain your sight picture, deliver the first and second shots to the center of the torso target, and fire a final shot to the head. If you don’t have torso targets, an outline on a piece of posterboard will work just fine. I typically shoot this drill between five and seven yards from the target.
The goal should be consistent accuracy and smooth efficiency. Don’t start too quickly, and don’t worry about time. Accuracy will be your indicator that it’s okay to pick up the pace on this one. When your shots start to scatter to the margins of the target, it’s time to slow down. Once you’re comfortable with the drill, you can begin the drill with a holstered pistol and add lateral movement as you progress. The failure drill is good practice for a real-life deadly encounter, so run this drill multiple times. Doing so helps develop the skills necessary to survive an attack.
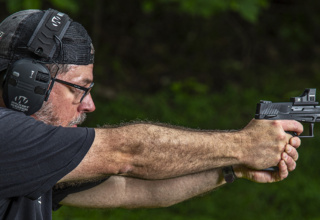
The Bill Drill
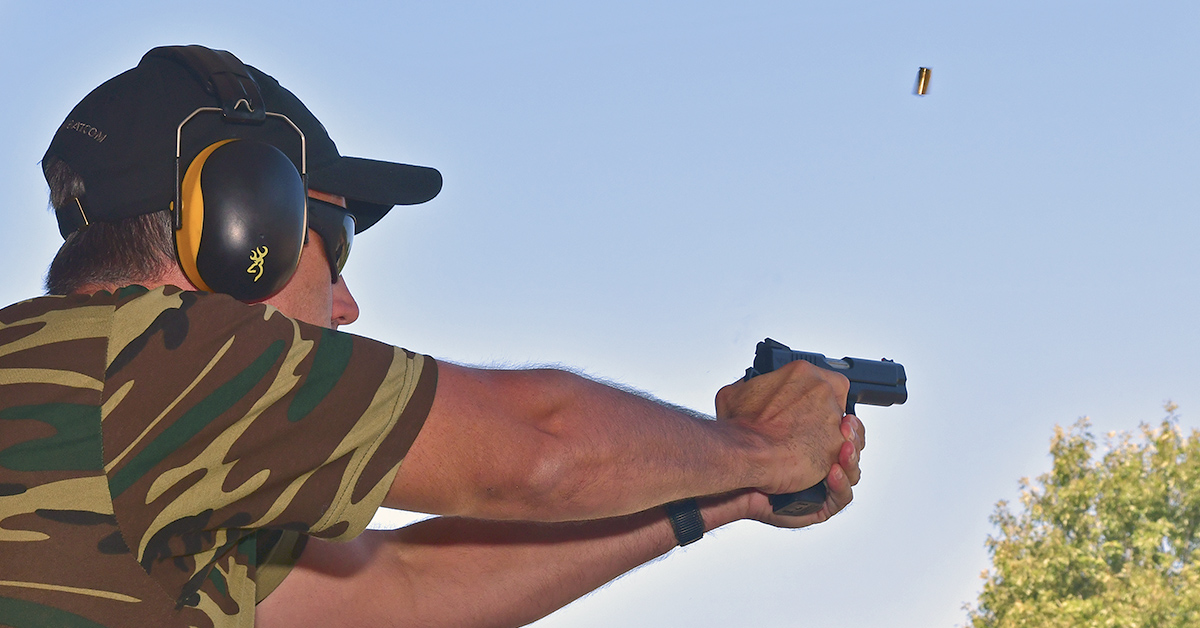
The Bill Drill is named in honor of Bill Wilson, founder of Wilson Combat and an accomplished and highly skilled handgun shooter (and a very good guy — I’ve spent time with Bill at his Texas ranch and have seen his impressive shooting skills in person). The drill is extremely simple: from a standard self-defense distance (usually 7 yards), draw your firearm from a holster and fire six rounds into the center of a torso target. On a competition target, your goal should be to deliver all six shots in the “A” zone, but if you don’t have such a target, you can simply draw a box about six-by-six inches on your existing target. Obviously, you’ll want to fire all six rounds accurately and as quickly as possible, again, using accuracy as your standard for increasing speed.
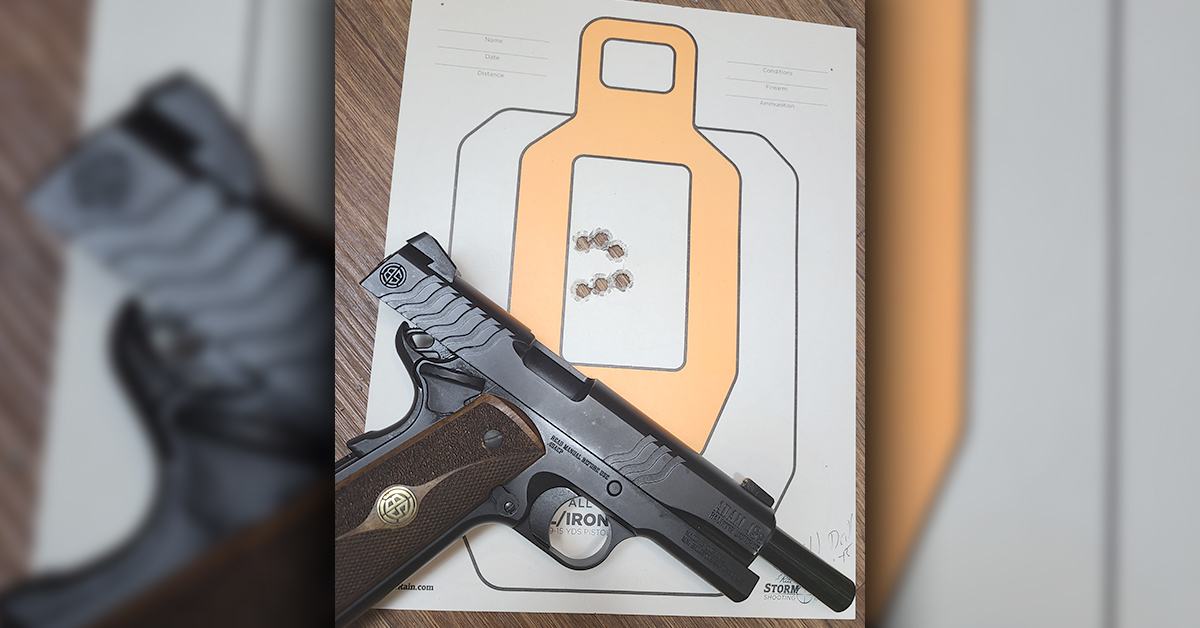
If you’re a new or intermediate shooter, you should begin this drill slowly. Shoot, regain the sight picture, and shoot again. As you become more proficient, speed will naturally increase. Although it seems extremely simple, the Bill drill accomplishes many things. First, you’re drawing and delivering an accurate shot — the hallmark of effective personal defense shooting. You’ll also have to manage recoil, which requires a high grip on the pistol and a good stance with some bend in the elbows that allows the shooter to absorb the setback of the gun. Lastly, you’ll learn to shoot accurately and quickly with your self-defense pistol.
Again, you can add elements to this as your skill level increases. Adding lateral movement requires that you maintain the sight picture while in motion — a skill that will make you harder to hit in a real life-and-death situation and will allow you to reach cover.
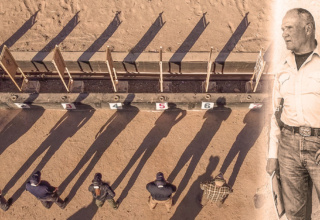
El Presidente Drill
This is another of Jeff Cooper’s drills, and it’s a favorite of pistol coaches and trainers. It’s more complex than either the Bill or failure drills, but it’s an accurate test of your defensive handgun skills.
Begin by setting up three targets (IPSC or IDPA targets, ideally, but any torso target will work) side-by-side with one yard of space between the targets. You’ll then move back to 10 yards if you’re an intermediate or advanced shooter. New shooters can cut the distance to seven yards.
With the targets set, you will turn 180 degrees and face away from the targets. Place your hands in the surrender position (chest high, spread apart with palms facing away from you). Traditionally, most shooters use a timer to start the drill, but if you’re a relatively new shooter, you can simply start when you’re ready.
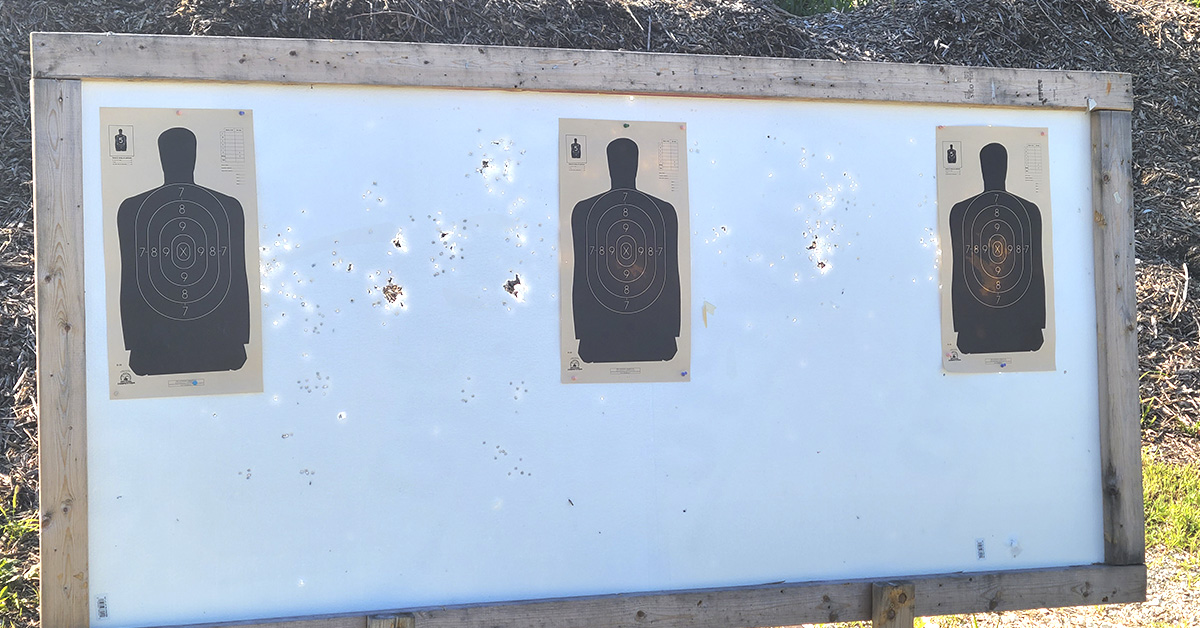
To begin this drill, you will pivot 180 degrees from the start position to face the targets and will draw and fire two shots to the A zone (center) of each target in succession. You’ll then perform a reload and fire two more shots into each target for a total of 12 shots, four on each target. Typically, most shooters will start on the far right or left target, work their way down the line, reload, and shoot targets in the reverse order to finish the drill, but you don’t have to follow this sequence.
The El Presidente drill works on a variety of skills required for self-defense. You’re delivering two accurate shots on each target, transitioning targets, and working on a reload. You’ll also likely find that you’re much more efficient when transitioning in one direction. For example, I always shoot the left target, middle target, and right target because that’s the direction of transition with which I’m most comfortable. If I “throw” a target, it’s almost always on the right-to-left progression following the reload.
Don’t rush this drill. Shoot efficiently and accurately, and speed will increase with repeated training. This is more complex than either of the earlier drills, but El Presidente is a multi-purpose exercise that improves multiple essential handgun skills.
- The Six Rifles Everyone Should Have - May 26, 2026
- Talking About Firearms to Anti-Gun Friends - April 20, 2026
- Eight Great Revolvers for Self-Defense - March 23, 2026