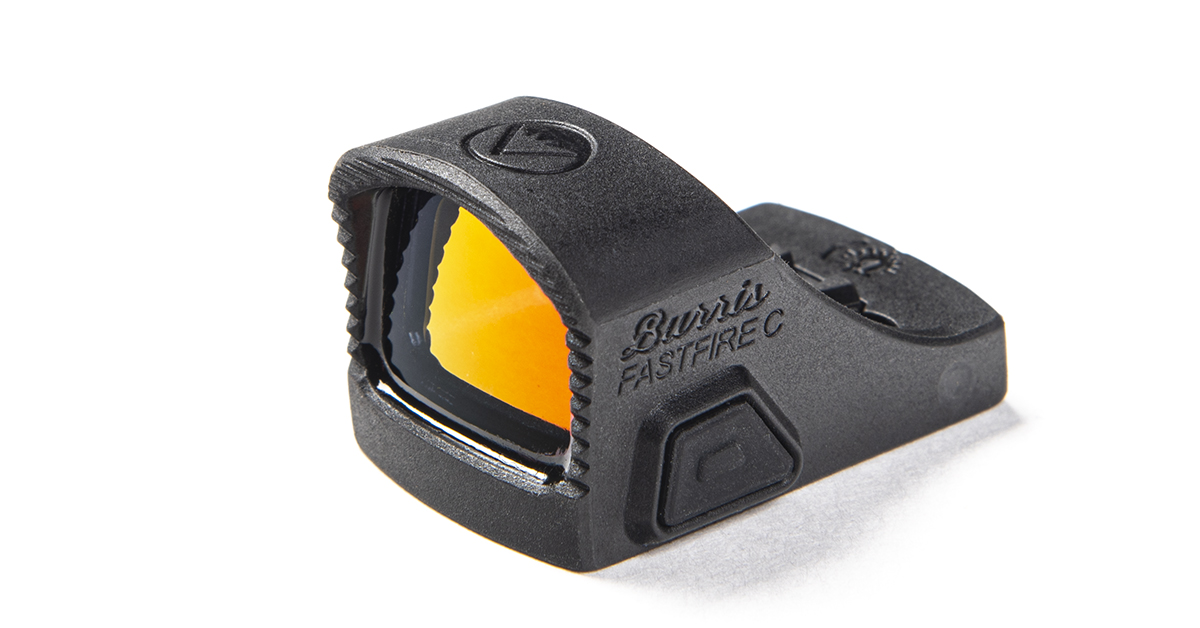
As the name implies, the all-new Burris FastFire C pistol sight is lightning quick on sight picture acquisition and, with its ultralight weight and intelligent auto brightness technology, is an ideal red dot for today’s micro-compact EDC handguns
by Rob Reaser
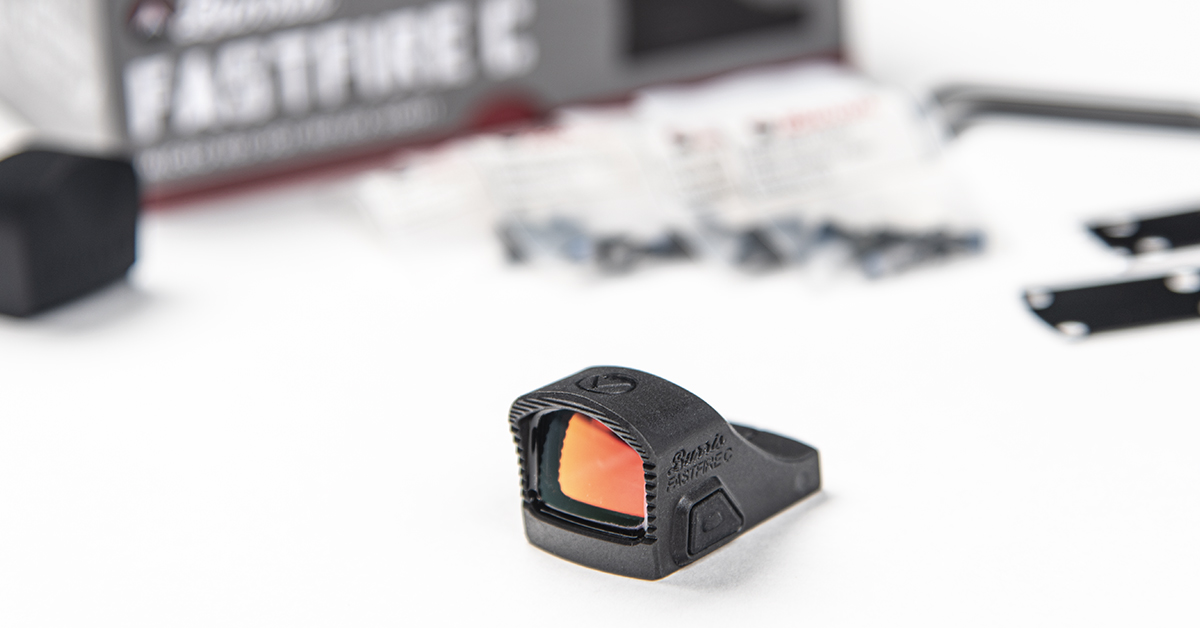
Over the last several years, Burris Optics — a name traditionally associated with hunting riflescopes and, of late, a respected innovator in tactical, observational, and thermal optic systems — has expanded its roster of FastFire red dot optics to include models covering everything from handguns and black carbines to shotguns. In keeping with the growing consumer trend of adding red dots to micro compact pistols for EDC/CCW use, Burris engineers recently turned their attention toward developing a “minimalist” FastFire model. The result is the FastFire C, a super light (0.44 ounces), ultra-compact, and exceptionally low-profile red dot that, at least for this late-to-the-game red-dot adopter, has proven to be a spot-on performer.
I say that because I’m still in the “is a red dot for me?” stage. Yes, my aging eyes have become an increasing challenge when I’m running pistols with open sights. A couple years ago, I had my optometrist cook me up a pair of shooting glasses with the near-vision grind at the top of the lenses instead of at the bottom.
What an expensive disaster that turned out to be. Just goes to prove you can try to change the natural order of things, but you will never win the battle.
All of that to say, I’ve burned through quite a few pistol-mounted red dots of late and it always takes me a while before I can acquire a sight picture at what I feel to be an acceptable defensive speed. Every time I try out a new red dot, it’s like starting over from scratch. Well, maybe it’s not quite that bad, but you get the idea.
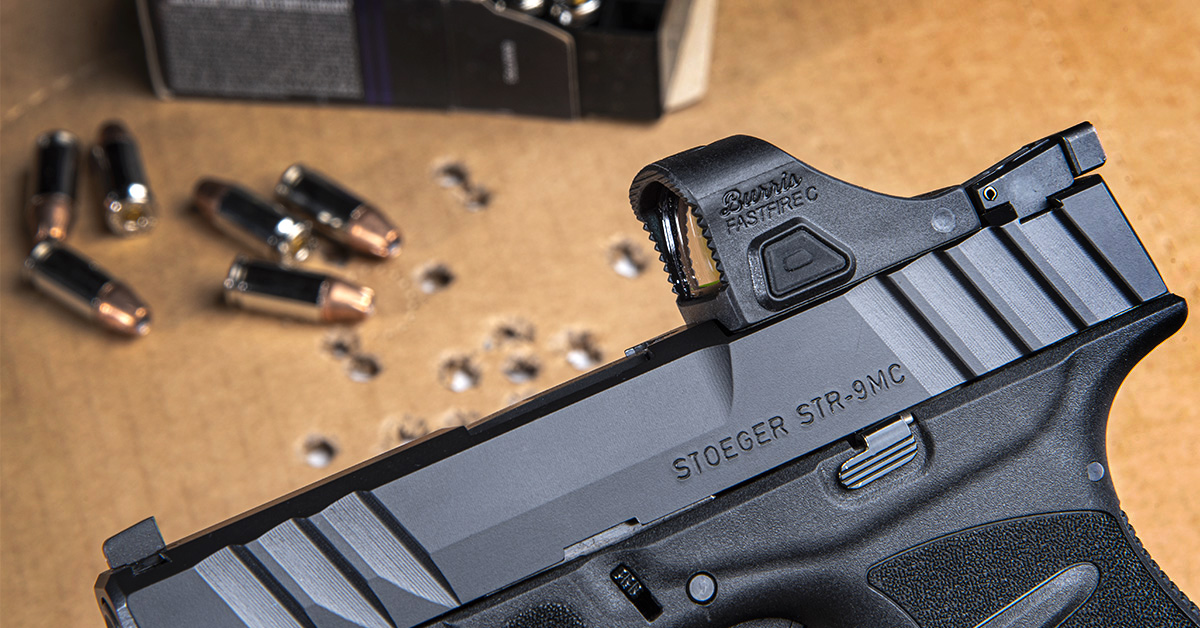
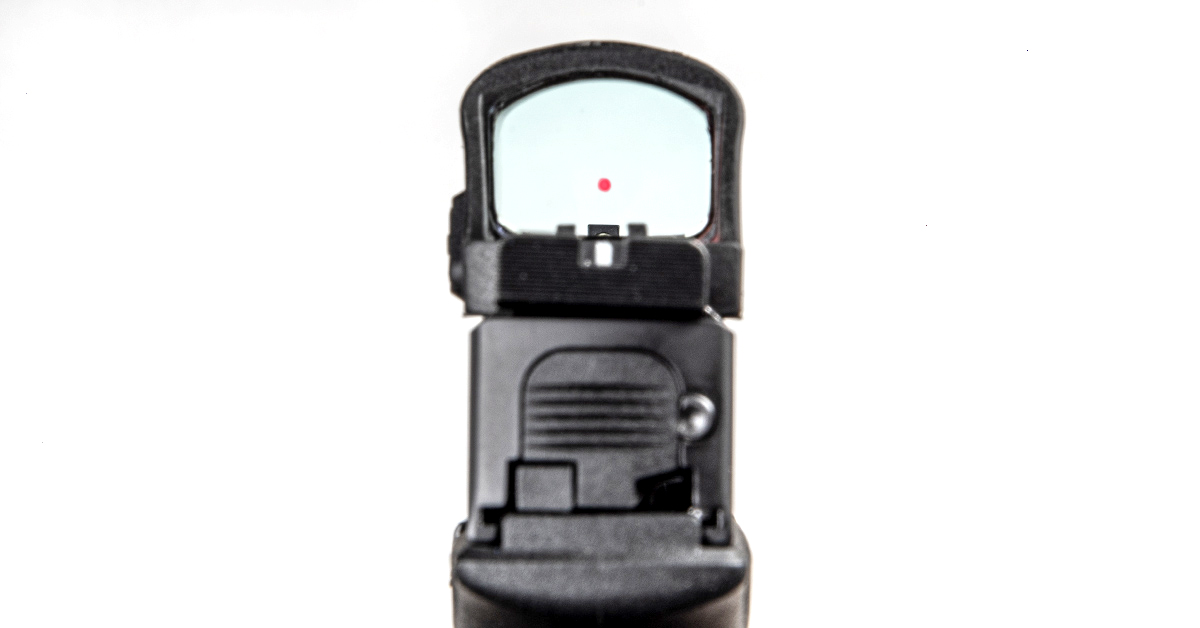
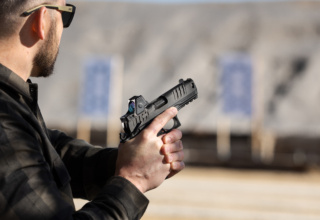
When I dropped the new FastFire C onto my Stoeger STR-9MC, though, I had no such issues. Draw, present, and the dot is in view. A nano-second of aim adjustment and I’m pulling the trigger with bullets hitting where I want them to.
Unfortunately, I can’t really quantify why the FastFire C has turned out to be an out-of-the-box hit for me. The 22x17mm sight window is neither the biggest nor smallest of the sights I’ve tested. The low base height is not significantly less than other micro red dots I’ve taken for a drive (although I will say that I am much faster with a low-slung red dot housing than a taller one). Even when comparing the FastFire C with the Burris FastFire 4 I run on one of my full-size target 9mms, the C just gets me on target quicker with no “head bobbing” required to find the dot.
For me and a new sight, that’s a big deal.
I’ve also noticed a relative suppression of lens flare with the FastFire C, which I have frequently experienced on other red dots. Even with the illumination on maximum (there are five illumination levels), the flare isn’t usually noticeable in bright light. I do notice it in subdued light, such as in an enclosed environment, but drop the illumination one level and it’s a non-factor. Burris doesn’t detail the lens coatings they use to control flare, but their literature does mention the use of “exceptionally clear aspherical glass lens with minimal bluing and field curvature.” Whatever the case, they must’ve hit on a winning formula.
Operation of the FastFire C doesn’t get any easier. Install the CR 2032 battery and the unit is on and stays on. Burris calls it their “Always On” technology and boasts of its 25,000-hour run time on the medium illumination setting.
A single button on the left side of the housing controls the illumination adjustment, which, as mentioned, offers five settings. Successively depressing the button runs you through the different settings to suit your ambient light levels.
There is a sixth (auto) mode, indicated by the briefly blinking reticle. When this appears, the FastFire C switches to the Intelligent Auto-Bright mode. In this mode, the unit senses ambient light levels and automatically adjusts the reticle illumination to suit. I really appreciate this mode for a carry gun because you always have the reticle illumination level where you need it should you have to deploy your pistol. If you are in a darkened environment, the red dot will be on a lower illumination level. The reverse is true if you step into bright light. This is comforting because no one has time to fiddle with their light setting in a defensive encounter.
Regardless of the illumination setting, the sight will switch back to auto after five hours. Should you wish to turn the unit off, a long press of the illumination button will do so.
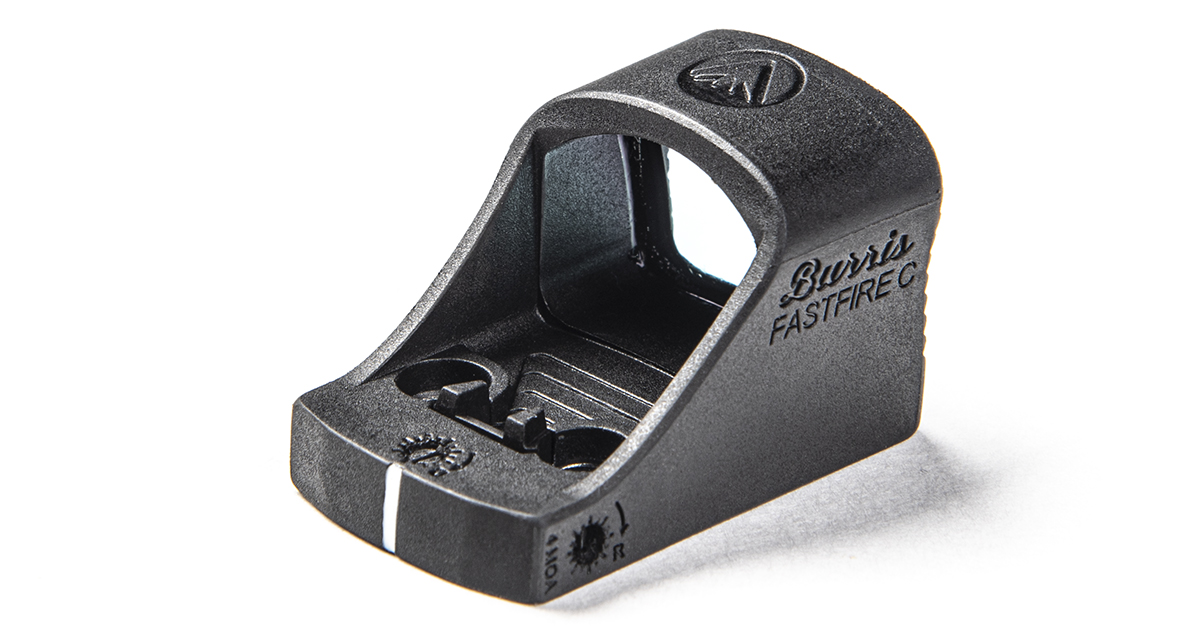
The FastFire C’s housing is made of a rugged polymer composite material featuring a low-glare matte finish. The leading edges of the lens hood are serrated, allowing one-handed slide manipulation with minimal chance of slipping.
Windage and elevation adjustment come courtesy of recessed adjustment screws. Windage is on the right side and elevation is on the top. A flat-blade wrench supplied with the sight gets the job done. Total adjustment range is 80 MOA, with each tick mark representing four MOA of travel. There are no detents or “clicks” with this sight, so you have unlimited fine-tuning for precise sight alignment.
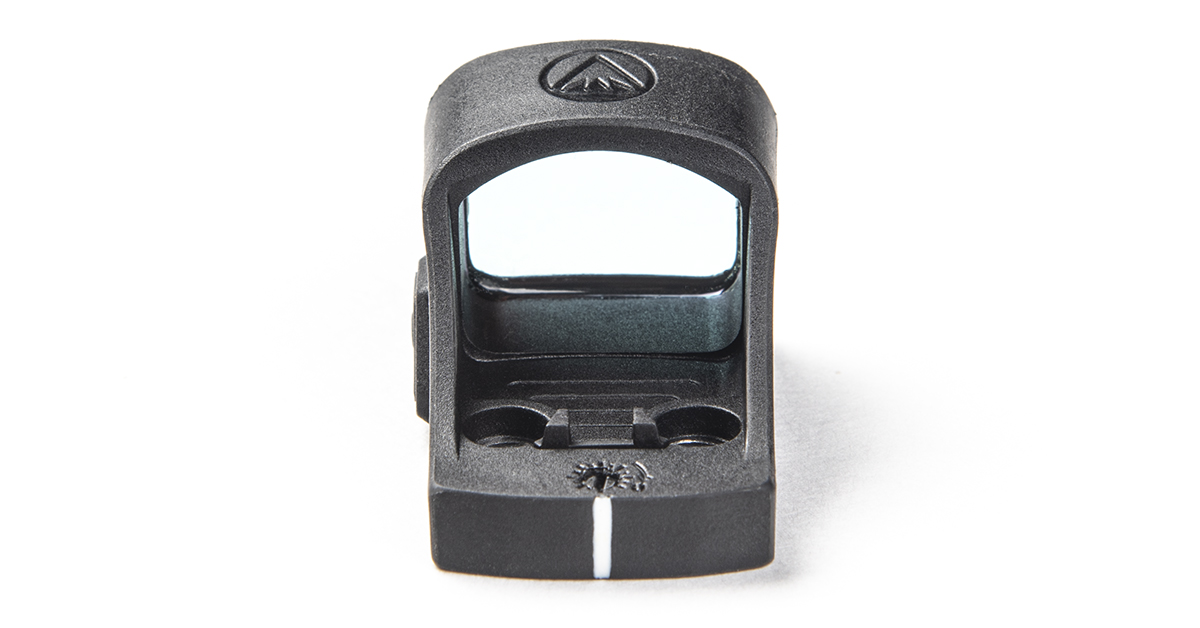
Between the two mounting screws is a square-notch rear sight. This can serve as backup sight alignment with the factory front post sight in the event of a failure. Should you wish to remove it, simply take it off before mounting the FastFire C. If you need it, Burris also includes a white alignment strip at the back of the housing. I didn’t find much useful function with this, but some may.
The reticle size is 6 MOA. You’ll not be drilling tight knots at long distances with this one, but that’s not what it is intended for. Since the FastFire C is designed for the necessarily close-distance nature of micro-compact pistols, Burris went with a larger reticle for fast sight picture acquisition at closer distances. And it works…at least for me.
Installing the FastFire C
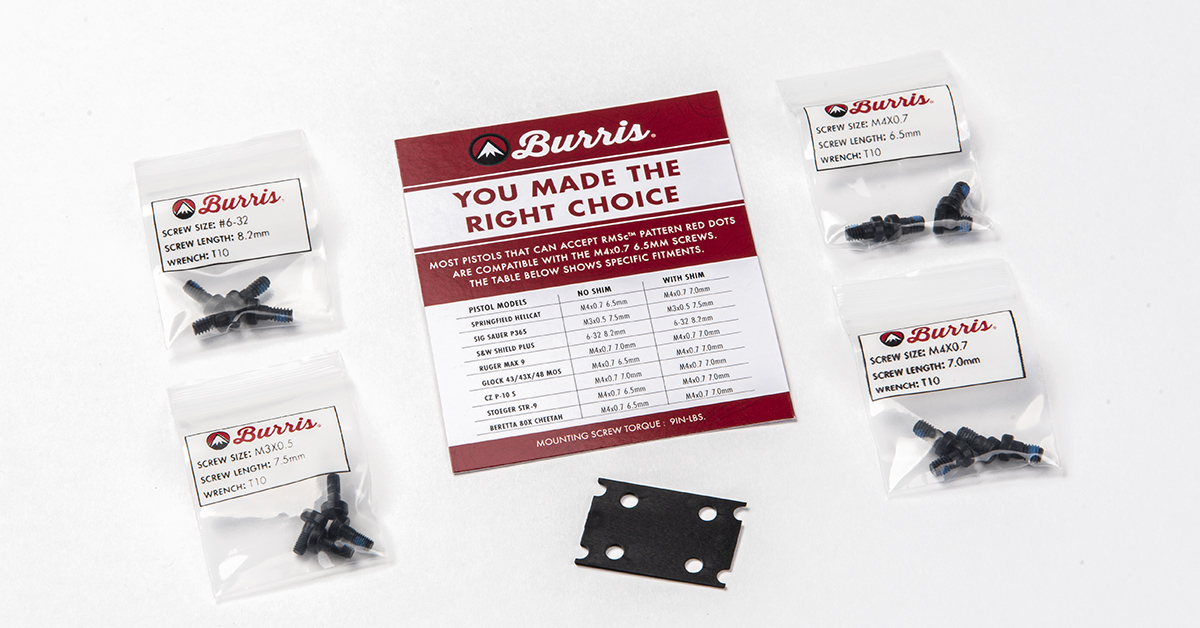
The FastFire C is built on the popular RMSc footprint, making it compatible with the more common micros on the market today, including the Springfield Hellcat, Sig P365, S&W Shield Plus, Ruger Max 9, GLOCK 43, 43X, and 48 MOS, as well as the Stoeger STR-9 series, CZ P-10 S, and the Beretta 80X Cheetah.
For this evaluation, I installed the red dot on my Stoeger STR-9MC. This little dynamo has proven to be exceptionally accurate, and the sight picture with the open sights is just right for me. That said, I felt this gun was a top candidate for the Burris sighting system.
The FastFire C comes with four different-size Torx cap mounting screws to work with the compatible pistol models. These include #6-32, M3x0.5, and M4x0.7. The M4x0.7 screws come in 6.5mm and 7.0mm for use with the included shim.
What’s up with the shim? This is a tapered shim that is intended to provide an additional +/-60 MOA elevation adjustment of the reticle, depending on which way it is oriented. It simply slips between the slide and the optic.
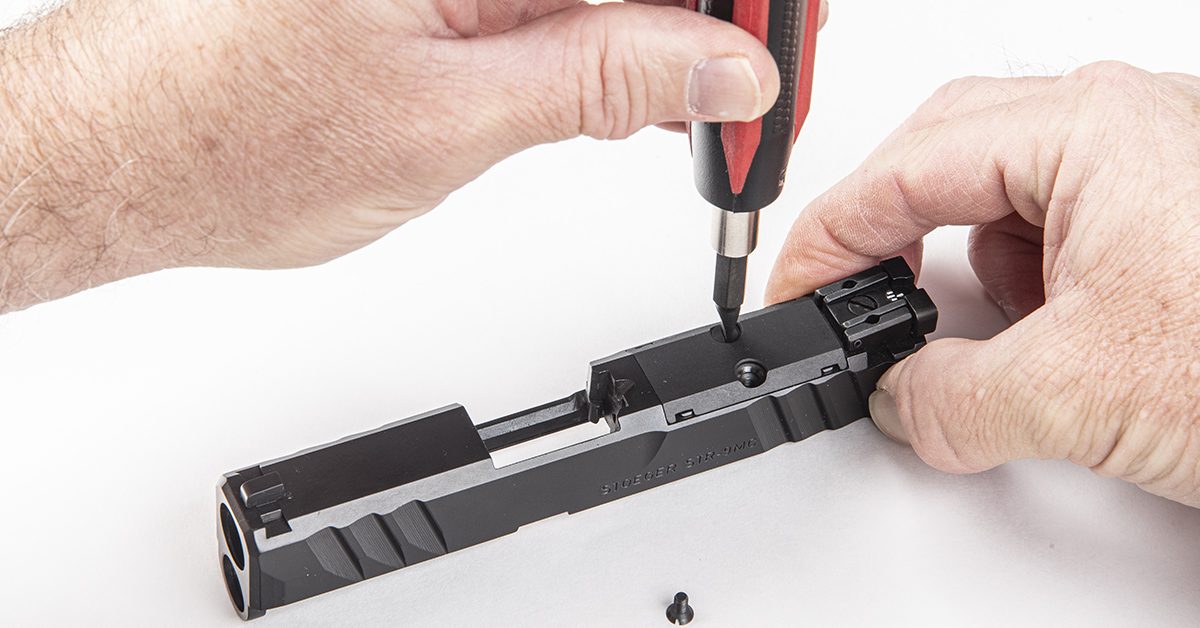
A prudent word about pistol optic installation. Most cover plate screws I’ve removed have come out easy enough. I have, though, encountered some that were over-torqued at the factory and were a bugger to remove without potentially damaging the screw heads. When removing the optic cover plate, two items are recommended.
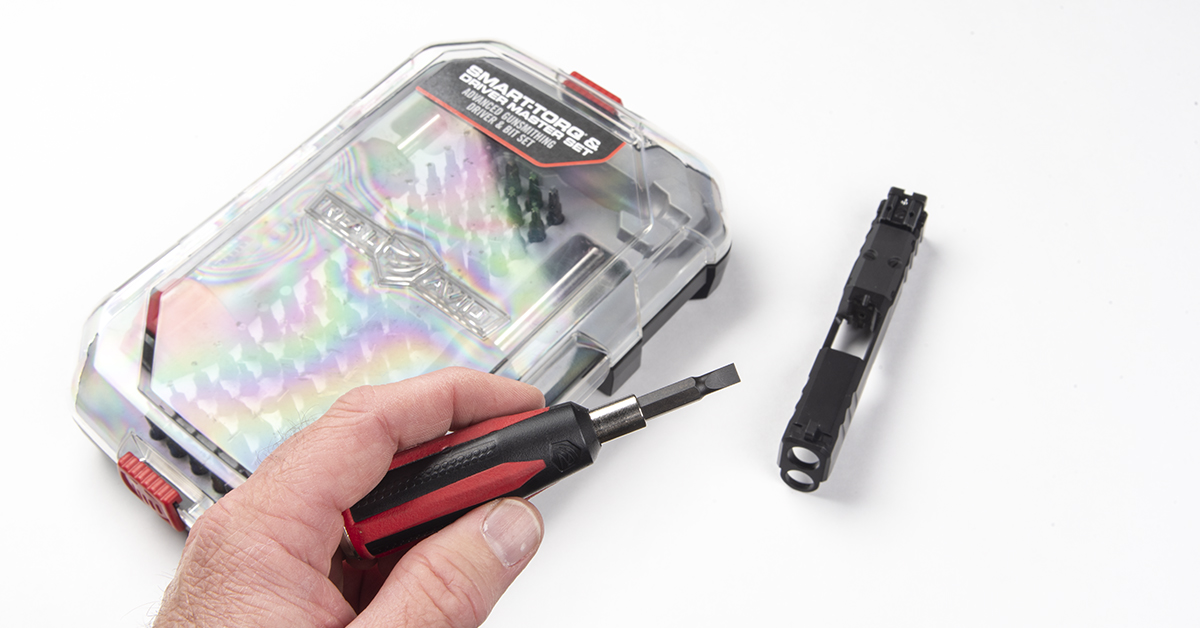
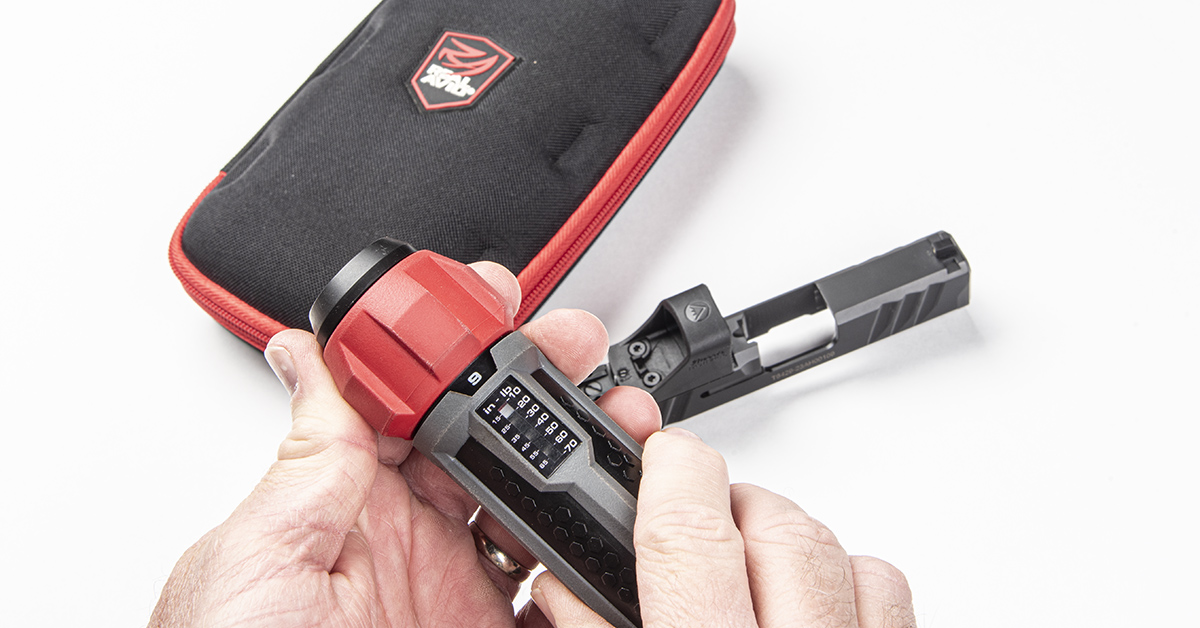
First, be sure to use quality bits that are sized (width and length) for the screw slot and that have a parallel profile near the tip. This is to ensure that the bit fully engages the slot to minimize slippage. An incorrectly sized bit can easily slip out of the screw head slot under torque and not only damage the screw but also damage the work piece. This is where a multi-bit driver set like Real Avid’s Smart-Torq Driver Master Set comes in. In it, you’ll find pretty much any driver you’ll need, including Torx, hex, star (Phillips), and slot head bits, plus a short and long driver along with an in./lb. torque driver.
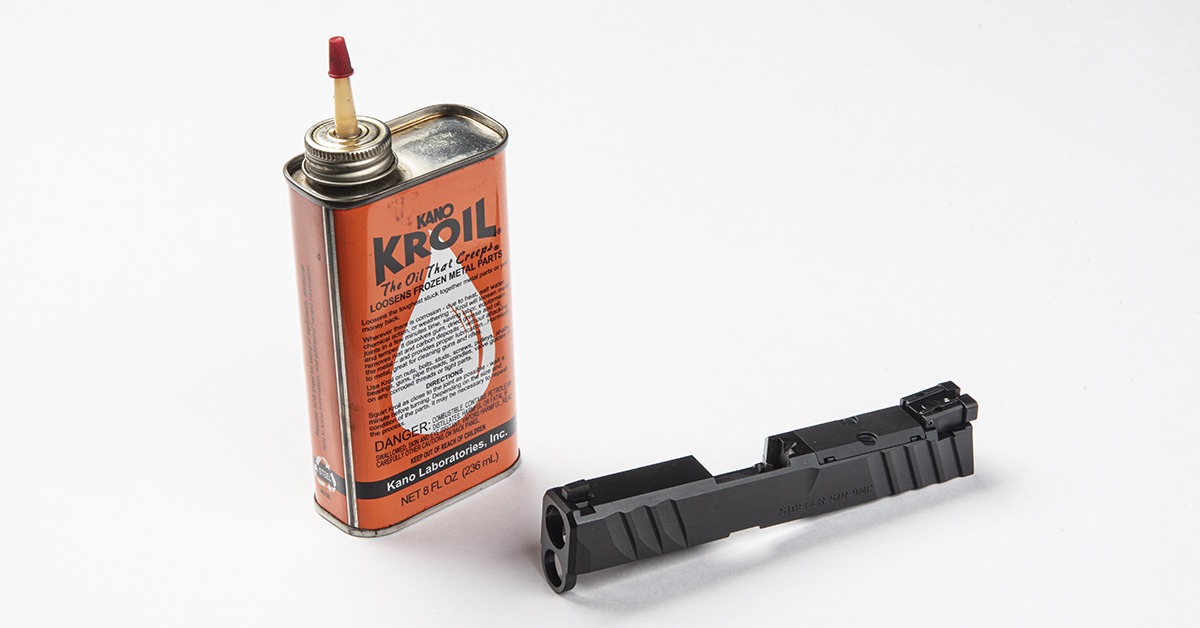
Another item I’ve come to rely on as “preventative medicine” is Kroil. If you are a DIYer, you need this. Just pool a drop around the screw heads you plan to remove and let it creep into the threads for a few hours or overnight. Combined with a correct-sized driver bit, even tight screws should come out like melted butter.
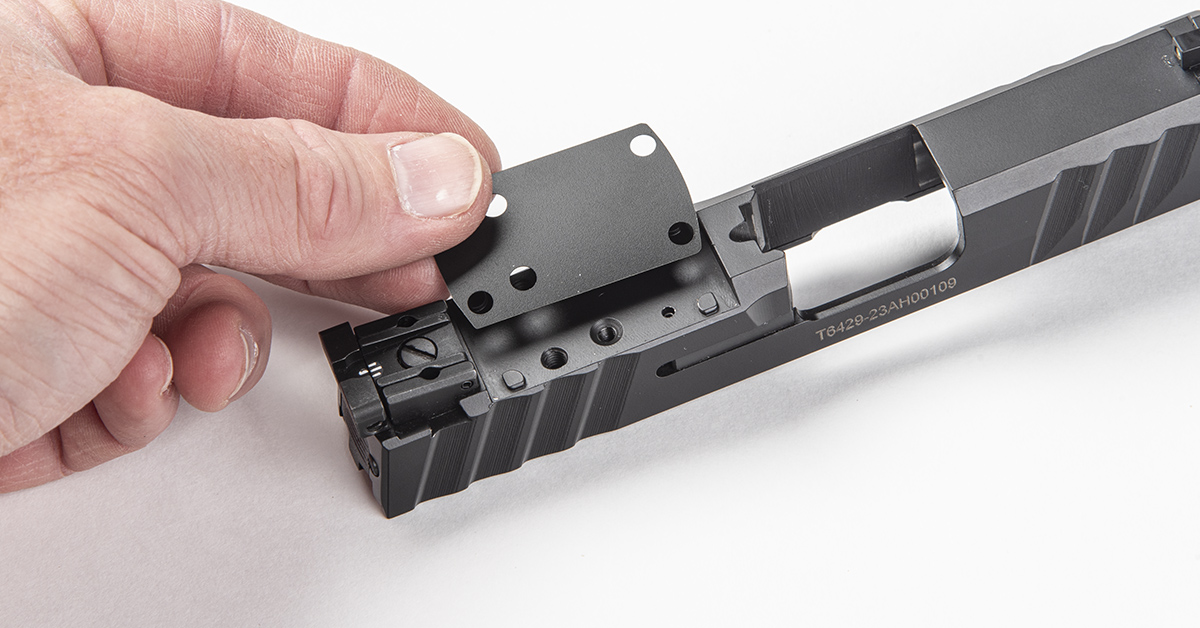
Begin, of course, by rendering the gun safe and removing the slide assembly from the frame. Remove the barrel and guide rod/recoil spring assembly, and then the gun’s optic cover plate, if so equipped.
Included with the FastFire C is a plastic weather seal. Install this onto the slide.
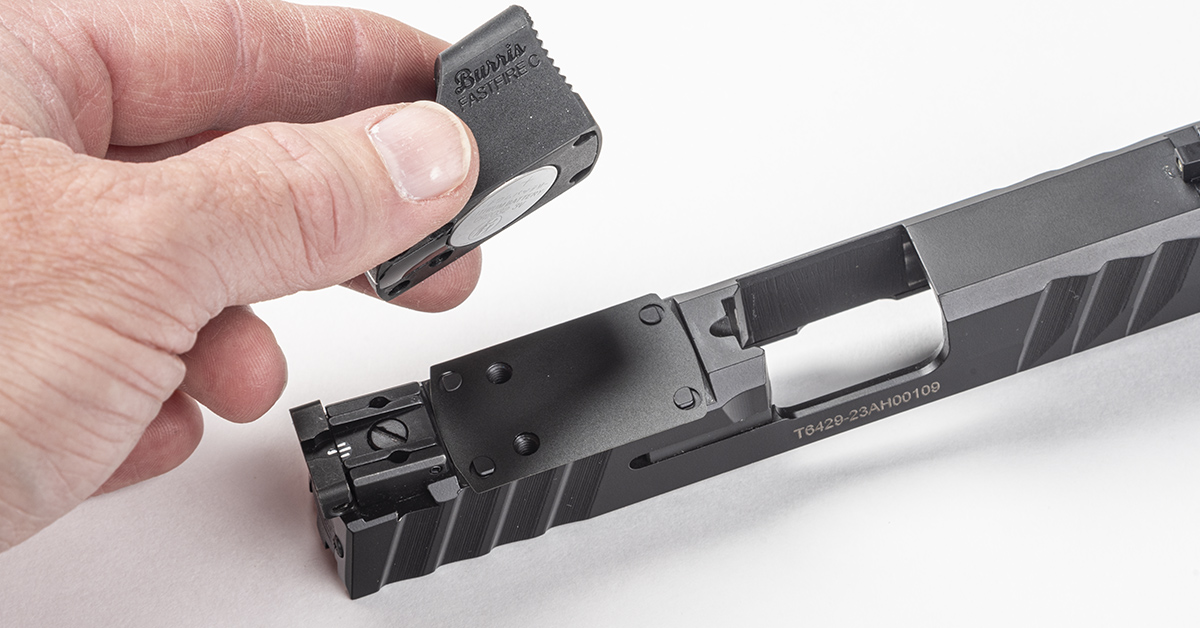
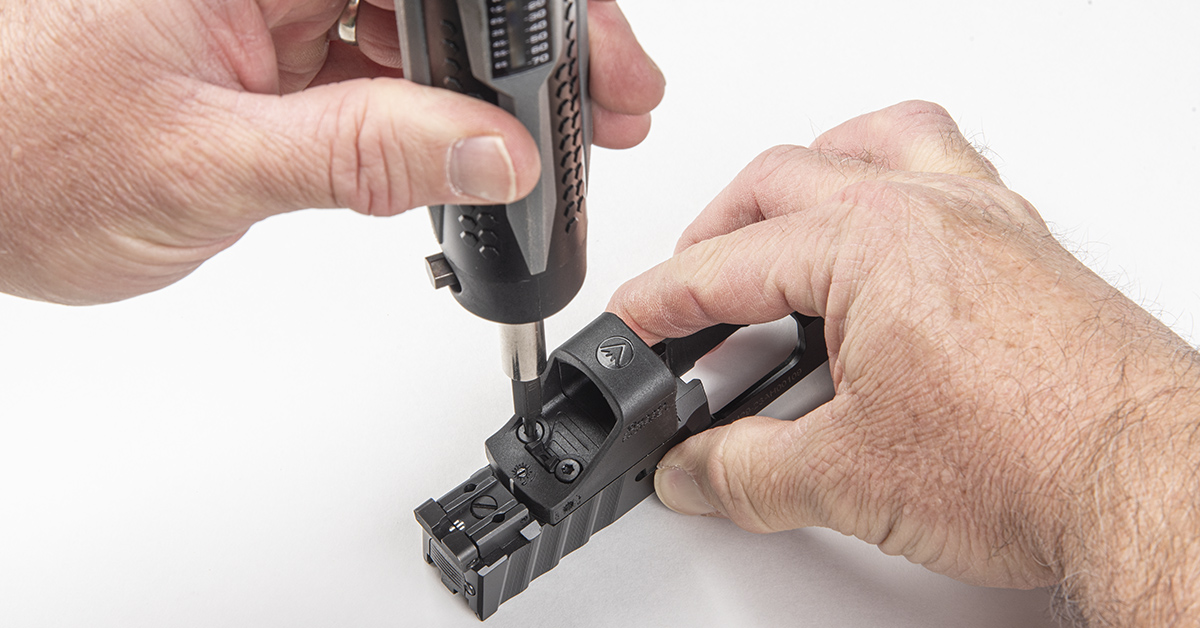
After placing the included CR 2032 battery in the optic, install the FastFire C onto the slide and check for proper fitment. The unit mounted to the STR-9 slide quite cleanly.
If you already have a quality set of driver bits, Real Avid also sells the Smart-Torq driver as its own kit. It’s a good investment for a variety of gun projects, including scope mounting. The mounting screws supplied with the FastFire C call for 9 in/lbs of torque.
As with scope ring installation, gradually torque the screws into place, alternating back and forth until the set torque is achieved for both screws.
And that is all there is to installing the FastFire C, leaving you to zero the optic by following the owner’s manual. Fifteen yards is a good distance to zero a defensive pistol.
Stoeger’s STR-9 MC
I spent a lot of time with the Stoeger STR-9 MC last year, from initial testing at Gunsite Academy and during several range sessions throughout the summer and fall. The gun not only continued to impress me with its performance, but also its ease of carry and handling. That it comes with an MSRP starting at $399 ($349 at retail) makes it even more impressive.
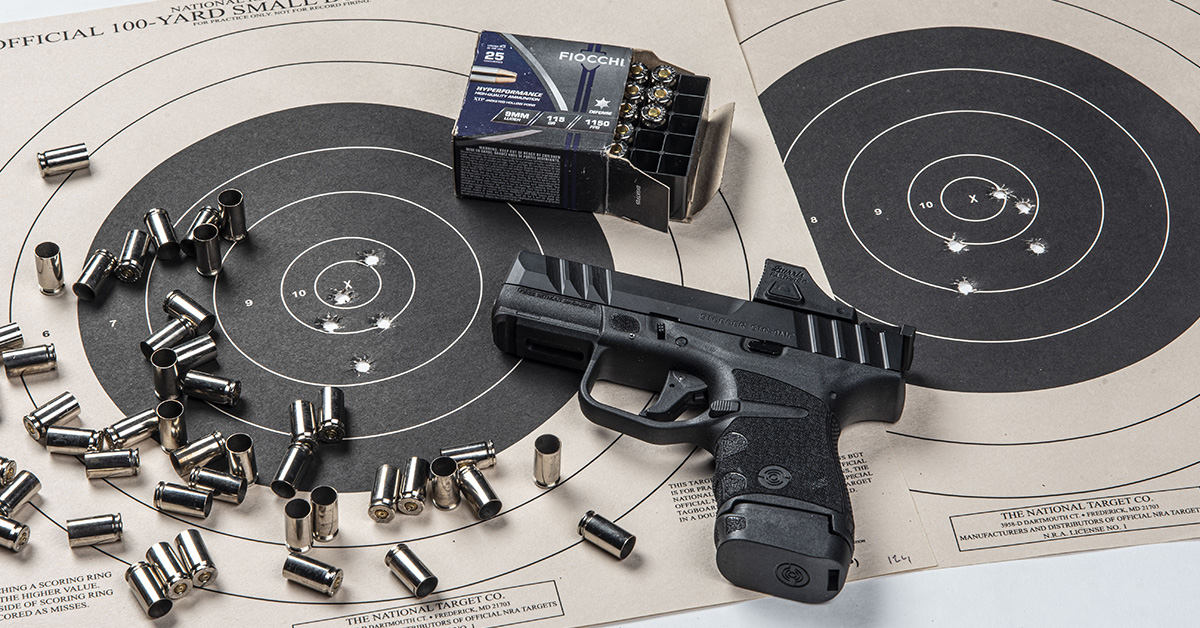
In the current free states of this country, the STR-9 MC rolls with a 13+1 9mm capacity (10+1 for those inhabiting unconstitutional states). Its diminutive size (6.1-inch overall length) and light weight (18.5 oz. unloaded) validate it as a top-tier choice for concealed carry duty.
Prior to this red dot test, it had been a few months since I had warmed the barrel on this little powerhouse. Now, after burning through several more boxes of 115- and 124-gr. Fiocchi defensive ammo with the FastFire C sitting atop the slide, my appreciation for the STR-9 MC has ratcheted up a few more notches.
The pistol has the same internal workings and operational features as the polymer-framed, striker-fired standard bearer GLOCK but comes at a much more digestible price point. I’ll even grant the STR-9 MC one significant advantage over the GLOCK — that being a more tractable and ergonomic grip design. Stippling on the STR-9 MC is skateboard tape-like. Combine that with the front strap finger grooving and extended 13-round magazine and you have an ultra compact pistol with handling performance that belies its size.
While my preferred EDC gun is my MILSPEC 1911, that platform does present some annoying problems at times. For example, every time I sit or shift around in one of our church pews, that chunky grip and steel magazine floor plate creates sometimes-startling thumps and bangs. I also find it difficult to carry comfortably and concealed when it’s time to don the cargo shorts. And, much as I hate to admit it, the 1911’s open sights are going to become an increasing challenge as my eyesight dwindles. The STR-9 MC solves the former problem due to its super-compact design while the FastFire C cures the sight alignment aggravation.
Welcome to my new EDC package.

