A practical rifle drill, the Walk Back Drill hones marksmanship skills and speed
by Richard Mann
Shooting drills are what we use to help us learn to shoot through practice and evaluation. They’re critical to the development and sustainment of marksmanship skills. Optimally, a drill allows us to isolate certain core skills to work with, or it offers a more holistic approach to the evaluation of a collection of skills. When it comes to shooting rifles, my most used drill is the Walk Back Drill because it allows for both.
The Walk Back Drill with a rifle is very similar to the Step Back Drill with a handgun because it involves shooting at targets from ever increasing distances. Also, like the Step Back Drill, it focuses on the core fundamentals you need to master, and they include safety and maintenance, stance, grip, presentation, trigger control, and manipulation.
It is always important to exercise safety when shooting, and it is a skill that requires constant reinforcement. So, too, is firearms maintenance, because it’s hard to learn to shoot a gun that does not work properly. Be safe and use a well-maintained rifle, and the Walk Back Drill will help you develop your rifle shooting skills.
The Stuff You Need
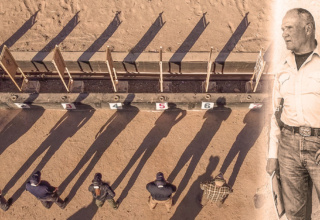
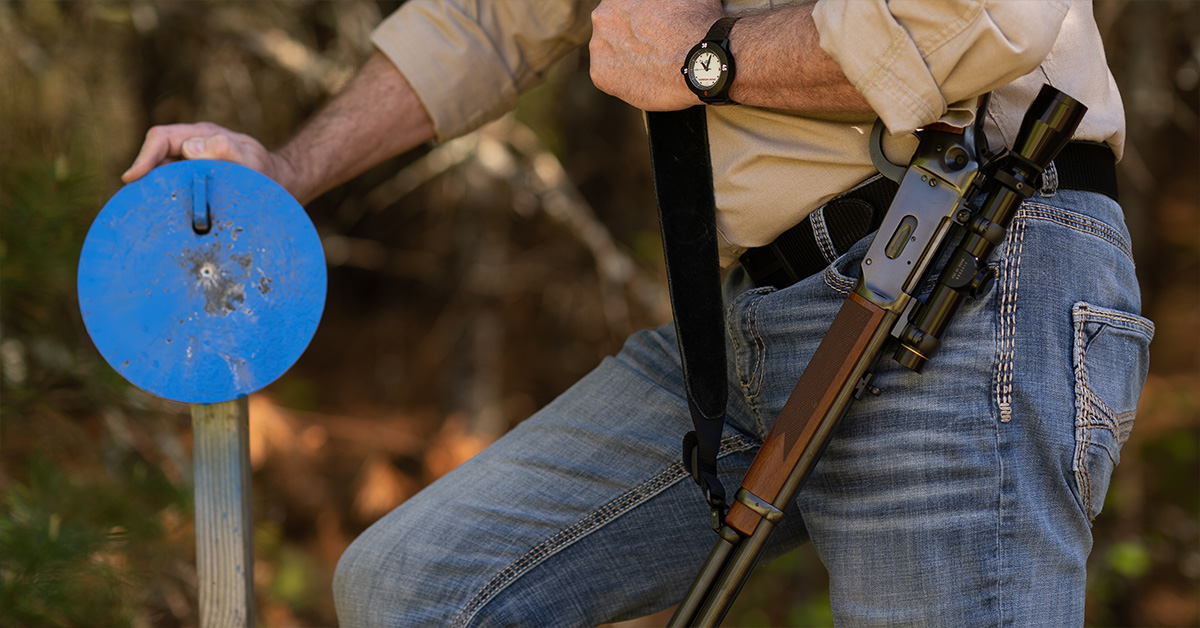
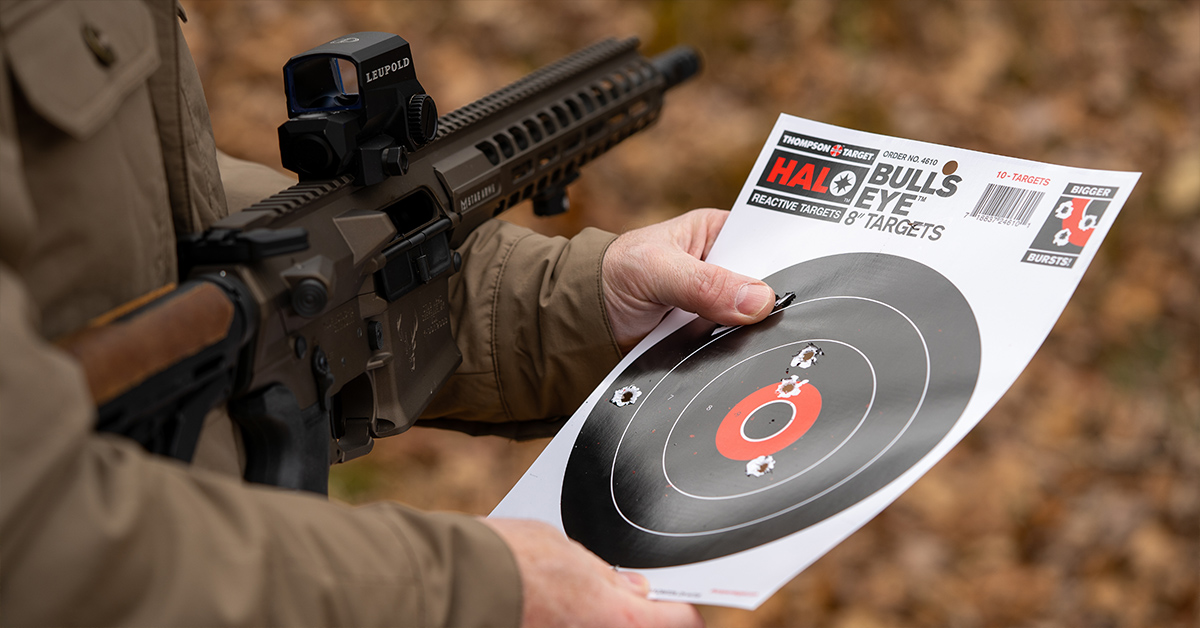
Just like the Step Back Drill, for the Walk Back Drill, you need an eight-inch target. I like to use an eight-inch steel plate as much as possible because it gives immediate feedback and saves time; however, with some stages, the shot distances are too close for steel, so an eight-inch paper target is required. I like the Thompson Targets #R-4610, which is an eight-inch black bullseye target that gives you that splatter effect when hit.
Optimally, you’re also going to need a range where you can shoot from 25 to 300 yards. You’re supposed to start close and walk back to increase the range, but on many public ranges, you’ll have to shoot from one location at targets at ever increasing distances. You’re also going to need your rifle with a sling, at least five rounds of ammo, and a shot timer. If you like to shoot from supports at longer ranges, you’ll need those as well; however, before you begin the drill, you’ll need a chronograph to find your rifle’s maximum practical range.
Set Your Distances
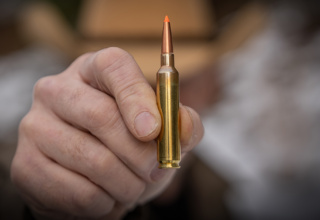
Calculating the maximum practical range of your rifle is easy, and it tells you the distance you can shoot at an eight-inch target without having to worry about holdover. You see, all rifle bullets fall to earth at the same rate. The difference is that some travel further before they hit the ground. Chronograph your load and input that velocity into a ballistic app like the Shooters Calculator with your bullet’s ballistic coefficient. Next, look to see how far your bullet can travel in one third of a second. If you sight your rifle in so the bullet strikes the target three inches low at that one-third of a second distance, the bullet will never be more than three inches above or below your line of sight out to that distance.
The rest is simple. Place one target at that one-third second distance, then divide that distance by two and place another target at that range. This process continues for the other two targets. Divide the second distance by two and place a target there, then divide the third distance by two and place the fourth and final target. If your one-third of a second distance is 300 yards, you should have one target at 300, one at 150, one at 75, and one at 37.5 yards (35 yards is close enough). Most likely, your furthest target will be at about 300 yards or a bit less because that’s about the furthest one-third second distance you can have with most modern rifle cartridges.
Drill Conduct
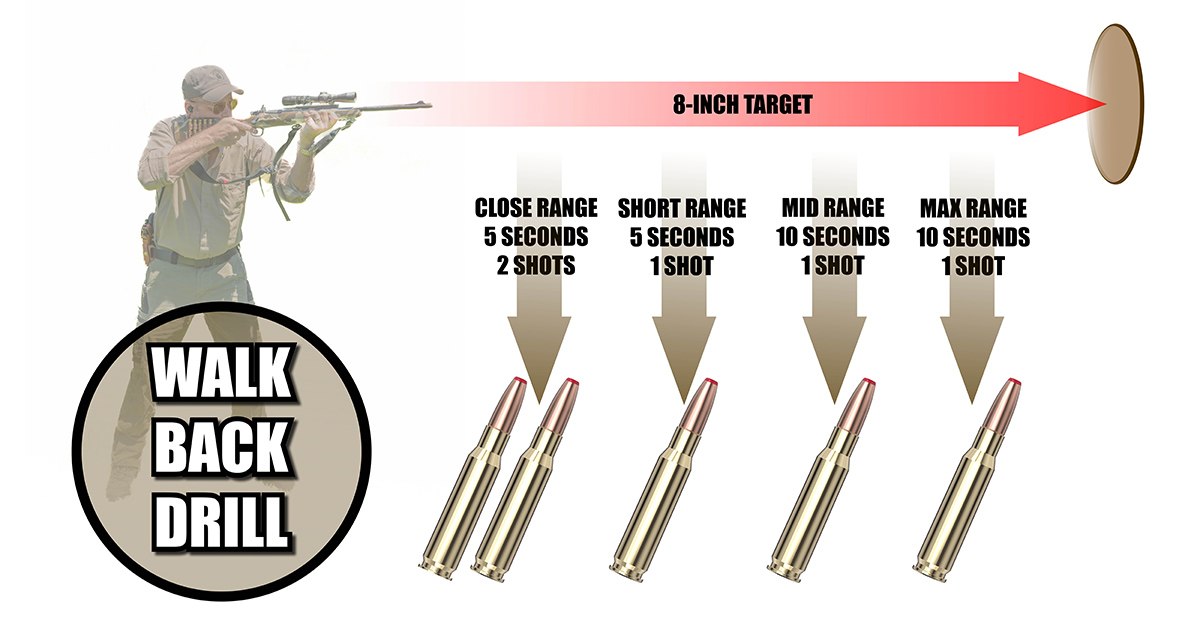
The drill has four stages, and you fire two shots during the first stage, and one shot during each following stage. The goal is to place all your hits on an eight-inch target. The first stage is fired at close range.
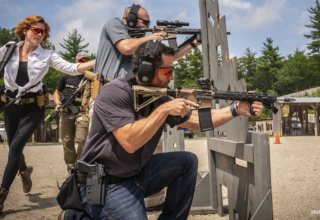
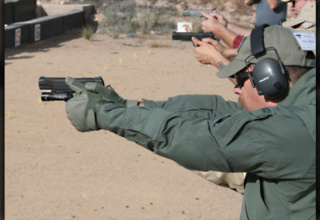
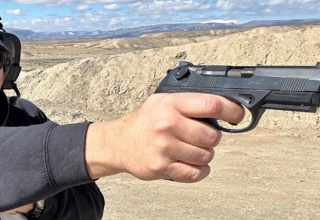
Start with your rifle pointed skyward with the butt of the rifle near your belt line, at what many call “high ready.” On signal from the shot timer, shoulder your rifle and fire two shots at the closest target.
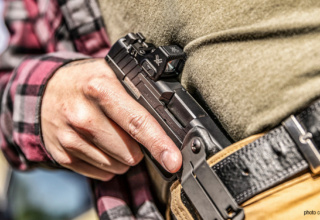
For the second stage, walk back, doubling the distance from the first target, or switch to the second or short-range target. Start this stage with the rifle slung on whichever shoulder you prefer or, if you’re using a single point sling, the start position is with the rifle hanging on your chest. On signal from the shot timer, shoulder your rifle and fire one shot.
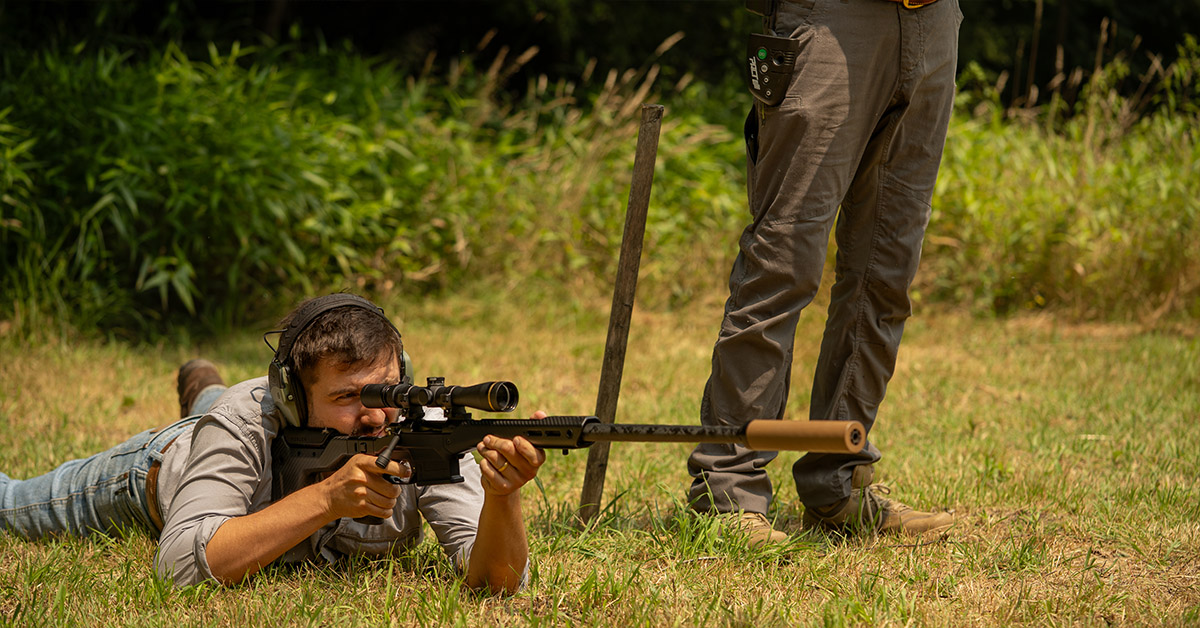
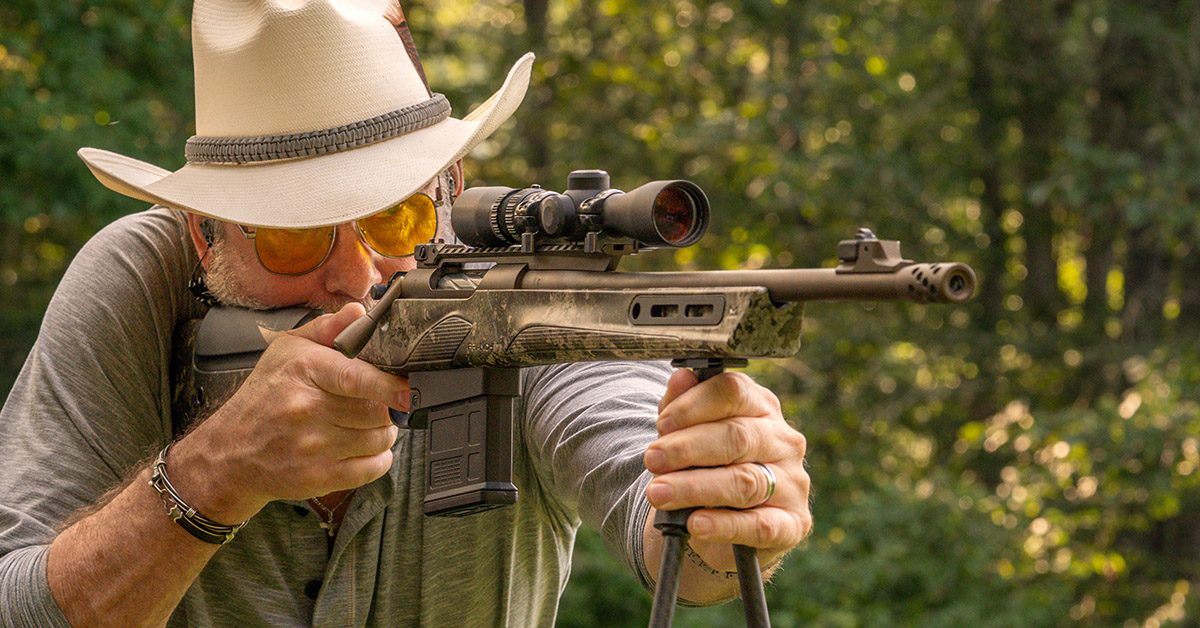
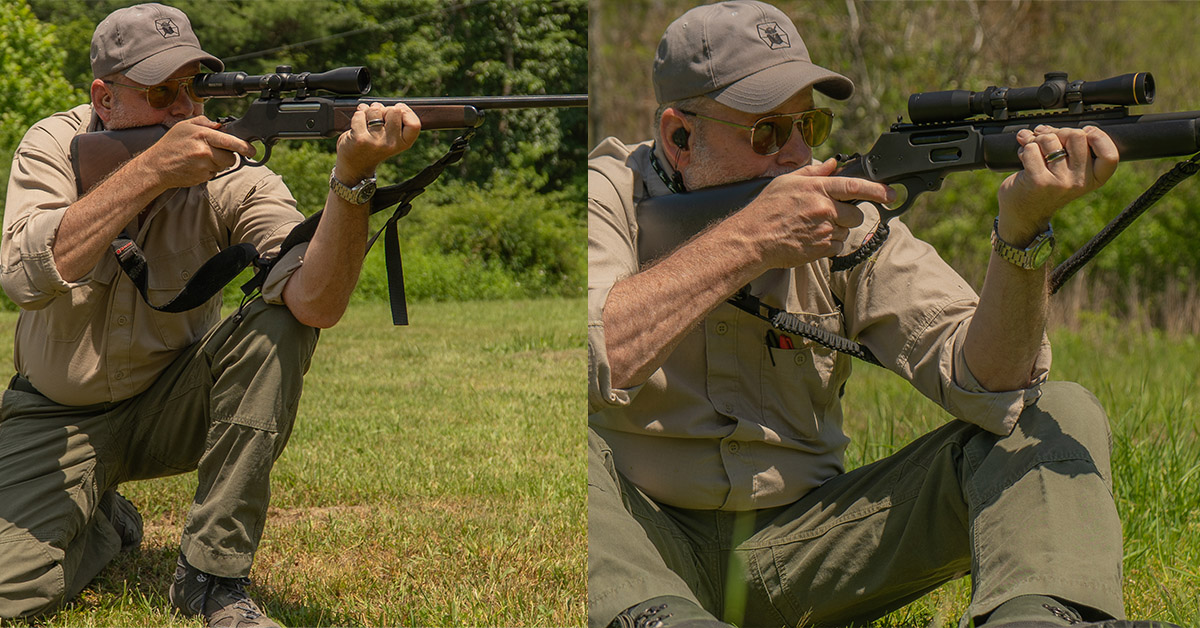
For the third stage, walk back, again, doubling the distance or switch to the mid-range target. Start this stage with the rifle held at your side in either hand. On signal from the shot timer, fire one shot. Depending on your maximum practical range, the mid-range shot should be between about 100 and 150 yards. This should be a shot you can make from off-hand, either standing, kneeling, or seated, but you have the option of using a support such as a bipod or tripod. If you use a support, start with the support in one hand and your rifle in the other. The fourth stage is fired at long range and the stage is conducted just like the third stage.
Scoring the Drill
The purpose of shooting is hitting, and if you miss any shot you fail. If you get all your hits, you simply add the four times together. The faster the total time, the better.
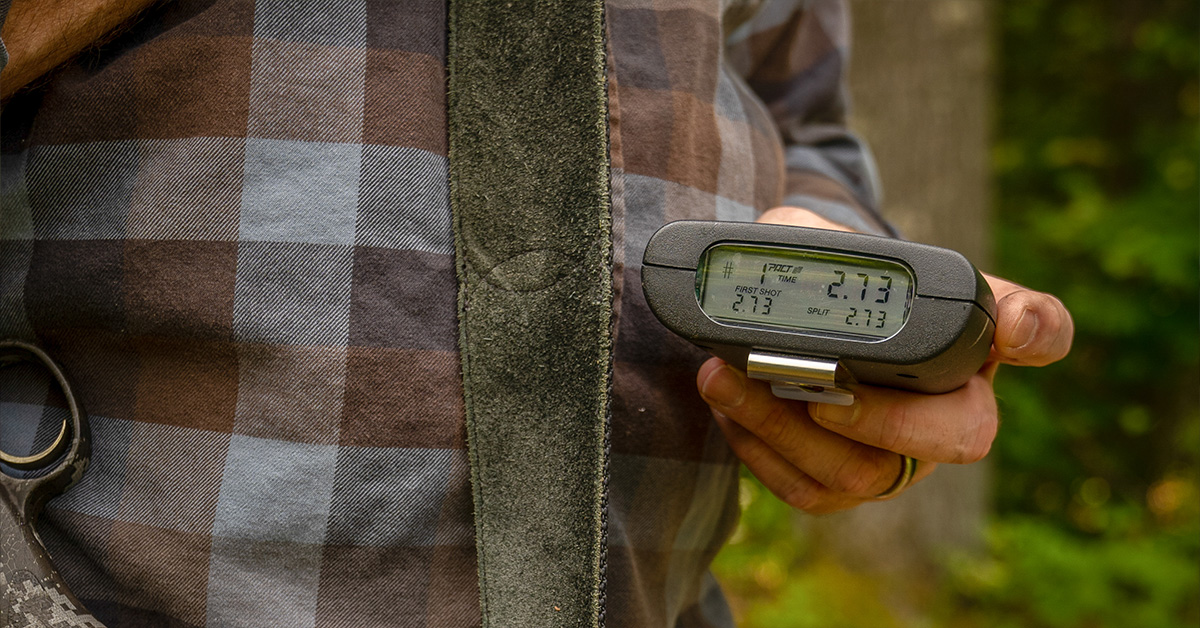
The goal is five hits in less than 30 seconds. Broken down by stage, optimally, you’d get the two hits at closest two ranges in less than five seconds each, and the hits at the mid and max ranges in less than 10 seconds for each. Unlike some drills or qualifications with different performance levels, it does not apply to the Walk Back Drill. Faster is always better, but what’s more important is your ability to shoot the drill from less stable positions.
Training With the Walk Back Drill
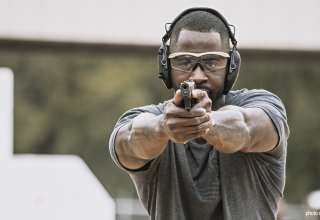
The primary goal when training with the Walk Back Drill is to learn to get your hits from the more difficult positions. Ultimately, you want to be able to get your hits without the use of shooting supports. You should be able to hit the first and second stage targets from the standing off-hand position. The shot at the third target might initially require you to kneel or sit, but with practice you should be able to make a shot on an eight-inch target out to about 150 yards from the standing off-hand position.
When you first start working with the Walk Back Drill, you might want to take several shots for each stage to get an average time, and you may need to take the two furthest shots with some sort of support. That’s fine; repeating a single stage is good practice, and when using supports, the time constraints are there to help you learn to deploy and use them quickly. With practice, though, the goal is to be able to make those longer shots without support. As you work through the drill, over time you’ll learn what positions you need to shoot from at various distances. This is invaluable information to have when in the field.
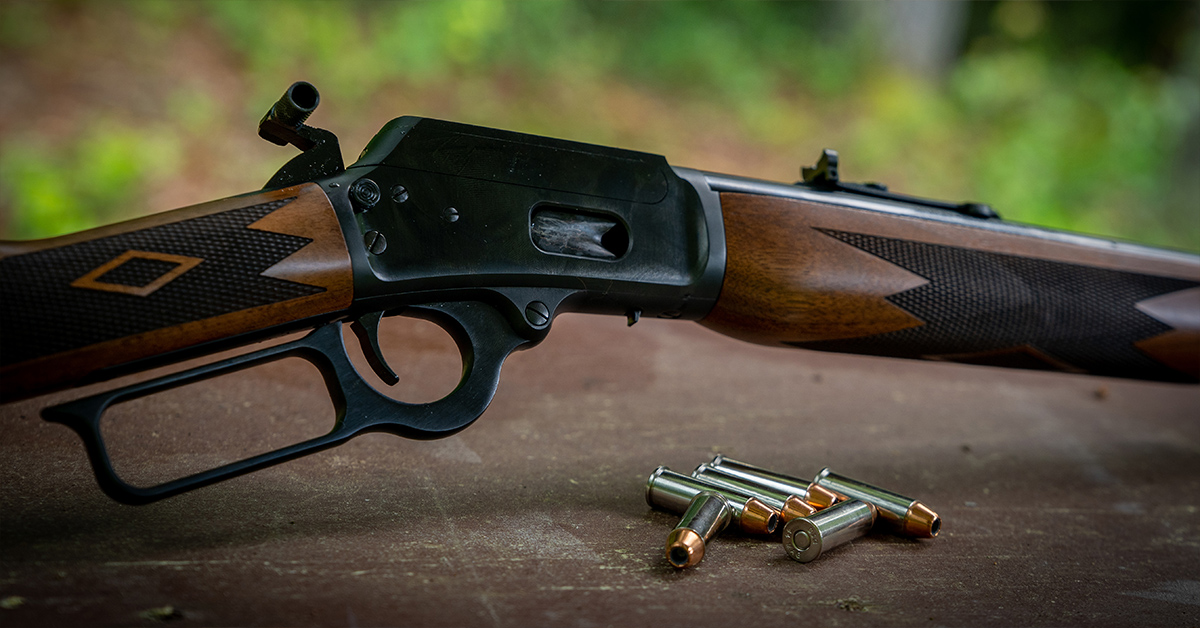
The “Any Rifle” Drill
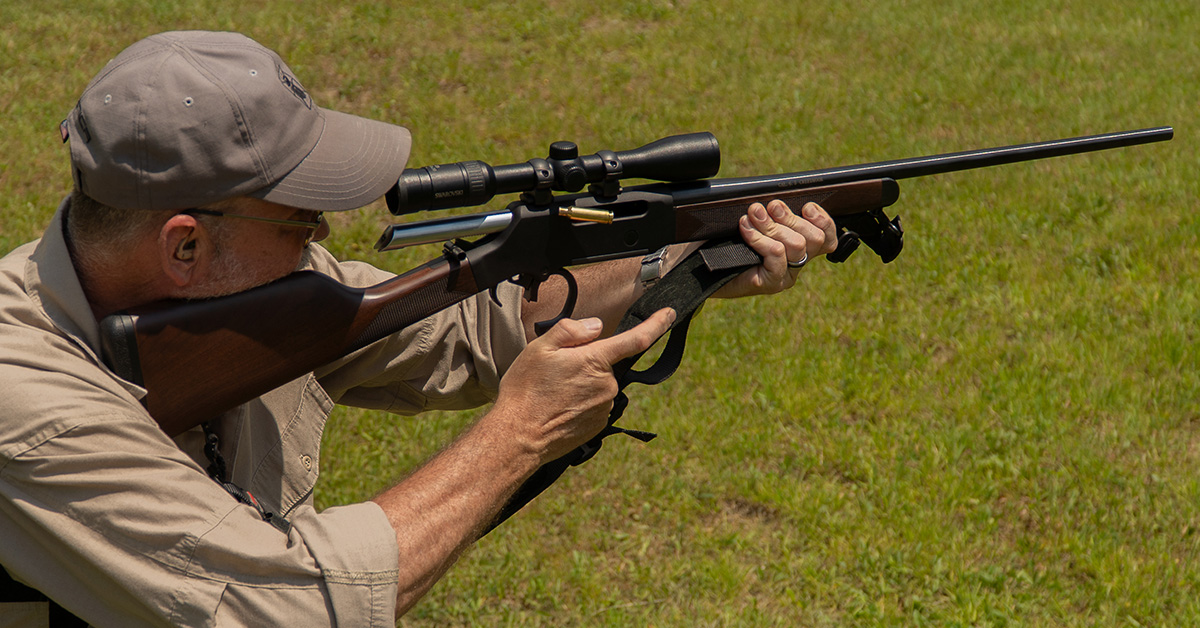
Since shot distances are determined by a rifle’s maximum practical range, this drill will work just as well for open-sighted lever guns as it does for scoped bolt-actions. For example, with a .30-30 Winchester, your four distances will be about 25, 50, 100, and 200 yards. With a .44 Magnum lever gun, you’re looking at about 20, 40, 80, and 160 yards. And finally, with a 6.5 Creedmoor, the distances to the targets would be around 35, 70, 140, and 280 yards.
Of course, you can alter the distances to the targets to best suit your shooting and hunting or even positional needs. If you expect you might need to shoot at 500 yards, your target distances could be 500, 250, 125, and 63 yards. Feel free to modify the drill to best suit the situations you want to train for, and it will help you become a better rifleman.
- The 25 RPM: Weatherby’s New Quarter-Bore - June 22, 2026
- Cooper Laid the Foundation… - June 9, 2026
- Silencer Central’s Banish 30 V2: A General Purpose Suppressor - May 29, 2026