Pump-action shotguns often get short shrift when it comes to routine maintenance, but proper cleaning and lubrication, done regularly, will ensure peak performance when you need it. Here, we break down the process for the ever-popular Mossberg 500/590 models.
by Rob Reaser
The Mossberg is the most popular shotgun in the country for general-purpose hunting and personal/home defense. The 500 and 590 models (mechanically identical) are solidly built, ultra-reliable, and have proven themselves in the woods, on the streets, and in martial engagements around the world. Tough as they may be, though, the 500s and 590s, like any firearm, require periodic attention to ensure on-demand performance.
Too many folks, unfortunately, tend to give handguns and rifles more TLC than they do their pump-action shotguns. But just like firearms that guide single bullets downrange, shotgun barrels can also suffer from fouling buildup and corrosion in the barrel bore as well as an accumulation of dirt, powder residue, and grit in the operating mechanisms. The “It’s a shotgun so why bother?” mentality just doesn’t cut it.
Disassembling the Mossberg can seem like a daunting task for someone who has never run through the process. Here, our goal is to cure that anxiety and walk you through each step so that you can keep your shotgun ready for action.
[Obligatory Safety Warning: Be sure to remove all ammunition from your magazine tube, receiver, and chamber before working on your shotgun.]
Barrel Cleaning
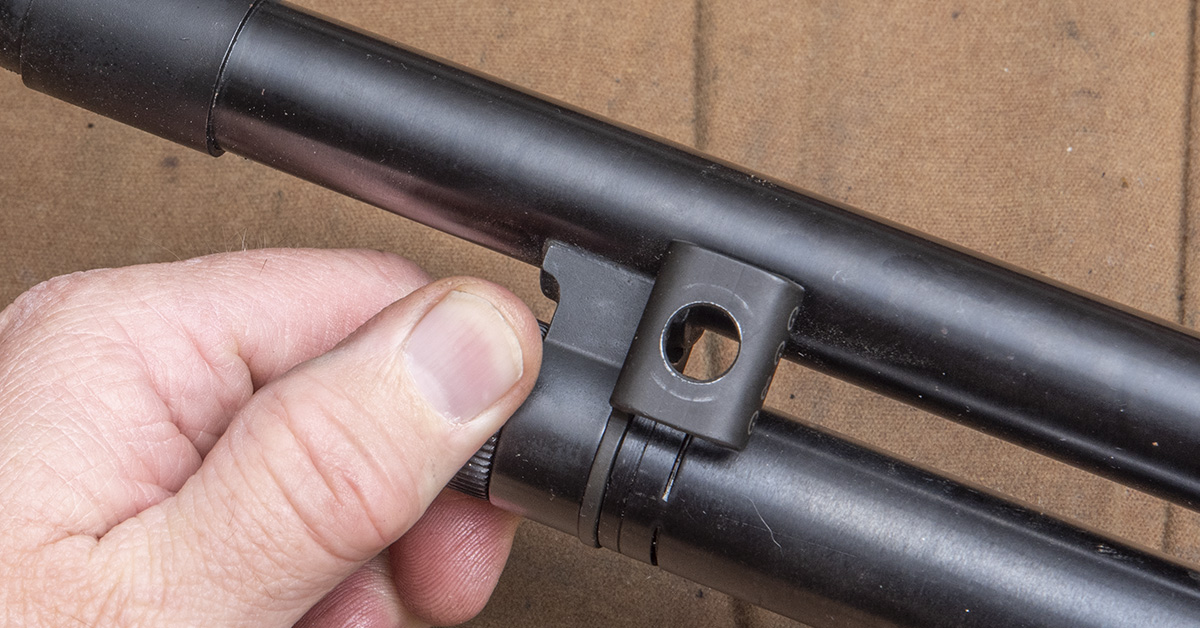
Once the shotgun is cleared of ammunition, be sure the safety is in the safe position and pull the action rearward so that the front of the bolt is aligned halfway in the ejection port. Unscrew the magazine cap and then remove the barrel from the receiver.
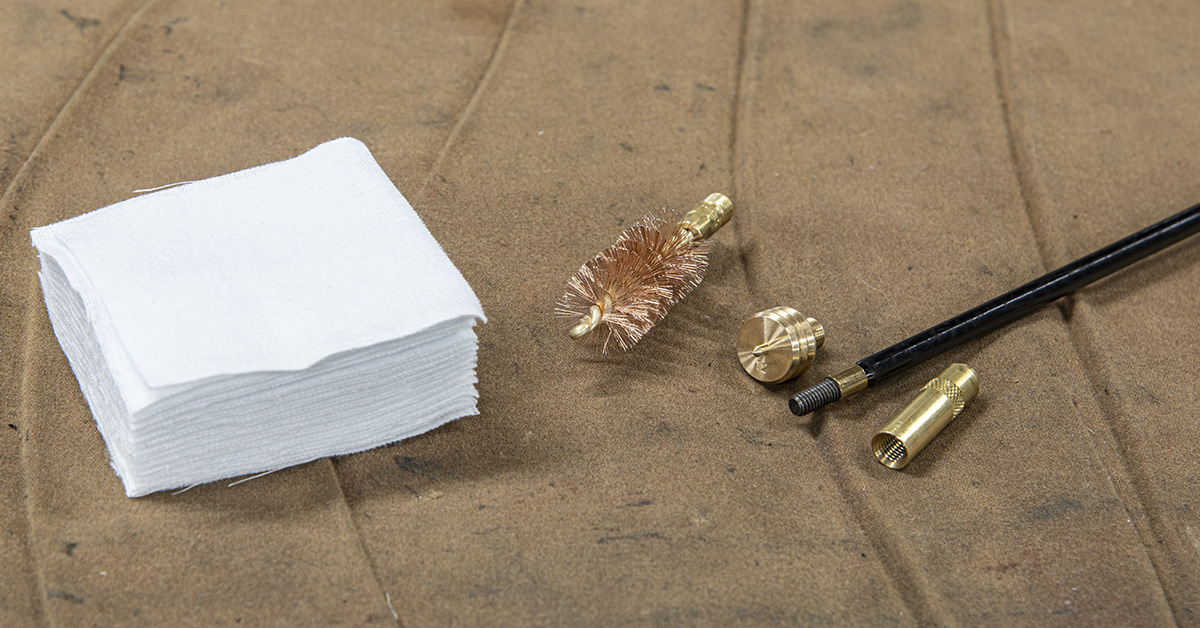
Tools and materials required for barrel cleaning are few. My preference is to use a jag and brush for maximum cleaning effectiveness rather than the old-school mop or patch loop. The brush is essential for removing stubborn lead smear in the bore and the jag, wrapped in a quality cotton patch, can’t be beat for dispersing solvent and removing loosened fouling. Both brushes and jags are gauge-dependent, so get a 12-gauge set for your 12-gauge, 20-gauge set for a 20-gauge, and so on.
As for the cleaning rod, you can’t go wrong with a nylon-coated J Dewey rod of the appropriate length for your barrel. I use my .30-caliber rifle rods to clean shotgun barrels.
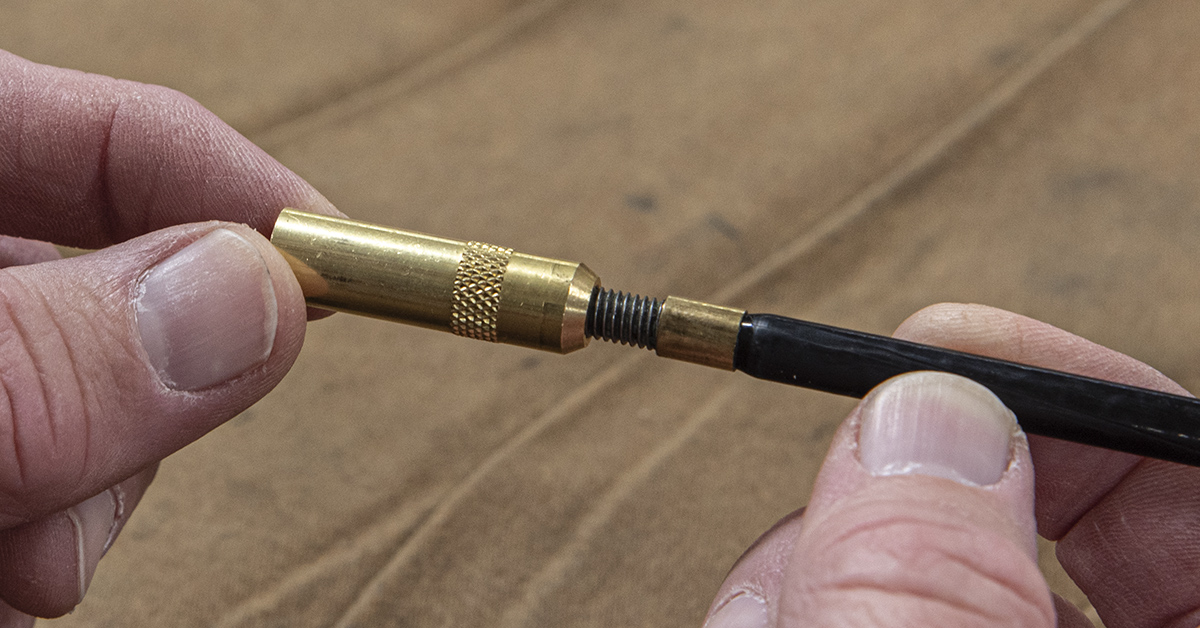
Because shotgun cleaning rod accessories feature wider-diameter threaded shanks, a J Dewey SBA adapter is needed. This adapter screws onto the cleaning rod and, in turn, accepts shotgun rod accessories.
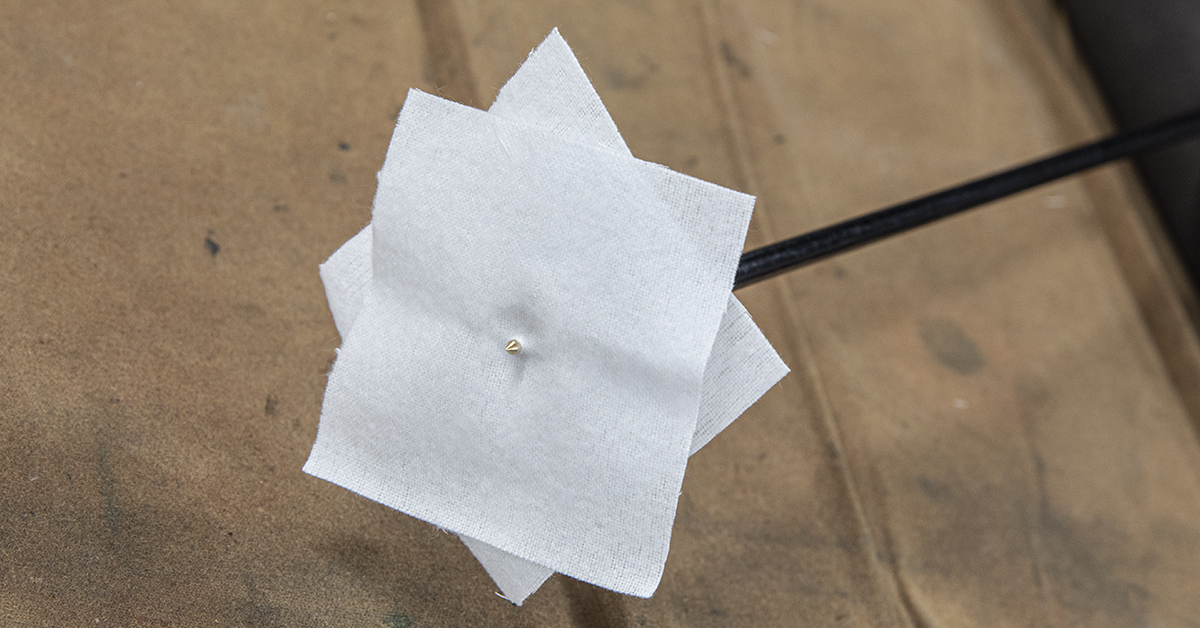
For cylinder bore 12-gauge barrels, two 3-inch cotton patches work well. I like to offset the patches for maximum bore coverage and then place them on the end of the piercing jag.
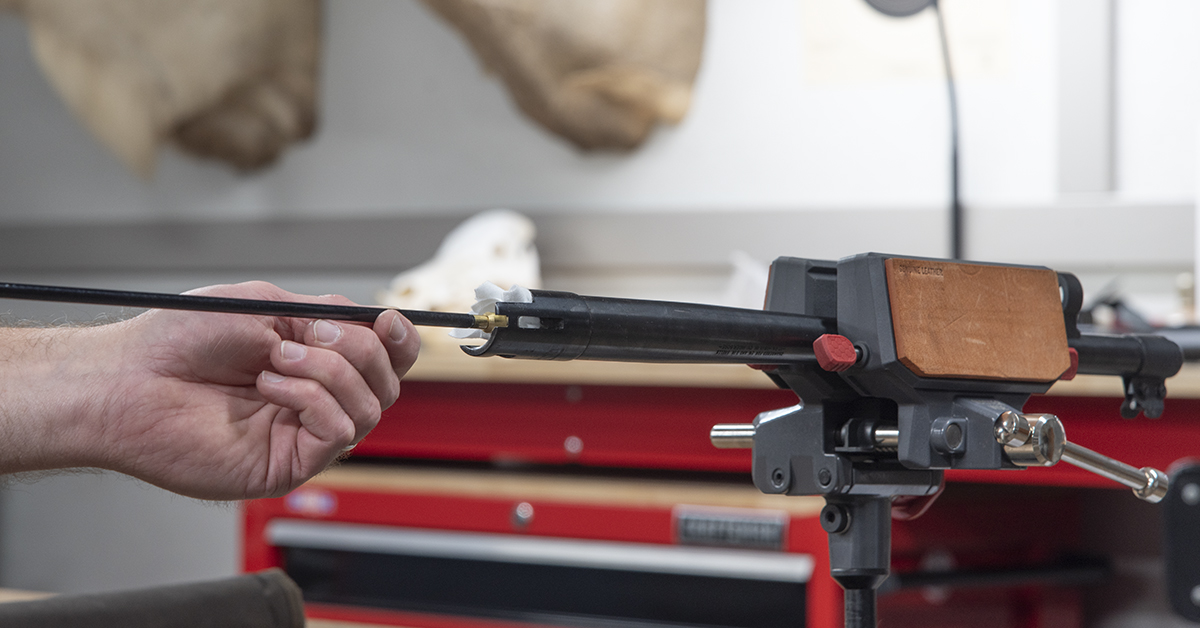
Barrel cleaning is made much easier if you support it in a bench vise. I like the Real Avid Master Gun Vise because of its multi-position design and the range of modular vise jaw sleeves that let you pick the best jaw sleeve set for the task. Here, I am using the back side of the Smart-Jaws Soft-Fit since its horizontal groove provides optimal grasp of the barrel.
With the barrel supported in the vise, the cotton patches are saturated with Hoppe’s #9 solvent and pushed through the barrel. I do this once more with another saturated patch to ensure solvent covers the entire barrel bore.
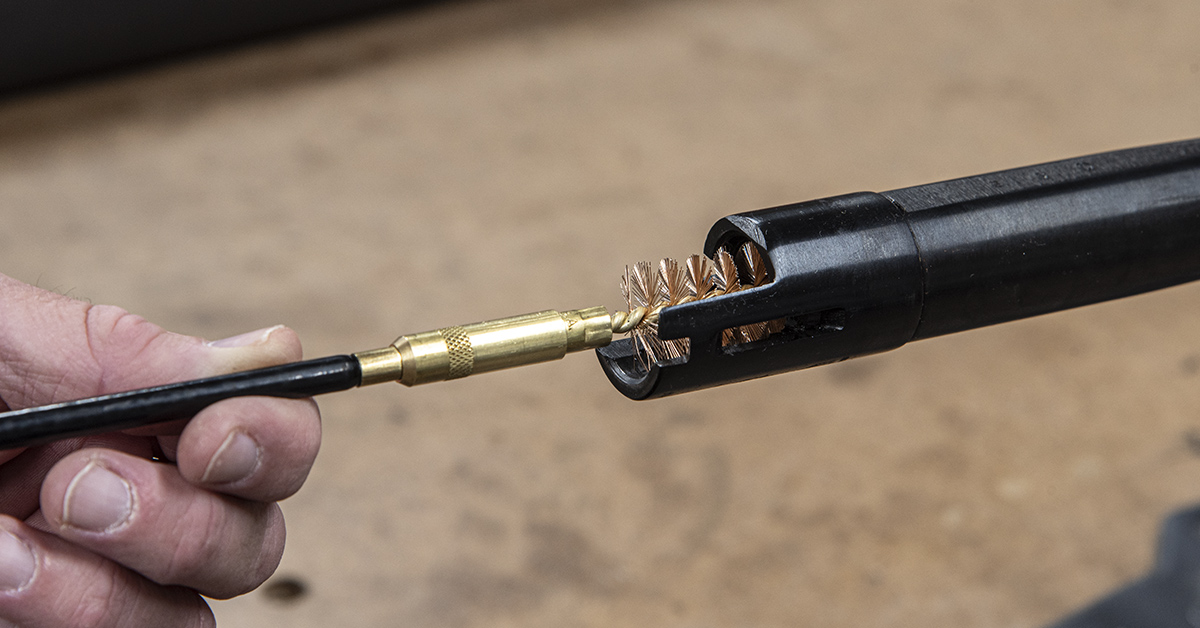
After allowing the solvent to sit for about 10 minutes, the jag is replaced with the bore brush. Apply solvent to the bore brush and run the brush through the barrel, starting from the chamber end, and out the muzzle. Once the bristles clear the end of the muzzle (to prevent the brush getting stuck in the bore), pull the brush back through the barrel and out the chamber end. Repeat this about 10 times.
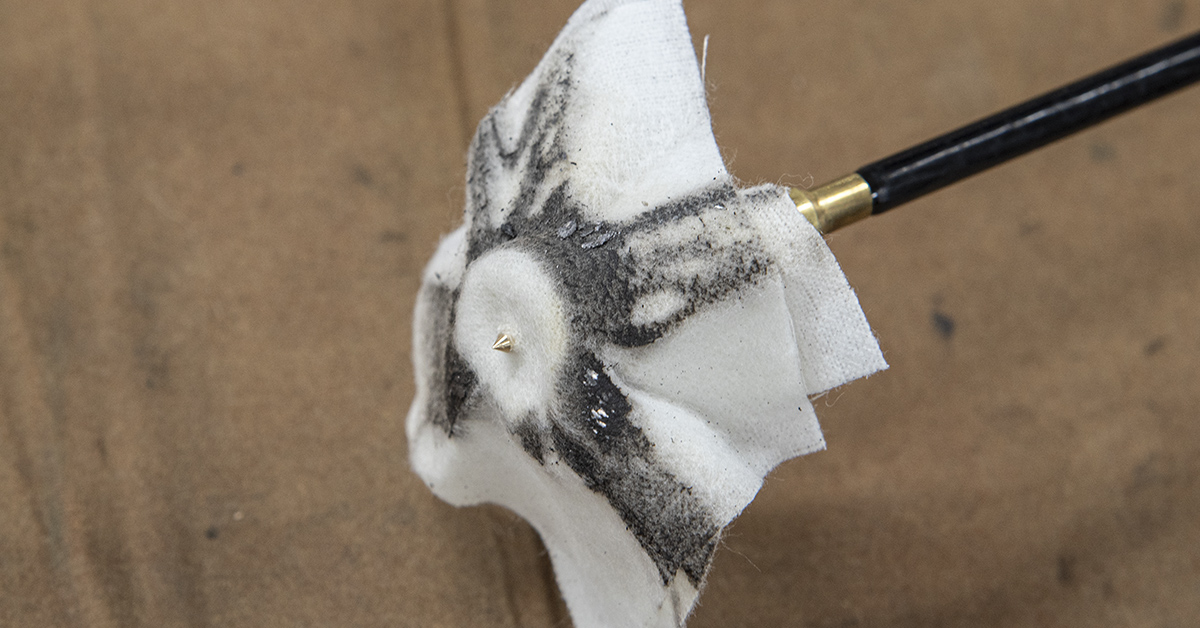
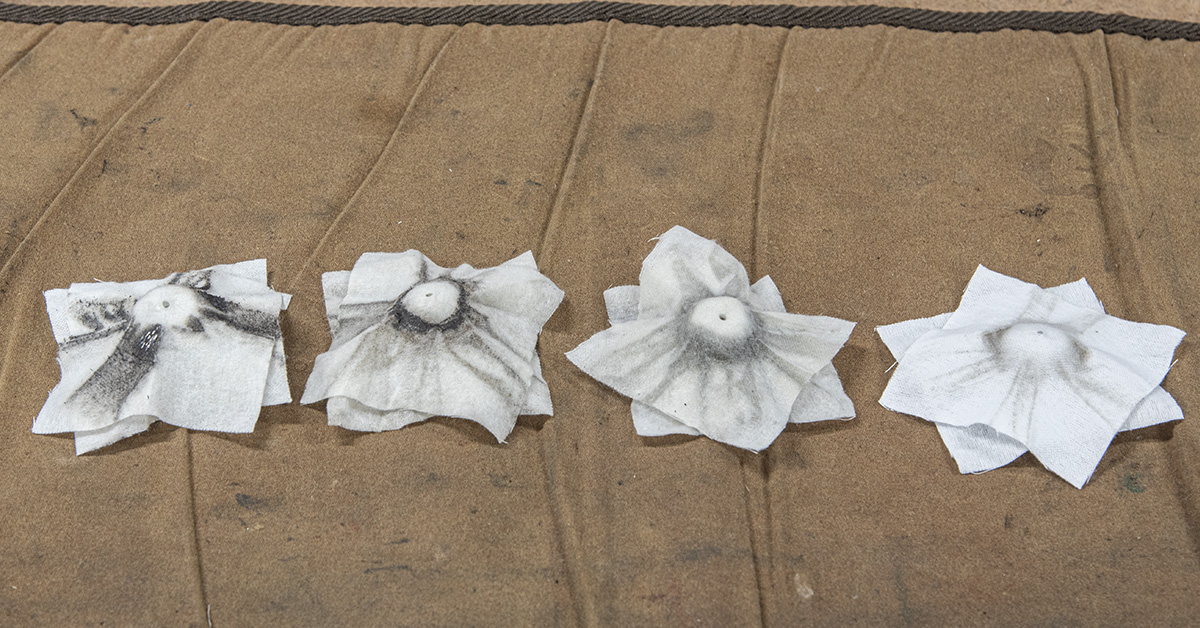
Returning back to the jag, run a solvent-saturated patch through the bore to lift out the gross fouling that the solvent and brush have loosened from the bore. Here you can see the copious amounts of lead smear that was stuck inside the bore. This lead is a result of shooting unplated #00 lead buckshot and Foster-style lead slugs during ammo testing and defensive shotgun training.
Continue this cleaning process until your patches come out clean and finish by running a clean, dry patch through the bore. Lastly, lightly lubricate a patch with the gun oil of your preference and run this down the barrel to coat the bore and protect it from corrosion.
Disassembly
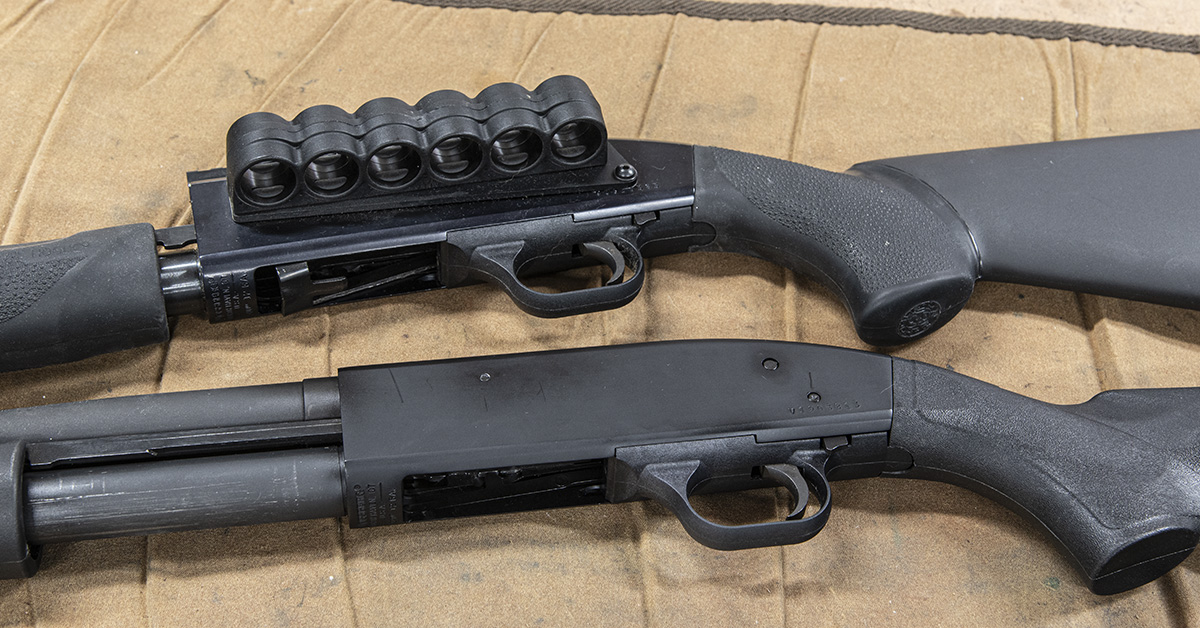
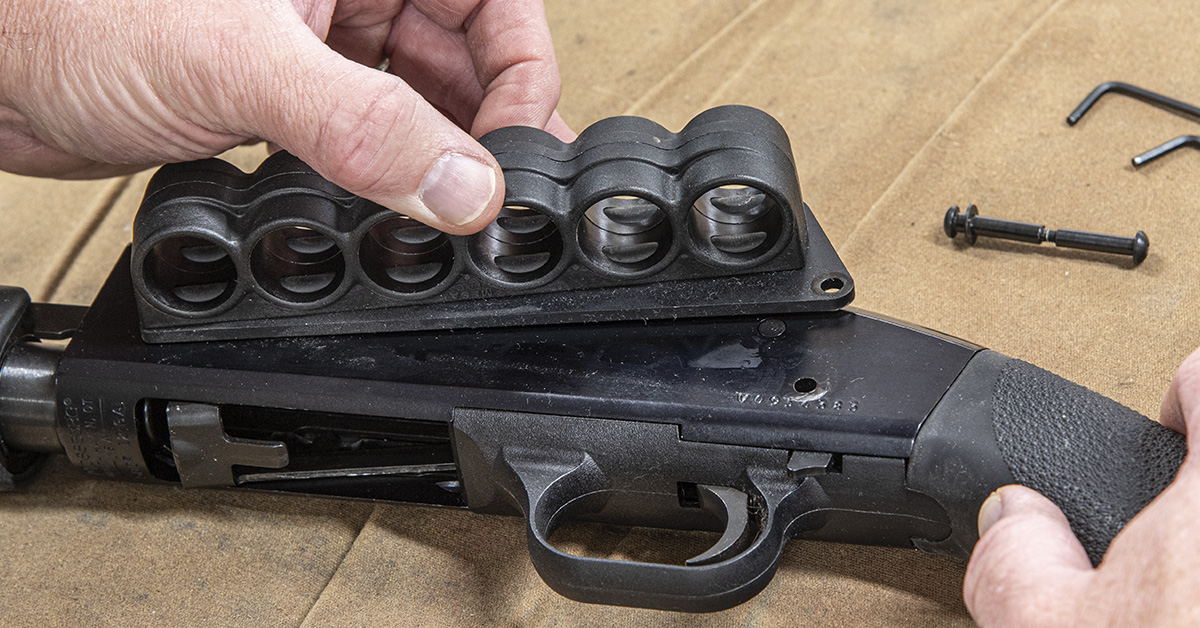
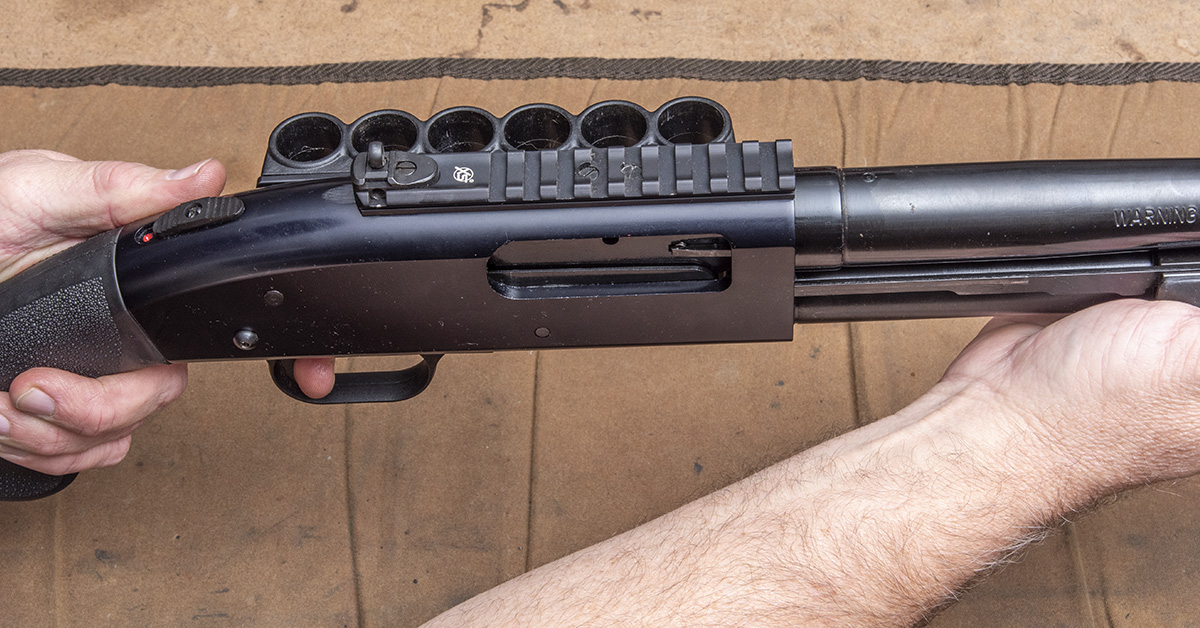
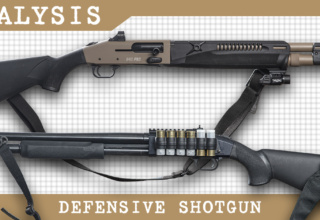
As mentioned earlier, the Mossberg 500 (top) and 590 (bottom) differ only in a few areas but are identical in terms of internal component operation and assembly. This 500 has a Mesa Tactical shotshell carrier attached to the receiver, which means it must be removed in order to remove the trigger group. With an unmodified 500 or 590, the trigger housing pin is clear to be pushed out.
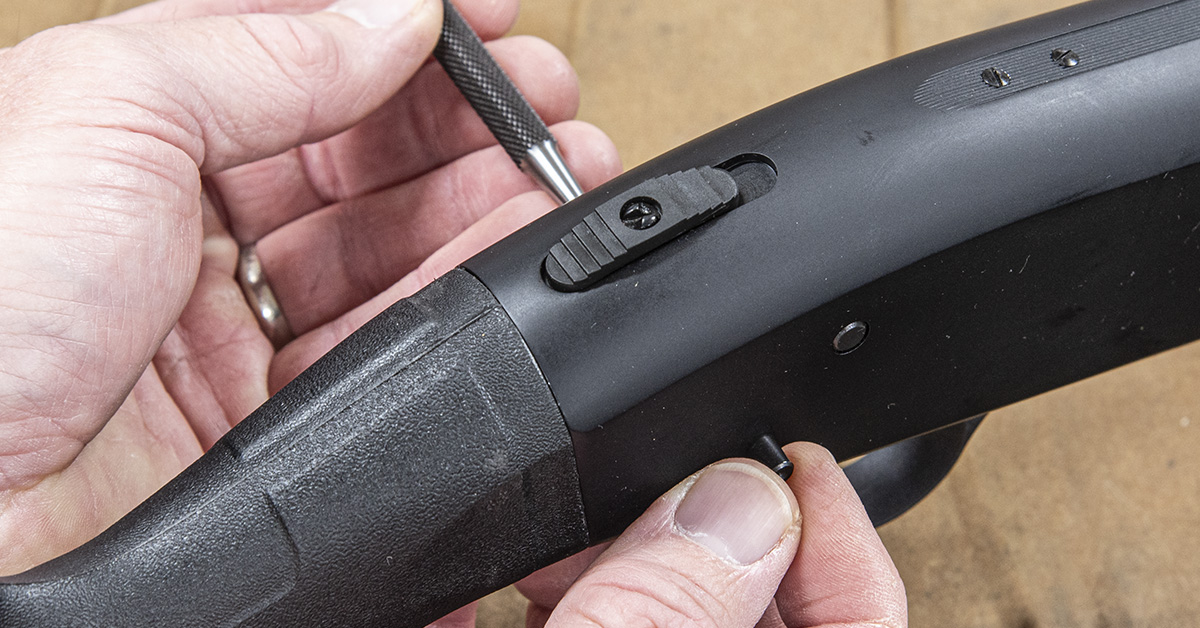
With the safety in the safe position, use a 5/32 punch to push out the trigger housing pin from the receiver, pushing from left to right.
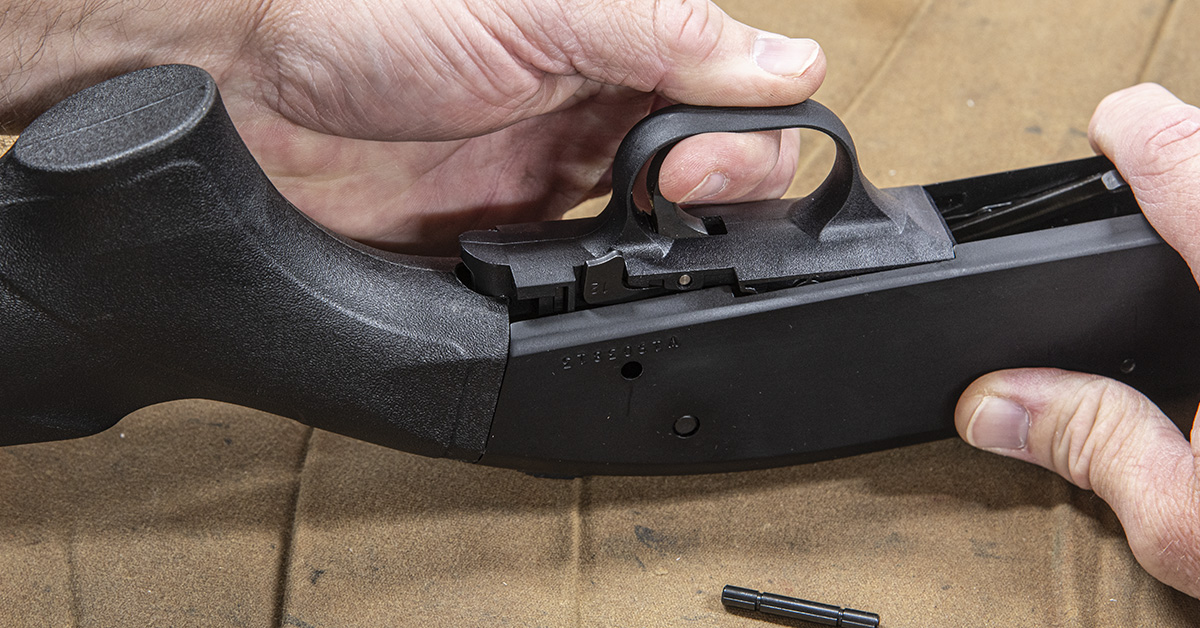
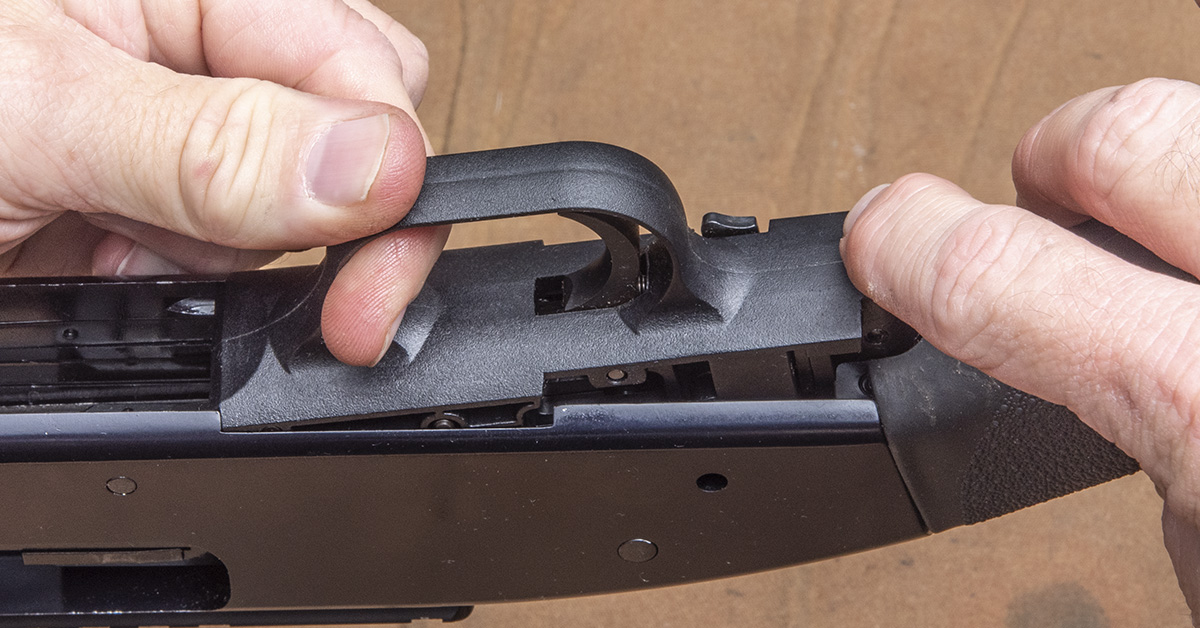
The trigger housing can now be lifted, back end first, from the receiver.
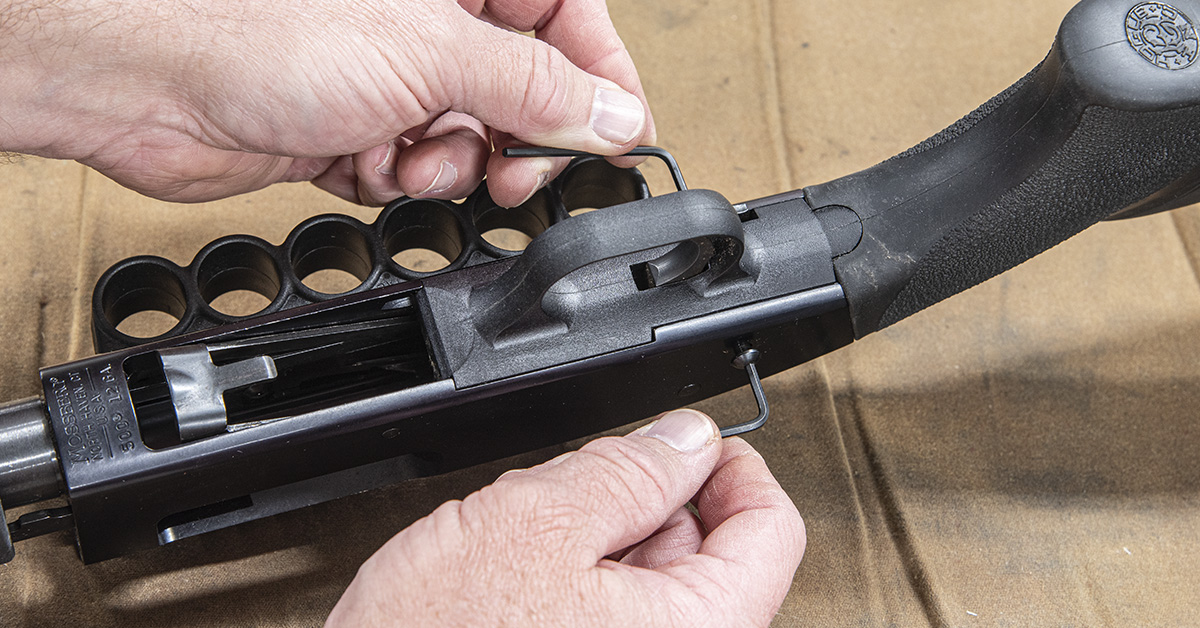
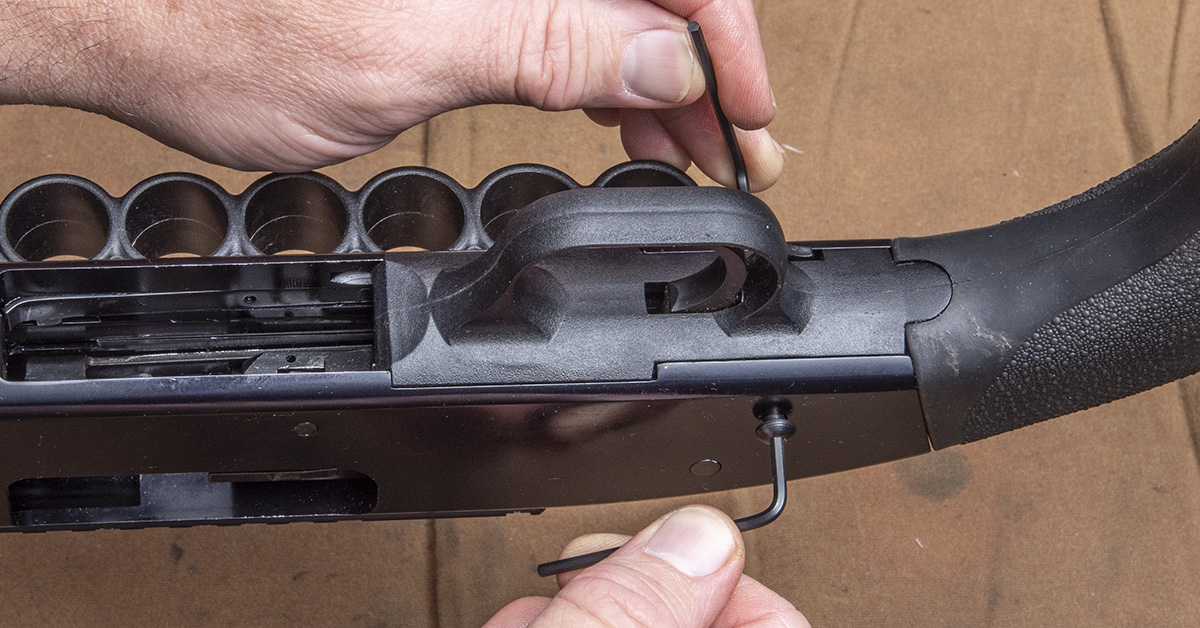
On shotguns with a Mesa Tactical shell carrier that replaces the original trigger housing pin, the Chicago screws must be separated with two small Allen wrenches.
With the Chicago screws removed, the shell carrier can be removed and the trigger housing pulled from the receiver.
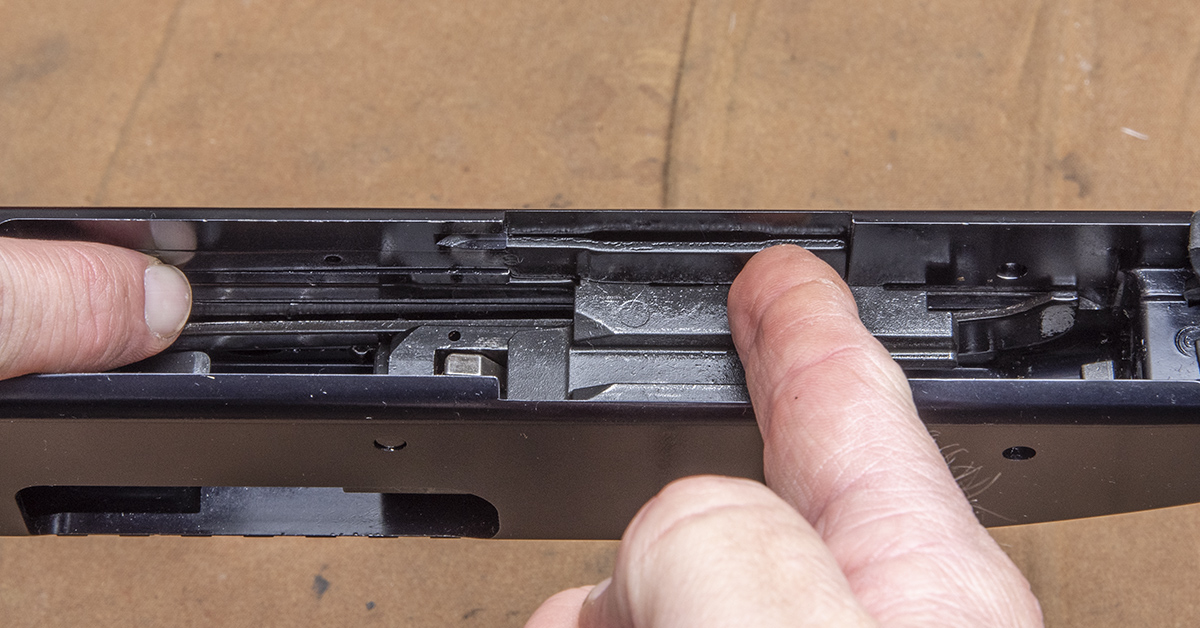
The cartridge stop sits in a recess in the left side of the receiver. If it hasn’t already fallen out, remove it from the receiver.
Similarly, remove the cartridge interrupter from its recess in the right side of the receiver.
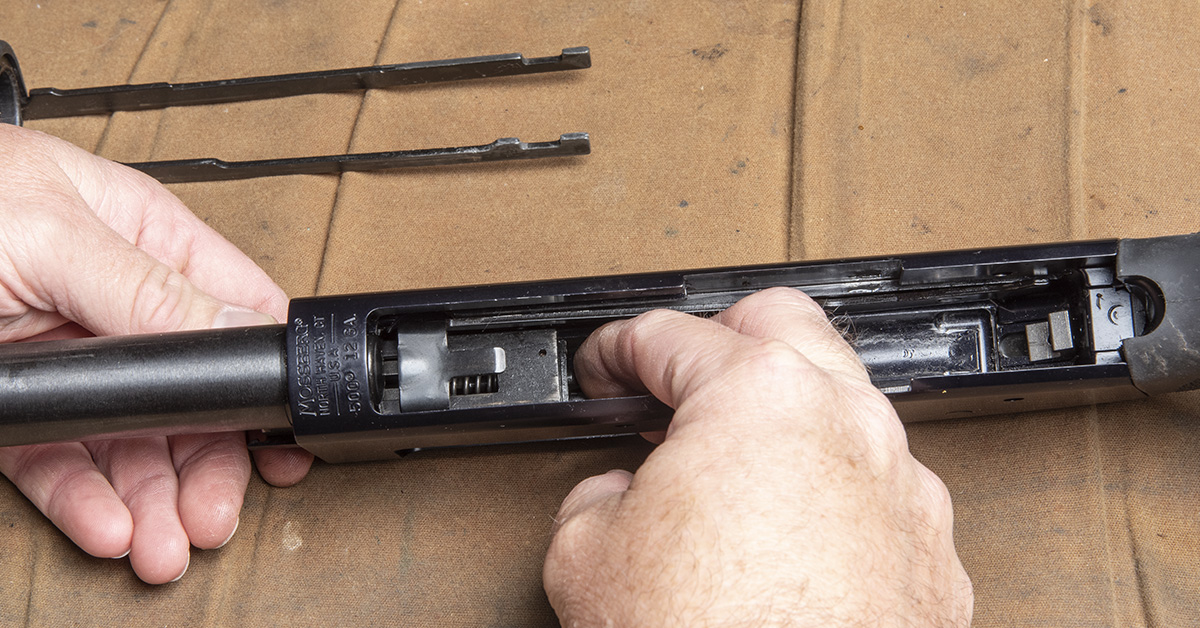
Lift the bolt slide out of the receiver.
Pull the action slide assembly from the receiver and off the magazine tube.
Lift the elevator and push the bolt forward and out of the receiver.
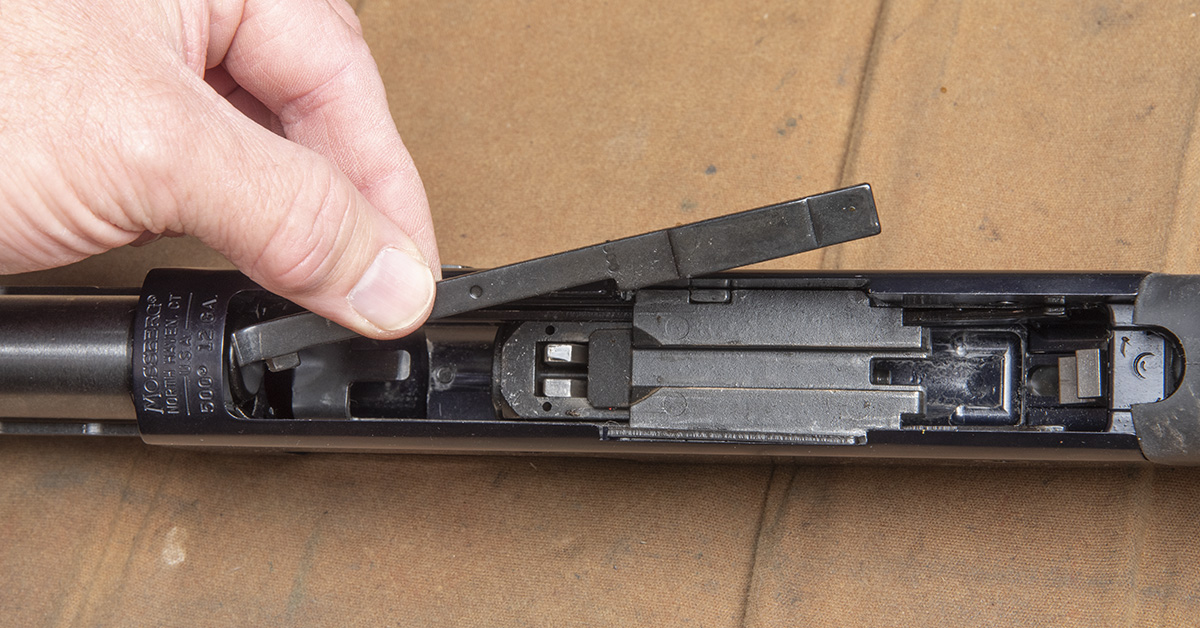
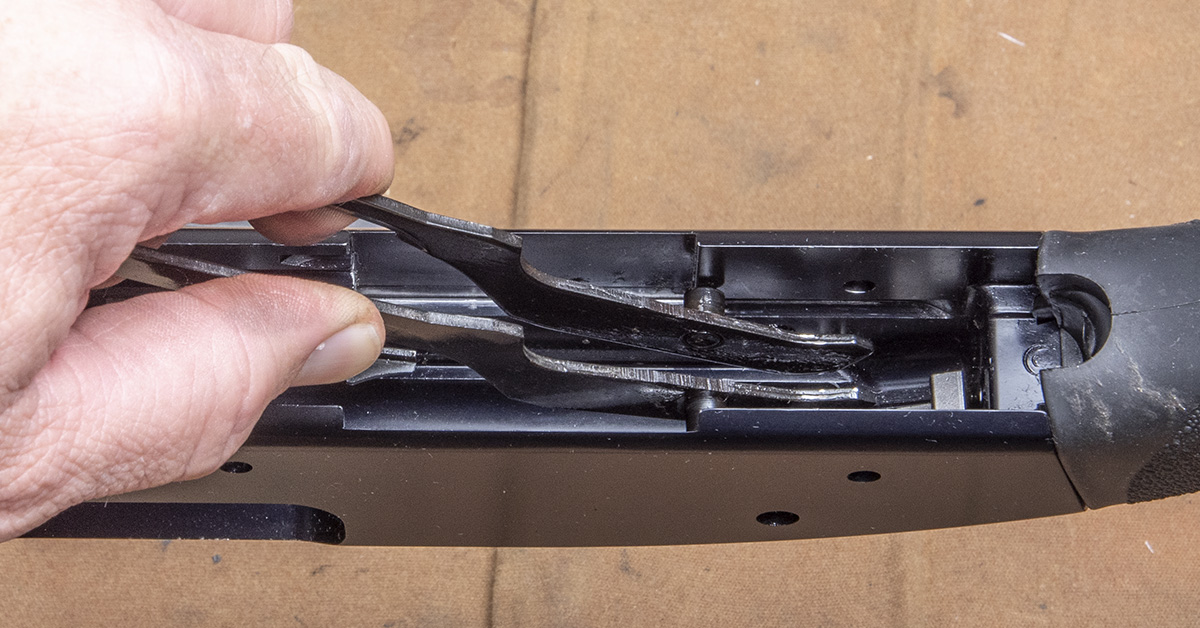
Remove the elevator by squeezing the two arms until they move out of their respective holes in the receiver. The shotgun is now fully disassembled for cleaning.
Cleaning and Lubrication
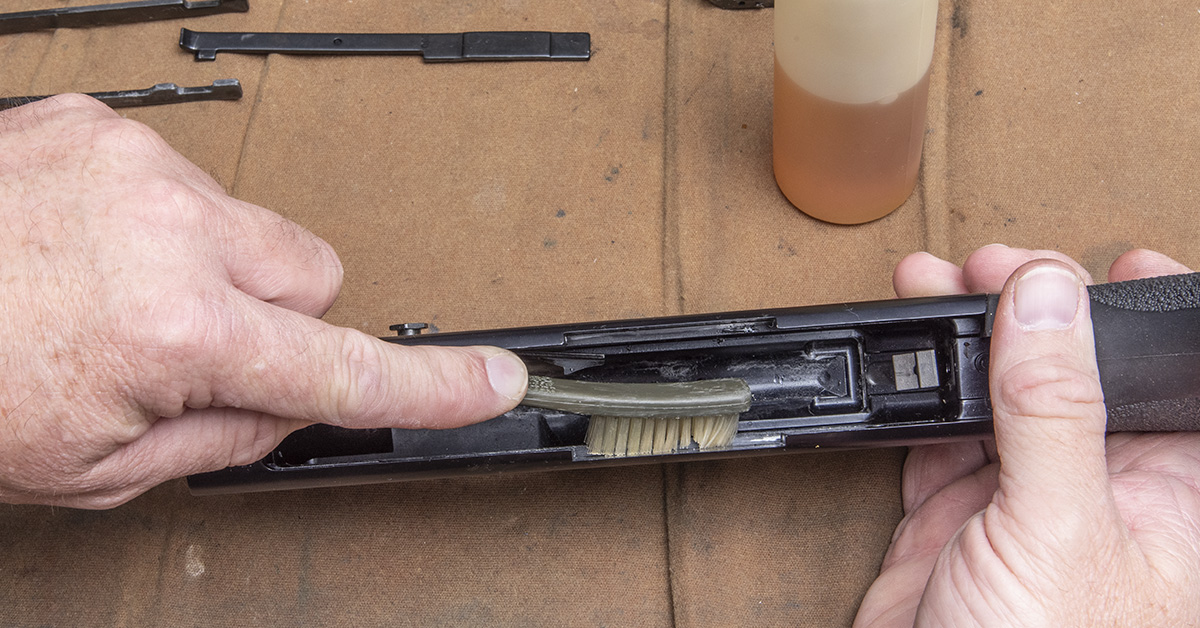
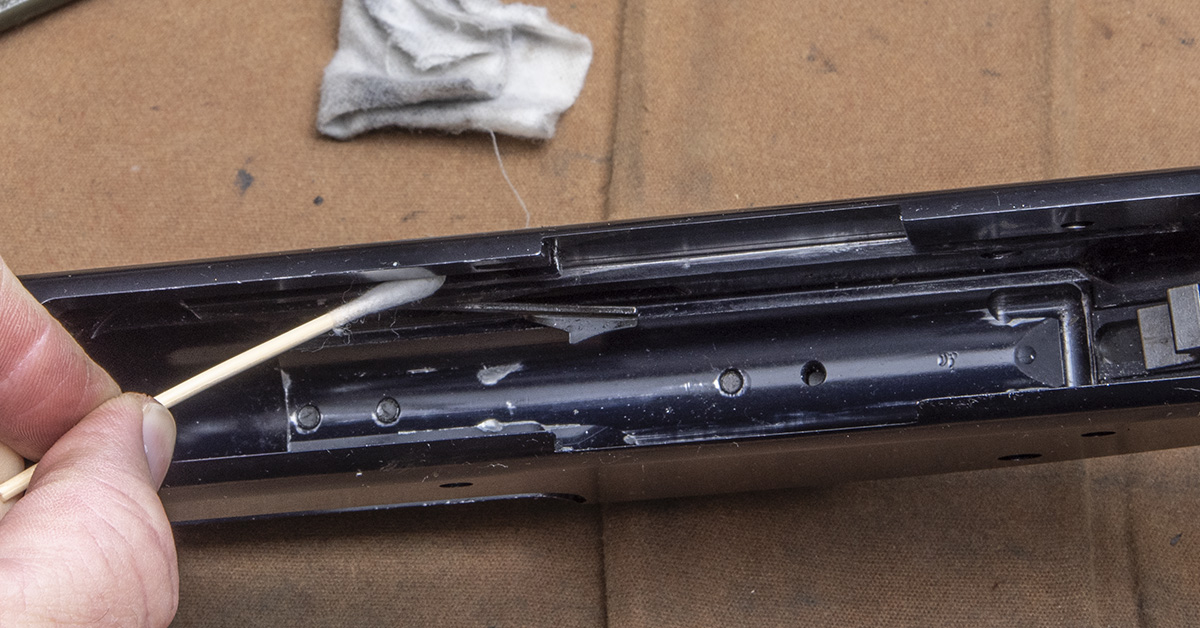
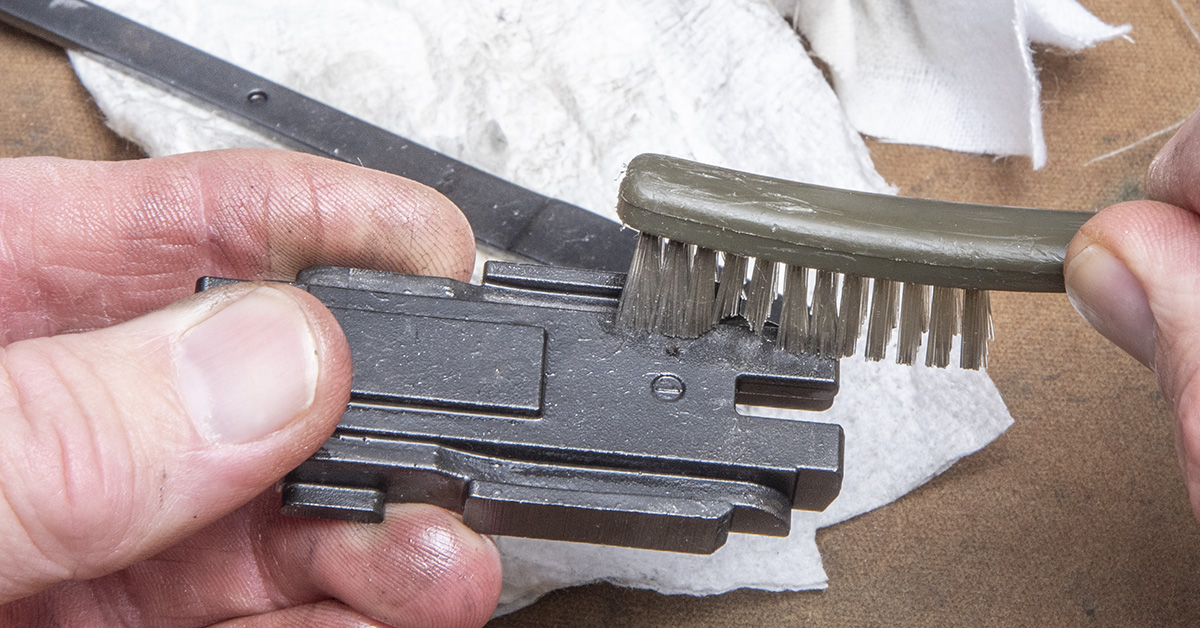
What’s good for the barrel is good for everything else! A nylon gun cleaning brush wet with Hoppe’s #9 solvent is the best way to scrub clean metal parts and especially those hard-to-reach areas inside the receiver.
To get crud out of those tight corners, a wooden gun cleaning swab can’t be beat.
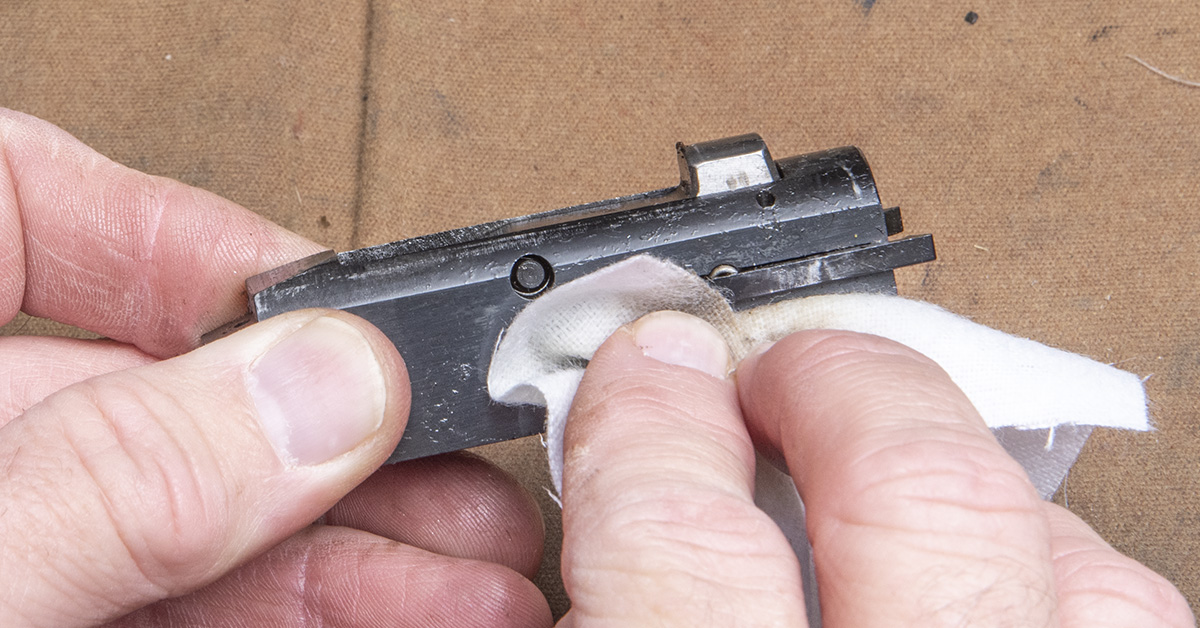
The Mossberg 500/590 bolt does not have to be disassembled for routine cleaning. You can, if you wish, but the dual extractors are a major pain to reinstall. I suggest simply cleaning the bolt with a solvent-saturated patch and leaving well enough alone.
All remaining parts (not including the trigger housing) can be wiped or scrubbed clean with solvent.
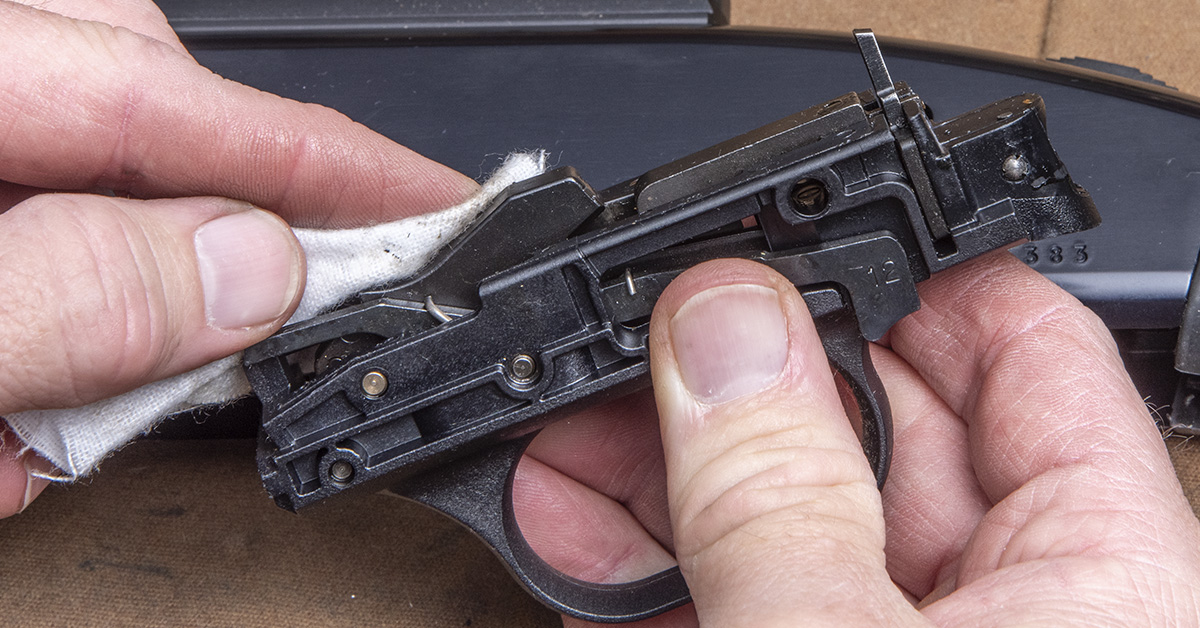
The trigger housing assembly is another item you don’t want to mess with. Wipe away any dirt and debris as best you can and that will be good enough. Be careful when handling the trigger housing that you don’t accidentally pull the trigger. An unrestrained hammer fall could damage the housing.
Once all components have been cleaned and dried, apply a LIGHT coating of gun oil to their surfaces and you are ready for reassembly.
Reassembly
Reassembly is basically the reverse of disassembly. Begin by reinstalling the elevator into its slots in the sides of the receiver.
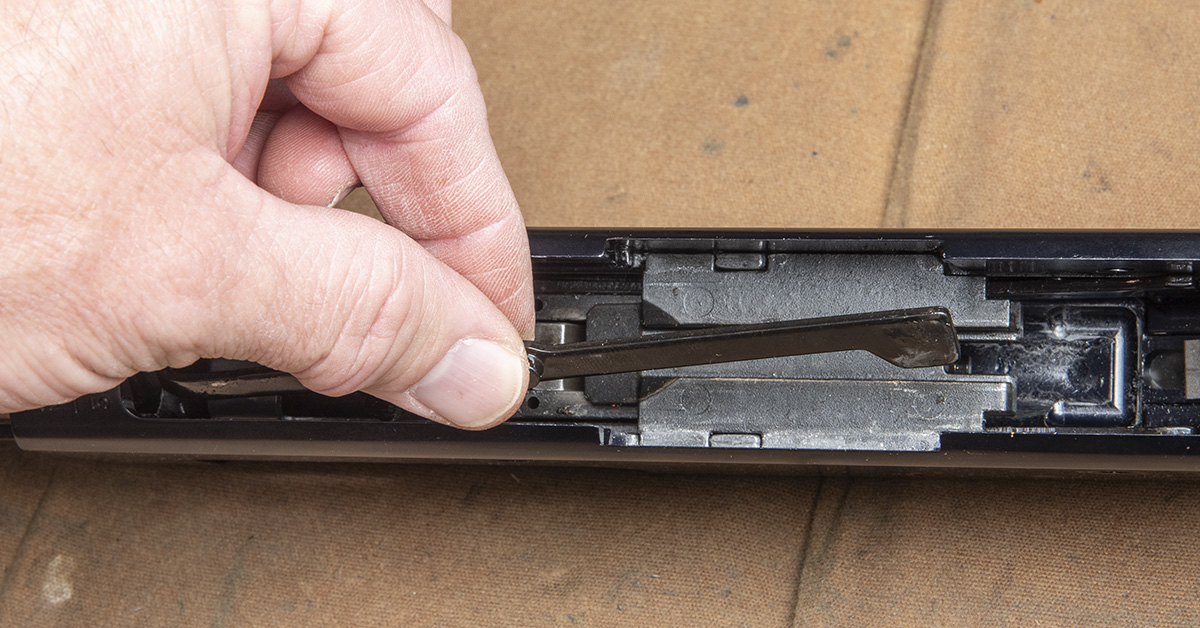
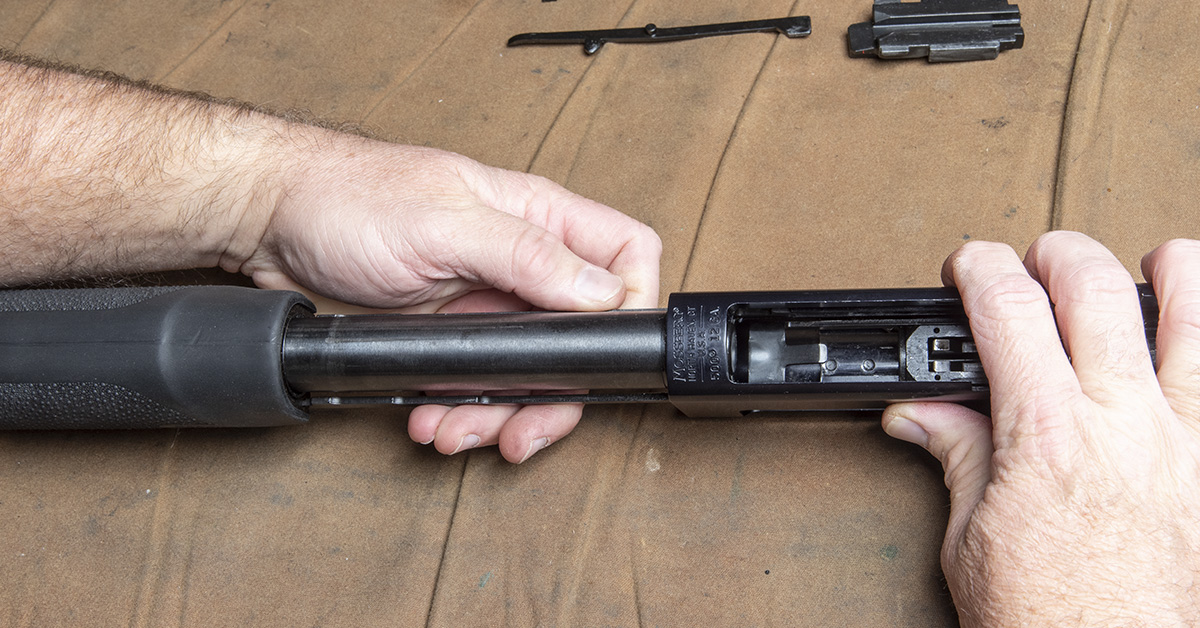
Slightly lift the elevator and insert the bolt into the receiver. Be sure to align the slot in the left side of the bolt with the ejector and push the bolt rearward.
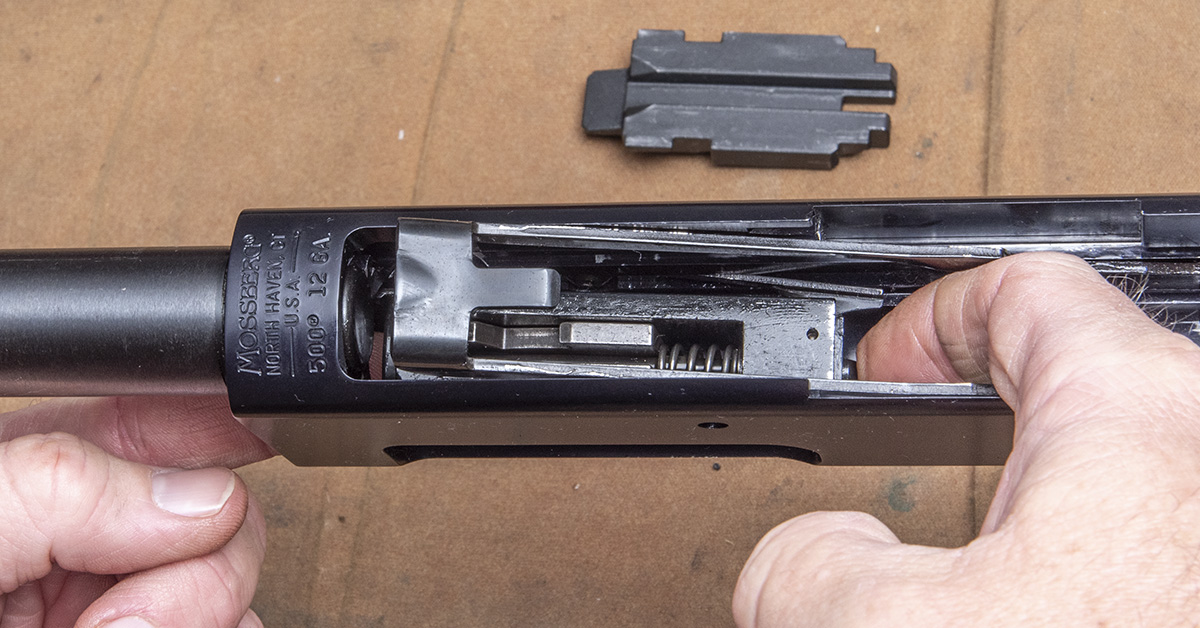
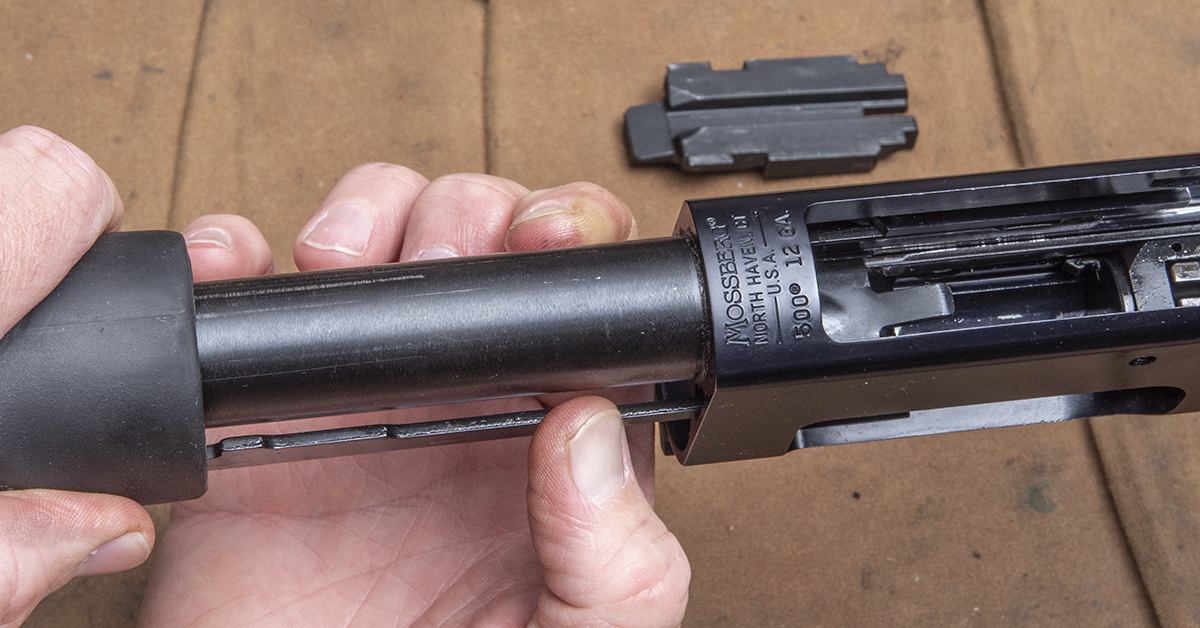
Reinstall the action slide assembly onto the magazine tube. The ends of the action bars must be pushed down slightly (from this orientation) in order for them to move into their slots in the receiver.
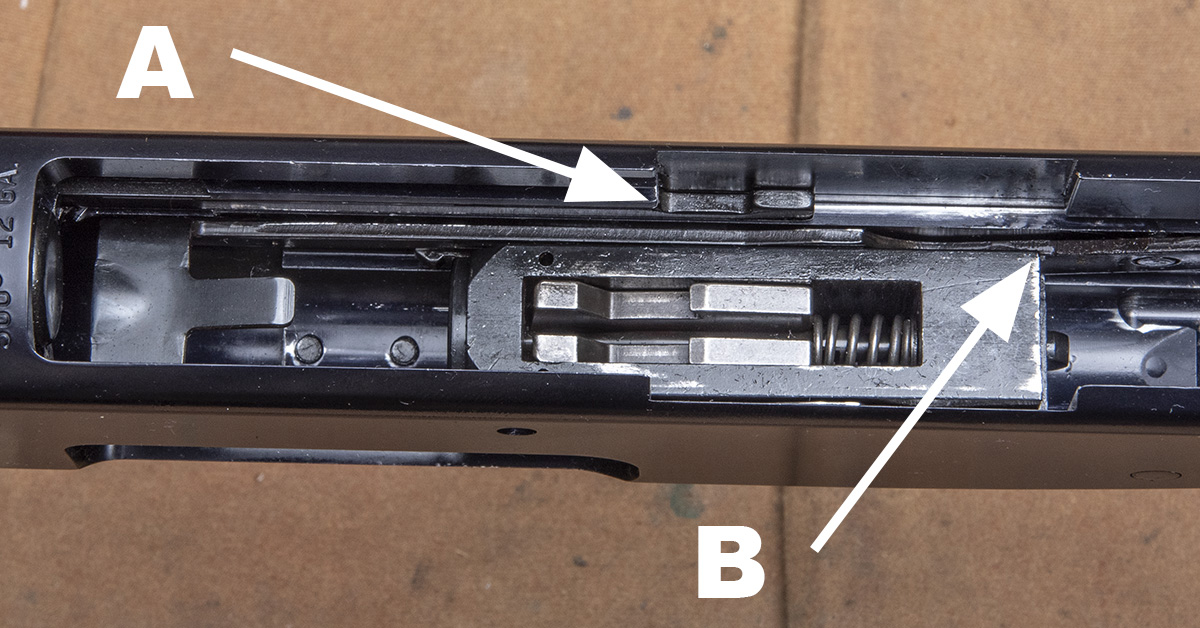
Once started into the receiver, the action bars must be pushed down to clearance the bolt slide rails. Once clear, push the action slide rearward until the front of the action bar notch is aligned with the bolt slide rail (arrow A). Next, position the bolt so that the back edge of the bolt (arrow B) is slightly forward of the bolt slide cutout in the receiver.
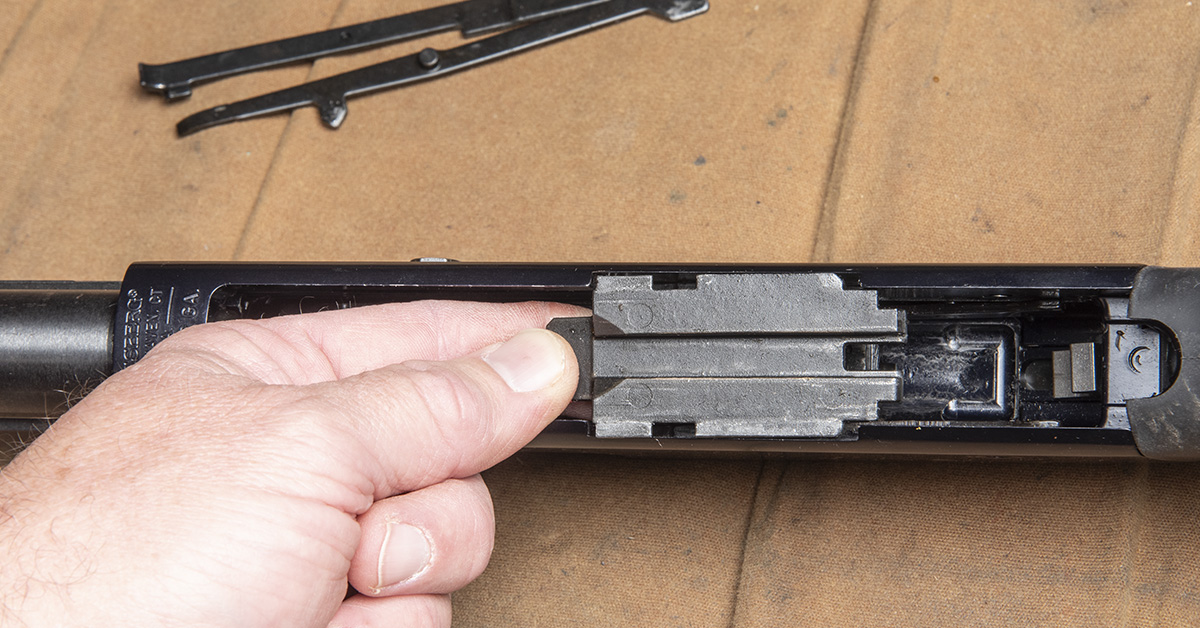
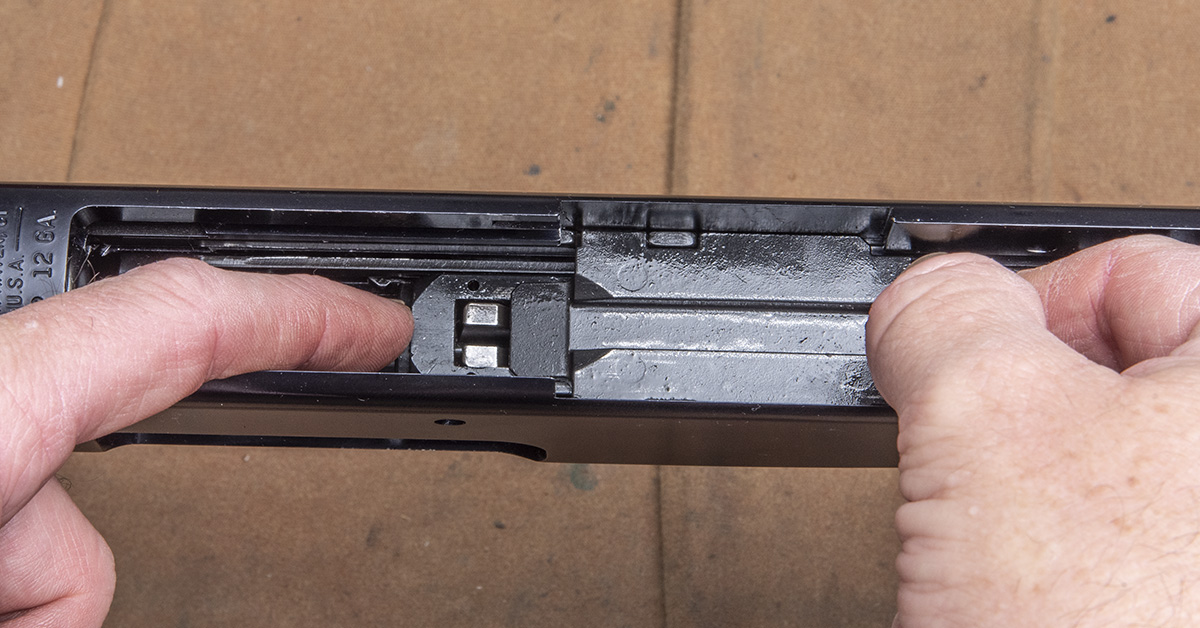
The bolt slide can now be inserted into the receiver and engage the bolt, as shown.
Reinstall the cartridge stop into the left side of the receiver and the cartridge interrupter into the right side of the receiver. Don’t worry about getting confused over which is the cartridge stop and which is the cartridge interrupter. The cartridge interrupter has a stud that goes into a hole in the right side of the receiver (ejection port side) and the cartridge stop doesn’t. Each can only go one way into their correct positions in the receiver. And, yes, they can easily fall out of position until they are secured by the trigger housing.
With the cartridge stop and cartridge interrupter in position, reinstall the trigger housing. Position the front of the trigger housing into the receiver first, as shown, and then push forward and down on the back of the trigger housing to seat it in the receiver. If you encounter a no-go situation, STOP and determine what is out of alignment. It does take some pressure to push the trigger housing into place, but excessive force could damage model 500s and those model 590s that feature polymer housings.
Once the trigger housing is in place and flush with the receiver, reinstall the trigger housing pin or the Chicago screws if you have a Mesa Tactical shell carrier.
Finish by reinstalling the barrel.
Function Check
Always perform a function check after reassembling any firearm. Cock the trigger by pulling the action to the rear and forward again. With the safety on, the hammer should not fall when you pull the trigger. Move the safety to the fire position and pull the trigger. The hammer should fall. With the safety off, cock the trigger, pull the trigger, and keep the trigger pulled fully rearward. Without letting up on the trigger, cock the trigger again and then slowly let up on the trigger. You should hear and feel the trigger reset. Move the safety back to the safe position to complete the function check.

