If you’re in the market for an easy-to-use thermal scope with a quick disconnect option and tons of purposeful, technology-rich features without a $5K or higher price tag, Burris’ BTS35 v2 is your go-to.
by Jace Bauserman
Few things trump the excitement of hunting or shooting at night without using lights. Whether ringing steel or scanning the plains for predators, shooting after the sun goes down is a must-do.
As thermal scopes have become popular amongst shooters and hunters, I’ve had the pleasure of testing several models and was excited to get my hands on the new Burris’ BTS35 v2.
First Things First
I’m not a big reader of directions. Yes, this usually costs me time and requires me to break out the headache medicine later on; however, I prefer to look at a product from head to toe and see what I can figure out before going to the owner’s manual.
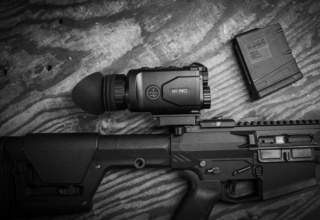
Weighing only 31 ounces and with dimensions of 294mm x 80mm x 78.5mm, the BTS35 v2 is compact. I immediately noticed the quick-detach mount, which installs easily with two or three set screws, depending on caliber and mounting needs.
A battery door is on the scope’s right side. I love the turn-screw knob and the fact the door stays open on its own. This is an external battery; you must remove it and use the included charging device to power up the battery.
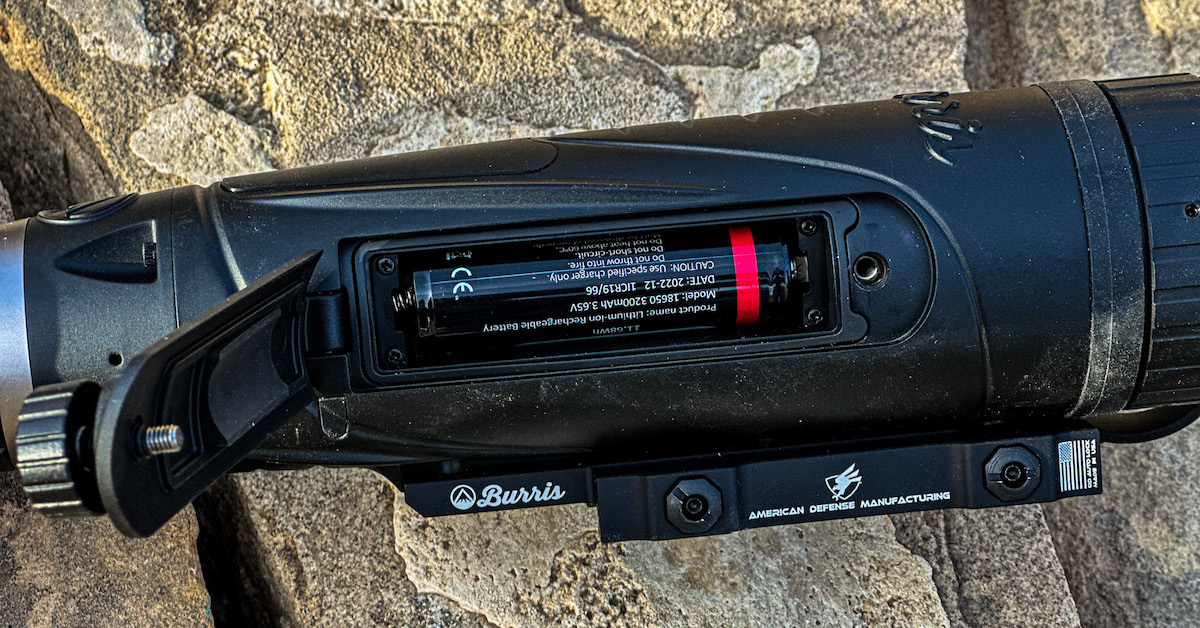
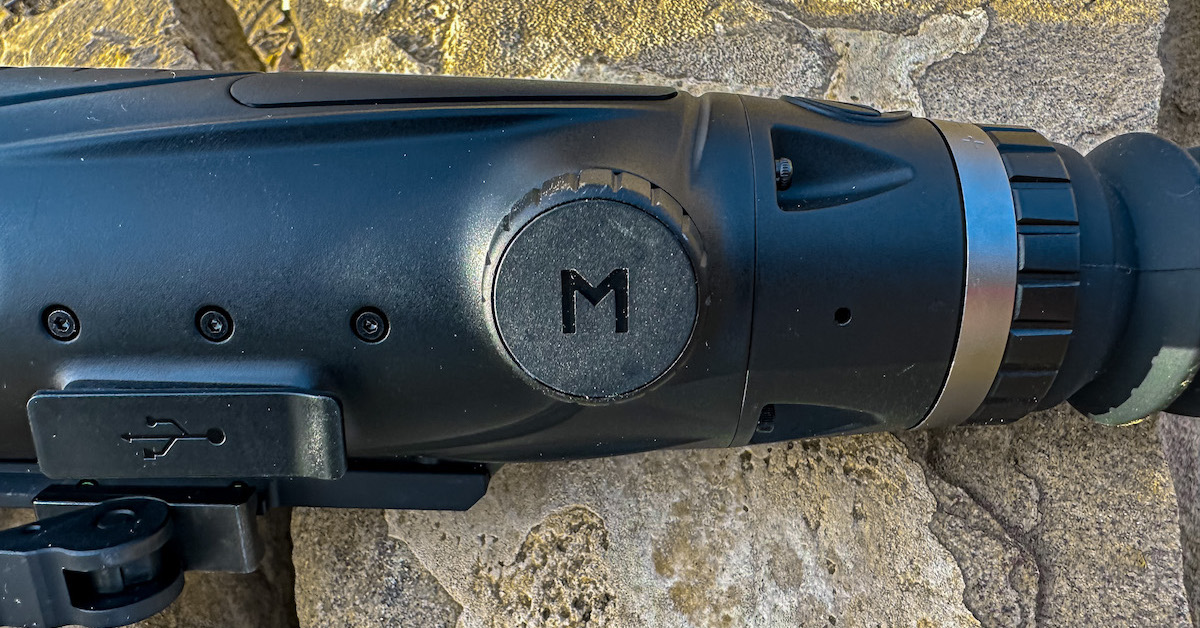
The unit also has an internal battery. A hard-sided charging door with a soft back and rubberized holding tube is on the left. Charging this battery is simple. Plug the USB-C to USB-A cord in and an LED will pulse red inside the USB-C Port while the scope charges.
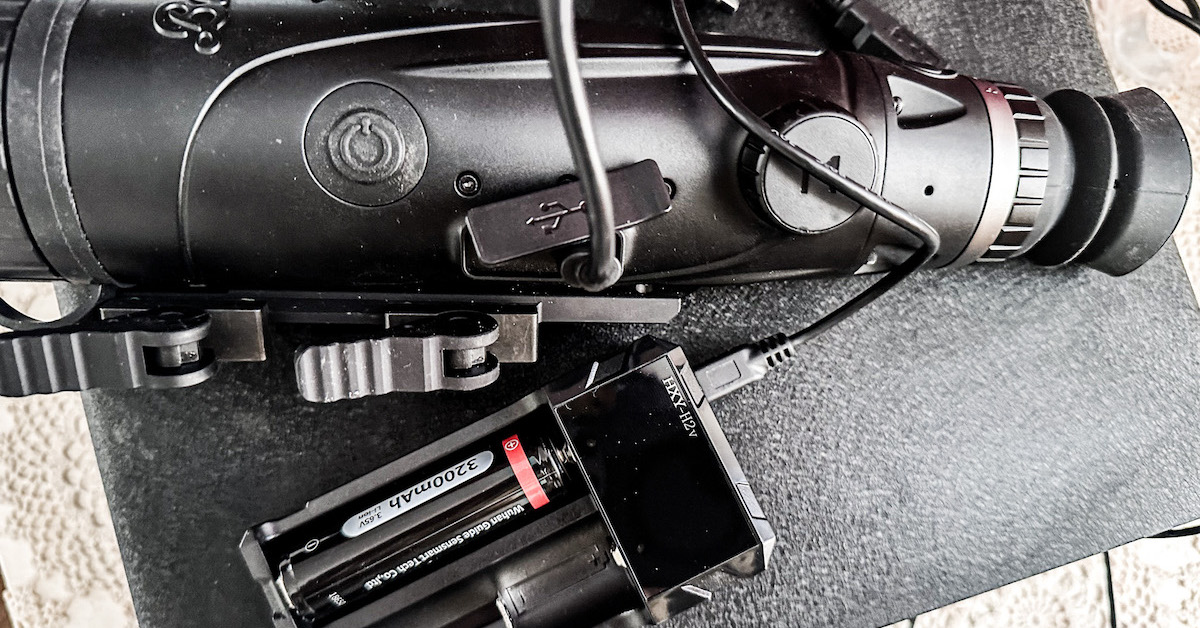
I discovered Burris sent the internal battery fully charged when I pressed the power button and saw the Burris logo appear on the viewing screen. The power button is on the scope’s left side in front of and below the charging port.
Another immediate notice was the inclusion of a diopter in front of the rubberized eyepiece. The diopter is for a sharp and clear display by rotating it clockwise and counterclockwise. You will also appreciate the extended rubberized eyepiece when scanning.

I also applaud the inclusion of a front-focusing ring. I have toyed with lesser thermals with no diopter and no focusing ring, and trust me, you’re better off using artificial light if that’s the case. The focusing ring is for adjusting the objective lens.
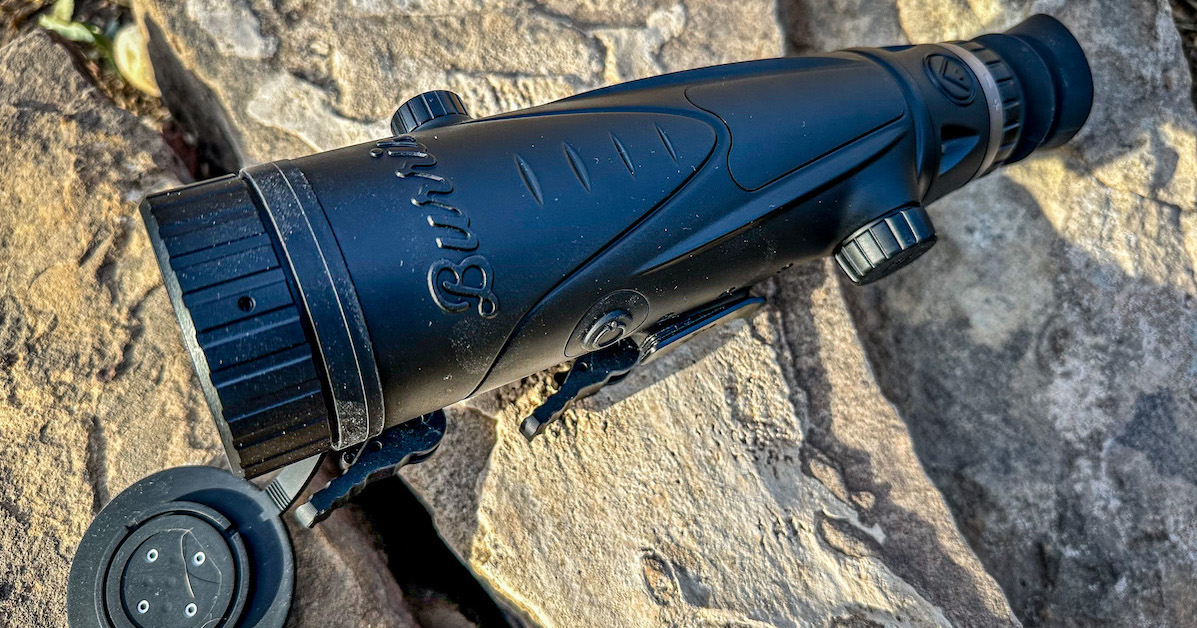
A rotary knob on the scope’s left side in front of the diopter ring can be used to adjust the magnification between 1x and 4x in .2x increments.
Time For Technology
While I like to mess with a product before reading directions, when it comes time to start the setup process of a thermal, I want ultra-detailed ink along with videos to guide me.
The excellent news is Burris’ instruction manual is a gem. It breaks down how to enter the main menu and guides you through the entire setup process, which I found highly elementary.
First, if you’ve mounted your scope to your rifle, use the pair of disconnect levers to remove it from the Picatinny rail mount. The optic is much easier to work with when not mounted, and I will dive more into this excellent quick-disconnect feature later on.
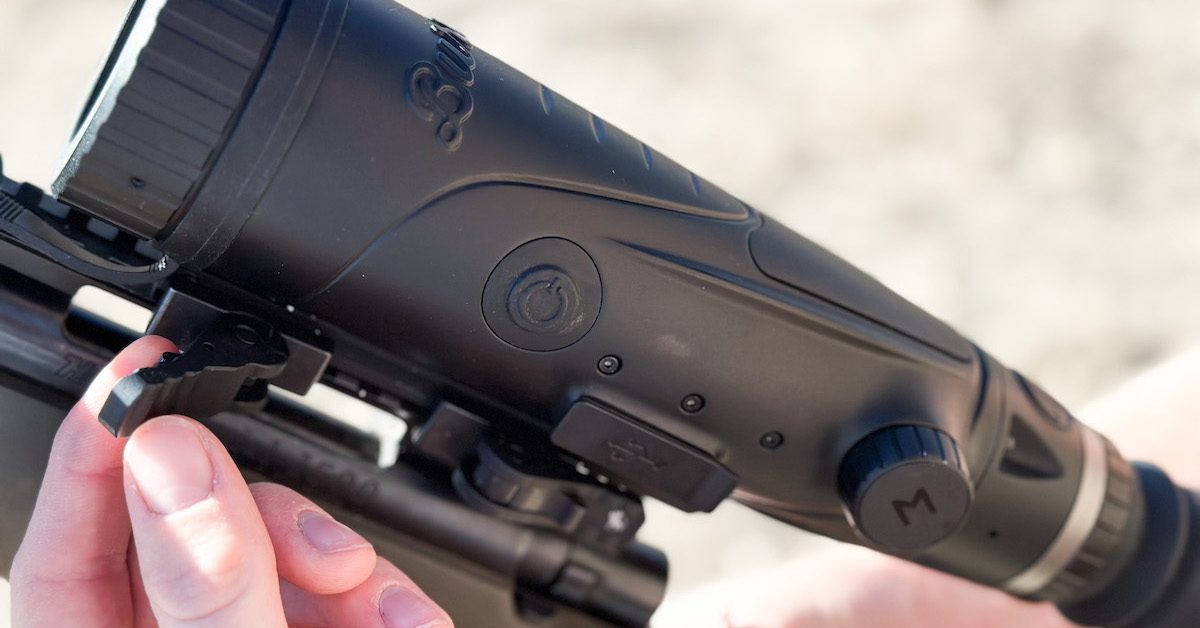
Use the power button to turn the unit on. You will see a screen with crosshairs, a pair of battery indicators, and a setting that says Profile 1. Next, press the rotary knob, which is labeled with a big capital M, and you have instant access to the main menu.
The main menu is a wheel design, which I appreciate, and as you roll the rotary dial left or right to each icon, words appear to describe each icon. The screen is bright and clear, which is another feature I applaud. Burris thought of technology-challenged people like me when building this easy-to-use menu.
From the main menu, you can quickly and easily scroll through everything from selecting your choice of color palette (I recommend white hot), thermal intensity, screen brightness, reticle configuration, et cetera.
Don’t get overwhelmed. Slow down and play around in the main menu and use your instruction manual. If you feel like something went wrong, press the power button, and you can immediately exit the main menu. You can always restore the thermal to its factory settings from the main menu.
Must Tinker With
You can leave the thermal set at factory settings, which is fine, but I recommend playing with a few settings to optimize user customization.
First, play the color palette settings. You may prefer green hot over blue hot and red hot over white hot. Also, be sure to scroll through your reticle choices. Burris gives you 10 reticle options. Plus, you can adjust reticle color and illumination. I like the black crosshairs with a red center dot, but you must find what you want. You can change the base color of the reticle to red, green, black, white, and yellow.
The Burris BTS35 v2 also allows users to create up to six shooter profiles. Why? So you can swap between ammo grain choices when using a single rifle or set profiles for different rifles in an array of calibers. All you need to do is zero your rifle/bullet choice in a specific profile and you’re set to go.
Zeroing
Don’t be me. My son Hunter and I spent way too much time zeroing this scope. Why? As I mentioned, I’m not big on directions. Huge mistake.
All you need to do to zero your scope is select the zeroing distance in the on-screen menu. The rotary knob allows you to cycle through distance options quickly, and I recommend starting at 50 yards.
Be sure you have a large target face and a sizeable blank face with no bullet holes. Then, aim at the target’s center and fire two shots. Next, measure the distance between those two shots, both horizontal and vertical, from your aiming point.
From this point, start in step 3 under the zeroing subheading in your owner’s manual. Once we did this, our scope was dialed to 300 yards in less than 15 minutes.
What I Loved
First and foremost, I love a thermal that’s easy to mount, set up, and get into the field. Burris engineers found a way to load the BTS35 v2 with features and make using those features remarkably straightforward.
Some will overlook this, but I appreciate the manual eyepiece focus, objective lens focus, and the ability to rotate the rotary knob when the screen is not in the menu settings mode.
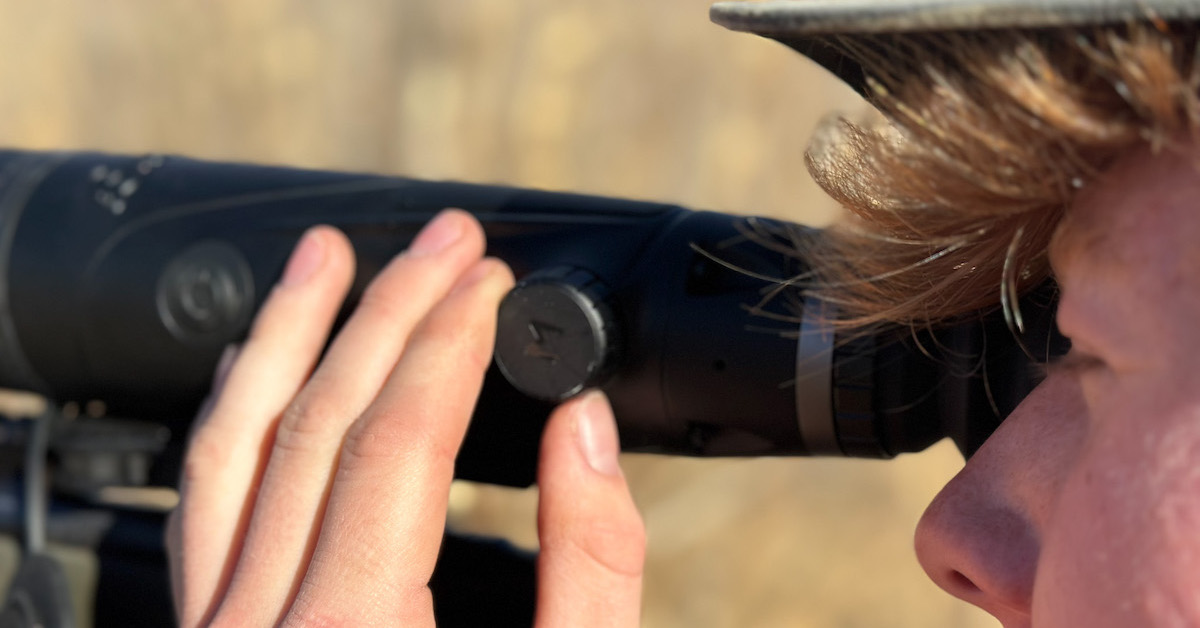
I cheer the quick-disconnect feature. If you’ve never hunted at night, you want the ability to take your thermal on and off your rifle. If you try scanning with a thermal mounted to your rifle, you will quickly be worn out and “over” the experience. You can’t beat a solid, sturdy quick-disconnect system.

Standby mode is a win. I wouldn’t say I like thermals that I must constantly power on and off.
I love the multiple shooter profiles. These profiles make the scope ultra-versatile. I can also build profiles for bullet grain weights for a single caliber like my .223 Rem., but I can also create profiles for other calibers.
The scope is Wi-Fi-friendly, and the BurrisConnect App is easy to navigate.
Double-click the power button and the unit will take a photo.
Lastly, excellent battery life — two batteries are better than one.

What I Didn’t Like
This will be a short section. For a thermal scope wearing a $3K price tag, the Burris BTS35 v2 is a good one. A couple of things I wasn’t a fan of, though, is the location of the power button. It’s great when using the thermal as a handheld, but not in the best position when the scope is mounted on a rifle.
Getting an accurate range is one of the most challenging things to do when night hunting — my advice is to get a thermal rangefinder if you get ultra-serious about your nighttime hunting pursuits. Few things will help you pop more pelts.
The BTS35 v2 has a stadiametric rangefinder and is easy to navigate; however, like most stadiametric rangefinders I have used, it takes too much time in the heat of the moment.
Final Thoughts
Truthfully, I feel this is one of the most practical and economical thermal riflescopes on the market. Under $3K might not sound like a bargain; however, when you start shopping for thermal scopes and see some models that come in well north of this price, you’ll discover you get a lot of bang for your buck.
This is a thermal scope I will hold onto and put to good use in the field.