Factory ammunition provides a valuable baseline for your custom reloads. In this installment, we’ll go through the process of identifying statistically relevant group sizes.
by Lou Patrick
In the previous article in our comprehensive reloading series, we went through the process of establishing the initial zero of our test rifle. While we did this in preparation for the factory ammo test and final zero detailed here, it does provide a solid protocol for sighting in any rifle, and it is a good general reference for anyone who is just getting into rifle shooting.
Firing three shot groups has long been the accepted standard when zeroing a rifle and/or evaluating its accuracy. A possible source, if not the source of the three-shot group standard may very well be the U.S. Military. When zeroing the M16 rifle, for example, service members will fire a three-shot group and then draw a line from one bullet hole to the next, forming a triangle. Sight corrections are then made using the center of the triangulated shots as the point of reference. This works, and works well for the U.S. Military, as they have complete control over the ammunition and the rifle being used.
We must also consider that this method is well-tested — most likely firing thousands of rounds of ammunition in confirmation prior to being put to use. In comparison, we civilians are using a wide variety of firearms and ammunition. We also lack the benefit of such testing. Our firearms and ammunition are produced by multiple manufacturers, all of which can, and most likely will, perform differently.
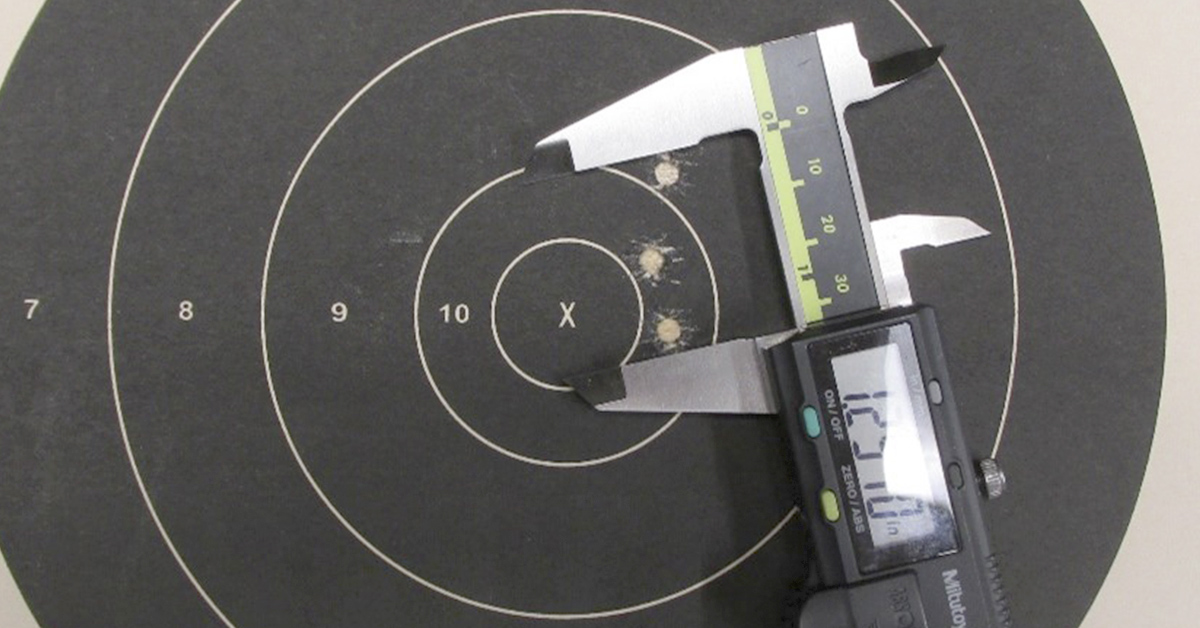
When evaluating a rifle’s accuracy, it is common to fire a three-shot group on a target 100 yards downrange. Considering that it is rather difficult to reliably align the caliper with the center of the bullet holes, group size is measured from the outside edge of the two bullet holes that are farthest part. One bullet diameter is then subtracted from this measurement, effectively bringing it on center. The question is, what have these three shots told you? Actually, very little, as a three-shot sample is statistically irrelevant.
Group size has been the most popular way to evaluate the accuracy of a rifle, and “mean radius” provides yet another method.
Yes, the internet is full of examples touting what can be ascertained from a three-shot group. Often enough, these claims come from competitive shooters, many of whom are quite successful, leading to the validity of their claims. I’m not implying that these claims are false or there isn’t something to be learned — just a word of caution. Competitive shooters put far more rounds downrange than the average shooter. They are also using rifles and equipment that far surpasses that of the average shooter. Similarly, a NASCAR racing machine has an internal combustion engine, runs on gasoline just like your car does, but that gas doesn’t come from the same pump, nor do we drive the same. While there are some similarities, the vehicles and driving skills are vastly different. Likewise, many reloading and testing techniques that are used in competition will be of no benefit to those of us shooting off-the-shelf rifles. It is wise for us to stay in our lane. This is especially true for the novice, lest you find yourself spending time and money on tools and techniques that will not benefit your rifle.
With three-shot groups being statistically irrelevant, how large of a sample is needed? Five or ten shots doesn’t gain us much statistically, either. So, we used twenty rounds in our factory ammunition test (actually 21 when we include the first round fired from the cold clean barrel).
When speaking of a test such as this, I am often faced with comments of this being a waste of ammunition, combined with the question, how many rounds need to be fired for an accurate test?
The simple, quick answer to this question is twenty; however, you’ll gather more statistically relevant information if you shoot even more, so don’t let this 20-round test limit you if you desire to shoot more. Unlike the military, your rifle and ammunition combination has had no testing. You really don’t know what to expect until you shoot it, and the more you shoot it, the more you will learn. Ultimately, the size of the test you perform is entirely up to you. Of course, as you shoot less, statistical relevance decreases, along with the accuracy of the information gathered.
Statistically speaking, a 20-round sample is just beginning to provide accurate, dependable information. A 10-round sample tells you far less as compared to a 20-round sample. In my opinion, watching this 20-round shot group coming together, shot by shot, illustrates this point very well. It is my advice to use a 20-round sample as a minimum. I came to this conclusion by taking the following into consideration.
A 20-round sample is statistically far better than the traditional three- or five-shot groups typically used. Rifle ammunition is usually packaged in a 20-round box. Although ammunition cost has certainly gone up, when you consider the cost of the rifle, scope, scope mounts, shooting rest, reloading equipment, and all the other gear that we acquire over the years, the cost of one box of ammunition used to more accurately test the capability of your rifle is rather miniscule by comparison. If you take shortcuts in the testing of your rifle and ammunition, you’ll never know or be able to use it to its full capabilities, which, if you think about it, equals money wasted.
Test procedure:
- 21 rounds of the same ammunition and lot number that was used during the initial zeroing.
- Five targets are stacked one atop the other and placed on the left side of the target backer. One target is placed on the right side of the target backer.
- The first shot from the cold, clean barrel is fired at the target on the right.
- A three-shot group is fired on the target stack on the left. The top target containing the three-shot group is then removed.
- Two shots are then fired on the target stack, producing a five-shot group. The top target is removed.
- Five shots are fired on the target stack, producing a ten-shot group. The top target is removed.
- Five shots are fired on the target stack, producing a fifteen-shot group. The top target is removed.
- Five shots are fired on the target stack, producing a twenty-shot group. This is the final target.
- Chronograph (optional) data is collected while firing the 20-shot group.
- The barrel is allowed to cool while the top target is being removed.
- The barrel is not cleaned during this test.
- Scope adjustments are not made during this test.
- Point-of-aim is always at the center of the target.
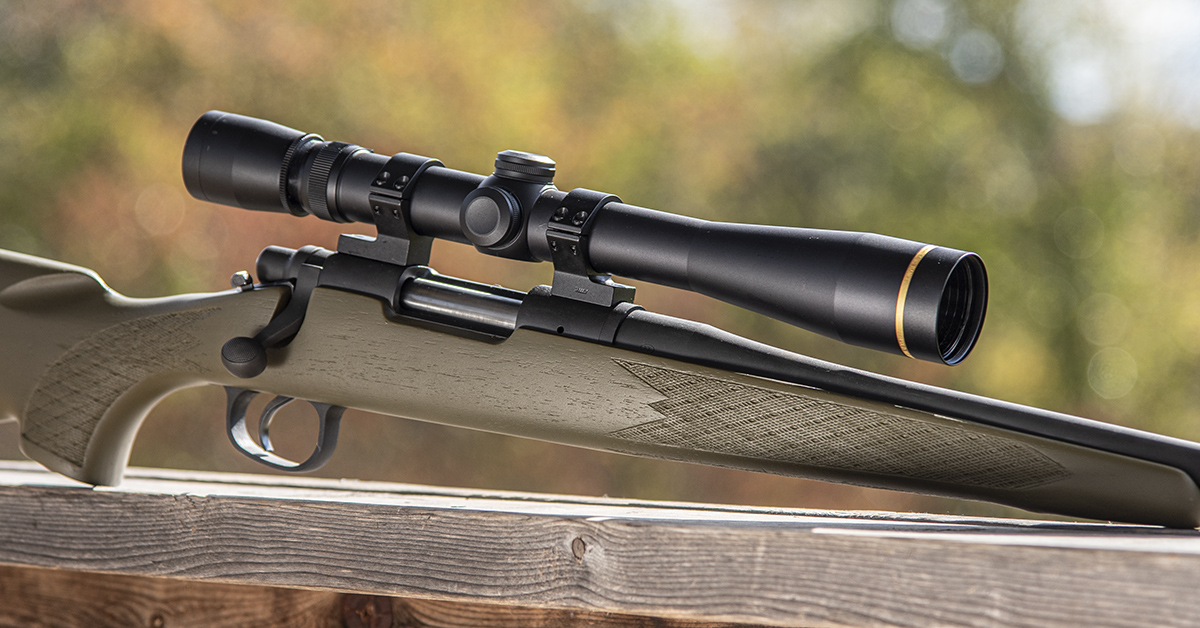
My preference is to fire 5-shot groups when testing rifles that will be used afield. This preference is driven by magazine capacity, as many bolt-action rifles will hold five rounds when fully loaded. This also comes with somewhat of a caveat, being the concern of overheating lighter-weight sporter contour barrels that are usually found on hunting rifles. With these lighter weight barrels, you may notice that the group size opens up as the barrel gets hot. This may cause you to have to drop back to 3-shot groups; however, the barrel on our test rifle has been cryogenically stress relieved. It has been my experience that sporter-weight barrels that have been cryogenically stress relieved usually perform well with 5-shot groups.
Ammunition Test
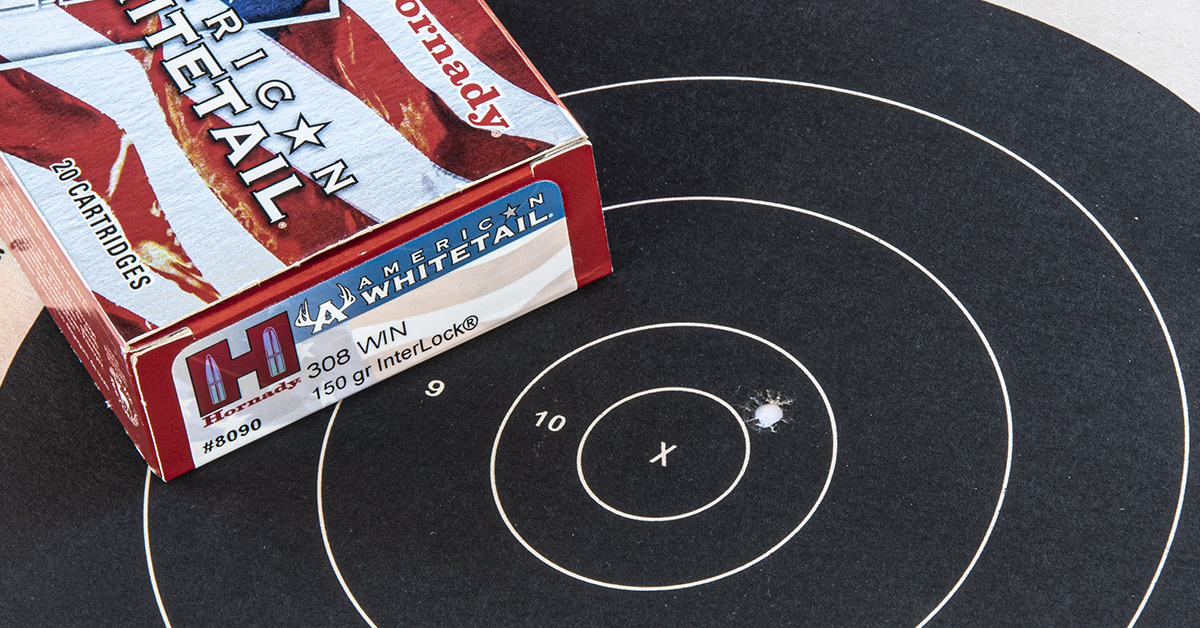
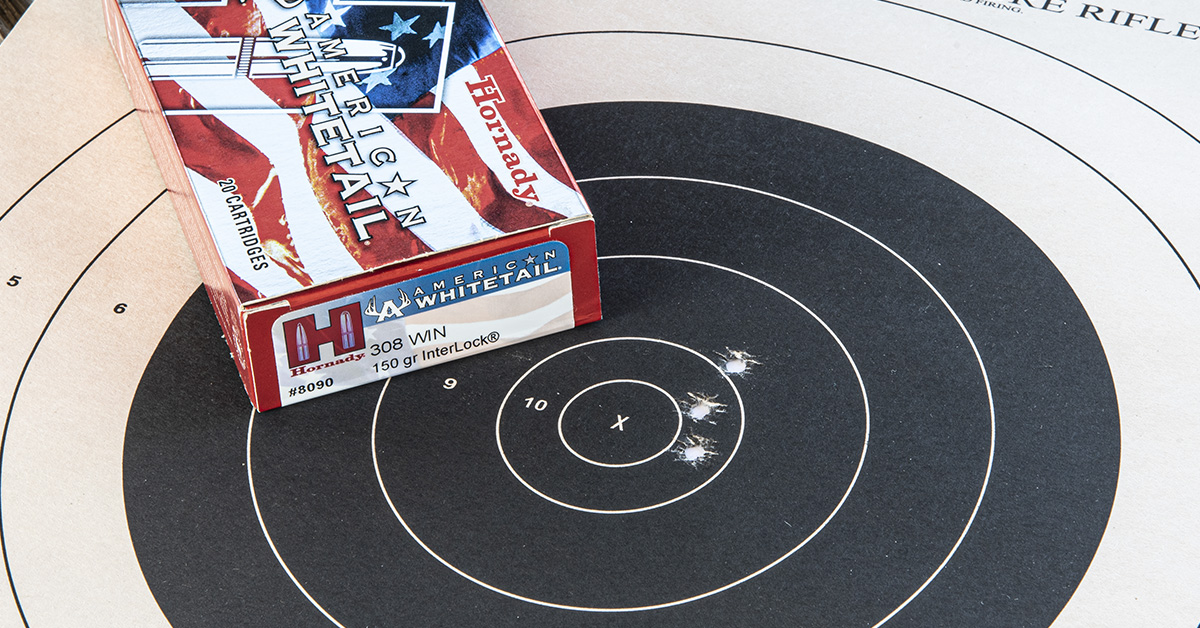
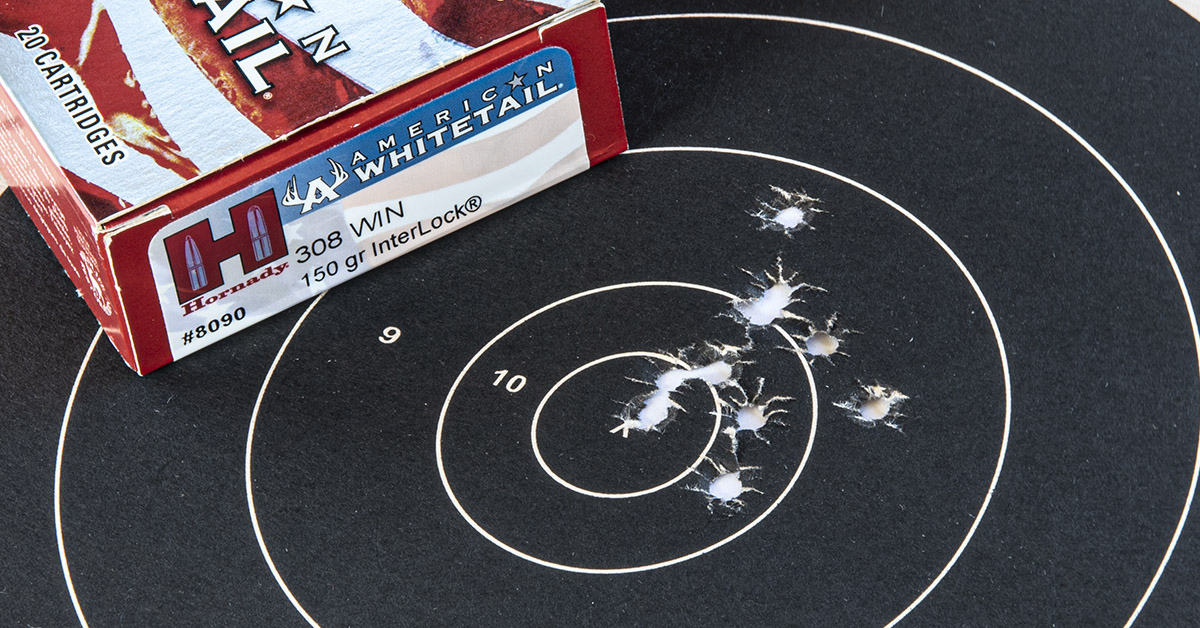
The first shot from a cold clean barrel is always a concern of hunters. This shot has impacted to the right of the target’s center. Remember, during the initial zeroing of the rifle from our previous article, 5 of the last 7 shots fired impacted to the right of center. This shot is also about a ½-inch lower than the last group fired during the initial zeroing. This is most likely due to shot dispersion, which we also discussed in the last article.
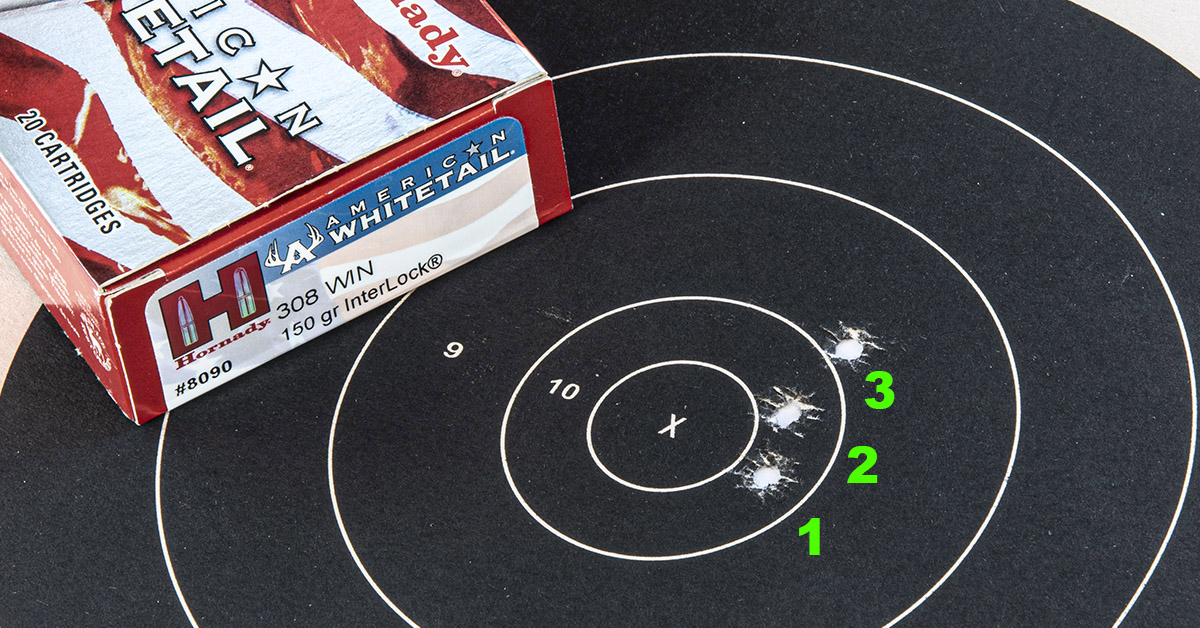
The three-shot group produced two of the lowest shots fired thus far. They are also to the right of center and strung vertically. During the initial zeroing, we had a vertical string followed by a horizontal string. It is important NOT to make any scope adjustments during this test and to continue with the same point of aim at the center of the target. The goal of this test is to reveal the ultimate size, shape, and location on target of a 20-shot group.
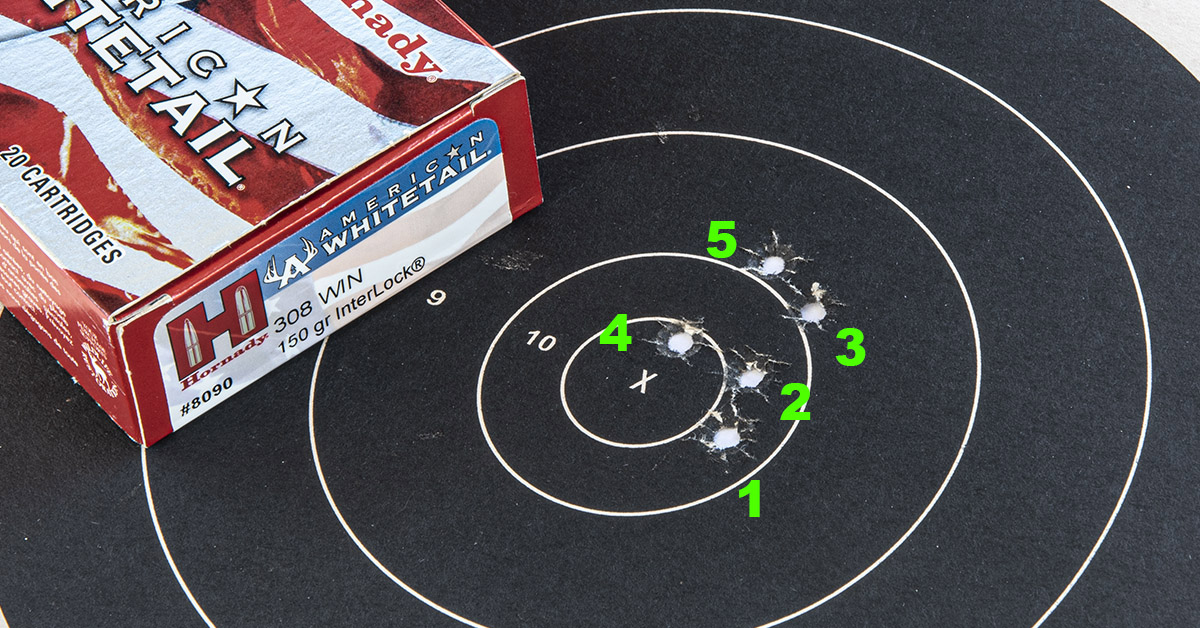
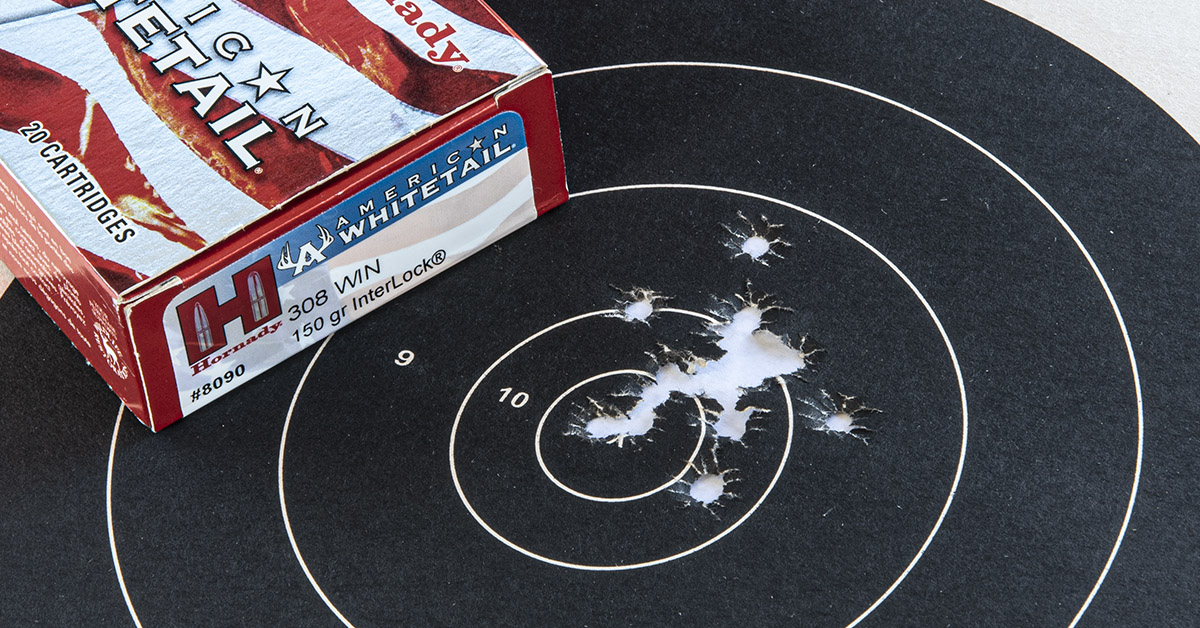
The barrel was allowed to cool as the top target containing the three-shot group was removed from the stack of five targets. Two rounds were then fired, producing the five-shot group pictured above. Both shots are strung vertically and have moved towards the target’s center, with the highest shot being close to the desired 1 ½ inches above center.
Consider this for a moment. When using three-shot groups to zero your rifle, after firing this first three-shot group, you most likely would have made a ¾-inch correction for windage to the left and then, having fired these two shots pictured above, find them ¾ to 1 inches wide to the left. This, in turn, would most likely cause you to make windage corrections to the right. Remember to trust your rifle, marksmanship, and scope corrections and learn to live with dispersion. Don’t fall into the trap of chasing shot dispersion with scope corrections. It cannot be adjusted out.
Small shot groups can be misleading. They can also be somewhat dependent upon the order of the rounds you fire next from the ammo box. Firing shots 1, 2, 3, as we did above, gave us a vertical string to the right of center and somewhat lower than desired.
The next two shots (4 and 5), though, are to the left of the previous three. Had we fired shots 1,2 and 4, the group is now a completely different shape and closer to center. Firing shots 3, 4, and 5 gives us a larger group that is much higher. You may be thinking, “What about human error?” This is difficult to factor into the equation. My experience is that when firing from the shooting bench with the rifle properly supported and using the correct technique, if you fire a bad shot, you’ll certainly know it, and you’ll know it instantly. The group size and shape that we see here is mostly due to normal shot dispersion for this load. Change the load and the group size, shape, and the location it impacts the target will change as well.
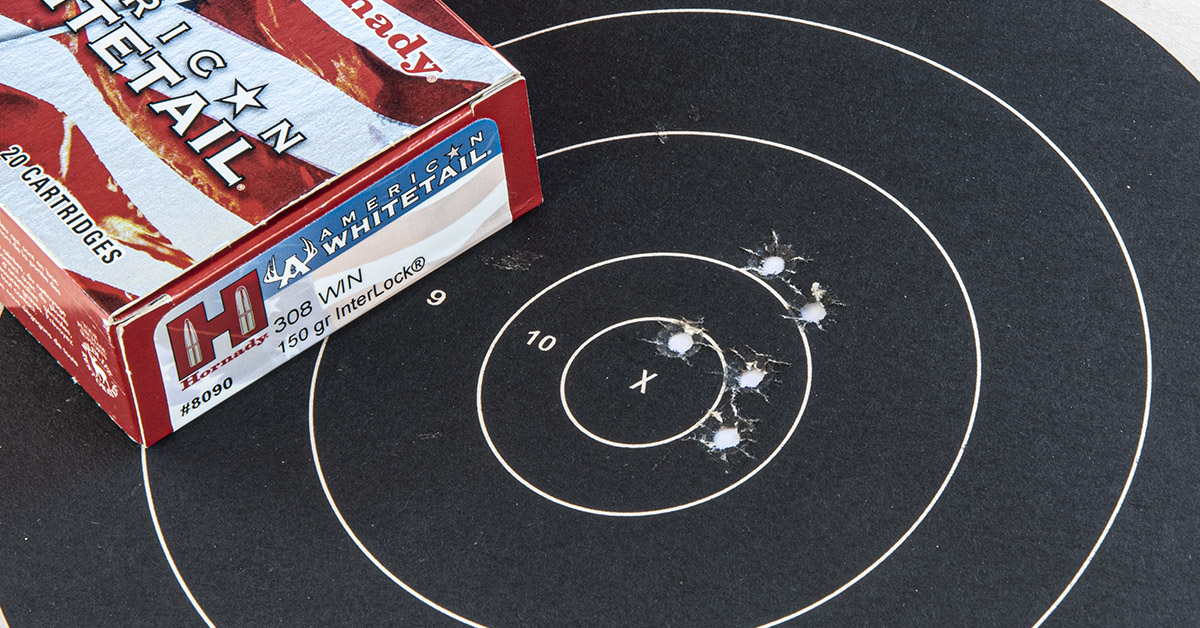
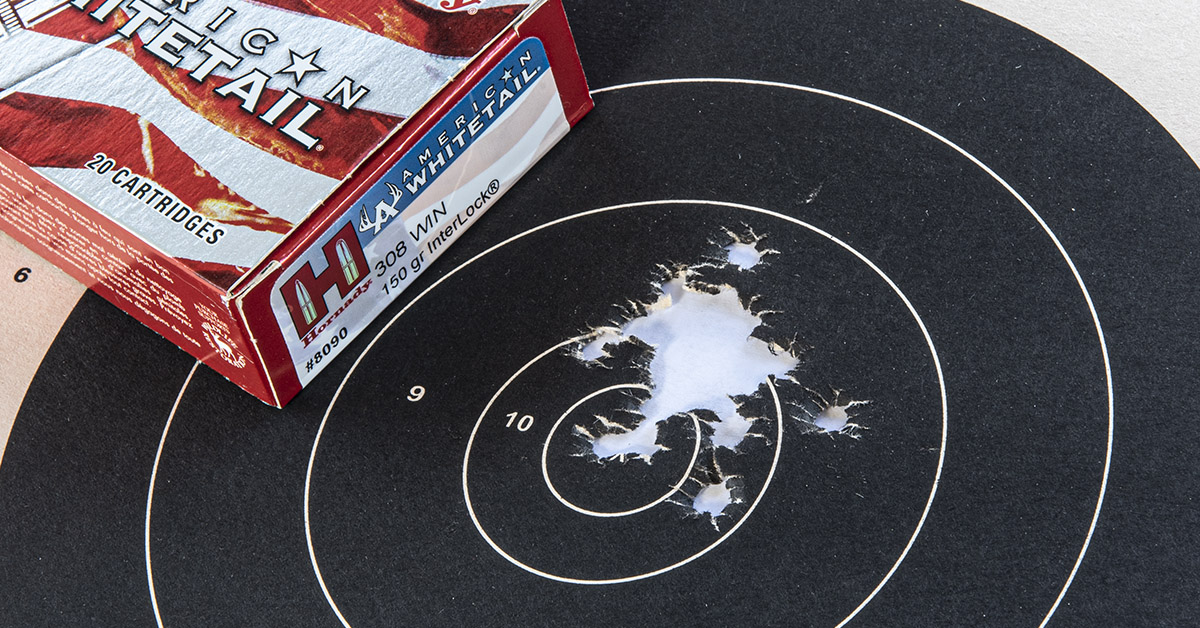
The barrel was allowed to cool as the target containing the five-shot group was removed from the target stack. Five consecutive rounds were then fired on target, producing this ten-shot group. Four of these shots are strung vertically through the target’s center — one shot now being the furthest to the right.
We now have the highest shot fired thus far. This comes at the same time the switch to five-shot groups occurred. Is this a product of the additional barrel heat associated with the five-shot group?
The barrel was allowed to cool as the target containing the ten-shot group was removed from the target stack. Five consecutive rounds were then fired on target, producing this fifteen-shot group. Two of these shots are the furthest to the left, with the remaining strung vertically towards the center of the target.
In answer to the previous question concerning barrel heat and five-shot groups, apparently, barrel heat from shooting five-shot groups was probably not the cause of the high shot fired in the previous group. Most likely it can be attributed to normal shot dispersion.
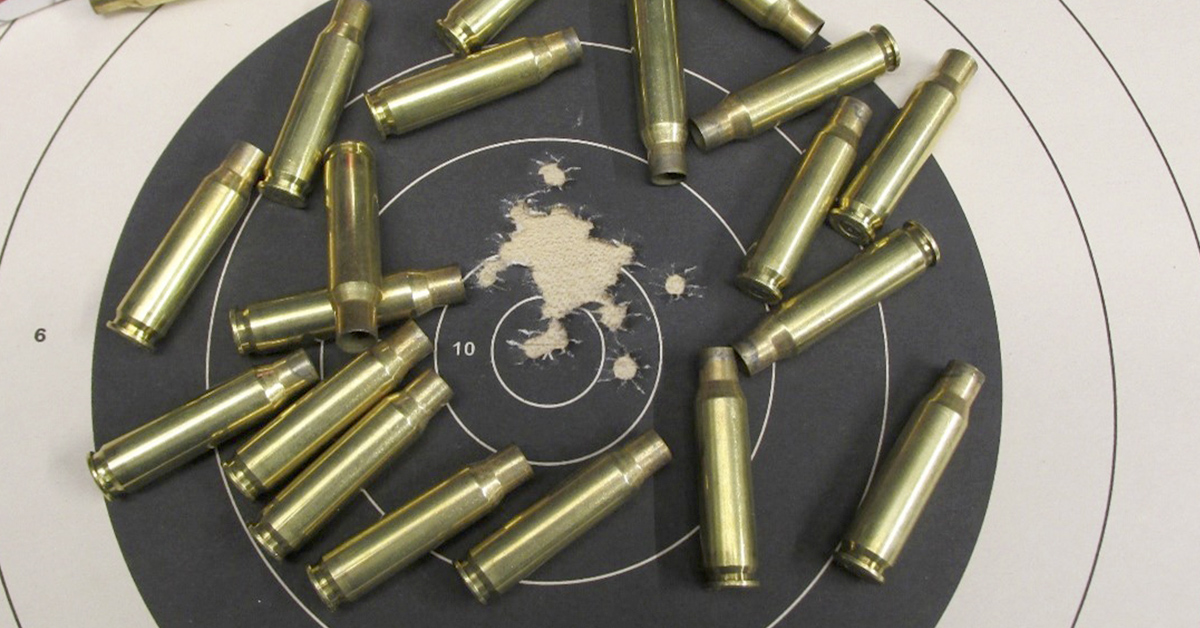
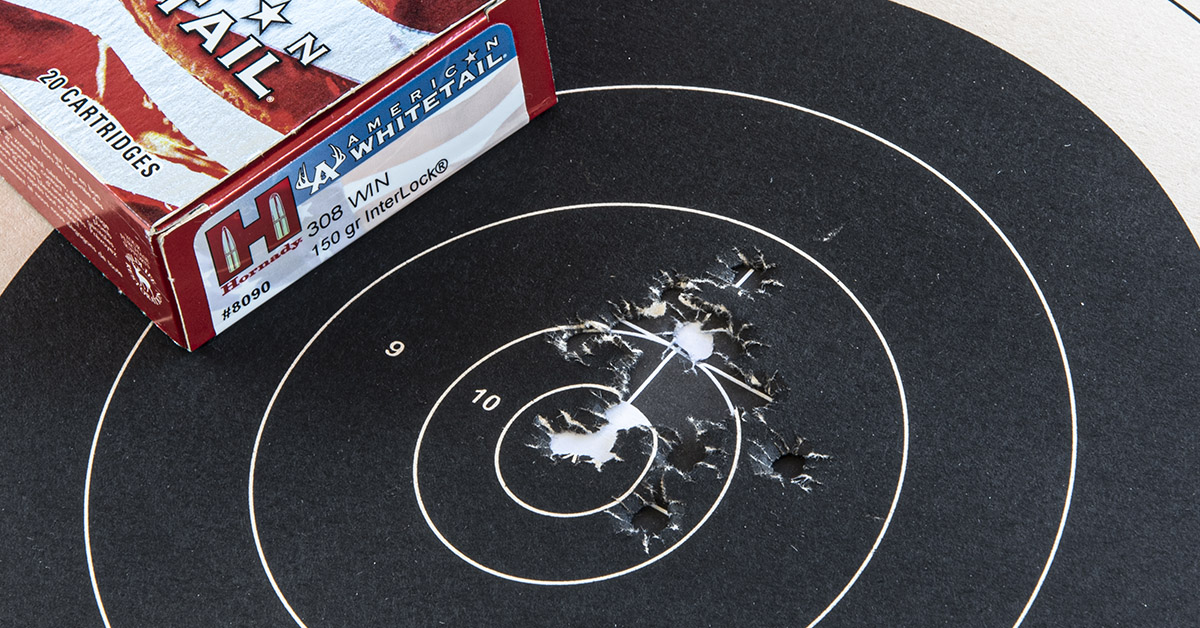
The barrel was allowed to cool as the target containing the fifteen-shot group was removed from the target stack. Five consecutive rounds were then fired on target, producing this 20-shot group. The 20-shot group size remained the same, as all shots landed within the already established group.
Look closely at this 20-round shot group. The last five rounds fired produced a 17-round shot group with all holes touching, with a group size of 1.245. The lowest shot fired was part of the three-shot group. The highest shot fired was part of the ten-shot group. These two shots represent the extreme spread from which the overall 20-round group size of 1.821 is measured.
Remember that our intended goal during the initial zeroing of the rifle was to have the shots impact 1 ½ inches above the target’s center. Look closely as to where most of the shots went. Now, think carefully as to how this group came together — how few scope adjustments were made and how three-shot groups, if not factoring in shot dispersion, could easily have you chasing your tail.
Chronograph Data: Hornady American Whitetail .308 Winchester 150-grn.
- Average Velocity: 2842.24 fps
- Highest Velocity: 2891.31 fps
- Lowest Velocity: 2797.54 fps
- Extreme Spread: 93.76 fps
- Standard Deviation: 28.98 fps
The average velocity of the twenty rounds fired during this test is 2,842 fps. This is 22 fps faster than the 2820 fps listed on the factory ammunition box. That is not enough of a velocity difference to cause any concern or from which to draw any conclusions. This can simply be due to a barrel length difference and/or atmospheric conditions. It is also less than the standard (expected) deviation. The extreme spread is the difference between the highest velocity vs. the lowest. In my experience testing factory ammunition, an extreme spread of 93.76 fps is rather typical. Standard deviation is the deviation that can be expected from the average velocity. Our 20-round test reveals that we can expect a 28.96 fps deviation from the average velocity. Two of our goals at the reloading bench will be to reduce both the extreme spread and the standard deviation.
Pictured above is the target containing the 20-round group laid over top of the last target used during the initial zeroing of the rifle. As you can see, during the initial zeroing of the rifle, the last three-shot group fired is more towards the upper edge of the “cone of fire.” We never would have known this had we not performed the ammunition test, producing this twenty-round group on target.
The factory ammo test is now complete, providing us with the additional information needed to make the final scope adjustments. For our purposes, the rifle is considered zeroed when the center of the cone of fire is centered with the desired point of impact. We made the following adjustments to accomplish this: elevation raised ½ inch (2 clicks), windage moved ¼ inch (1 click) to the left. We have also learned that the first shot fired from a cold, clean barrel impacts within the normal shot dispersion.
This ammunition also tends to string vertically, and the barrel handles the heat of five-shot groups well. Change ammunition and you can expect a change in group size, shape, and the location it impacts on the target. This test will eventually be repeated with our reloads, as you never know what you have until you shoot it.
Additional resources from the Hornady Podcast:
Be sure to check back for Pt. 6 of our reloading series where we discuss brass.
But “Brass is brass,” you might say. Well, not so fast. Your box of once-fired Winchester or Federal 5.56, .223, or .308 Winchester brass may be military brass. We’ll discuss the difference in military brass and what this means to the reloader, including internal case capacity and primer pocket crimp. We’ll also go over the step-by-step removal of the military primer pocket crimp.

